
Introduction
This manual provides detailed instructions for the installation, operation, and maintenance of your GURUN Wall Mounted Hardwired Makeup Mirror, Model M1809DB. This dual-sided mirror features 1x and 10x magnification, three adjustable LED light tones, and an extendable arm for versatile use in bathrooms and bedrooms. Crafted from high-quality brass, it offers durability and a refined aesthetic.
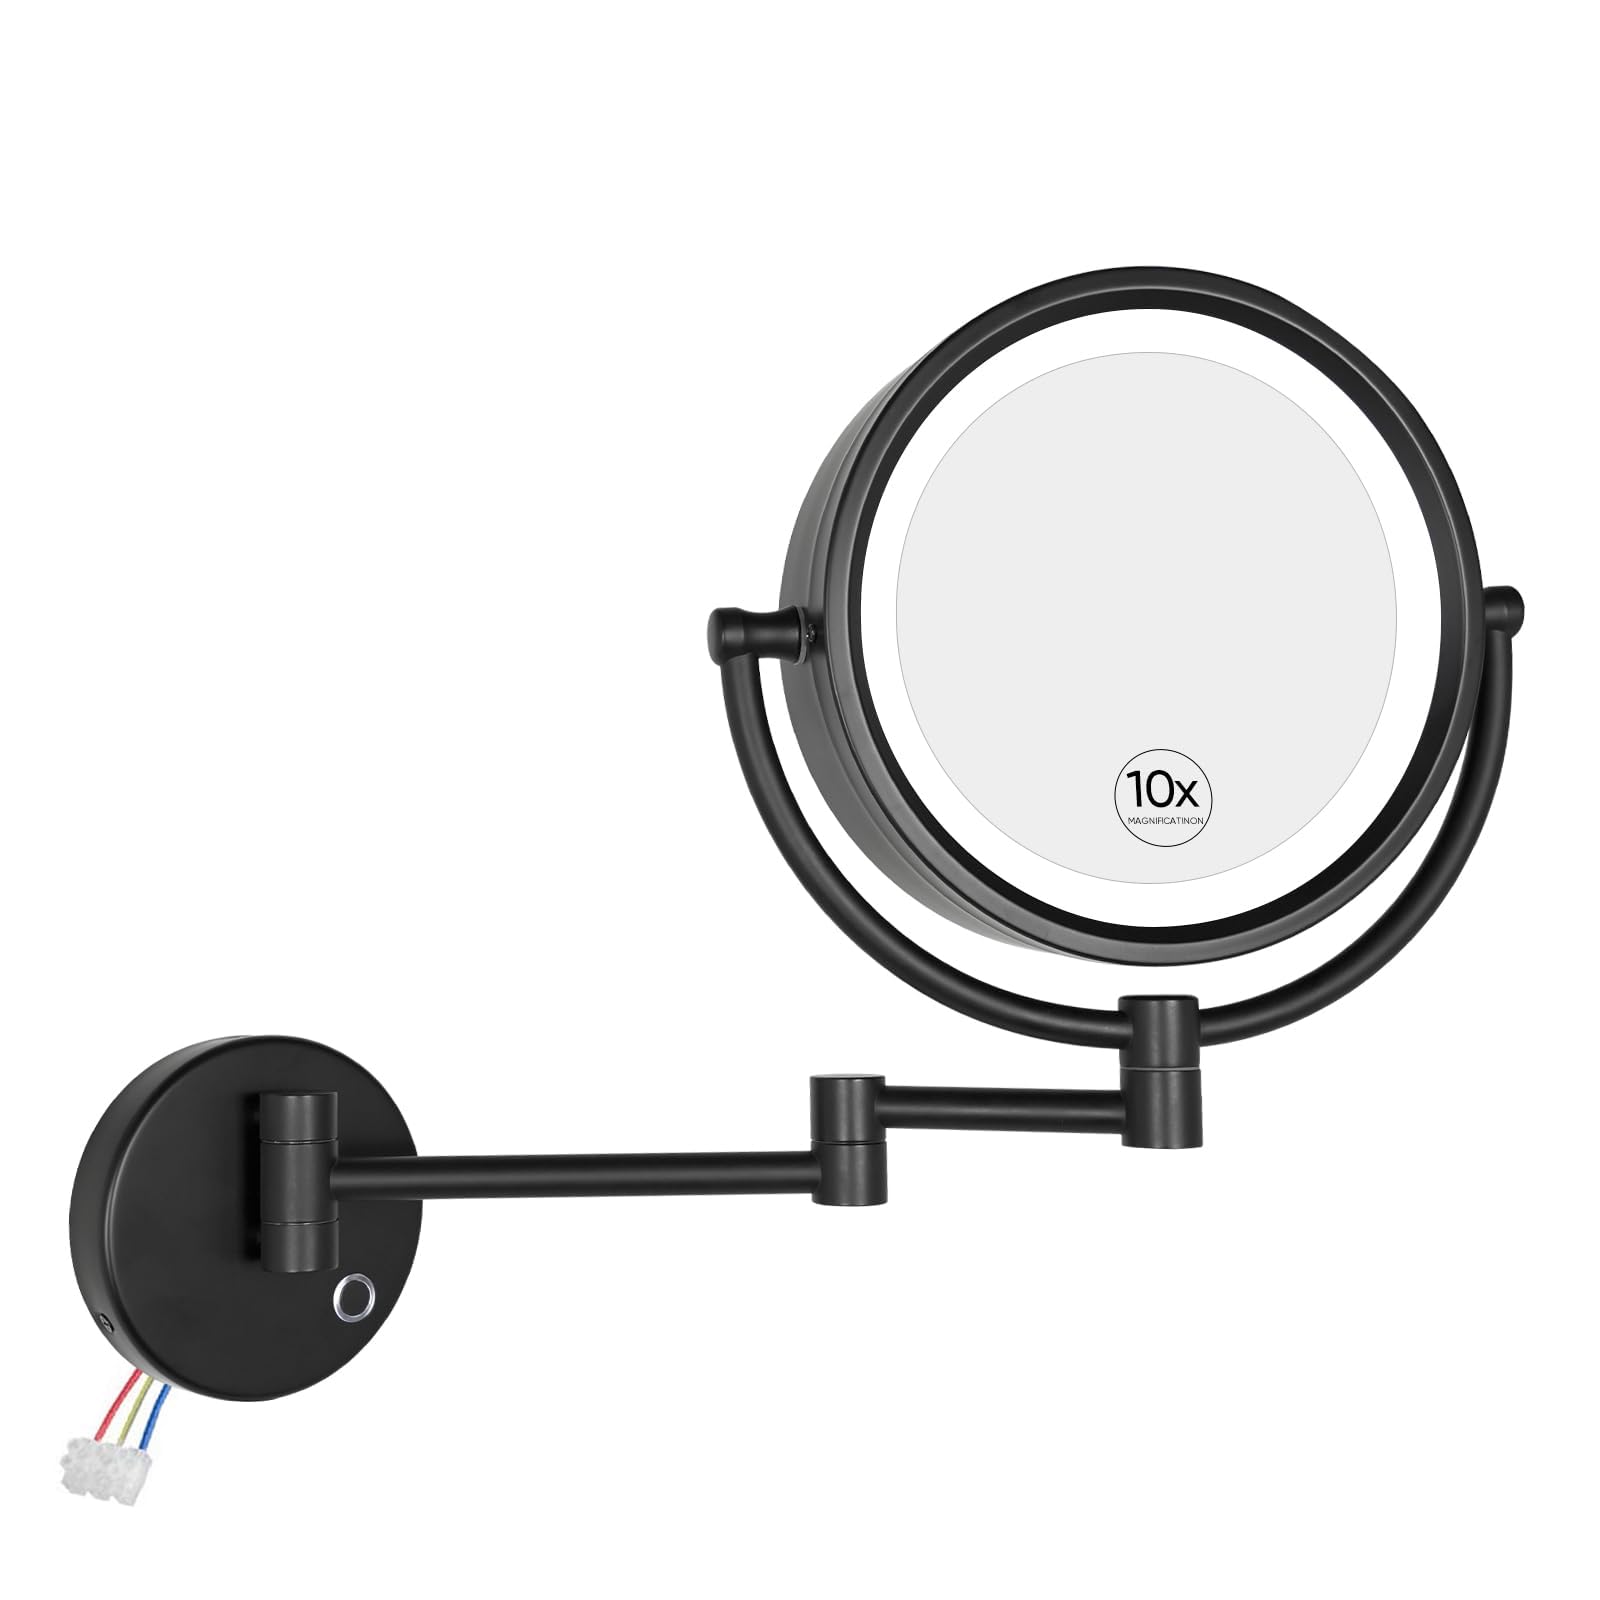
Figure 1: GURUN Wall Mounted Hardwired Makeup Mirror M1809DB. This image shows the mirror in its retracted position, highlighting its sleek design and wall-mounted base.

Figure 2: Quality Brass Makeup Mirror Components. This image illustrates the sturdy base with touch control, retractable arm, fixed mirror plate holder, and high-definition mirror, all crafted from brass for durability.
Safety Information
- Professional Installation: Ensure professional installation for all electrical connections to guarantee safety and proper functionality.
- Mirror Adjustment: Use caution when adjusting the mirror to prevent damage or injury from sharp edges or heavy components.
- Electrical Compatibility: The mirror is compatible with 90-240V power sources.
Setup and Installation
Pre-Installation Considerations
- Mounting Location: Before drilling, hold the mirror against the wall to determine the optimal height for the primary user. Consider the mirror's extended and folded positions to avoid obstructions like electrical outlets or towel hooks.
- Electrical Box: The mounting plate is round. Ensure your electrical box is installed in the correct orientation for the mirror arm to be level. The screw holes on the fixture should align with the electrical box. Screws for attaching the fixture to the electrical box are not provided.
- Mirror Height: When determining installation height, note that the mirror itself sits above the arm. Install for the desired height of the mirror, not just the base.
Wiring Instructions
- Power Off: Ensure the main power supply to the installation area is turned off at the circuit breaker before beginning any wiring.
- Wire Identification: The mirror's wiring includes blue (neutral), red (line/hot), and yellow/green (ground). In US installations, connect the red wire to the black household wire (line/hot) and the blue wire to the white household wire (neutral). Connect the yellow/green wire to the household ground wire.
- Connecting Wires: The mirror may come with a plastic clamp for connections. If the mirror's internal wiring is short, it may be challenging to use this clamp while holding the mirror. Wire nuts (not provided) can be used as an alternative for secure connections.
- Mounting Plate: After attaching the mounting plate to the wall, carefully pass the household electrical wiring through the small hole in the mounting plate.
- Securing the Mirror: While supporting the mirror, connect the household wiring to the mirror's wires. Then, attach the mirror to the mounting plate using the provided screws. This step may require two people due to the need to hold the mirror during wiring.
Operating Instructions
Power and Lighting Control
The mirror features a smart touch switch located on the base for controlling the LED lighting.
- Changing Light Modes: A short press on the smart switch cycles through three adjustable lighting modes: Natural Daylight, Warm Yellow, and Cool Light.
- Adjusting Brightness: A long press on the smart switch adjusts the brightness level within the selected light mode. Release the button when the desired brightness is achieved.

Figure 3: Lighting and Brightness Control. This image illustrates the three color modes (Cool Light, Natural Light, Warm Light) and how to adjust brightness using short and long presses on the touch control.
Magnification
The mirror is dual-sided, offering two magnification levels:
- 1x Normal View: Provides a standard, unmagnified reflection.
- 10x Magnification: Offers a highly magnified view for precise detail work. For optimal clarity and to avoid dizziness, maintain a distance of approximately 4 inches (10 cm) from the 10x magnified side.

Figure 4: 1x and 10x Double-Sided Mirror. This image shows both sides of the mirror, demonstrating the normal 1x view and the magnified 10x view, along with a recommendation to use the 10x side from a 4-inch distance.
Adjustable Arm
The mirror features a 13.1-inch extendable arm that allows for flexible positioning and space-saving storage.
- Extension and Rotation: The arm can be extended and rotated to achieve the desired angle and distance.
- 360-Degree Swivel: All swivel joints rotate 360 degrees in one direction only. This design prevents wire disconnection and ensures longevity.
- Folding for Storage: When not in use, the arm can be folded flat against the wall to save space.

Figure 5: 360 Degree Freely Rotation. This image demonstrates the mirror's ability to rotate 360 degrees at its joints, allowing for flexible positioning.
Maintenance
To ensure the longevity and optimal performance of your GURUN makeup mirror, follow these maintenance guidelines:
- Cleaning the Mirror Surface: Use a soft, lint-free cloth and a non-abrasive glass cleaner to wipe the mirror surface. Avoid spraying cleaner directly onto the mirror; instead, apply it to the cloth first.
- Cleaning the Frame and Arm: Wipe the brass frame and arm with a soft, damp cloth. For stubborn spots, a mild soap solution can be used, followed by thorough drying. Avoid harsh chemicals or abrasive cleaners, as these can damage the finish.
- Electrical Components: Ensure the mirror is disconnected from power before cleaning any electrical components. Do not immerse any part of the mirror in water.
Troubleshooting
| Problem | Possible Cause | Solution |
|---|---|---|
| LED light is dim or not bright enough. | Brightness setting is low; expectations for light output. | Perform a long press on the smart switch to increase brightness. Note that the mirror's LED light is designed to supplement ambient lighting, not replace it as a primary light source. |
| Mirror arm feels stiff or does not rotate freely. | Swivel joints may be tight or obstructed. | Ensure all swivel joints are rotated in one direction only (360 degrees) as designed. Do not force rotation in opposing directions. Apply a small amount of silicone lubricant if necessary, avoiding contact with electrical components. |
| Mirror does not turn on after installation. | Incorrect wiring; power supply issue. | Verify all electrical connections are secure and correctly wired (red to black, blue to white, yellow/green to ground). Check the circuit breaker to ensure power is supplied to the outlet. If issues persist, consult a qualified electrician. |
| 10x magnification causes dizziness or blurriness. | Incorrect viewing distance. | Maintain a distance of approximately 4 inches (10 cm) from the 10x magnified mirror for optimal clarity and to prevent distortion or dizziness. |
Specifications
| Feature | Detail |
|---|---|
| Brand | GURUN |
| Model Number | M1809DB |
| Product Dimensions | 14"L x 8"W (Mirror Face), 65 x 10.8 x 0.01 inches (Overall Extended) |
| Item Weight | 3.5 Pounds |
| Magnification | 1x / 10x (Dual-sided) |
| Lighting | 3 Tones LED Lights (Natural Daylight, Warm Yellow, Cool Light) |
| Power Source | Hardwired (90-240V compatible) |
| Arm Extension | Up to 13.1 inches |
| Frame Material | Brass |
| Room Type | Bathroom, Bedroom, Dressing Room |

Figure 6: Mirror Dimensions and Extendable Arm. This image provides detailed measurements of the mirror face, base, and the extendable arm in both retracted and extended positions.
Product Video
Video 1: GURUN Wall Mounted Makeup Mirror. This video demonstrates the features and functionality of the GURUN Wall Mounted Makeup Mirror, including its adjustable arm, magnification, and lighting options.
Warranty and Support
For warranty information, technical support, or any inquiries regarding your GURUN Wall Mounted Hardwired Makeup Mirror, please contact GURUN customer service directly. Refer to the product packaging or the official GURUN website for contact details.