
1. Introduction
The GOYOJO GH192 is a handheld thermal imaging camera designed for various inspection tasks, including mechanical maintenance, home HVAC, and electrical inspections. It features a 240x240 infrared resolution, a 2MP visual camera, and fusion imaging capabilities for detailed thermal analysis. With a 25Hz refresh rate, it provides smooth and clear thermal imagery.

Figure 1: GOYOJO GH192 Thermal Imaging Camera in operation.
2. Package Contents
Verify that all items are present in the package:
- GH192 Thermal Camera Body
- USB-C Cable
- User Manual (this document)
3. Setup
3.1 Charging the Battery
The device is equipped with a built-in 18650 lithium-ion battery (3.7V, 3500mAh).
- Connect the provided USB-C cable to the camera's USB-C port.
- Connect the other end of the USB-C cable to a compatible USB power adapter (not included) or a computer's USB port.
- The charging indicator will illuminate. A full charge typically takes 3-4 hours.
- The battery provides up to 8 hours of continuous operation on a full charge.
3.2 Initial Power On
Press and hold the power button located on the device until the screen illuminates. The device will boot up and display the main interface.
4. Operating Instructions
4.1 Power On/Off
- To Power On: Press and hold the power button.
- To Power Off: Press and hold the power button until a shutdown prompt appears, then confirm.
4.2 Display and Navigation
The GH192 features a 2.8" 240x320 IPS display. Use the directional buttons and selection button to navigate through menus and settings.
4.3 Image Modes
The device offers multiple image modes to suit different inspection needs:
- Thermal Mode: Displays only the infrared thermal image.
- Visual Mode: Displays only the image from the 2MP visual camera.
- Fusion Mode: Blends the thermal image with the visual image for enhanced detail and context. This mode helps in identifying the exact location of temperature anomalies.
- PIP (Picture-in-Picture) Mode: Displays a smaller thermal image overlayed on the visual image.

Figure 2: Thermal and Visual Fusion for enhanced detail.
4.4 Color Palettes
Select from 6 adjustable color palettes to visualize temperature differences effectively. Each palette highlights temperature variations in a distinct way.
- White Hot
- Black Hot
- Iron Red
- Rainbow
- Red Hot
- Fusion

Figure 3: Versatile Color Palettes and Temperature Units.
4.5 Temperature Measurement and Alarms
The GH192 provides accurate temperature measurements and tracking features:
- Automatic Center Spot: Displays the temperature at the center of the screen.
- Hot Spot Tracking: Automatically identifies and displays the highest temperature within the field of view.
- Cold Spot Tracking: Automatically identifies and displays the lowest temperature within the field of view.
- User-Defined Spots: Allows setting up to 3 custom measurement points.
- Temperature Range: Measures temperatures from -4°F to 1022°F (-20°C to 550°C).
- Temperature Alarm: Configurable high and low-temperature alarms provide visual and audio alerts when temperatures exceed or fall below set thresholds.

Figure 4: Hotspot Tracking and High-Temperature Alarm.
4.6 Emissivity and Distance Adjustment
For accurate temperature readings, adjust the emissivity setting based on the material being inspected and set the object distance. Refer to the device's settings menu for these adjustments.
4.7 Image Capture and Storage
Press the capture button to save thermal images. The device has 16GB of eMMC flash storage, capable of storing over 90,000 images.
4.8 Data Transfer
To transfer images to a computer:
- Connect the GH192 to your computer using the USB-C cable.
- On the camera, enable transfer mode (usually prompted on the screen or found in settings).
- The camera will appear as a removable storage device on your computer, allowing you to access and transfer images.
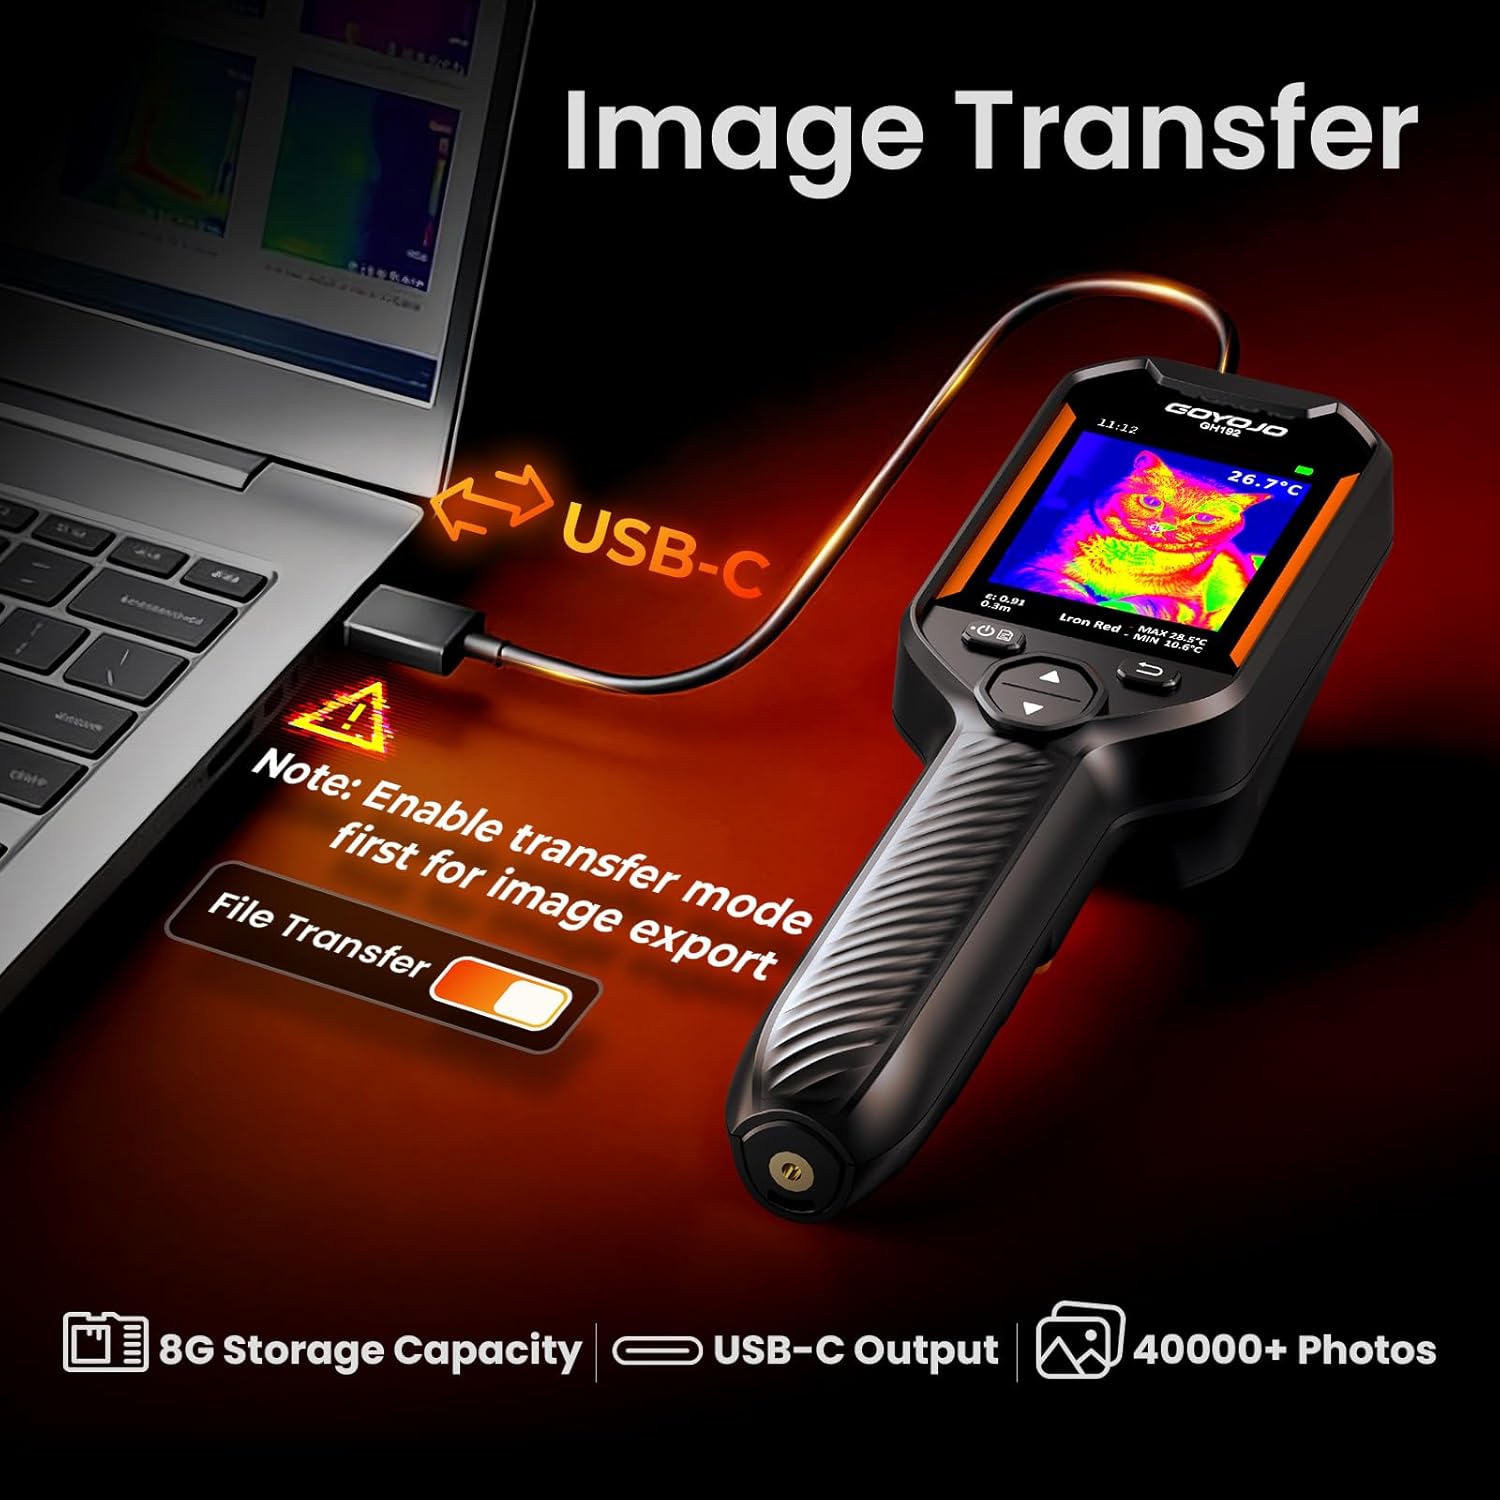
Figure 5: Image Transfer via USB-C.
5. Maintenance
5.1 Cleaning the Device
- Use a soft, dry cloth to clean the camera body.
- For the lens and screen, use a lens cleaning cloth and solution specifically designed for optical surfaces.
- Do not use abrasive cleaners or solvents.
5.2 Battery Care
- Charge the battery regularly, even if the device is not in frequent use, to maintain battery health.
- Avoid fully discharging the battery for extended periods.
- Store the device in a cool, dry place.
5.3 Storage
When not in use, store the GH192 in its protective packaging or a suitable case to prevent damage. Avoid exposing the device to extreme temperatures or high humidity. The device is IP54 rated for protection against dust and splashing water, and designed to withstand a 6.6ft (2 meter) drop.

Figure 6: Durability features: 6.6ft Drop-Proof and IP54 Protection.
6. Troubleshooting
| Problem | Possible Cause | Solution |
|---|---|---|
| Device does not power on. | Low battery or device malfunction. | Charge the battery for at least 30 minutes. If the issue persists, contact customer support. |
| Inaccurate temperature readings. | Incorrect emissivity setting or object distance. | Adjust emissivity based on the material. Ensure correct object distance is set. Calibrate if necessary (refer to advanced settings). |
| Screen is frozen or unresponsive. | Software glitch. | Perform a soft reset by holding the power button for 10-15 seconds until the device restarts. |
| Cannot transfer images to computer. | Transfer mode not enabled or faulty USB-C cable. | Ensure transfer mode is enabled on the camera. Try a different USB-C cable or computer port. |
7. Specifications
| Feature | Detail |
|---|---|
| Model | GH192 |
| Infrared Resolution | 240x240 pixels |
| Visual Camera | 2MP |
| Display | 2.8" 240x320 IPS |
| Refresh Rate | 25Hz |
| Temperature Range | -4°F to 1022°F (-20°C to 550°C) |
| Temperature Accuracy | ±2°C or 2% |
| Thermal Sensitivity | <40mK |
| Image Modes | Thermal, Visual, Fusion, PIP |
| Color Palettes | White Hot, Black Hot, Iron Red, Rainbow, Red Hot, Fusion |
| Storage | 16GB eMMC (stores >90,000 images) |
| Connectivity | USB-C |
| Battery Type | 18650 Li-ion (3.7V, 3500mAh) |
| Battery Life | Up to 8 hours continuous use |
| Charging Time | 3-4 hours |
| Durability | IP54, 6.6ft (2m) drop resistance |
| Item Weight | 260 Grams |
8. Warranty and Support
For warranty information and technical support, please refer to the documentation provided with your purchase or visit the official GOYOJO website. Keep your proof of purchase for warranty claims.


