
Introduction
Thank you for choosing the RAOO MIN HF1114P-pro Inclinable Treadmill. This manual provides essential information for the safe and effective use of your new fitness equipment. Please read this manual thoroughly before assembly or operation and retain it for future reference.
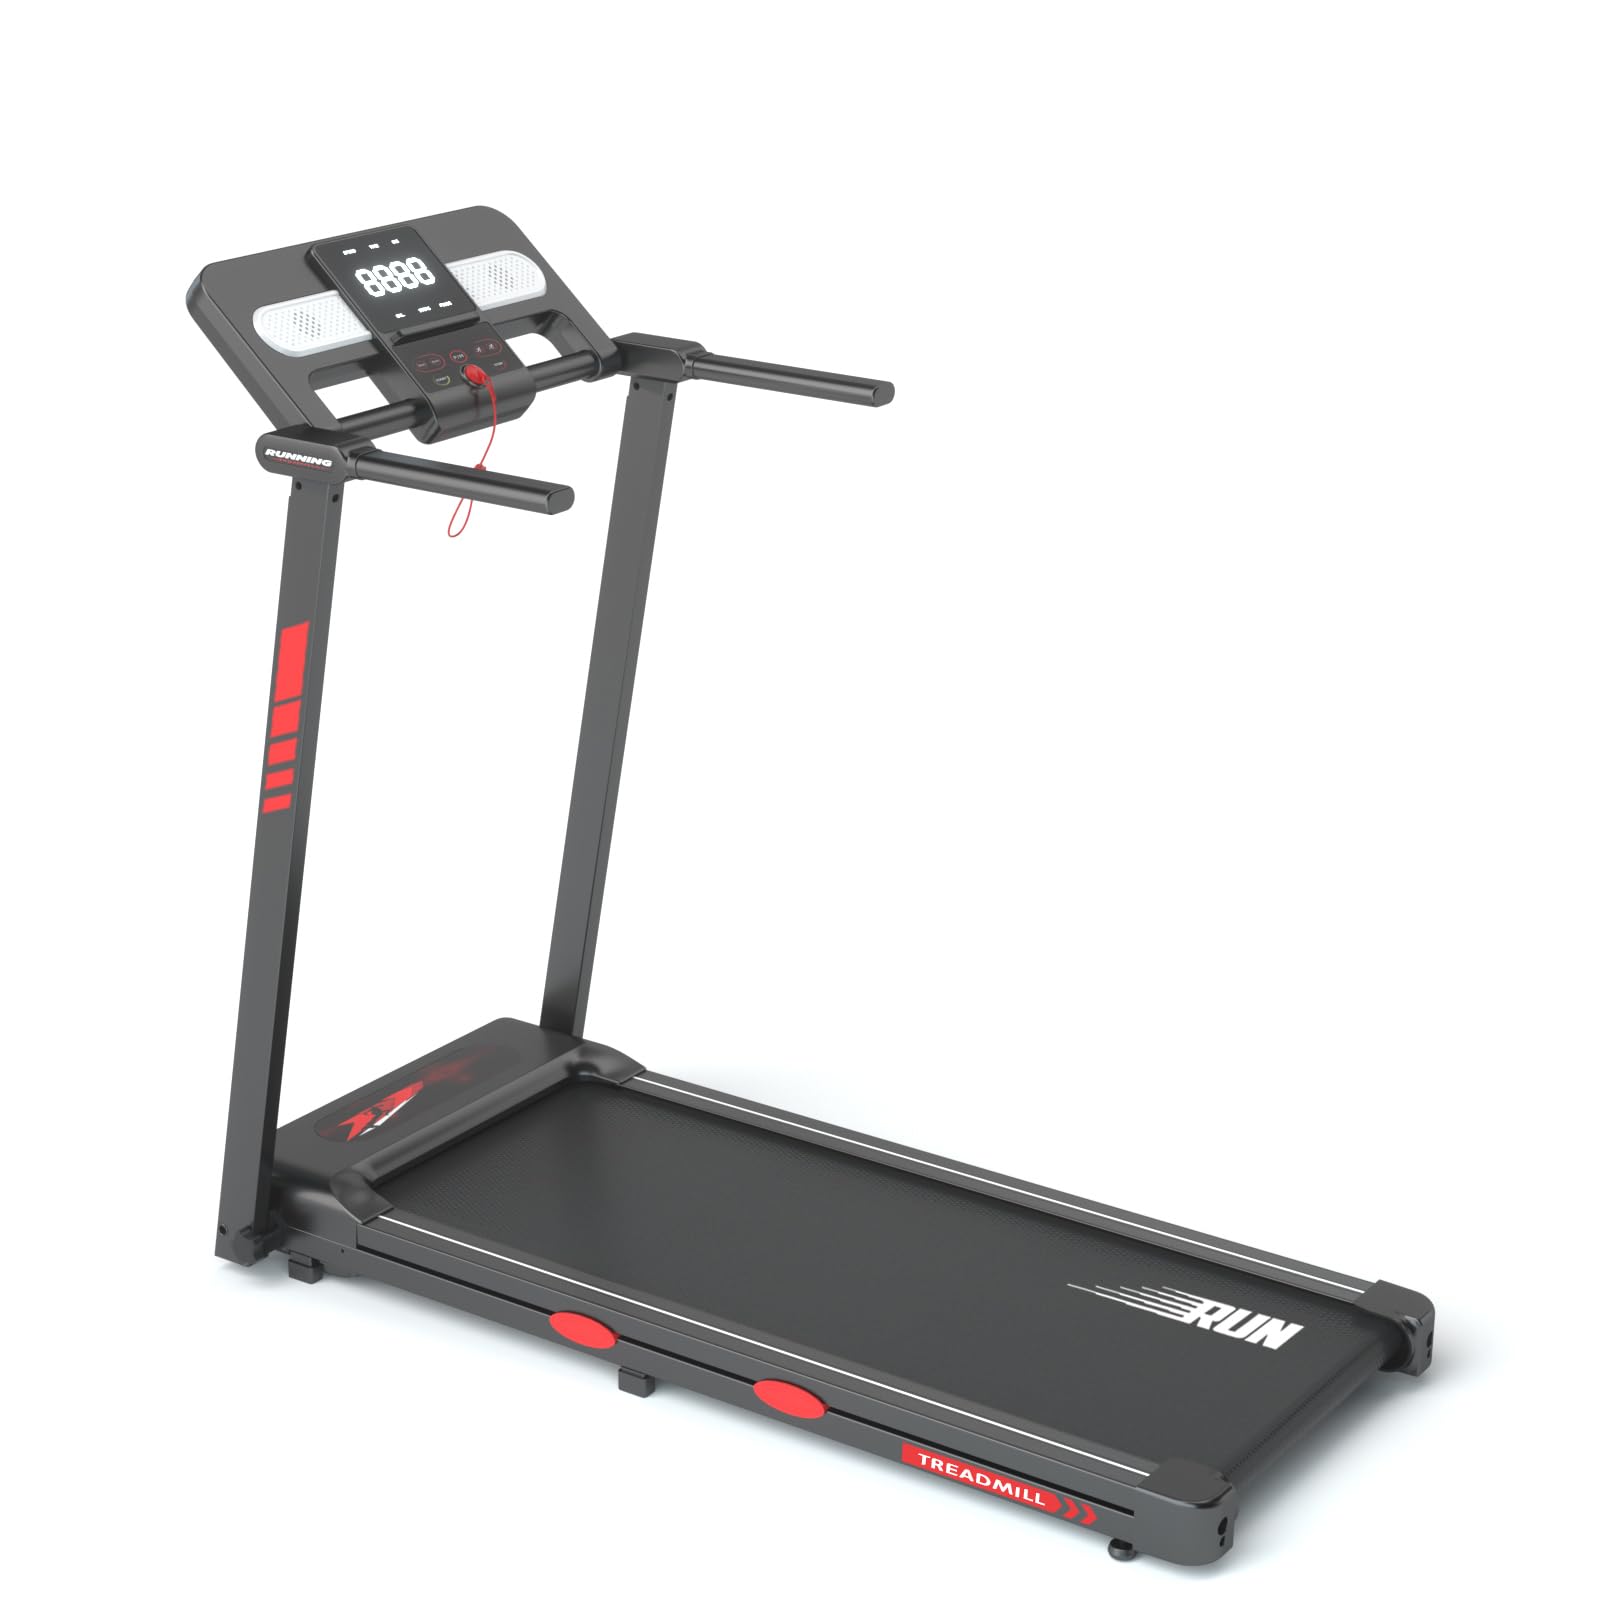
Image: The RAOO MIN HF1114P-pro Inclinable Treadmill, showcasing its compact design.
Important Safety Instructions
To reduce the risk of serious injury, read all instructions before using this treadmill. The manufacturer assumes no responsibility for personal injury or property damage sustained by or through the use of this product.
- Always consult your physician before starting any exercise program.
- Keep children and pets away from the treadmill during operation.
- Place the treadmill on a solid, level surface with at least 2 meters (6.5 feet) of clear space behind it and 0.6 meters (2 feet) on each side.
- Ensure the safety key is properly attached to your clothing during use. In case of emergency, the safety key will stop the treadmill.
- Do not operate the treadmill if it has a damaged cord or plug, or if it is not working properly.
- Wear appropriate exercise clothing and athletic shoes. Avoid loose clothing that could get caught in moving parts.
- Do not exceed the maximum user weight of 150 kg (330 lbs).
- Unplug the treadmill from the power outlet when not in use, before cleaning, and before performing maintenance.
Package Contents
Carefully unpack your treadmill and verify that all components are present. If any parts are missing or damaged, contact customer support immediately.
- Treadmill Main Unit (pre-assembled base and running deck)
- Console Frame with LED Display
- Handlebars (Left and Right)
- Safety Key
- Assembly Hardware Kit (bolts, washers, nuts, Allen wrench)
- Power Cord
- Lubricant Oil (for running belt)
Setup and Assembly
Assembly typically requires two people. Follow these steps carefully:
- Unpack Components: Remove all parts from the packaging and lay them out on a clear, flat surface.
- Raise Console Frame: Carefully lift the console frame into an upright position. Secure it to the main unit using the provided bolts and washers from the hardware kit.
- Attach Handlebars: Connect the left and right handlebars to the console frame, ensuring they are firmly secured with the appropriate hardware.
- Connect Cables: Carefully connect any pre-labeled cables from the console frame to the main unit. Ensure connections are snug.
- Final Checks: Double-check all bolts and connections to ensure they are tight and secure before plugging in the treadmill.
Note: An image showing the console frame being lifted and secured would typically be included here.
Operating Instructions
Powering On/Off
- To Power On: Plug the power cord into a grounded electrical outlet. Flip the main power switch (usually located near the front of the treadmill base) to the 'ON' position. The LED display will illuminate.
- To Power Off: Flip the main power switch to the 'OFF' position. Unplug the power cord from the outlet.
Using the LED Display and Controls
The LED display shows important workout data such as time, speed, distance, calories burned, and incline level. Control buttons are typically located on the console.
- START/STOP: Press to begin or end a workout.
- SPEED +/-: Adjust the running belt speed from 1 km/h to 12 km/h.
- INCLINE +/-: Adjust the incline level up to 12%.
- MODE: Cycle through different workout programs or display modes.
- PROGRAMS: Select from pre-set workout programs.
Note: An image of the LED display and control panel would typically be included here.
4-in-1 Running Modes
The HF1114P-pro offers versatile training options:
- Manual Mode: Control speed and incline manually.
- Pre-set Programs: Choose from various built-in programs designed for different fitness goals (e.g., fat burn, cardio, interval training).
- Incline Training: Focus on incline adjustments to simulate uphill walking or running.
- Speed Interval: Alternate between high and low speeds for effective cardiovascular training.
Folding and Unfolding
The treadmill features a foldable design for convenient storage.
- To Fold: Ensure the treadmill is off and unplugged. Carefully lift the running deck until it locks into the upright position.
- To Unfold: Gently push the release lever or pin (refer to specific mechanism on your unit) and slowly lower the running deck until it rests flat on the floor.
Note: Images illustrating the folding and unfolding mechanism would typically be included here.
Maintenance
Regular maintenance ensures the longevity and optimal performance of your treadmill.
- Cleaning: Wipe down the console and exterior surfaces with a damp cloth after each use. Do not use abrasive cleaners.
- Running Belt Lubrication: Lubricate the running belt every 3-6 months or after 100-200 hours of use, using the provided silicone oil. Lift the edge of the belt and apply a small amount of lubricant to the center of the deck.
- Belt Tension and Alignment: Periodically check the running belt for proper tension and alignment. Adjust as needed using the rear roller bolts and the included Allen wrench. Refer to the specific instructions for belt adjustment in the detailed manual.
- Motor Cover: Periodically remove the motor cover and vacuum any dust or debris that may have accumulated. Ensure the treadmill is unplugged before doing so.
Note: Images demonstrating belt lubrication and adjustment would typically be included here.
Troubleshooting
If you encounter issues with your treadmill, refer to the following common problems and solutions:
| Problem | Possible Cause | Solution |
|---|---|---|
| Treadmill does not power on. | Power cord not plugged in; main power switch off; circuit breaker tripped. | Ensure power cord is securely plugged in. Turn main power switch to 'ON'. Check household circuit breaker. |
| Running belt slips or hesitates. | Belt too loose; insufficient lubrication. | Adjust belt tension (refer to maintenance section). Lubricate running belt. |
| Unusual noise during operation. | Loose components; motor cover debris; worn belt. | Check all bolts and screws for tightness. Clean motor area. Contact customer support if noise persists. |
| Incline function not working. | Incline motor issue; cable disconnection. | Check cable connections. If problem persists, contact customer support. |
Specifications
| Feature | Specification |
|---|---|
| Model Number | HF1114P-pro |
| Brand | RAOO MIN |
| Motor Power | 3 HP (Horsepower) |
| Speed Range | 1 - 12 km/h |
| Maximum Incline | 12% |
| Maximum User Weight | 150 kg (330 lbs) |
| Material | Iron, ABS |
| Product Dimensions (L x W x H) | 125.5 x 60.5 x 110 cm (49.4 x 23.8 x 43.3 inches) |
| Product Weight | 27.4 kg (60.4 lbs) |
| Display Type | LED Screen |
| Features | Foldable, Inclinable, 4-in-1 Running Modes |
Warranty and Support
RAOO MIN products are manufactured to high-quality standards. For warranty information, technical support, or to order replacement parts, please refer to the contact information provided with your purchase documentation or visit the official RAOO MIN website. Please have your model number (HF1114P-pro) and purchase date ready when contacting support.