Introduction
This manual provides detailed instructions for the installation, operation, and maintenance of your VORGUT Wired Security Camera System. This 4-channel system includes a 1080P DVR, four 1080P HD cameras, and necessary cables for comprehensive surveillance.
Key features include:
- 1080P HD Cameras: Four high-definition cameras for clear video capture.
- Infrared Night Vision: Automatic IR LED activation for clear black-and-white footage in low-light conditions.
- Smart Motion Detection: Customizable motion zones and sensitivity to minimize false alarms, with instant app and email alerts.
- IP66 Weatherproof Design: Cameras are built to withstand outdoor elements, suitable for various environments.
- Pre-installed 500GB HDD: For 24/7 continuous recording and easy footage playback/download.
What's in the Box
Please verify that all components are present in your package:
- 1x 4-Channel AHD DVR
- 4x AHD Cameras
- 1x 500GB Hard Disk Drive (Pre-installed in DVR)
- 2x DC12V/2A Power Adapters (one for DVR, one for cameras)
- 4x 60ft BNC Cables
- 1x USB Mouse
- 1x User Manual (this document)
- 1x Screw Pack for camera mounting
- 1x 1-to-4 Power Splitter Cable

Image: All components included in the VORGUT security camera system package, showing the DVR, four cameras, 500GB HDD, power adapters, BNC cables, USB mouse, user manual, screw pack, and power splitter.
Setup Instructions
Follow these steps to set up your VORGUT security camera system:
- Connect Cameras to DVR: Use the provided BNC cables to connect each camera to the corresponding video input ports on the back of the DVR.
- Power the Cameras: Connect the 1-to-4 power splitter cable to one of the DC12V/2A power adapters. Then, connect each camera's power input to the splitter. Plug the power adapter into an electrical outlet.
- Connect DVR to Monitor: Use an HDMI or VGA cable (not included) to connect the DVR to a monitor or TV.
- Connect USB Mouse: Plug the included USB mouse into one of the USB ports on the DVR for navigation.
- Power the DVR: Connect the second DC12V/2A power adapter to the DVR's power input and plug it into an electrical outlet. The DVR will power on automatically.
- Network Connection (Optional): For remote viewing, connect the DVR to your router using an Ethernet cable (not included).

Image: A visual guide illustrating the wired connections: cameras connect to the DVR via BNC cables, cameras receive power via a splitter, the DVR connects to a monitor via HDMI/VGA, and the DVR is powered.
Camera Mounting
The cameras support both wall and ceiling mounting. Choose a location that provides the desired viewing angle and is within reach of the BNC cables. Use the provided screw pack to securely fasten the camera bases.

Image: Two examples of camera mounting, one on a vertical wall surface and another inverted on a ceiling or overhang, demonstrating flexible installation options.
Operating Instructions
Initial Setup and DVR Interface
Upon first power-on, the DVR will guide you through an initial setup wizard. Follow the on-screen prompts to set the language, date/time, and network settings. Use the USB mouse to navigate the DVR's graphical user interface (GUI) on the connected monitor.
24/7 Continuous Recording
The DVR comes with a pre-installed 500GB hard drive, enabling continuous recording from all four cameras. You can configure recording schedules and modes (e.g., continuous, motion-triggered) through the DVR's menu. The system automatically overwrites the oldest footage when the hard drive is full.

Image: An illustration of a house with security cameras installed, connected to a DVR with a 500GB HDD, symbolizing 24/7 recording capability and H.264+ compression.
Smart Motion Detection
Configure motion detection settings for each camera to receive alerts when activity is detected. You can define specific motion zones within the camera's view and adjust sensitivity levels to reduce false alarms from environmental factors like wind or small animals.
- Access Motion Settings: Navigate to the DVR's menu, typically under 'Record' or 'Alarm' settings.
- Define Zones: Draw specific areas on the screen where motion detection should be active.
- Adjust Sensitivity: Increase or decrease the sensitivity to fine-tune detection.
- Alerts: Enable app push notifications and email alerts for immediate notification of detected motion.

Image: A smartphone screen showing 'App Push' and 'Email' notifications for a 'Person Alert' from the security system, demonstrating the smart motion detection alert feature.
Remote Monitoring
To view your camera feeds remotely, ensure the DVR is connected to your network. Download the specified mobile application (refer to your DVR's on-screen instructions or included quick start guide for app name) on your smartphone or tablet. Follow the app's instructions to add your DVR device using its unique ID or QR code.
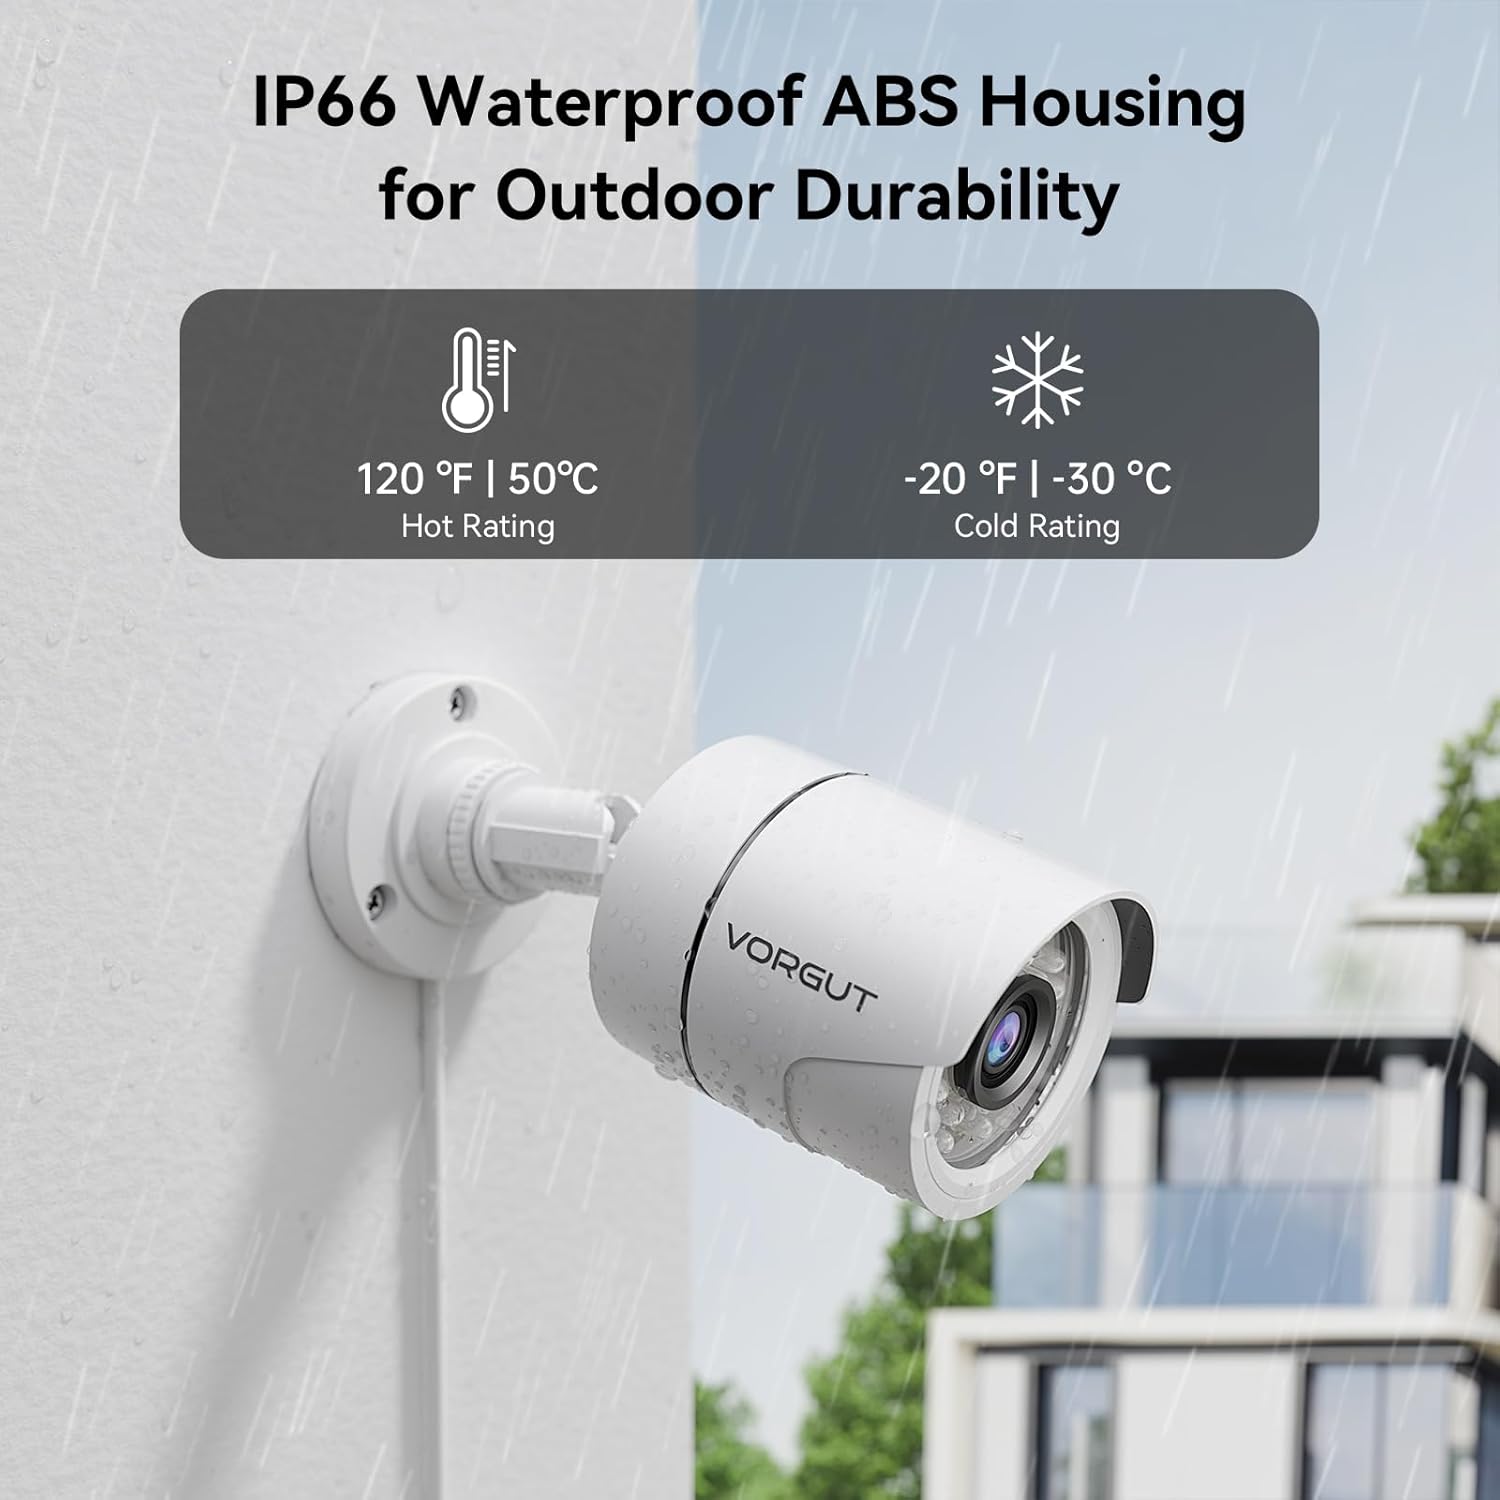
Image: A smartphone displaying live camera feeds, with a laptop and tablet in the background also showing surveillance footage, illustrating the real-time remote monitoring capability via a free app.
Playback and Backup
Access recorded footage through the DVR's playback menu. You can search by date, time, or event (e.g., motion detection). To back up footage, connect a USB flash drive to the DVR's USB port and follow the on-screen instructions to export selected video clips.

Image: A DVR unit with a floating 500GB hard drive icon and a smartphone displaying a video playback interface, highlighting the storage and remote playback features.
Night Vision
The cameras are equipped with infrared (IR) LEDs that automatically activate in low-light conditions, providing clear black-and-white video surveillance during the night.
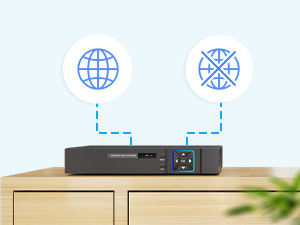
Image: A split image showing a scene in daylight with full color and the same scene at night in black and white, demonstrating the camera's automatic night vision capability.
Maintenance
Camera Care
The cameras feature an IP66 weatherproof housing, designed for outdoor durability. To ensure optimal performance:
- Regular Cleaning: Periodically clean the camera lenses with a soft, damp cloth to remove dust, dirt, or water spots that may obstruct the view.
- Environmental Protection: While weatherproof, avoid directing high-pressure water jets directly at the camera. Ensure cables are properly secured and protected from physical damage.
- Temperature Range: The cameras are designed to operate within a wide temperature range (e.g., -20°F to 120°F / -30°C to 50°C). Extreme conditions outside this range may affect performance.

Image: A VORGUT security camera shown in a rainy outdoor environment, highlighting its IP66 waterproof rating and indicating its operational temperature range from 120°F (50°C) to -20°F (-30°C).
DVR Care
- Placement: Place the DVR in a well-ventilated area, away from direct sunlight, heat sources, and excessive dust.
- Power Stability: Use a surge protector to protect the DVR from power fluctuations.
- Software Updates: Periodically check the manufacturer's website for firmware updates to ensure optimal performance and security.
Troubleshooting
If you encounter issues with your security system, refer to the following common solutions:
| Problem | Possible Cause | Solution |
|---|---|---|
| No video display on monitor | Loose cable connections, incorrect input source on monitor, DVR not powered on. | Check all HDMI/VGA and power connections. Ensure the monitor is set to the correct input source. Verify DVR power indicator is on. |
| No camera image | Camera not powered, BNC cable loose or damaged, camera fault. | Check camera power connections. Ensure BNC cables are securely connected at both ends. Test camera with a different cable or port if possible. |
| Motion detection not triggering alerts | Incorrect motion zone settings, sensitivity too low, alert notifications disabled. | Review motion detection settings in the DVR menu. Adjust motion zones and increase sensitivity. Ensure app push and email alerts are enabled. |
| Cannot access remotely via app | DVR not connected to network, incorrect network settings, app not configured correctly. | Verify DVR's Ethernet cable is connected to the router. Check DVR network settings (IP address, DNS). Ensure the app is correctly linked to your DVR device ID. |
| Poor night vision quality | Dirty camera lens, IR LEDs obstructed, insufficient ambient light for IR. | Clean the camera lens. Ensure no obstructions are blocking the IR LEDs. Consider adding external IR illuminators if the area is extremely dark. |
Specifications
| Feature | Detail |
|---|---|
| Brand | VORGUT |
| Model Number | A6804-24B1-500 |
| Connectivity Technology | Wired |
| Video Capture Resolution | 1080p |
| Number of Channels | 4 |
| Memory Storage Capacity | 500 GB (Pre-installed HDD) |
| Power Source | Corded Electric |
| Product Dimensions (DVR) | 10 x 6.7 x 12 inches (approximate, based on item dimensions) |
| Recommended Uses | Indoor, Outdoor |
| Compatible Devices | Digital Video Recorder |
| Other Camera Features | Outdoor, Night Vision, Motion Sensor, Weatherproof |
| Frame Rate | 30 fps |
| Recording Mode | Continuous, Motion Detection |
| Video Input | BNC |
| Item Weight | 8.01 pounds (total package) |
| Manufacturer | Guangzhou Juan Intelligent Tech Joint Stock Co.,Ltd |

Image: A detailed diagram showing the dimensions of a VORGUT camera (68 x 68 x 160 mm) and the DVR (251 x 221 x 46 mm), along with labels for various ports and components like video input, audio in/out, HDMI, VGA, LAN, USB, and power ports.
Warranty and Support
Warranty Information
Please refer to the warranty card included in your product packaging or contact VORGUT customer support for specific warranty terms and conditions. Typically, products are covered against manufacturing defects for a defined period from the date of purchase.
Customer Support
For technical assistance, troubleshooting, or any questions regarding your VORGUT security camera system, please contact our customer support team. Contact details can usually be found on the VORGUT official website or on the product packaging.


