
1. Introduction
This manual provides detailed instructions for the assembly, operation, and maintenance of your ActiveTrail 8X6.25 FT Aluminum Greenhouse. Designed for year-round use, this greenhouse features a robust aluminum frame, UV-blocking polycarbonate panels, and adjustable roof vents for optimal climate control. Please read all instructions carefully before beginning assembly or operation to ensure safe and efficient use.
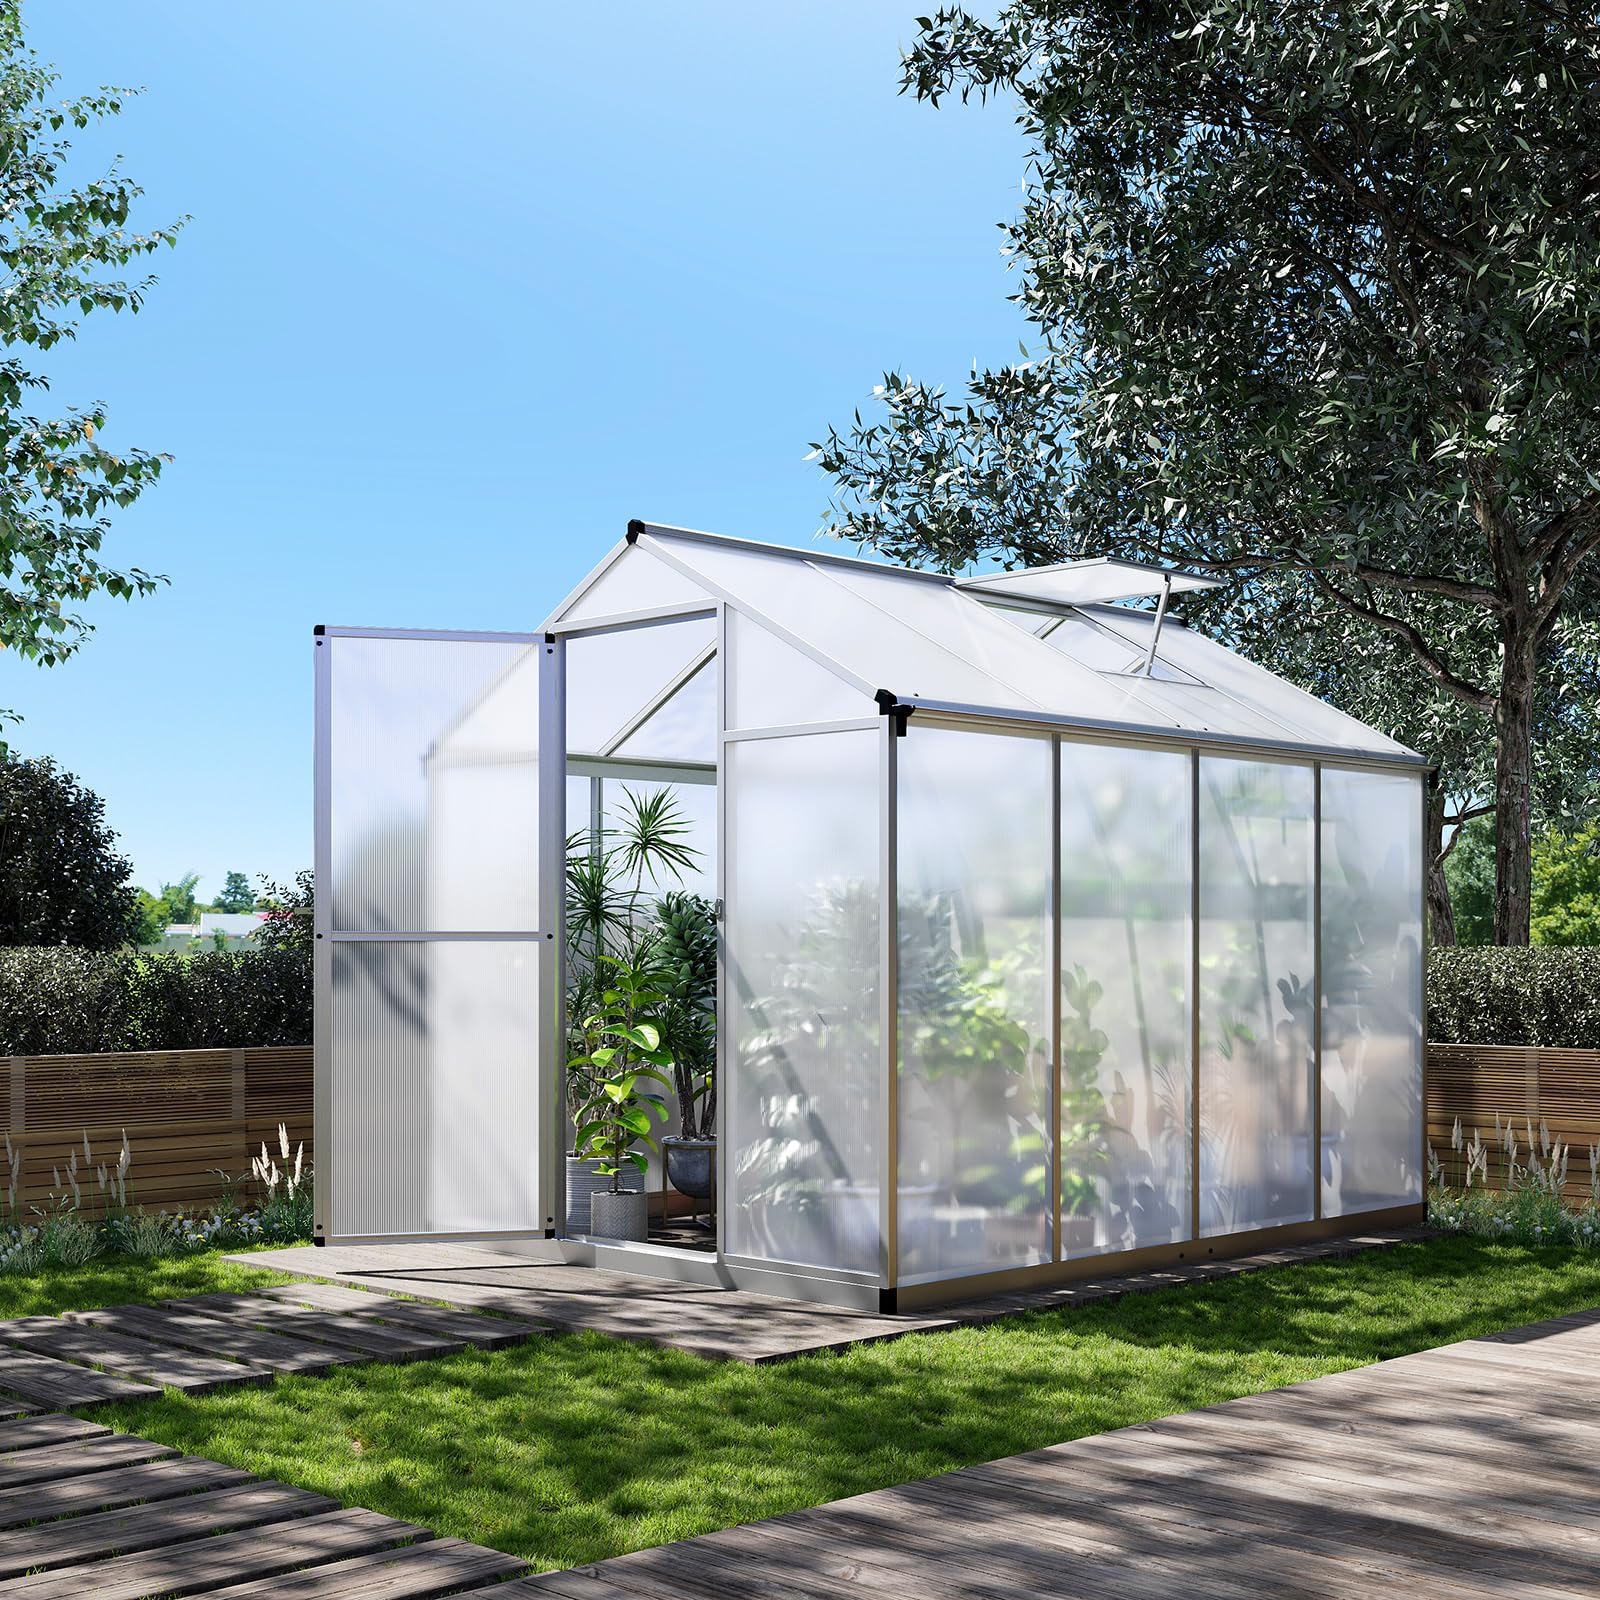
Figure 1: Exterior view of the ActiveTrail 8X6.25 FT Aluminum Greenhouse.
2. Safety Information
WARNING: Failure to follow these safety instructions may result in injury or damage to the product.
- Always wear appropriate safety gear, such as gloves and eye protection, when assembling or disassembling the greenhouse.
- Be aware of sharp edges and heavy components during handling.
- Ensure the greenhouse is properly anchored to a stable foundation to prevent it from being blown over in strong winds.
- Regularly inspect the greenhouse for any signs of wear or damage and perform necessary maintenance to ensure its longevity and safety.
- Keep pets and children away from the greenhouse when it is not in use or during assembly.
- Do not climb on the greenhouse structure.
- Avoid placing heavy objects on the roof or walls.
3. Assembly Instructions
The ActiveTrail Greenhouse is designed for modular assembly. Most users can complete the setup in approximately 3 hours. It is recommended to have at least two people for assembly.
3.1. Assembly Overview Video
Video 1: Detailed assembly guide for the greenhouse structure. This video demonstrates the step-by-step process of constructing the frame and attaching panels.
3.2. Foundation Preparation
Ensure a level and stable foundation before beginning assembly. The greenhouse can be installed on soil or concrete. Proper leveling is crucial for structural integrity.
3.3. Frame Assembly
Begin by assembling the base frame using the provided aluminum beams and connectors. Follow the numbered parts in the diagram for correct orientation. Secure all connections with the designated screws and bolts.
Video 2: This video provides a general overview of the greenhouse, including its structure and potential uses. It can help visualize the final product during assembly.
3.4. Panel Installation
Carefully slide the polycarbonate panels into the frame channels. Ensure the panels are oriented correctly to maximize UV protection and insulation. Use the provided clips or fasteners to secure the panels in place.
3.5. Door and Vent Installation
Assemble and attach the door frame and panels. Install the triple-point locking mechanism for security. Mount the adjustable roof vents, ensuring they open and close smoothly for ventilation control.

Figure 2: Close-up of the sturdy door and security lock mechanism.
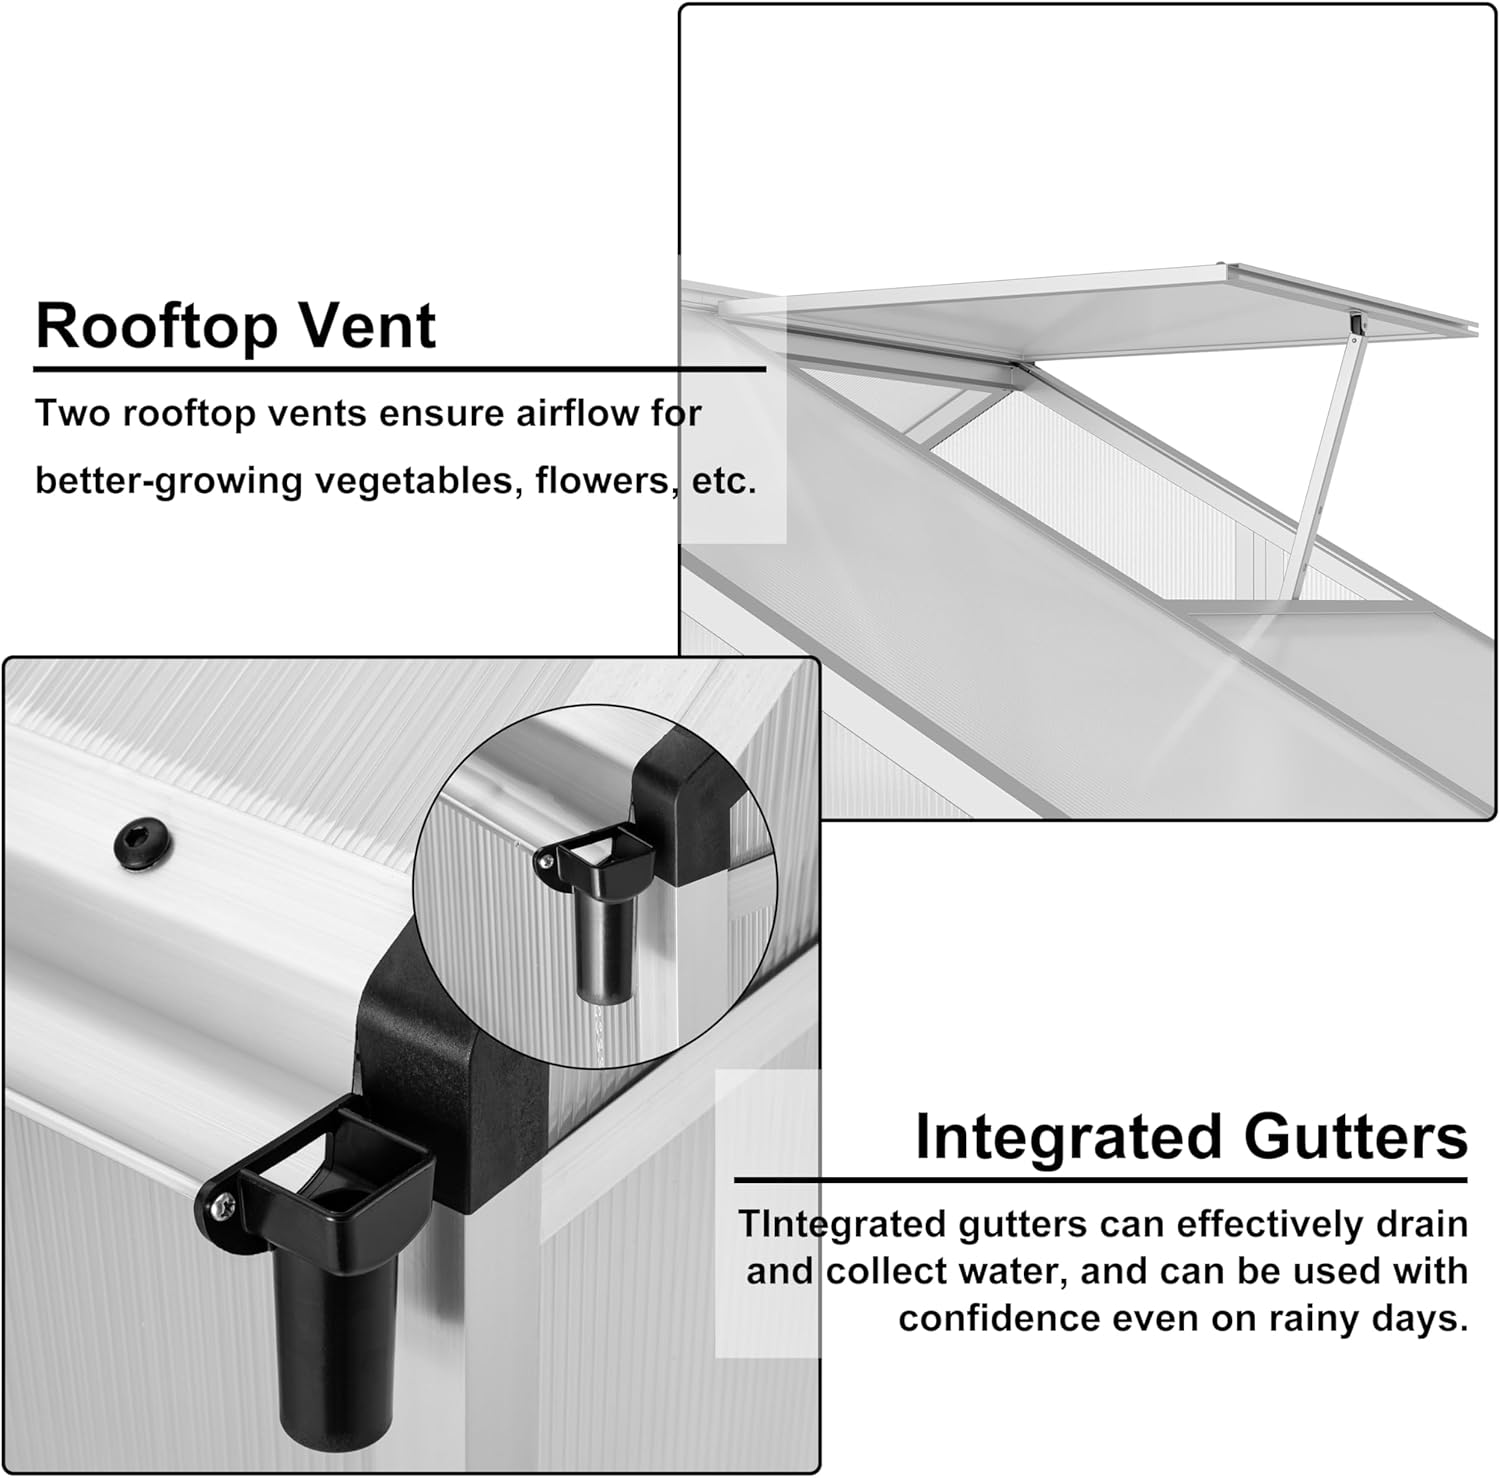
Figure 3: Detail of the rooftop vent for airflow and integrated gutters for water collection.
4. Operating Instructions
4.1. Ventilation and Climate Control
The greenhouse features adjustable roof vents (0-90°) to regulate airflow and temperature. Open the vents to release excess heat and humidity, and close them to retain warmth. Monitor internal temperature and humidity levels to create optimal growing conditions for your plants.
Video 3: A short preview demonstrating the greenhouse effect under night lighting conditions, highlighting its insulation capabilities.
4.2. Door Operation
The door is equipped with a triple-point locking mechanism. Ensure the door is securely closed and locked when not in use to protect your plants and maintain internal climate.
4.3. Water Collection
Integrated gutters are designed to effectively drain and collect rainwater. This water can be used for irrigation, promoting sustainable gardening practices.
5. Maintenance
- Cleaning: Regularly clean the polycarbonate panels with mild soap and water to ensure maximum light transmission. Avoid abrasive cleaners that could scratch the panels.
- Frame Inspection: Periodically check all frame connections, screws, and bolts for tightness. Tighten any loose fasteners to maintain structural integrity.
- Panel Inspection: Inspect panels for any cracks or damage. Replace damaged panels promptly to maintain insulation and weather protection.
- Vent and Door Mechanisms: Lubricate moving parts of the roof vents and door hinges annually to ensure smooth operation.
- Gutter Cleaning: Clear debris from the integrated gutters regularly to prevent blockages and ensure efficient water drainage.
6. Troubleshooting
| Problem | Possible Cause | Solution |
|---|---|---|
| Water leakage | Loose panels, damaged seals, clogged gutters. | Check and tighten panel fasteners. Inspect and replace damaged seals. Clear gutters of debris. |
| Poor ventilation/Overheating | Vents closed, insufficient airflow. | Ensure roof vents are open during warm periods. Consider additional ventilation if needed. |
| Door not closing properly | Misaligned frame, debris in track, damaged hinges. | Check frame for squareness. Clean door tracks. Inspect and repair/replace hinges. |
| Greenhouse unstable in wind | Improper anchoring, loose frame connections. | Verify all anchors are securely fastened to the ground. Tighten all frame bolts. |
7. Specifications
- Brand: ActiveTrail
- Model Number: PHO_14RK
- Dimensions: 8 X 6.25 FT (70.08"L x 10.24"W x 9.84"H)
- Frame Material: Metal (Aluminum)
- Cover Material: Polycarbonate (PC)
- Color: White (Panels), Silver (Frame)
- Item Weight: 55.1 pounds
- Number of Vents: 1 (Adjustable roof vent)
- UPC: 199809980146

Figure 4: Detailed product dimensions for the greenhouse.
8. Warranty and Support
Specific warranty information is not provided in the product details. Please refer to the manufacturer's website or contact ActiveTrail customer support for warranty details and technical assistance.
For customer support, please visit: Amazon Customer Support (General link, specific ActiveTrail support link not provided).