Introduction
This manual provides detailed instructions for the safe and effective use of your ABBIDOT AB-625 Long Range Dog Training Collar. Please read all instructions carefully before using the product to ensure proper operation and the safety of your pet.
Package Contents
Ensure all items listed below are present in your package:
- Remote Control
- Collar Receiver with Strap
- User Manual
- Test Light Tool
- Contact Spring Sheet
- Charging Cable (USB-C)
- Silicone Caps (4x)
- Contact Points (4x)
- Wrist Strap
- Belt Clip

Figure 1: All components included in the package.
Setup
1. Charging the Devices
Before first use, fully charge both the remote control and the collar receiver. The devices feature USB-C charging for convenience.
- Connect the charging cable to the charging port on both the remote and the receiver.
- A full charge typically takes approximately 2 hours.
- After charging, ensure the rubber cover on the receiver's charging port is securely sealed to maintain its IPX7 waterproof rating.
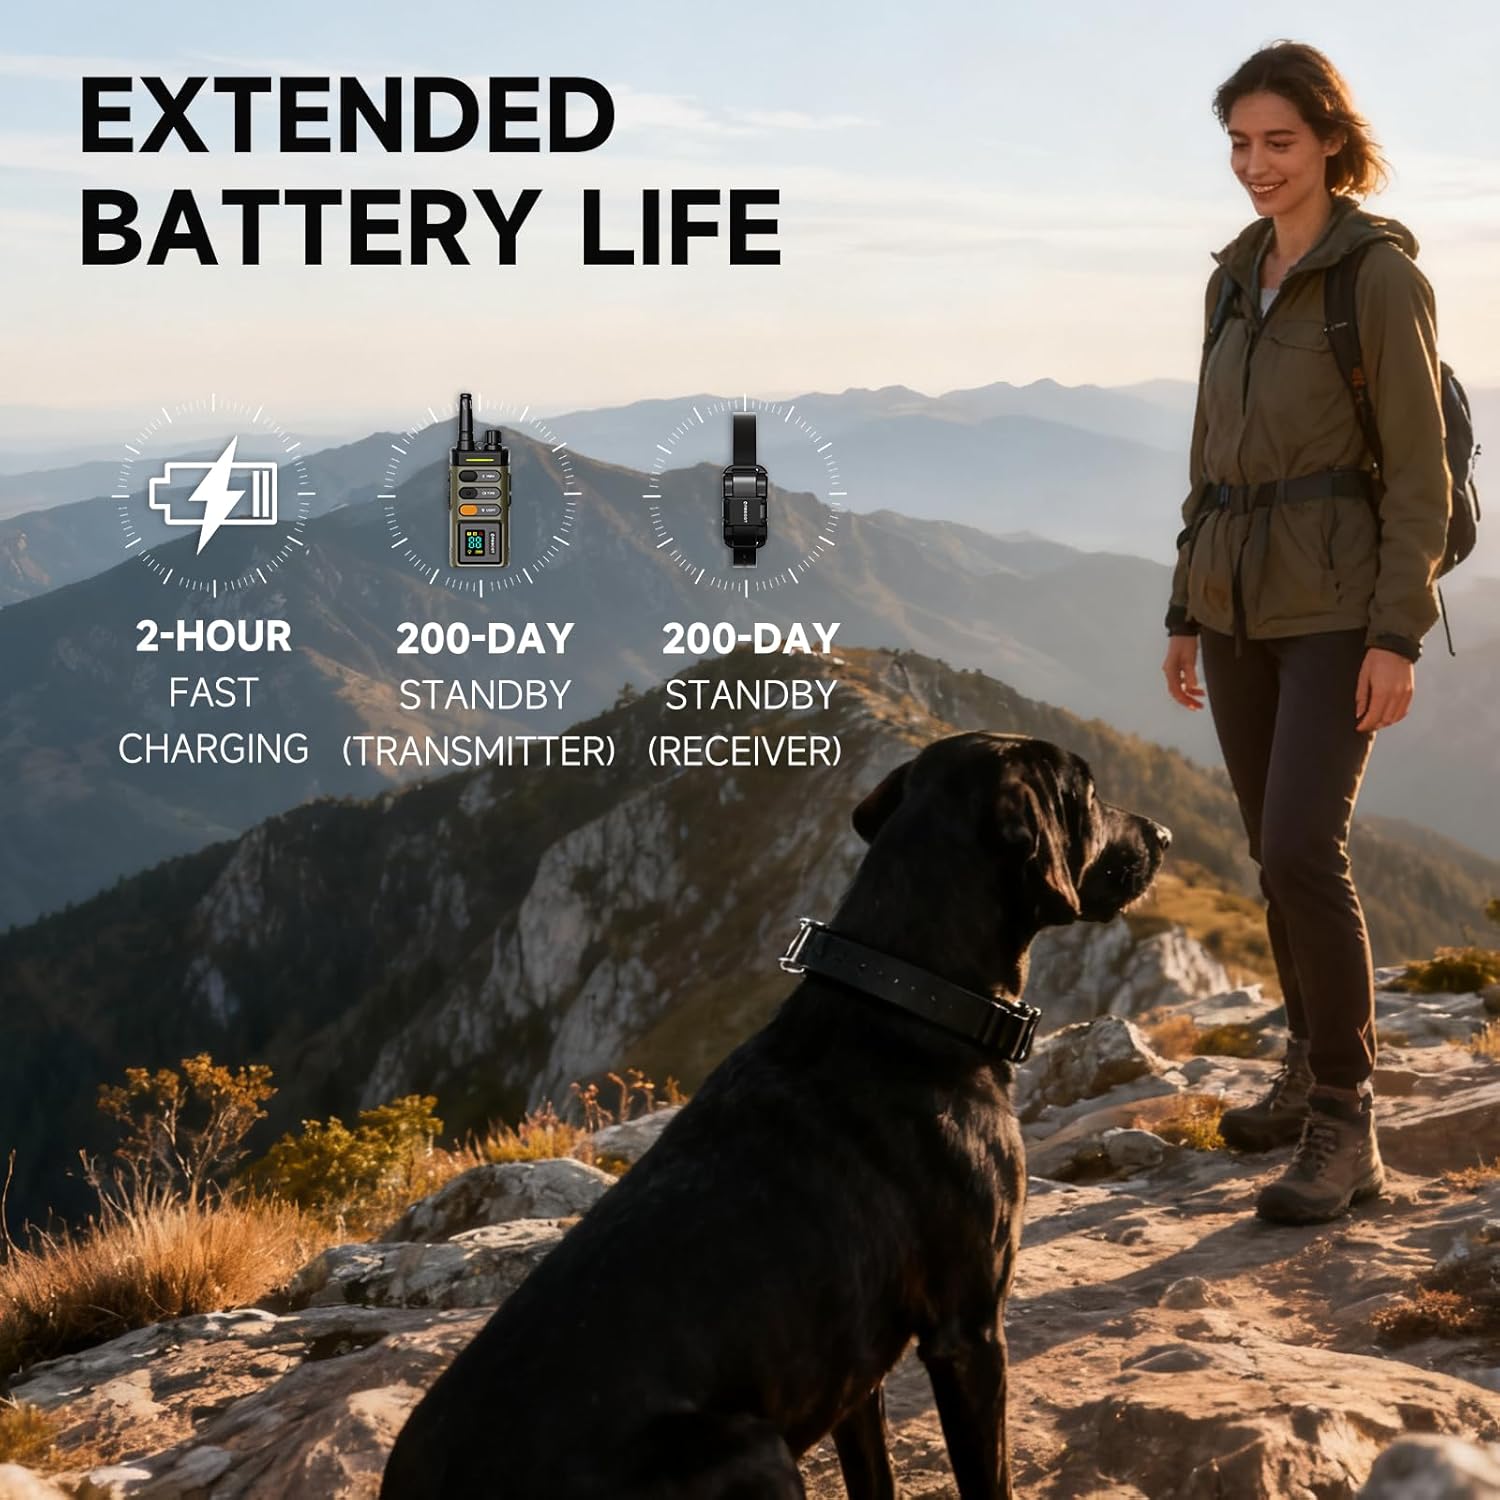
Figure 2: Charging the remote and collar receiver.
For a visual guide on charging, refer to the product video from 1:13 to 1:21.
2. Installing Contact Points and Silicone Caps
For dogs with long hair, install the longer metal contact points and corresponding silicone caps to ensure proper contact with the dog's skin. For short-haired dogs, the shorter contact points are usually sufficient.
- Screw the appropriate contact points into the receiver.
- Place the silicone caps over the contact points.
For a visual guide on installing contact points and silicone caps, refer to the product video from 1:22 to 1:29.
3. Attaching the Belt Clip (Optional)
The remote control comes with a detachable belt clip for convenient carrying.
- Align the belt clip with the groove on the back of the remote.
- Pinch the latch on the clip and press it down firmly until it clicks into place.

Figure 3: Attaching the belt clip to the remote.
For a visual guide on attaching the belt clip, refer to the product video from 1:30 to 1:36.
4. Adjusting the Collar Strap
The collar strap is adjustable to fit dogs with a neck circumference of 7.8 to 24.4 inches and weighing 10 to 120 pounds.
- Thread the strap through the buckle and adjust it to the appropriate size.
- Ensure the collar fits snugly but not too tightly. You should be able to fit two fingers comfortably between the collar and your dog's neck.
- Trim any excess strap if necessary.

Figure 4: Adjusting the collar strap for a proper fit.
For a visual guide on adjusting the collar, refer to the product video from 1:37 to 1:47.
Operating Modes
The ABBIDOT AB-625 offers four training modes: Tone, Vibration, Momentary Stimulation, and Continuous Stimulation, along with a multi-mode night light.
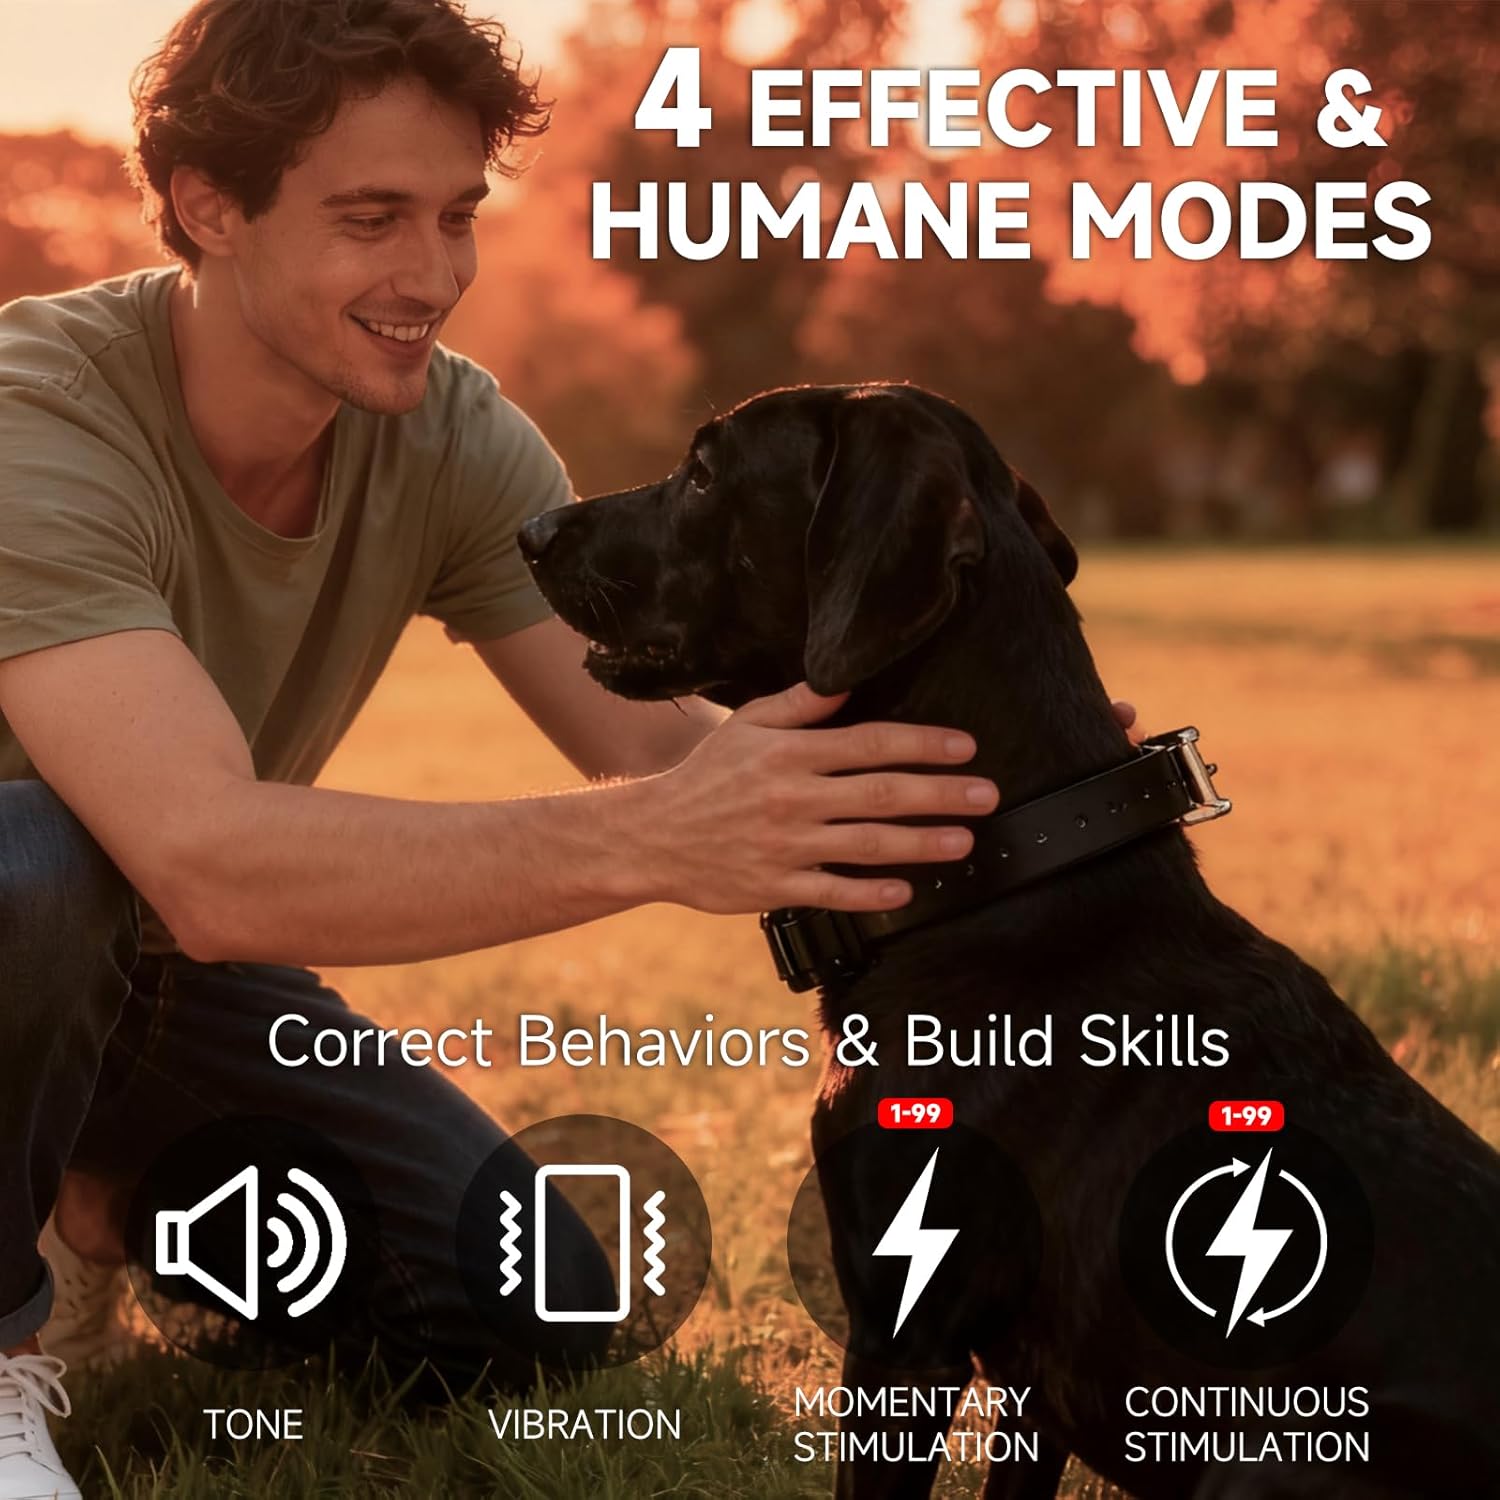
Figure 5: Overview of the four training modes.
1. Tone Mode
Press the TONE button on the remote to emit an audible sound from the receiver. This mode is ideal for attracting your dog's attention or as a warning signal.
2. Vibration Mode
Press the VIBRA button on the remote to activate continuous vibration on the receiver for up to 10 seconds. The intensity of the vibration can be adjusted from 1 to 99 levels using the multi-control knob.
3. Stimulation Modes (Momentary & Continuous)
The collar offers two types of stimulation, with intensity levels adjustable from 1 to 99 using the multi-control knob.
- Momentary Stimulation: Delivers a single, brief pulse of stimulation.
- Continuous Stimulation: Delivers stimulation for as long as the button is pressed, up to a maximum of 10 seconds.
For a visual demonstration of Tone, Vibration, and Stimulation modes, refer to the product video from 0:12 to 0:24.
4. Adjusting Stimulation/Vibration Levels
- Rotate the Multi-Control Knob on the remote to adjust the intensity level (1-99).
- Push the knob for 3 seconds to toggle between adjusting and saving the selected level.
For a visual guide on adjusting levels, refer to the product video from 0:38 to 0:45.
5. Night Light Modes
The collar receiver features a built-in light with three modes for visibility in low-light conditions.
- Press the LIGHT button on the remote:
- First press: Constant On mode.
- Second press: Flashing mode.
- Third press: Off.
- Press and hold the LIGHT button for 3 seconds to activate SOS signal mode.
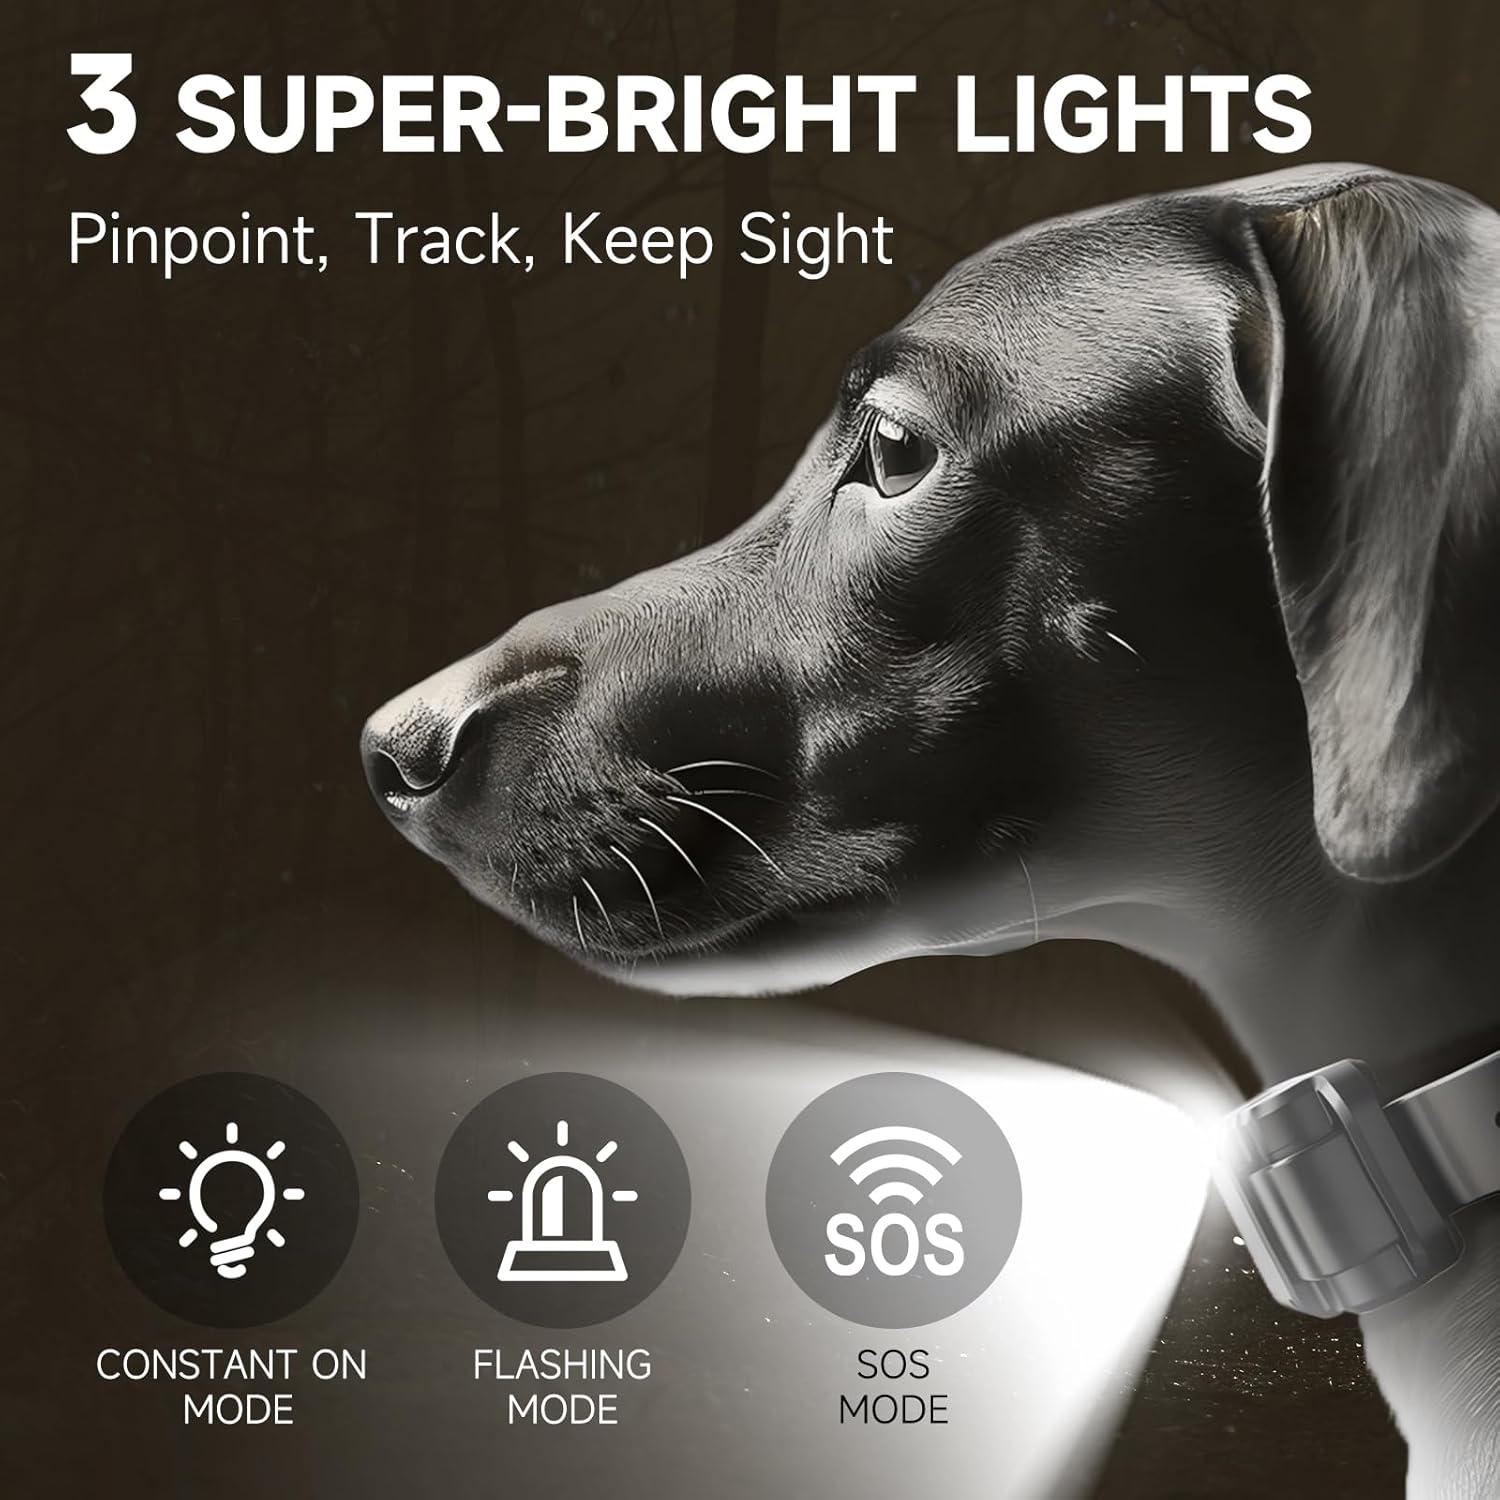
Figure 6: Night light modes for enhanced visibility.
For a visual demonstration of the light modes, refer to the product video from 0:25 to 0:37.
Pairing Instructions
The collar and remote are pre-paired from the factory. If re-pairing is necessary, follow these steps:
- Ensure the collar receiver is turned off.
- On the remote, press and hold the dog1/2 button for 3 seconds to unlock the remote and select the desired dog channel (e.g., Dog 1 or Dog 2).
- With the collar receiver off, press and hold the power button on the receiver for 5 seconds until the red and green lights flash alternately.
- While the lights are flashing, press the TONE and VIBRA buttons simultaneously on the remote to complete the pairing process.
- A successful pairing will be indicated by the collar receiver's light turning solid green.
For a visual guide on pairing, refer to the product video from 0:46 to 1:09.
Safety Guidelines
Your dog's safety and comfort are paramount. Please adhere to these guidelines:
- Not for Puppies: This training collar is suitable for dogs above 6 months of age.
- Proper Fit: Ensure the collar fits snugly but not too tightly. It should allow two fingers to fit between the strap and your dog's neck. A loose fit can reduce effectiveness and cause skin irritation.
- Limited Wear Time: Do not leave the collar on your dog for more than 12 hours per day. Prolonged wear can lead to pressure necrosis (collar sores).
- Regular Inspection: Check your dog's neck daily for any signs of skin irritation, redness, or sores. If irritation occurs, discontinue use until the skin heals.
- Supervised Use: Always supervise your dog when the training collar is in use.
- Avoid Over-Correction: Use stimulation modes responsibly and only when necessary. Start with the lowest effective level and gradually increase if needed.
- Water Safety: While the collar is IPX7 waterproof, ensure the charging port cover is sealed before exposing it to water.
- Not for Aggression: Do not use this collar to correct aggressive behavior. Consult a professional dog trainer for such issues.
Maintenance
- Cleaning: Regularly clean the collar receiver and contact points with a damp cloth. Ensure the device is dry before charging.
- Strap Care: Inspect the collar strap for wear and tear. Replace if damaged.
- Storage: Store the device in a cool, dry place when not in use.
- Battery Life: Charge the devices fully before long periods of inactivity to maintain battery health.
Troubleshooting
| Problem | Possible Cause | Solution |
|---|---|---|
| Collar not responding to remote | Low battery on either device; Not paired; Out of range. | Charge both devices; Re-pair the collar and remote; Ensure devices are within the 5280ft range. |
| No stimulation/vibration | Contact points not touching skin; Intensity level too low; Incorrect mode selected. | Adjust collar fit; Increase intensity level; Select appropriate mode (Vibration/Stimulation). |
| Skin irritation on dog's neck | Collar too tight; Worn for too long; Poor hygiene. | Loosen collar; Reduce wear time; Clean collar and dog's neck regularly. Consult a vet if irritation persists. |
| Remote display not working | Low battery; Device off. | Charge the remote; Turn on the remote. |
Specifications
- Model Number: AB-625
- Range: Up to 1 Mile / 5280 Feet (open area)
- Training Modes: Tone, Continuous Vibration (1-99 levels), Momentary Stimulation (1-99 levels), Continuous Stimulation (1-99 levels)
- Night Light: 3 modes (Constant On, Flashing, SOS)
- Waterproof Rating: IPX7 for both Remote and Receiver
- Battery Life: Up to 200 days standby for both Remote and Receiver
- Charging Time: Approximately 2 hours (USB-C)
- Collar Fit: Neck circumference 7.8 - 24.4 inches
- Dog Weight Suitability: 10 - 120 lbs
- Material: Faux Leather, Plastic
- Batteries: 2 9V batteries required (included)
- Package Dimensions: 6.02 x 4.06 x 2.09 inches
- Item Weight: 12.8 ounces

Figure 7: IPX7 Waterproof design for all weather conditions.

Figure 8: Extended range for absolute control.
Official Product Video
Video: ABBIDOT Dog Shock Collar - A comprehensive overview of the product's features, setup, and operation.
Warranty and Support
ABBIDOT products come with a 1-Year Warranty. For any questions, concerns, or support needs, please contact our dedicated customer service team.
Email: Support@abbidot.com
Our team is here to help you with expertise and ensure your satisfaction.