
1. Introduction
This manual provides detailed instructions for the assembly, operation, and maintenance of your IDEALHOUSE 6x7 FT Greenhouse. Designed for outdoor use, this greenhouse features a sturdy aluminum frame, durable polycarbonate panels, a lockable door, and an adjustable roof vent to create an optimal environment for plant growth. Please read this manual thoroughly before beginning assembly or operation to ensure safe and efficient use.

Image: The IDEALHOUSE 6x7 FT Greenhouse situated in a backyard garden, showcasing its design and size.
2. Safety Information
WARNING: Failure to follow these safety instructions may result in injury or damage to the product.
- Always wear appropriate safety gear, such as gloves and eye protection, when handling and assembling the greenhouse components.
- Be cautious of sharp edges on metal components and heavy parts during assembly.
- Ensure the greenhouse is properly anchored to the ground to prevent wind damage or collapse.
- Provide adequate ventilation to prevent heat buildup and ensure a healthy environment for plants.
- Keep pets and children away from the assembly area and the greenhouse during construction.
- Avoid using chemical treatments that may degrade the polycarbonate panels.
3. Package Contents
Before beginning assembly, verify that all components are present and undamaged. If any parts are missing or damaged, please contact customer support.
- Aluminum frame profiles
- Polycarbonate panels (various sizes for walls and roof)
- Door assembly components
- Adjustable roof vent mechanism
- Hardware kit (screws, nuts, bolts, washers, clips, corner brackets)
- Assembly tools (basic wrenches, screwdrivers may be included or required)
- Instruction manual
4. Setup & Assembly
The IDEALHOUSE 6x7 FT Greenhouse is designed for quick and efficient assembly, featuring innovative slide-in polycarbonate panels that are 40% faster to assemble and 35% more secure than traditional methods. Follow the steps below and refer to the assembly video for visual guidance.
4.1. Site Preparation
Choose a level, well-drained site for your greenhouse. Ensure adequate space around the greenhouse for assembly and future access. Clear any debris or obstacles from the area.
4.2. Frame Assembly
- Assemble the base frame using the provided aluminum profiles and corner connectors. Secure all connections with the appropriate hardware.
- Attach the vertical support posts to the base frame, ensuring they are securely fastened and plumb.
- Connect the horizontal crossbars to the vertical posts to form the wall sections.
- Install the roof frame components, including the ridge and eave beams, ensuring all angles are correct for proper panel installation.

Image: Detailed view of the 'Easy & Fast Assembly' feature, highlighting the connection points for the frame components.
4.3. Panel Installation
Carefully slide the polycarbonate panels into the designated channels of the aluminum frame. Ensure the UV-protected side of the panels faces outwards. Secure panels with clips or retaining strips as indicated in the detailed instructions.

Image: Visual representation of the greenhouse's structural integrity, including reinforced side supports, triangular structure, and anti-collapse reinforcement.
4.4. Door and Roof Vent Installation
Assemble and install the lockable door according to the instructions, ensuring it opens and closes smoothly. Install the adjustable roof vent, connecting its mechanism to allow for multiple opening angles.
4.5. Anchoring
Once fully assembled, securely anchor the greenhouse to the ground using appropriate methods for your soil type and local weather conditions. This is crucial for stability, especially in windy areas.
4.6. Assembly Video
For a comprehensive visual guide, please watch the official assembly video:
Video: Detailed assembly instructions for the IDEALHOUSE Greenhouse, demonstrating each step of construction.
5. Operating Instructions
Your IDEALHOUSE Greenhouse is designed to provide an optimal growing environment for your plants. Proper operation involves managing ventilation and access.
5.1. Ventilation
The adjustable skylight (roof vent) allows you to control air circulation within the greenhouse. Open the vent to varying degrees to release excess heat and humidity, preventing plant stress and promoting healthy growth. Close the vent during cooler periods or when higher humidity is desired.
5.2. Door Operation
The greenhouse features a lockable door for secure access. Ensure the door is properly closed and latched when not in use to maintain internal temperature and protect plants from external elements or pests.

Image: A person gardening inside the spacious IDEALHOUSE 6x7 FT Greenhouse, demonstrating its usability.

Image: The interior of the greenhouse, illustrating the 'Super Large Space' and potential for various plant arrangements and shelving.
6. Maintenance
Regular maintenance will extend the lifespan of your greenhouse and ensure optimal performance.
- Cleaning: Periodically clean the polycarbonate panels with mild soap and water to remove dirt, dust, and algae buildup. Avoid abrasive cleaners or tools that could scratch the panels.
- Frame Inspection: Annually inspect the aluminum frame for any signs of corrosion, loose bolts, or damage. Tighten any loose fasteners and address any damage promptly.
- Panel Integrity: Check panels for cracks or dislodgement, especially after strong winds. Ensure all panels are securely in place.
- Vent & Door Functionality: Lubricate hinges and moving parts of the roof vent and door as needed to ensure smooth operation.
- Seasonal Preparation: The greenhouse offers all-weather protection. During winter, ensure snow load does not exceed the structural capacity. Clear heavy snow from the roof to prevent damage.
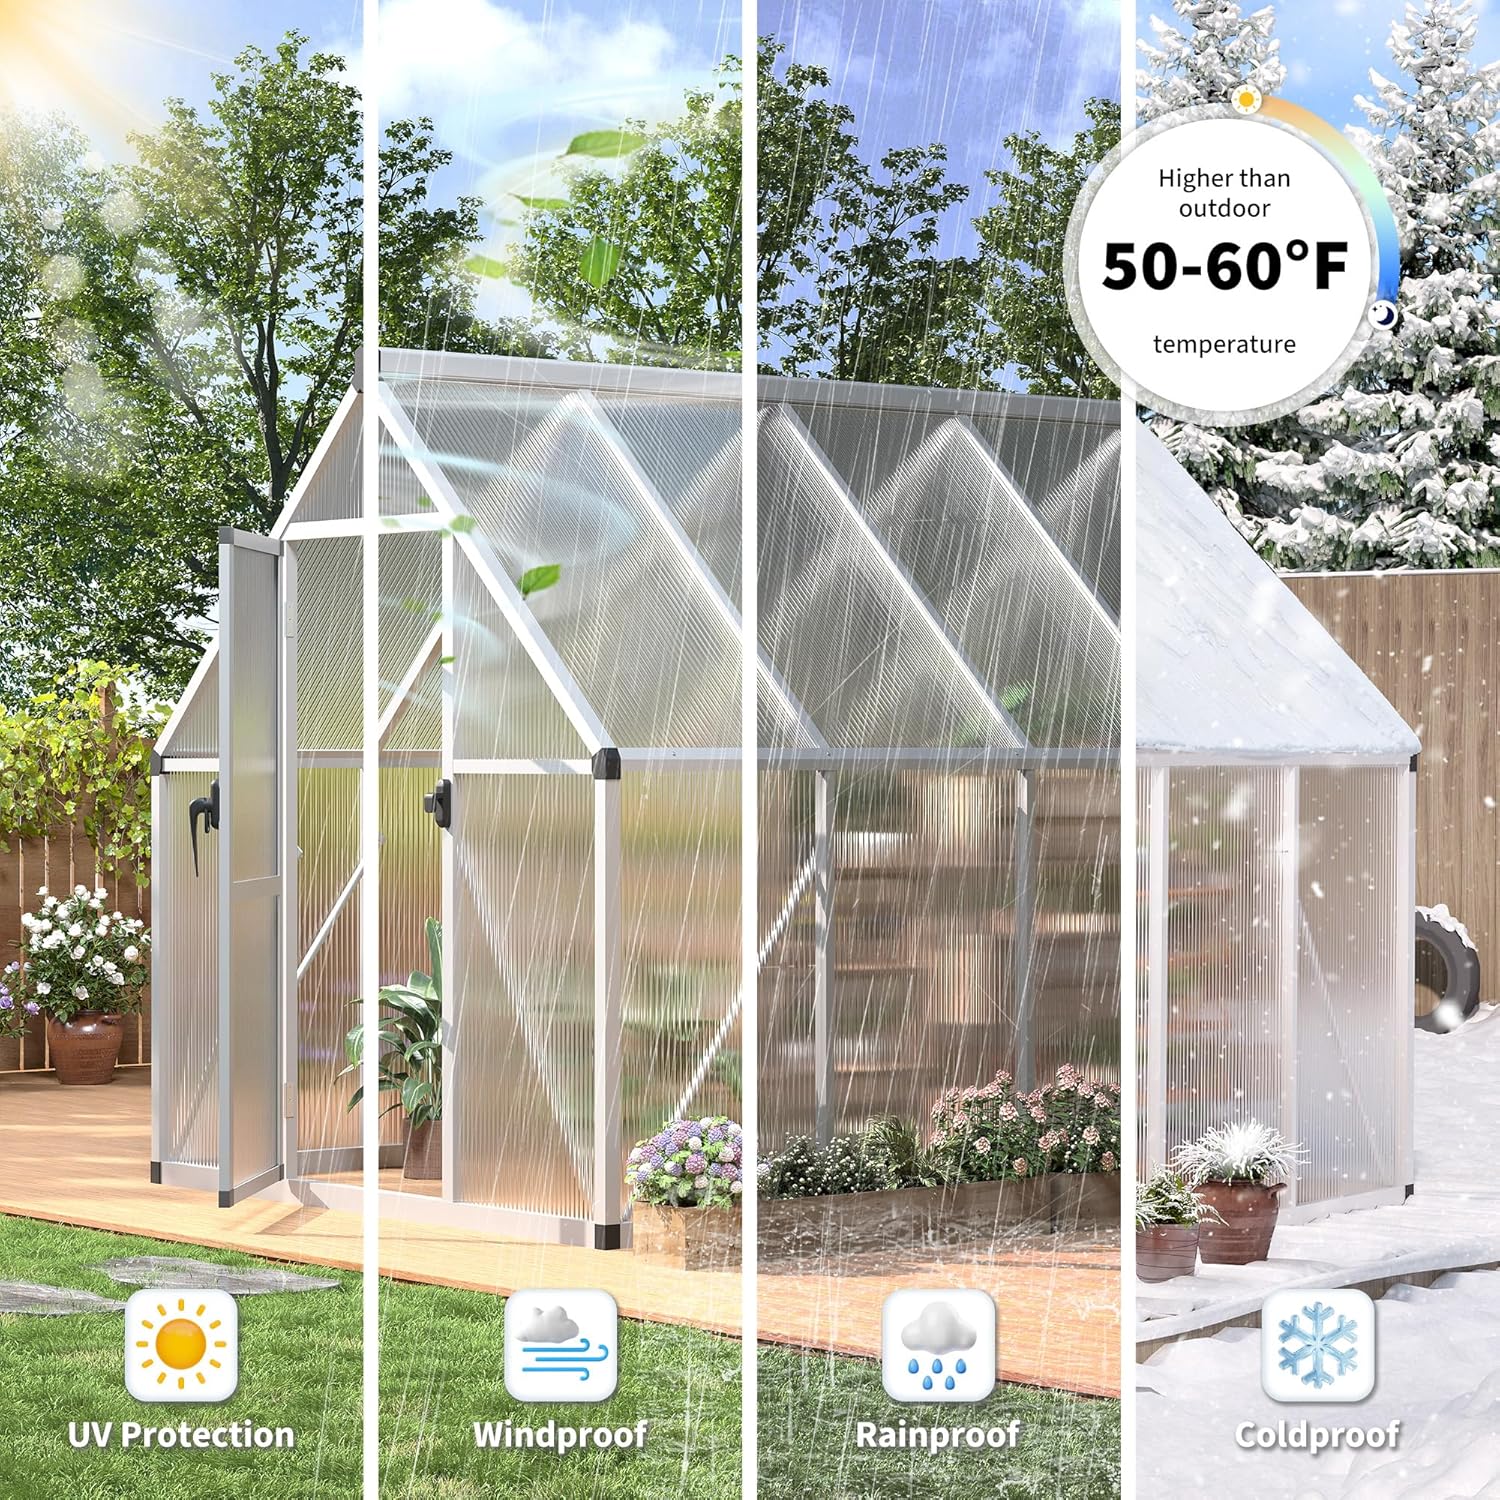
Image: Visual representation of the greenhouse's resilience against various weather conditions, including UV protection, wind, rain, and cold.
7. Troubleshooting
This section addresses common issues you might encounter with your greenhouse.
- Panels Dislodging: If panels are coming out, ensure all clips and retaining strips are correctly installed and fully seated in the frame channels. Verify that the frame itself is square and stable. Strong winds can dislodge improperly secured panels. Consider additional anchoring if your area experiences high winds.
- Difficulty with Assembly: If you find assembly challenging, double-check that you are using the correct parts for each step as per the instructions and the assembly video. Ensure all bolts are tightened appropriately but do not overtighten, which can strip threads or warp components.
- Poor Ventilation: If the greenhouse feels too hot or humid, ensure the roof vent is open to an appropriate degree. Consider adding additional ventilation options if necessary, such as an automatic vent opener or a small fan.
- Door Not Closing Properly: Check the door hinges and latch for alignment. Adjust if necessary. Ensure no debris is obstructing the door's path.
8. Specifications
| Feature | Detail |
|---|---|
| Brand | IDEALHOUSE |
| Model | 6x7 FT Greenhouse |
| Product Dimensions (L x W x H) | 88.19"L x 66.53"W x 76.77"H |
| Item Weight | 45.8 Pounds |
| Frame Material | Aluminum Steel |
| Cover Material | Polycarbonate (PC) |
| Number of Vents | 1 (Adjustable Roof Vent) |
| Color | Silvery white |
| GTIN / UPC | 199809435790 |

Image: A detailed diagram illustrating the product dimensions and key measurements of the greenhouse.
9. Warranty & Support
IDEALHOUSE is committed to providing a pleasant and worry-free gardening experience. While specific warranty details are not provided in this document, our dedicated customer service team is available 24/7 to provide prompt response and attentive support for any questions or concerns you may have, from installation to daily use.
For assistance, please contact IDEALHOUSE customer support through the retailer where you purchased the product or visit the official IDEALHOUSE store online.