1. Introduction
Thank you for choosing the iiyama G-Master Red Eagle G2471HS-B1 gaming monitor. This 24-inch Full HD (1920x1080) monitor features a Fast IPS panel, 240Hz refresh rate, and 0.3ms MPRT response time, designed to provide a competitive edge in gaming. It is also NVIDIA G-SYNC Compatible, ensuring smooth, tear-free gameplay. This manual provides essential information for setting up, operating, maintaining, and troubleshooting your monitor.

Figure 1.1: Front view of the iiyama G-Master Red Eagle G2471HS-B1 gaming monitor, showcasing its sleek design and thin bezels.
2. Safety Information
Please read all instructions carefully before using the monitor. Keep this manual for future reference. Failure to follow these instructions may result in electric shock, fire, or damage to the product.
- Do not expose the monitor to rain or moisture to prevent fire or shock hazards.
- Do not open the monitor casing. There are no user-serviceable parts inside. Refer all servicing to qualified service personnel.
- Place the monitor on a stable, flat surface to prevent it from falling.
- Ensure proper ventilation around the monitor. Do not block ventilation openings.
- Use only the power cord and adapter supplied with the monitor.
- Unplug the monitor from the power outlet during lightning storms or when unused for long periods.
3. Package Contents
Verify that all items listed below are included in your package. If any items are missing or damaged, please contact your retailer.
- iiyama G-Master Red Eagle G2471HS-B1 Monitor
- Monitor Stand (Base and Neck)
- Power Cable
- HDMI Cable
- DisplayPort Cable
- Quick Start Guide / Safety Information (PDF documents available online)
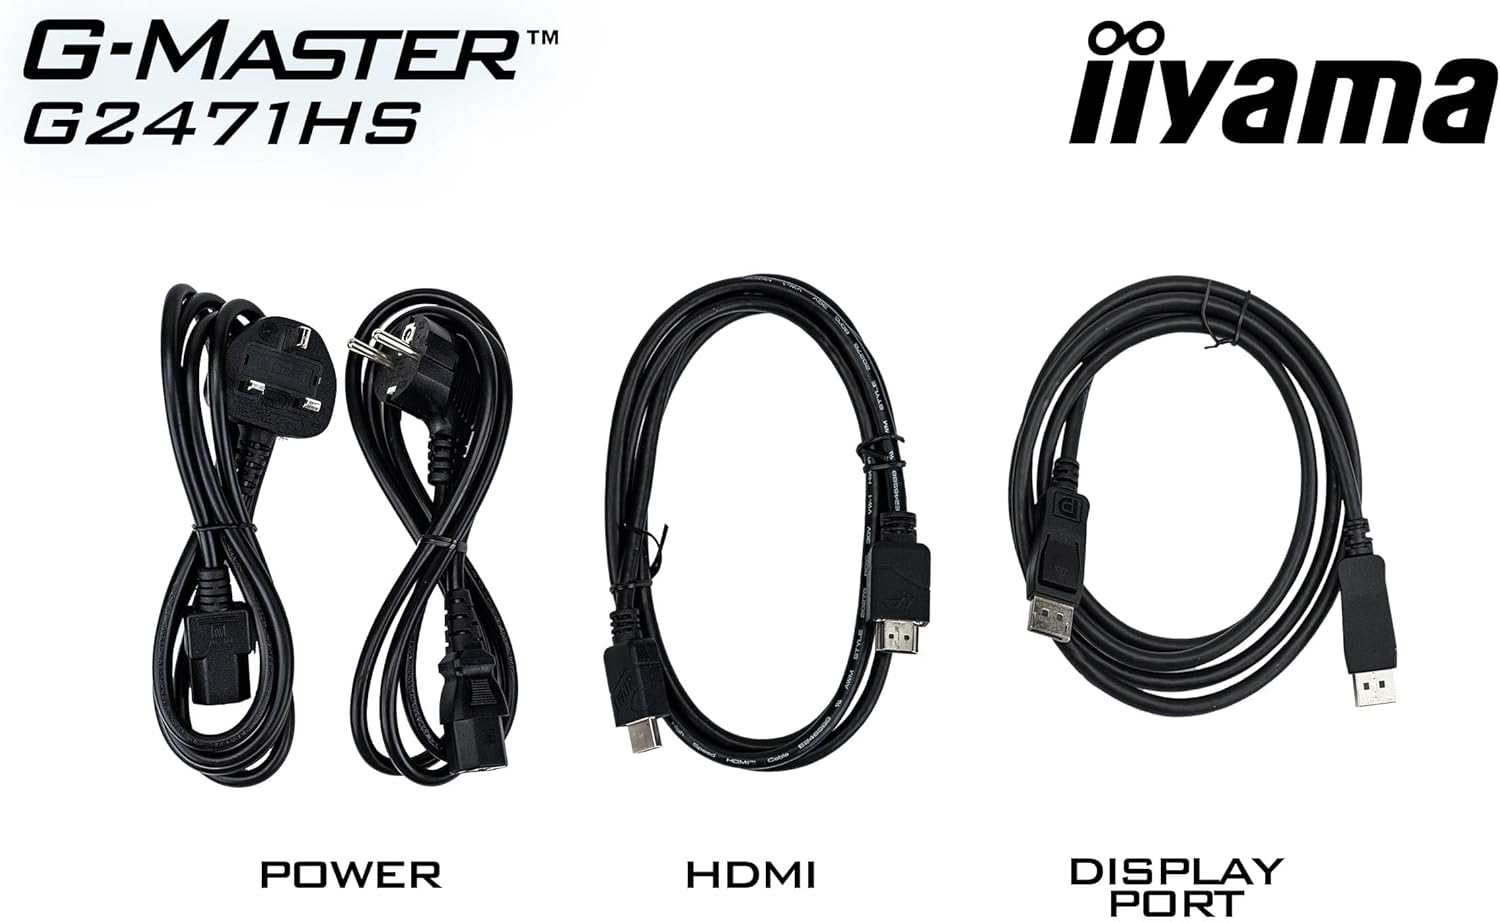
Figure 3.1: The monitor package includes power, HDMI, and DisplayPort cables for connectivity.
4. Setup
4.1 Assembling the Stand
- Carefully remove the monitor from its packaging, keeping it protected on a soft surface.
- Attach the stand neck to the back of the monitor until it clicks into place or is secured with screws (refer to the quick start guide for specific instructions).
- Attach the stand base to the neck and tighten the screw at the bottom of the base.
- Place the assembled monitor on a stable desk.
4.2 Connecting Cables
Connect the necessary cables to the corresponding ports on the back of the monitor and your computer.
- Power Connection: Connect the power cable to the monitor's power input and then to a wall outlet.
- Video Connection:
- For optimal performance, use the supplied DisplayPort cable to connect the monitor to your computer's DisplayPort output.
- Alternatively, use an HDMI cable to connect to your computer's HDMI output. The monitor supports 2x HDMI inputs.
- Audio Connection: If you wish to use external speakers or headphones, connect them to the 3.5mm audio output jack on the monitor.

Figure 4.1: Rear view of the monitor showing the various input and output ports for connectivity.
4.3 Initial Power On
After connecting all cables, press the power button on the monitor. The monitor should display an image from your connected device. If no image appears, ensure all cables are securely connected and your computer is powered on.
5. Operating the Monitor
5.1 OSD Menu Navigation
The On-Screen Display (OSD) menu allows you to adjust various monitor settings. Use the buttons located on the monitor (typically on the bottom or back) to navigate the menu.
- Press a button to open the OSD menu.
- Use the directional buttons to navigate through menu options.
- Press the select button to enter a sub-menu or confirm a setting.
- Press the exit button to go back or close the OSD menu.
5.2 Adjusting Display Settings
Key settings you can adjust include:
- Brightness/Contrast: Adjust these to suit your viewing environment.
- Color Settings: Modify color temperature, gamma, and individual RGB levels.
- Black Tuner: This feature allows you to adjust the brightness and dark shades in shadowed areas, improving visibility in dark game scenes.

Figure 5.1: The Black Tuner feature enhances visibility in dark game environments by adjusting dark shades.
5.3 Enabling G-SYNC Compatible
To utilize the NVIDIA G-SYNC Compatible feature, ensure your graphics card supports G-SYNC and that it is enabled in your graphics card's control panel (e.g., NVIDIA Control Panel). Connect the monitor using a DisplayPort cable for this feature to function correctly.

Figure 5.2: G-SYNC Compatible technology eliminates screen tearing and stuttering for a smoother gaming experience.
6. Maintenance
6.1 Cleaning the Screen
To clean the screen, gently wipe it with a soft, lint-free cloth. For stubborn marks, dampen the cloth slightly with water or a mild, non-abrasive screen cleaner. Never spray liquid directly onto the screen.
6.2 Cleaning the Casing
Wipe the monitor casing with a soft, dry cloth. Avoid using strong detergents or abrasive cleaners, as they can damage the surface.
7. Troubleshooting
If you encounter issues with your monitor, refer to the following common problems and solutions:
| Problem | Possible Cause / Solution |
|---|---|
| No image on screen |
|
| Image flickering or unstable |
|
| Incorrect resolution or aspect ratio |
|
| No sound from speakers/headphones |
|
8. Specifications
Below are the technical specifications for the iiyama G-Master Red Eagle G2471HS-B1 monitor:
| Feature | Specification |
|---|---|
| Brand | iiyama |
| Model Name | G2471HS-B1 |
| Screen Size | 23.8 Inches |
| Display Resolution | 1920 x 1080 (Full HD) |
| Aspect Ratio | 16:9 |
| Panel Type | Fast IPS |
| Refresh Rate | 240 Hz |
| Response Time (MPRT) | 0.3 ms |
| Brightness | 350 cd/m² |
| Contrast Ratio | 1000:1 |
| Viewing Angle | 178 Degrees (Horizontal/Vertical) |
| Screen Surface | Anti-glare |
| Connectivity | 2x HDMI, 1x DisplayPort, 3.5mm Audio Out |
| Adaptive Sync Technology | NVIDIA G-SYNC Compatible |
| Speakers | Yes (2x 2W) |
| Item Dimensions (D x W x H) | 19.3 x 54 x 39.5 cm |
| Item Weight | 3.4 Kilograms |
| Color | Black |

Figure 8.1: Energy label for the G2471HS-B1 monitor, indicating its energy efficiency rating.
9. Warranty and Support
9.1 Warranty Information
This iiyama monitor comes with a 3-year manufacturer's warranty. Please retain your proof of purchase for warranty claims. The warranty covers defects in materials and workmanship under normal use. It does not cover damage caused by misuse, accidents, unauthorized modifications, or external factors.
9.2 Customer Support
For technical assistance, warranty service, or further information, please visit the official iiyama website or contact their customer support. You may also refer to the official documentation provided with your product or available online.
- Official iiyama Website: www.iiyama.com
- Safety Information (PDF): Download
- User Instructions (PDF): Download


