1. Introduction
This manual provides detailed instructions for the assembly, operation, and maintenance of your VEVOR Acrylic Desk. Please read this manual thoroughly before assembly and use to ensure proper function and safety. Keep this manual for future reference.
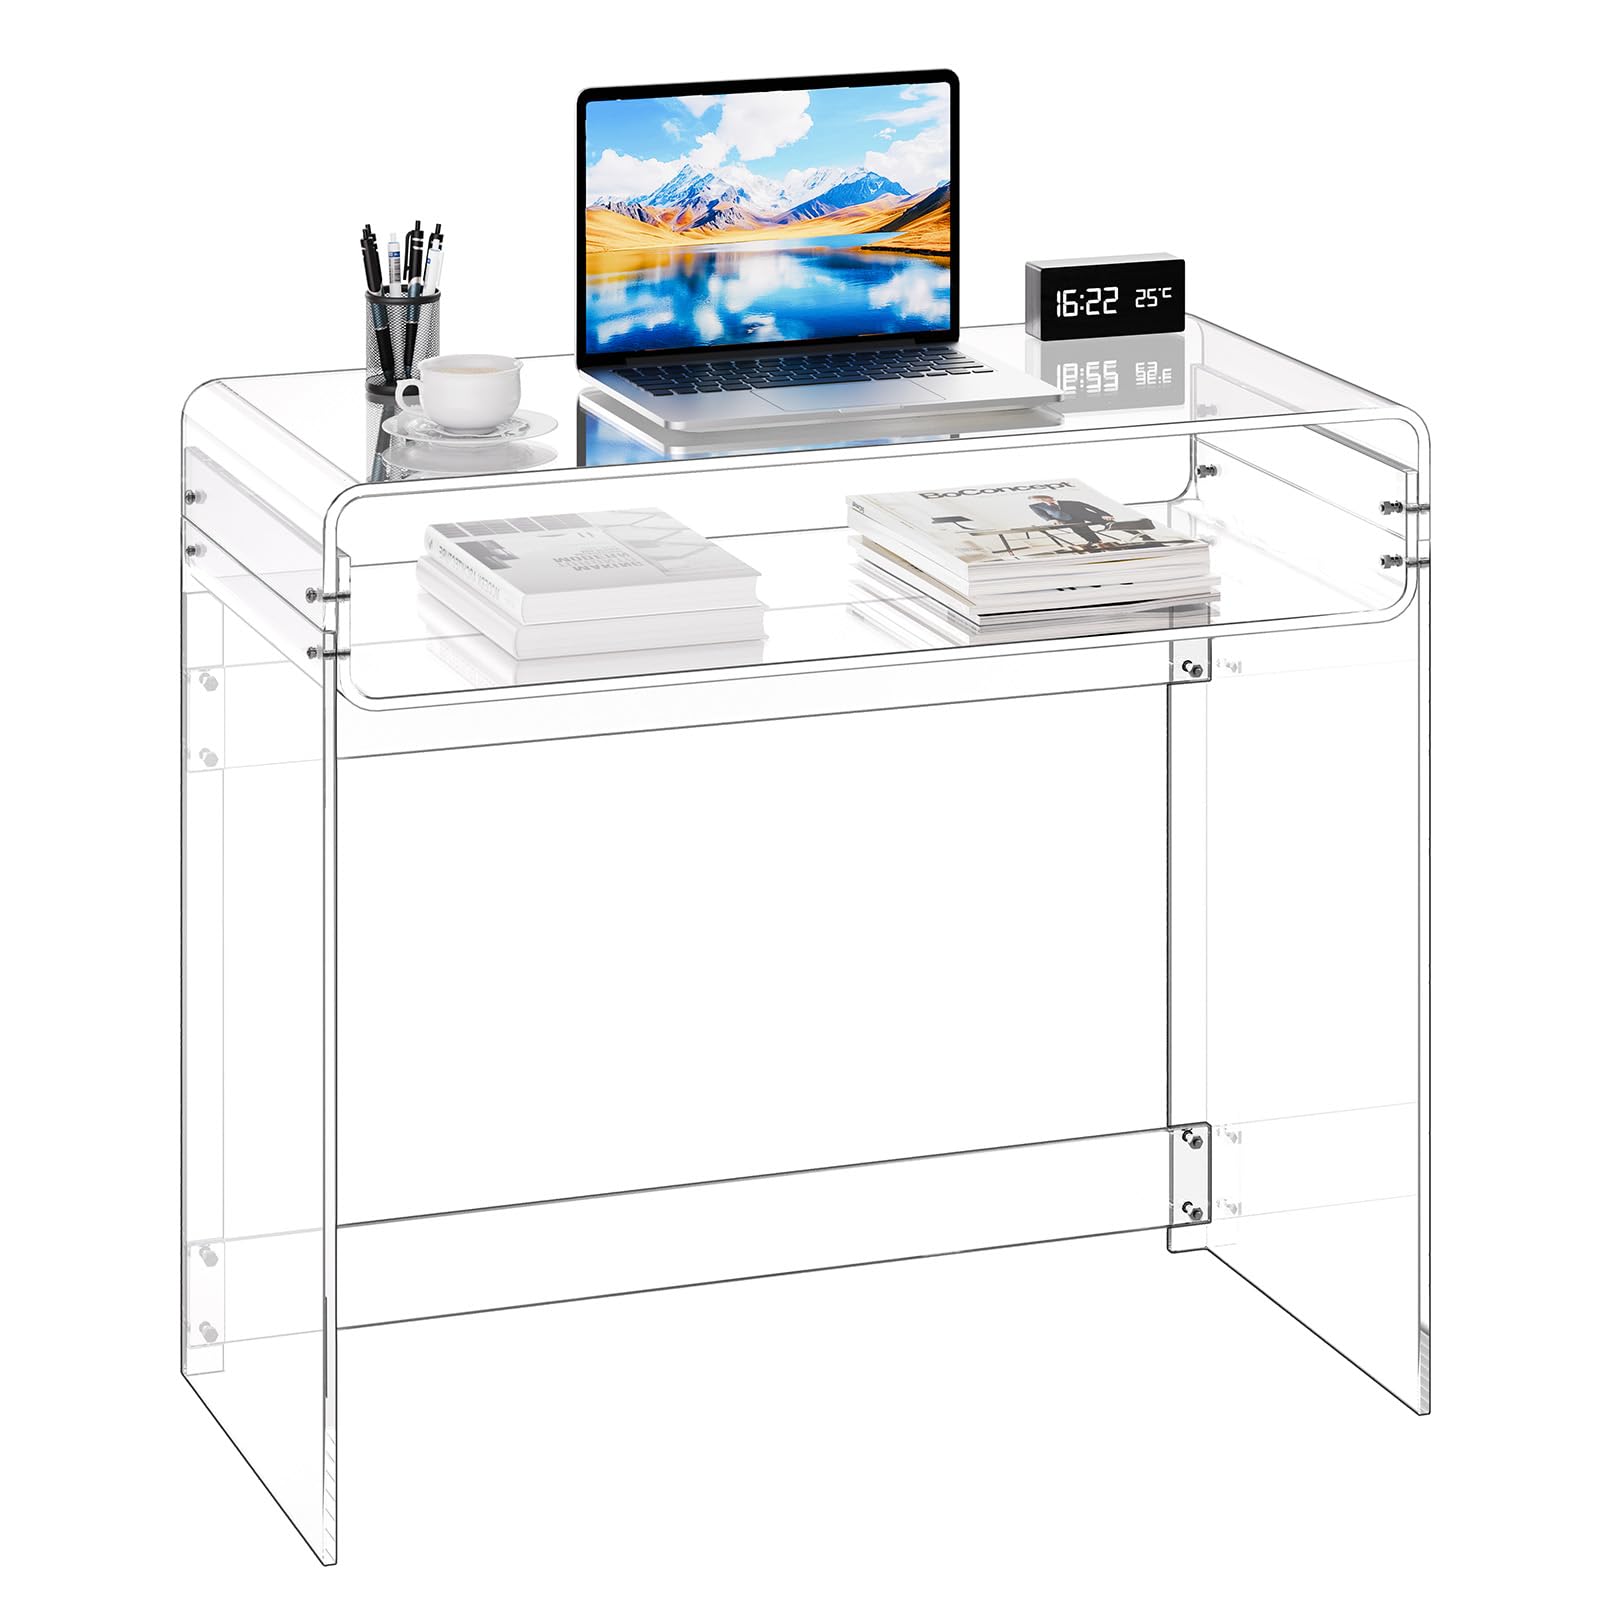
Image 1.1: VEVOR Acrylic Desk in use.
2. Safety Instructions
To prevent injury or damage to the product, always adhere to the following safety guidelines:
- Assemble the desk strictly according to the instructions provided.
- Do not exceed the maximum weight limits: Upper Layer: 33 lbs (15 kg); Lower Layer: 22 lbs (10 kg). Overloading can cause structural failure.
- Ensure the desk is stable and securely assembled before placing any items on it or using it.
- Keep sharp objects away from the acrylic surface to prevent scratches.
- Avoid prolonged exposure to direct sunlight outdoors, as this may affect the material's integrity and appearance. This desk is designed for indoor use only.
3. Package Contents
Verify that all components are present before beginning assembly:
- 1 x Left Side Panel
- 1 x Lower Curved Panel
- 1 x Right Side Panel
- 1 x Upper Curved Panel
- 2 x Crossbars
- Assembly Hardware (screws, washers, hex key, wrench)

Image 3.1: Included components and accessories.
4. Setup and Assembly
Assembly of the VEVOR Acrylic Desk is designed to be straightforward. A hex key is the recommended tool for assembly, which is included in the package.
- Unpack all components and verify against the package contents list.
- Position the Left and Right Side Panels.
- Attach the Lower Curved Panel and Upper Curved Panel to the side panels using the provided hardware.
- Secure the two Crossbars to enhance stability.
- Once fully assembled, carefully remove any protective film from the acrylic surfaces.
Image 4.1: Assembly steps for the acrylic desk.
Important: Remove the protective film from all acrylic surfaces only after assembly is complete to prevent scratches during the process.
5. Operating Instructions (Usage)
Your VEVOR Acrylic Desk is designed for versatile use in various indoor settings:
- Home Office/Study Desk: The transparent tabletop and two-tier design provide ample space for laptops, books, and office supplies. The clear surface allows for easy visibility of items.
- Console/Entryway Table: Its modern, transparent design blends seamlessly with various home styles, creating an open feel even in smaller spaces.
- Vanity Table: Can be used in bedrooms for personal grooming items.
Always ensure that the weight placed on the desk does not exceed the specified limits for each tier.

Image 5.1: Desk configured for home office use.

Image 5.2: Desk configured for study use.
6. Maintenance
Proper care will help maintain the clarity and longevity of your acrylic desk:
- Cleaning: Wipe the surfaces with a soft cloth dampened with water or a specialized acrylic cleaner.
- Avoid Alcohol: Do not use alcohol-based cleaners, ammonia-based cleaners (like window cleaner), or abrasive cleaning pads, as these can damage the acrylic surface.
- Scratch Prevention: Keep sharp objects away from the desk surface. Use coasters or protective mats under items that might scratch the acrylic.
- Environmental Care: Avoid placing the desk in areas with extreme temperature fluctuations or prolonged direct sunlight exposure.

Image 6.1: Proper cleaning technique for the acrylic desk.
7. Troubleshooting
If you encounter any issues with your VEVOR Acrylic Desk, please consider the following:
- Instability: Ensure all screws are tightened properly. Re-check assembly steps to confirm correct installation of all panels and crossbars.
- Scratches/Damage: Acrylic is durable but not scratch-proof. Minor scratches can sometimes be buffed out with specialized acrylic polish. For significant damage, contact customer support.
- Discoloration/Cloudiness: Ensure you are not using inappropriate cleaning agents (e.g., alcohol-based cleaners). Follow the maintenance guidelines strictly.
For persistent problems or concerns not addressed here, please contact VEVOR customer support.
8. Specifications
| Feature | Specification |
|---|---|
| Brand | VEVOR |
| Model Number | YKBDNZ101 |
| Product Dimensions (D x W x H) | 15.7" x 33.5" x 29.5" (40 cm x 85 cm x 75 cm) |
| Item Weight | 36.2 Pounds (16.4 kg) |
| Maximum Weight Capacity (Upper Layer) | 33 lbs (15 kg) |
| Maximum Weight Capacity (Lower Layer) | 22 lbs (10 kg) |
| Frame Material | Acrylic |
| Color | Clear Transparent |
| Shape | Rectangular |
| Tabletop Thickness | 0.4 Inches (1 cm) |
| Indoor/Outdoor Usage | Indoor Only |
| Assembly Required | Yes |
| Tools for Assembly | Hex Key (Included) |
Image 8.1: Product Dimensions and Weight Capacity.

Image 8.2: Detail of thickened desktop for stability.
9. Warranty and Support
For information regarding warranty coverage or to obtain technical support, please contact VEVOR customer service. Refer to your purchase documentation or the official VEVOR website for contact details.
VEVOR Official Website: www.vevor.com