1. Introduction
This manual provides essential information for the safe installation, operation, and maintenance of your Fanbulous 72 Inch Ceiling Fan with Lights and Remote, Model MN60. Please read all instructions carefully before beginning installation or use. Retain this manual for future reference.
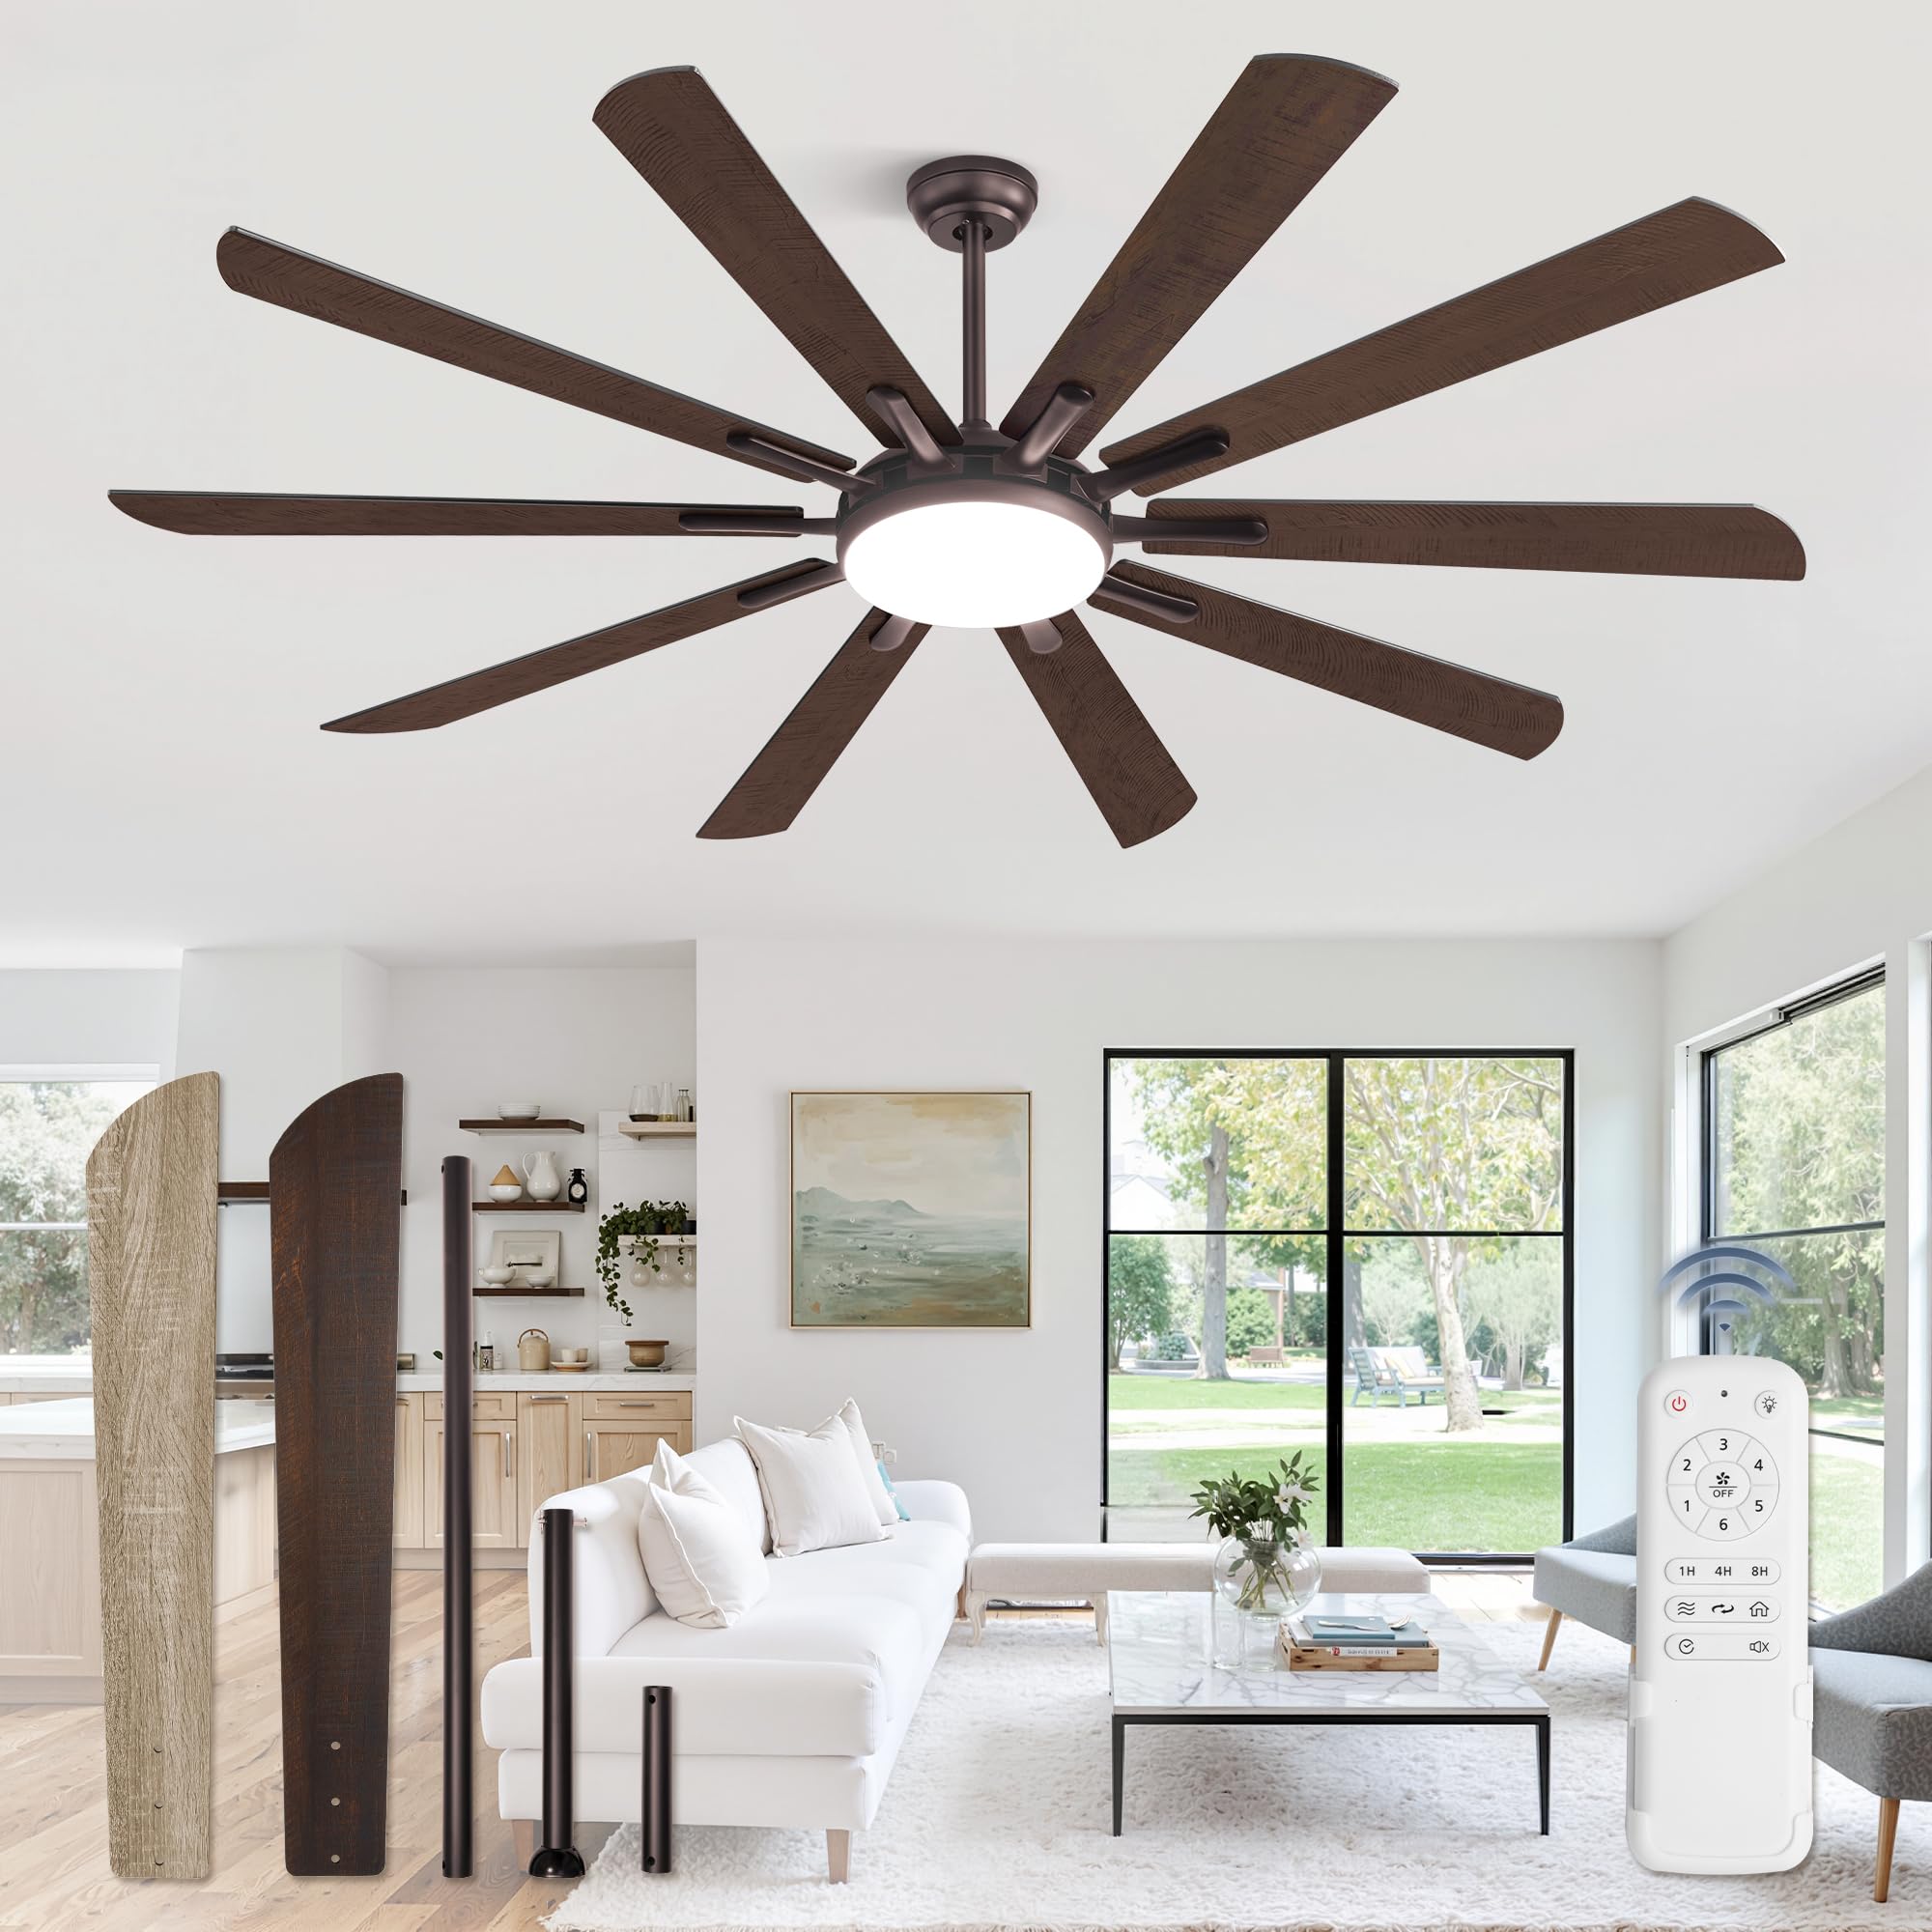
Image 1.1: Fanbulous 72 Inch Ceiling Fan, Oil Bronze finish.
2. Safety Information
WARNING: To reduce the risk of fire, electric shock, or personal injury, always follow these basic precautions:
- Read all instructions and safety information before installing your fan and save these instructions.
- Before servicing or cleaning, switch power off at the service panel and lock the service disconnecting means to prevent power from being switched on accidentally.
- All wiring must be in accordance with national and local electrical codes. If you are unfamiliar with wiring, consult a qualified electrician.
- The fan must be mounted with a minimum of 7 feet (2.1 meters) clearance from the trailing edge of the blades to the floor.
- Ensure the installation site allows the fan blades to rotate without obstruction.
- Do not operate the fan with damaged wiring or if the fan is not functioning correctly.
- Do not insert objects into the fan blades while the fan is operating.
- This fan is suitable for indoor and outdoor (covered patio) use. Do not expose to direct water spray.
3. Package Contents
Verify that all components listed below are included in your package. If any parts are missing or damaged, contact customer support before proceeding with installation.
- Fan Motor Housing
- Fan Blades (10 count, dual-finish: dark wood brown and light oak wood)
- LED Light Kit (36W, 3CCT)
- Remote Control with Wall Mount
- Downrods (6-inch, 12-inch, 24-inch)
- Mounting Bracket and Hardware
- Canopy
- Instruction Manual

Image 3.1: Illustration of the dual-finish fan blades (dark wood brown and light oak wood).
4. Specifications
| Feature | Detail |
|---|---|
| Brand | Fanbulous |
| Model Name | MN60 |
| Size | 72 Inch |
| Color | Oil Bronze |
| Number of Blades | 10 |
| Motor Type | DC Motor, Reversible |
| Number of Speeds | 6 |
| Noise Level | 35 Decibels |
| Light Type | Integrated 36W LED |
| Color Temperature (CCT) | 3000K (Warm), 4500K (Natural), 6000K (Cool) |
| Control Method | Remote Control |
| Timer Settings | 1H, 4H, 8H |
| Indoor/Outdoor Usage | Indoor, Outdoor (Covered) |
| Product Dimensions (D x W x H) | 29.9"D x 16.5"W x 6.8"H (Motor Housing) |
| Mounting Type | Ceiling Mount |

Image 4.1: Product dimensions and available downrod lengths (6", 12", 24").
5. Installation
This ceiling fan is designed for easy installation. It is recommended to have two people for installation. Ensure power is OFF at the circuit breaker before starting.
5.1 Pre-Installation Checks
- Ensure the ceiling structure can support the weight of the fan (approximately 20 lbs).
- Confirm the electrical box is securely mounted and rated for ceiling fan support.
- Select the appropriate downrod length (6, 12, or 24 inches) based on your ceiling height. The fan can be installed on ceilings with an inclination of no more than 15 degrees.
5.2 Mounting the Fan
- Attach the mounting bracket to the electrical box using the provided screws.
- Assemble the downrod with the canopy and motor housing. Carefully feed the electrical wires through the downrod.
- Hang the fan assembly onto the mounting bracket.
- Connect the electrical wires according to the wiring diagram in the full instruction manual (Live, Neutral, Ground).
- Secure the canopy to the mounting bracket.
- Attach the 10 fan blades to the motor housing. Ensure they are securely fastened.
- Install the LED light kit to the bottom of the fan.

Image 5.1: Visual guide for selecting downrod length based on ceiling height.
6. Operating Instructions
Your Fanbulous ceiling fan is operated using the included remote control. Ensure the remote has fresh batteries installed.
6.1 Remote Control Functions

Image 6.1: Diagram of the remote control and its functions.
- Power On/Off: Press the power button to turn the fan and light on or off.
- Fan Speed: Use buttons 1-6 to select desired fan speed. 1 is the lowest, 6 is the highest.
- Light On/Off: Press the light button to toggle the light.
- CCT Switch: Cycle through 3000K (Warm), 4500K (Natural), and 6000K (Cool) color temperatures.
- Timer: Set the fan to turn off automatically after 1 hour (1H), 4 hours (4H), or 8 hours (8H).
- Reversible Motor: Press the reverse button to change the direction of blade rotation.
- Natural Wind: Activates a mode that simulates natural breeze by varying fan speed.
- Mute: Mutes remote control beeps.
- Anti-theft Mode: (Refer to full manual for detailed use)
- Delay Off: Turns off the fan after 5 minutes.
6.2 Reversible DC Motor
The fan features a reversible DC motor for year-round comfort:
- Summer Mode (Forward Rotation): Blades rotate counter-clockwise to push air downward, creating a cooling breeze.
- Winter Mode (Reverse Rotation): Blades rotate clockwise to draw air upward, circulating warm air trapped near the ceiling.

Image 6.2: Illustration of fan direction for summer cooling and winter heat circulation.
6.3 Memory Function
The fan's light setting retains the last selected color temperature (3000K, 4500K, or 6000K) after being turned off and then back on (after waiting 5 seconds).

Image 6.3: Demonstration of the light's memory function, retaining the last color temperature setting.
6.4 Official Product Video
Video 6.1: An overview of the Fanbulous 72 inch Large Ceiling Fan with Lights and Remote, demonstrating its features and operation.
7. Maintenance
Regular maintenance ensures optimal performance and longevity of your ceiling fan.
- Cleaning: Periodically wipe the fan blades and motor housing with a soft, damp cloth. Do not use abrasive cleaners or solvents.
- Blade Screws: Check all blade screws for tightness at least twice a year. Loose screws can cause wobbling and noise.
- Light Cover: The LED light cover can be removed for cleaning if necessary. Ensure it is securely reattached.
- No Lubrication: The DC motor is permanently lubricated and does not require oiling.
8. Troubleshooting
If you experience issues with your fan, refer to the following common problems and solutions:
| Problem | Possible Cause | Solution |
|---|---|---|
| Fan does not start | No power to the fan; Loose wire connections; Remote control battery dead. | Check circuit breaker; Verify all wire connections are secure; Replace remote control batteries. |
| Fan wobbles | Loose blade screws; Unbalanced blades; Loose mounting bracket. | Tighten all blade screws; Ensure blades are installed correctly; Check mounting bracket for secure attachment. |
| Light does not work | Loose wire connection to light kit; LED driver failure. | Check light kit wiring; Contact customer support if LED driver is suspected. |
| Remote control not working | Dead batteries; Remote not paired (if applicable); Obstruction between remote and receiver. | Replace batteries; Refer to full manual for pairing instructions; Ensure clear line of sight. |
For more detailed troubleshooting or issues not listed here, please refer to the comprehensive manual or contact customer support.
9. Warranty and Customer Support
Fanbulous is committed to your satisfaction. This LED ceiling fan comes with the following warranty:
- Motor: 5-year warranty
- Other Components: 2-year warranty
Additionally, 2-year customer support is provided. If you have any questions, concerns, or require assistance with your product, please do not hesitate to contact Fanbulous customer support. Refer to your purchase documentation for contact details.