1. Introduction
This user manual provides comprehensive instructions for the safe and effective operation of your LeTkingok Portable Dual Channel VI Curve Tester NI-210SC. Please read this manual thoroughly before using the device and retain it for future reference. This device is designed for analyzing the characteristic curves of electronic components.
2. Safety Information
- Prohibit Live Operation: Always ensure the circuit under test is powered off and discharged before connecting or disconnecting the tester probes. Failure to do so may result in damage to the device or personal injury.
- Do not attempt to disassemble or modify the device. Refer all servicing to qualified personnel.
- Keep the device away from water, moisture, and extreme temperatures.
- Use only the provided accessories (testing pen, testing clip, Type-C charging cable) to ensure proper functionality and safety.
- Ensure proper ventilation during operation.
3. Package Contents
Verify that all items listed below are included in your package:
- 1 x VI Curve Tester (NI-210SC)
- 1 x Testing Pen
- 1 x Testing Clip
- 1 x Type-C Charging Cable

Figure 3.1: The LeTkingok NI-210SC VI Curve Tester shown with its testing pen, testing clip, and Type-C charging cable.
4. Product Overview
The LeTkingok NI-210SC is a portable dual-channel VI curve tester equipped with a 2.0-inch TFT screen. It features adjustable frequency and internal resistance levels for precise component analysis.
4.1 Key Features
- Dual signal input (A and B channels).
- 18 adjustable frequency levels.
- 9 adjustable internal resistance levels.
- Supports A or A+B display modes.
- Trigger signal output (5V).
- Built-in 3000mAh lithium battery for 5-6 hours continuous operation.
- Type-C charging interface.
- 2.0-inch TFT screen display.
- Automatic shutdown after 15 minutes of inactivity.
4.2 Device Layout
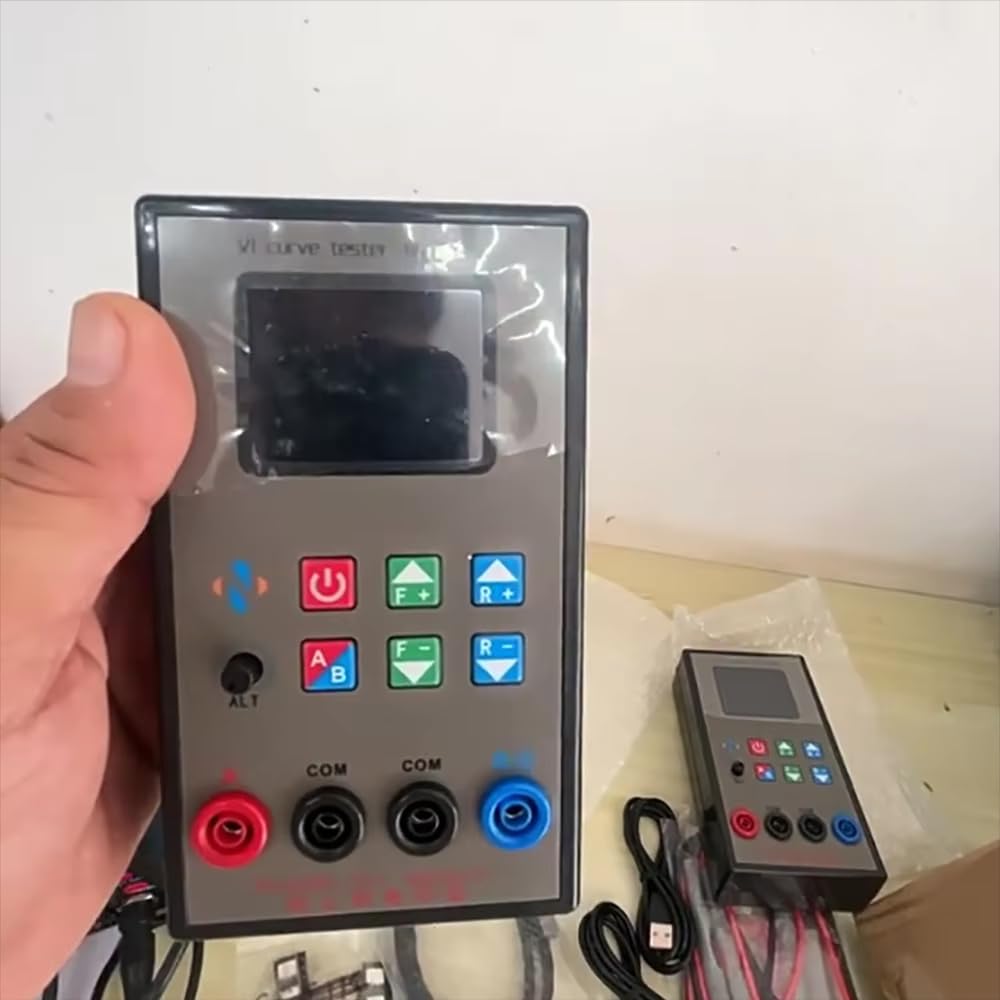
Figure 4.1: Front view of the device, showing the TFT screen, control buttons, and input ports.

Figure 4.2: Side view of the device, highlighting the Type-C charging port.
5. Setup
5.1 Charging the Device
- Connect the provided Type-C charging cable to the Type-C port on the side of the VI Curve Tester.
- Connect the other end of the cable to a standard USB power adapter (not included) or a computer's USB port.
- The battery indicator on the TFT screen will show charging status. A full charge typically takes approximately 3-4 hours.
5.2 Connecting Probes
- Identify the 'A' (red), 'COM' (black), and 'B/G' (blue) input ports on the front panel.
- Connect the red testing pen/clip to the 'A' port for Channel A measurements.
- Connect the black testing pen/clip to the 'COM' port for common ground.
- For dual-channel measurements, connect the blue testing pen/clip to the 'B/G' port for Channel B.
6. Operating Instructions
6.1 Power On/Off
- To power on, press and hold the Power button until the TFT screen illuminates.
- To power off, press and hold the Power button again until the screen turns off.
- The device will automatically shut down after 15 minutes of inactivity to conserve battery.
6.2 Adjusting Parameters
Use the control buttons to adjust the testing parameters:
- Frequency Adjustment: Use the F+ and F- buttons to cycle through 18 frequency levels (20Hz to 15kHz).
- Internal Resistance Adjustment: Use the R+ and R- buttons to select from 9 internal resistance levels (50R to 7K).
- Channel Selection: Press the A/B button to switch between Channel A display, Channel B display, or A+B dual display mode.
- ALT Button: The ALT button may provide alternative functions or display modes depending on the firmware version. Refer to on-screen prompts if available.
6.3 Performing a Test
- Ensure Safety: Power off and discharge the component or circuit you intend to test.
- Connect Probes: Connect the testing pen/clip to the component's terminals. For example, connect the red probe to one terminal and the black probe to the other for single-channel testing.
- Select Parameters: Adjust the desired frequency and internal resistance using the F+/F- and R+/R- buttons.
- Observe VI Curve: The VI curve will be displayed on the 2.0-inch TFT screen. Analyze the curve to determine the component's characteristics.
- Dual Channel Testing: For comparing two components or two points on a circuit, use both A and B channels and select the A+B display mode.

Figure 6.1: The VI Curve Tester in operation, connected to a circuit board for component analysis.
6.4 Trigger Signal Output
The device provides a 5V trigger signal output. This can be used for synchronization with other test equipment or for specific circuit analysis applications. Consult the device's port labels for the exact trigger output location.
7. Maintenance
- Cleaning: Use a soft, dry cloth to clean the device's exterior. Do not use abrasive cleaners or solvents.
- Battery Care: To prolong battery life, avoid fully discharging the battery frequently. Charge the device regularly, especially if it will be stored for extended periods.
- Storage: Store the device in a cool, dry place, away from direct sunlight and extreme temperatures.
- Probe Inspection: Regularly inspect the testing pens and clips for any signs of damage or wear. Replace them if necessary to ensure accurate and safe operation.
8. Troubleshooting
| Problem | Possible Cause | Solution |
|---|---|---|
| Device does not power on. | Low battery or no charge. | Connect the device to a power source using the Type-C cable and charge it. |
| No VI curve displayed. | Probes not properly connected to the component or device. | Ensure probes are securely connected to both the tester and the component. Verify the component is not open or shorted. |
| Inaccurate readings. | Incorrect frequency/resistance settings; damaged probes. | Adjust frequency and internal resistance settings. Inspect probes for damage and replace if necessary. |
| Device shuts off unexpectedly. | Low battery; automatic shutdown due to inactivity. | Recharge the battery. If not due to inactivity, contact support. |
9. Specifications
| Parameter | Value |
|---|---|
| Voltage | 4V |
| Internal Resistance | 50R, 500R, 1K, 2K, 3K, 4K, 5K, 6K, 7K (9 levels) |
| Frequency | 20Hz, 100Hz, 500Hz, 1kHz, 2kHz, 3kHz, 4kHz, 5kHz, 6kHz, 7kHz, 8kHz, 9kHz, 10kHz, 11kHz, 12kHz, 13kHz, 14kHz, 15kHz (18 levels) |
| Display Screen | 2.0-inch TFT |
| Battery | Built-in 3000mAh Lithium Battery |
| Continuous Working Time | 5-6 hours |
| Charging Interface | Type-C |
| Automatic Shutdown | After 15 minutes of no button operation |
| Dimensions | 140 x 80 x 40mm |
| Net Weight (Host) | 270g |
| Net Weight (Accessory) | 120g |
10. Warranty and Support
For warranty information, technical support, or service inquiries, please contact your retailer or the manufacturer directly. Keep your purchase receipt as proof of purchase.