Camonity B0FT2HRPGT
Camonity Digital Binoculars with Camera User Manual
Model: B0FT2HRPGT
Introduction
Thank you for choosing the Camonity Digital Binoculars with Camera. This device combines powerful 12x optical magnification binoculars with a high-resolution camera, allowing you to observe distant subjects and capture photos and videos. Featuring a 2.4-inch LCD display, 48MP photo capability, and 2.5K video recording, it is designed for various outdoor activities, including bird watching, sports events, and travel. Please read this manual carefully to ensure proper use and maintenance of your device.
Safety Information
- Do not look directly at the sun through the binoculars, as this can cause permanent eye damage.
- Keep the device away from water and high humidity to prevent damage to electronic components.
- Avoid dropping or subjecting the device to strong impacts.
- Do not attempt to disassemble or repair the device yourself. Contact customer support for assistance.
- Store the binoculars in a cool, dry place when not in use.
Package Contents
- Binoculars Body
- USB Cable
- Clean Accessories
- 32GB Memory Card (pre-installed or included separately)
- User Manual (this document)
Product Overview
Familiarize yourself with the various parts and controls of your digital binoculars.
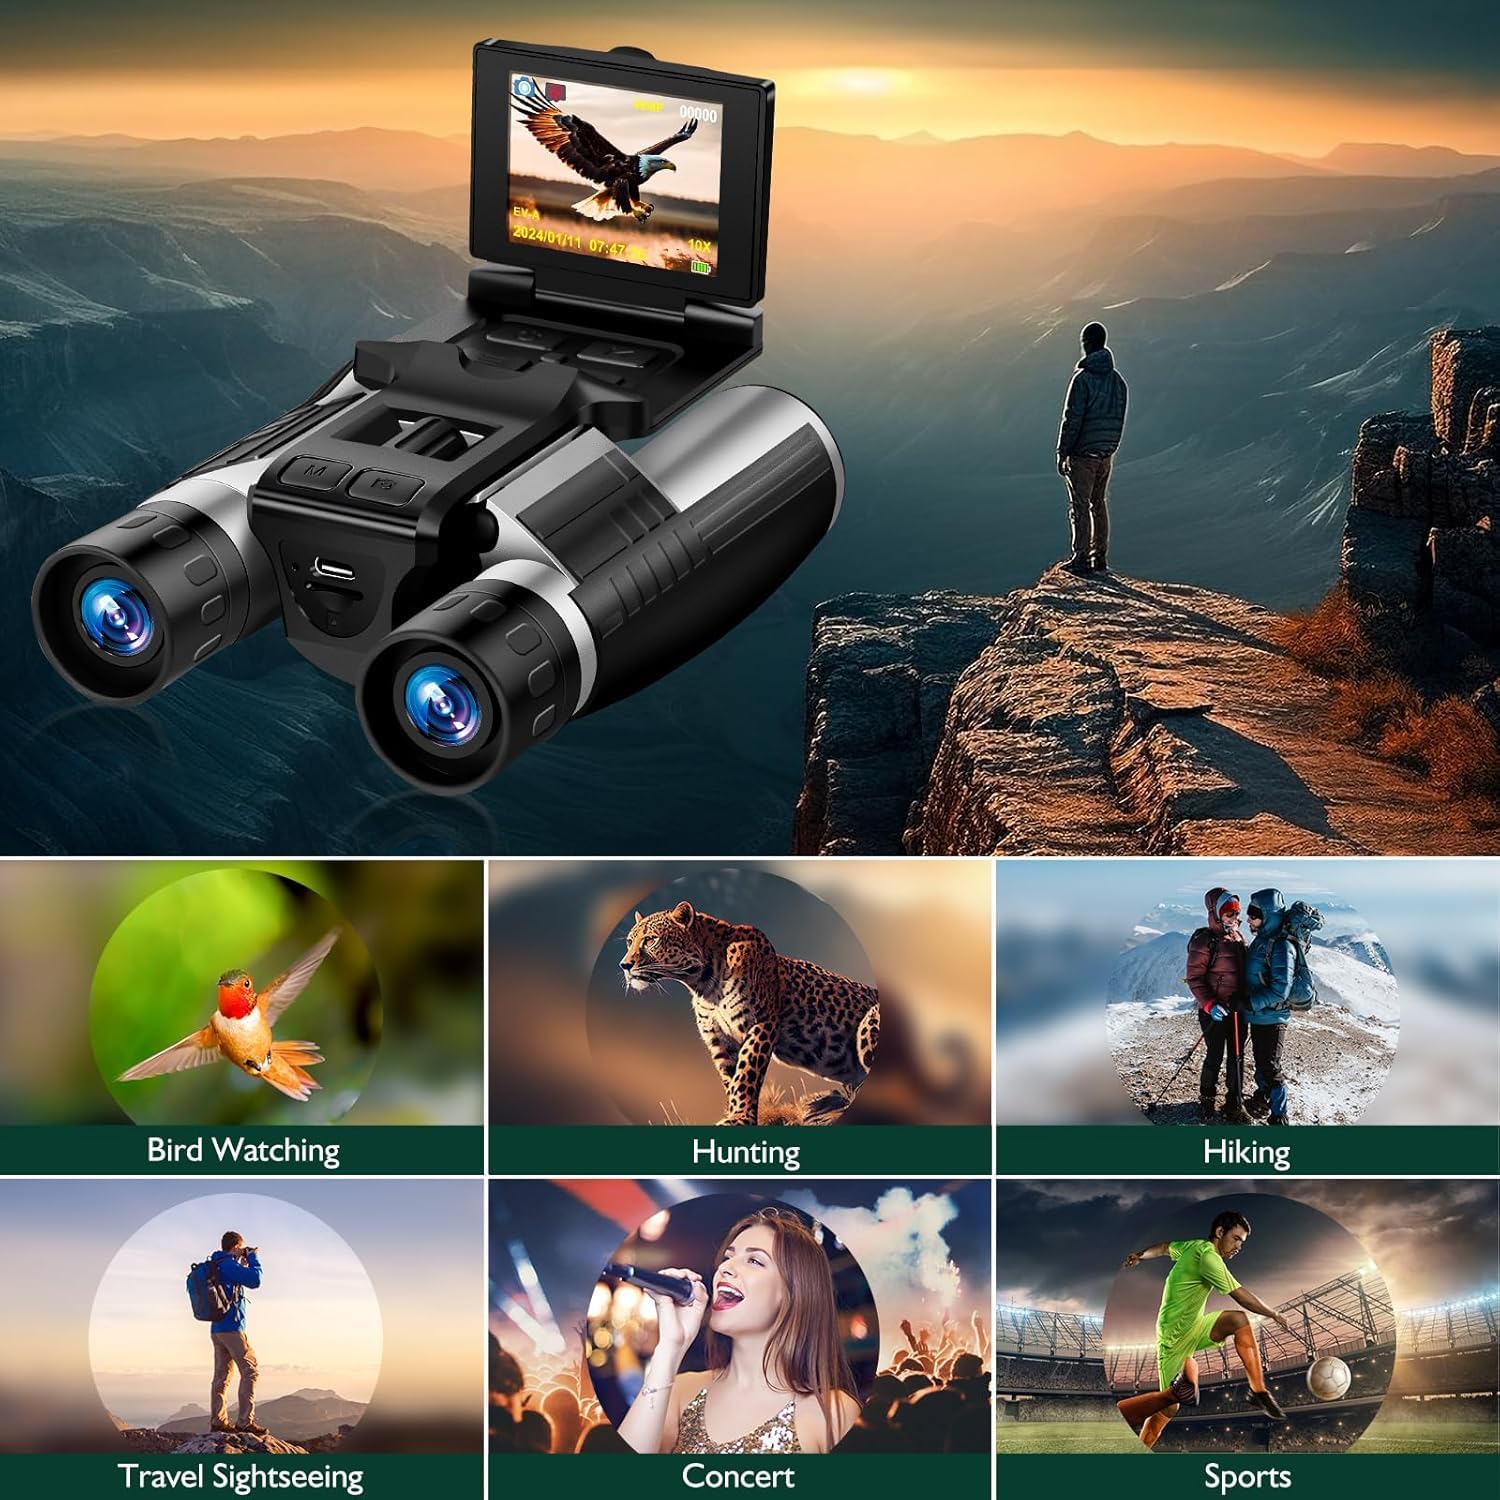
Figure 1: Detailed view of the Camonity Digital Binoculars with labeled components.
This image illustrates the key components of the binoculars, including the eyepiece for optical viewing, the LCD screen for digital display, the regulating wheel for focus adjustment, the zoom wheel for magnification control, and various buttons for power, mode selection, and camera functions. An assembly bracket port for tripod mounting is also visible.
- Eyepiece: For optical viewing.
- LCD Screen: 2.4-inch display for viewing images, videos, and menu.
- Regulating Wheel: Adjusts focus for clear viewing.
- Zoom Wheel: Controls digital zoom level.
- Power Button: Turns the device on/off.
- Mode Button: Switches between photo, video, and playback modes.
- Camera Button: Captures photos or starts/stops video recording.
- Left/Right Buttons: Navigation in menus or playback.
- USB Port: For charging and data transfer.
- Assembly Bracket Port: 1/4" thread for tripod mounting.
Setup
1. Battery Installation and Charging
The device requires one 9V battery (included). Ensure the battery is correctly inserted according to polarity markings. The internal 1000mAh rechargeable battery supports up to 3 hours of continuous video recording. To charge, connect the binoculars to a USB power source using the provided USB cable. The charging indicator will show the charging status.
2. Memory Card Insertion
A 32GB memory card is included. Locate the memory card slot, usually on the side or bottom of the device. Insert the memory card with the gold contacts facing down until it clicks into place. The device supports up to 128GB memory cards.
3. Powering On/Off
Press and hold the Power Button to turn the binoculars on. The LCD display will illuminate. To turn off, press and hold the Power Button again until the display shuts down.
Operating Instructions
1. Basic Observation
Look through the eyepieces. Adjust the Regulating Wheel until the image appears clear and sharp. The binoculars offer 12x optical magnification.
2. Using the LCD Display
The 2.4-inch LCD display provides a digital view of your subject, menu options, and playback. It can be flipped open for easier viewing.

Figure 2: LCD View Screen and Magnification.
This image highlights the 2.4-inch LCD screen in use, showing a magnified view of a snowboarder. It also indicates various digital magnification levels (6X, 8X, 10X) achievable with the device.
3. Photo Capture
- Turn on the device.
- Press the Mode Button until the camera icon is displayed on the LCD screen.
- Frame your subject using the LCD display or eyepieces.
- Press the Camera Button to take a 48MP photo.
4. Video Recording
- Turn on the device.
- Press the Mode Button until the video camera icon is displayed on the LCD screen.
- Frame your subject.
- Press the Camera Button once to start 2.5K video recording. A recording indicator will appear.
- Press the Camera Button again to stop recording.

Figure 3: 2.5K Video and 48MP Image Capture.
This image demonstrates the quality of 2.5K video and 48MP photos captured by the binoculars, featuring an eagle in flight and a leopard on a tree branch. It also shows a playback screen with a child and adult viewing through binoculars.
5. Zoom Functions
The binoculars feature 12x optical zoom and 8x digital zoom. Use the Zoom Wheel to adjust the digital magnification level while observing or recording.
6. Playback Mode
- Press the Mode Button to enter playback mode (usually indicated by a play icon).
- Use the Left/Right Buttons to navigate through your captured photos and videos.
- Press the Camera Button to play a selected video.
7. Connecting to a Computer
To transfer files, connect the binoculars to your computer using the provided USB cable. The device will appear as a removable disk, allowing you to access and copy your photos and videos.
8. Tripod Compatibility
For stable viewing or high-quality photo/video capture, the binoculars can be mounted on any standard tripod (not included) using the 1/4" assembly bracket port. This is especially recommended for prolonged use or when using higher zoom levels.
Maintenance
- Cleaning Lenses: Use the provided clean accessories (microfiber cloth) to gently wipe the lenses. Do not use abrasive cloths or chemical cleaners.
- Cleaning Body: Wipe the body of the binoculars with a soft, damp cloth. Avoid excessive moisture.
- Storage: Store the binoculars in their protective case or a dry, dust-free environment when not in use. Remove the 9V battery if storing for extended periods.
- Battery Care: Recharge the internal battery regularly, even if not frequently used, to maintain its lifespan.
Troubleshooting
| Problem | Possible Cause | Solution |
|---|---|---|
| Device does not power on. | Battery is low or depleted; 9V battery not inserted correctly. | Charge the internal battery; check 9V battery insertion and replace if necessary. |
| Blurry images/videos. | Focus not adjusted; lenses are dirty; device shaking during capture. | Adjust the regulating wheel; clean lenses; use a tripod for stability. |
| Cannot capture photos/videos. | Memory card full or not inserted; incorrect mode selected. | Check memory card capacity and insertion; format card if needed; ensure correct mode (photo/video) is selected. |
| LCD display is blank. | Device is off; display brightness too low; display damaged. | Power on the device; adjust display settings; contact support if damaged. |
Specifications
- Brand: Camonity
- Model: B0FT2HRPGT
- Magnification: 12x Optical, 8x Digital
- Objective Lens Diameter: 32 Millimeters
- Display: 2.4-inch LCD
- Photo Resolution: Up to 48MP
- Video Resolution: Up to 2.5K
- Battery: 1000mAh Rechargeable (internal), 1x 9V (included)
- Storage: Supports up to 128GB (32GB SD card included)
- Special Feature: Built-In Camera
- Item Weight: 1.3 pounds
- Dimensions: 5.74" L x 3.8"/4.3" W x 2" H (approximate, from feature bullets)
Warranty and Support
For warranty information or technical support, please refer to the product packaging or contact Camonity customer service. Keep your purchase receipt as proof of purchase.
Ask a question about this manual
Ask about setup, troubleshooting, compatibility, parts, safety, or missing instructions. Manuals+ will review the question and use this page’s manual context to help answer it.