1. Introduction
The JDDWIN Joy Con Charging Grip Adapter allows users to connect their original Nintendo Switch (V1) Joy-Con controllers to the Nintendo Switch 2 console. This adapter provides a secure magnetic connection and enables charging of the Joy-Cons when attached to the Switch 2. It is designed to extend the usability of your existing Joy-Cons with the newer console.
2. Safety Information
- Keep the adapter away from water and other liquids.
- Do not attempt to disassemble or modify the adapter.
- Avoid exposing the adapter to extreme temperatures or direct sunlight.
- Use only with compatible Nintendo Switch (V1) Joy-Cons and Nintendo Switch 2 consoles.
- Keep out of reach of small children.
3. Package Contents
- 1x JDDWIN Magnetic Joy-Con Adapter
- 1x Quick Start Guide
4. Product Features
- Seamless Compatibility: Connects original Nintendo Switch (V1) Joy-Con controllers to the Nintendo Switch 2 console.
- Charging Function: Charges attached Joy-Cons when their battery is low.
- Effortless Magnetic Connection: Automatically snaps and locks to the Switch 2 console for stable gameplay.
- Full Controller Functionality: Maintains HD rumble, motion controls, and button responsiveness without latency.
- Portable Design: Slim and lightweight for easy transport.

Figure 4.1: Adapter Design Details. An exploded view highlighting key design elements: the release button for disconnecting from the Switch 2, the +/- button for distinguishing connectors, the LED guide panel for status, and the wrist strap for secure gameplay.

Figure 4.2: LED Display. This view focuses on the adapter's LED display, which indicates the player number and the synchronization status of the connected Joy-Cons.
5. Setup
5.1 Attaching Joy-Cons to the Adapter
- Align the Joy-Con with the adapter's rail.
- Slide the Joy-Con down the rail until it clicks into place. Ensure it is securely fastened.
- Repeat for the second Joy-Con on the other side of the adapter.
5.2 Connecting the Adapter to Nintendo Switch 2
- Ensure your Nintendo Switch 2 console is powered on.
- Align the adapter (with Joy-Cons attached) with the rails on the sides of the Nintendo Switch 2 console.
- Gently slide the adapter onto the console. The magnetic connection will automatically snap and lock the adapter into place.

Figure 5.1: Magnetic Connection. This image details the magnetic connection mechanism, showing the charging connector on the Switch 2 console and the corresponding Joy-Con charging connector on the adapter.

Figure 5.2: Adapter Attached to Console. This image illustrates the JDDWIN Joy Con Charging Grip Adapter connected to a Nintendo Switch 2 console, with a blue Joy-Con on the left and a red Joy-Con on the right, ready for gameplay.
5.3 Pairing Method for Joy-Cons with Switch 2
Before installing the Joy-Cons onto the adapter and then to the Switch 2, it is recommended to establish a Bluetooth wireless connection.
- On the Nintendo Switch 2 home menu, select "Settings".
- Navigate to "Controllers and Sensors" → "Change Grip/Order".
- Press and hold the SYNC button on the side of each Joy-Con for 3 seconds. The LED indicators on the Joy-Con will begin blinking.
- The Switch 2 console will automatically detect the Joy-Cons. Once "Paired" is displayed on the screen, the process is complete.
6. Operating Instructions
6.1 Gameplay with Adapter
Once the Joy-Cons are attached to the adapter and connected to the Nintendo Switch 2, they will function as integrated controllers. All standard Joy-Con features, including HD rumble and motion controls, will be available.
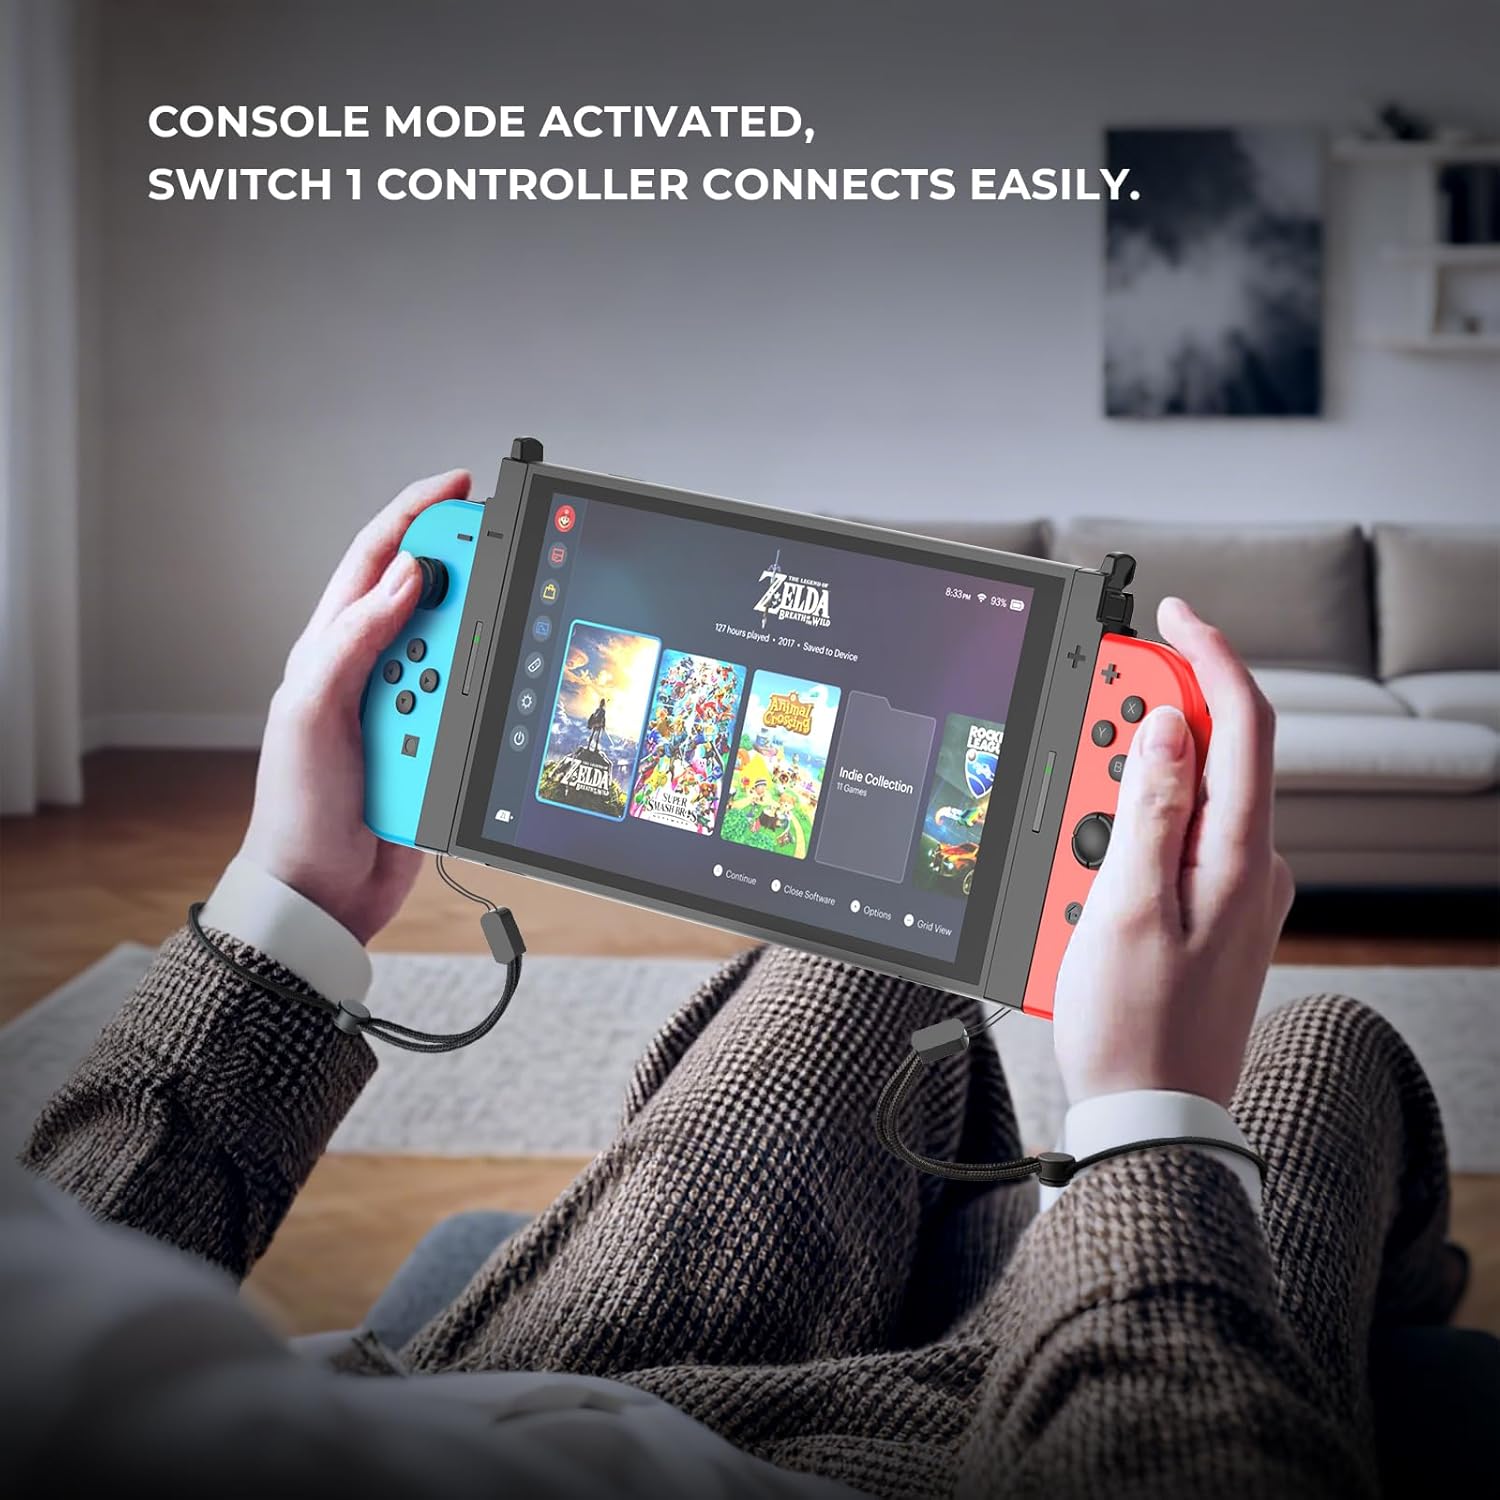
Figure 6.1: Console Mode Activated. This image demonstrates the adapter in use, with a user holding the Nintendo Switch 2 console and attached Joy-Cons, showcasing the 'Console Mode Activated' functionality.
6.2 Detaching the Adapter from Switch 2
- Locate the release buttons on the top of the adapter (refer to Figure 4.1).
- Press and hold the release buttons on both sides of the adapter.
- Gently slide the adapter upwards to detach it from the Nintendo Switch 2 console.
6.3 Detaching Joy-Cons from the Adapter
- Locate the small release tab on the back of each Joy-Con.
- Press and hold the release tab.
- Slide the Joy-Con upwards along the adapter's rail to remove it.

Figure 6.2: Adapter Detached. The image displays the adapter with a blue Joy-Con and a red Joy-Con attached, separated from the Switch 2 console, illustrating its modular design.
7. Charging Functionality
The JDDWIN Joy Con Charging Grip Adapter is equipped with a charging function. When the adapter is securely connected to the Nintendo Switch 2 console and Joy-Cons are attached, the Joy-Cons will charge automatically if their battery level is low. The charging status may be indicated by the Joy-Con's LED lights or on the Switch 2 console's screen.

Figure 7.1: Charging Indicators. The adapter is shown connected to the Switch 2 console with Joy-Cons, indicating active charging with green glow effects around the Joy-Cons.
8. Maintenance
- Cleaning: Use a soft, dry cloth to clean the adapter. Do not use abrasive cleaners or solvents.
- Storage: Store the adapter in a cool, dry place away from direct sunlight when not in use.
- Handling: Avoid dropping the adapter or subjecting it to strong impacts.
9. Troubleshooting
- Joy-Cons not connecting/pairing:
- Ensure the Joy-Cons are fully charged.
- Verify that the Joy-Cons are original Nintendo Switch (V1) controllers.
- Re-attempt the pairing process as described in Section 5.3.
- Ensure the adapter is securely attached to the Switch 2 console.
- Joy-Cons not charging:
- Confirm the adapter is firmly connected to the Switch 2 console.
- Ensure the Joy-Cons are correctly seated in the adapter.
- Note that Joy-Cons only charge when their battery is low. If they are already sufficiently charged, they may not show a charging indicator.
- Check if the Switch 2 console itself is powered on or in a charging state.
- Loose connection:
- Ensure both the Joy-Cons are fully clicked into the adapter and the adapter is fully snapped onto the Switch 2 console.
- Inspect the connection points on the adapter, Joy-Cons, and Switch 2 for any obstructions or damage.
10. Specifications
| Model Number | JDD-2327B |
| Material | Reinforced ABS |
| Weight | 2.39 ounces (approx. 68g) |
| Dimensions | 1.8" x 0.9" x 0.8" (per adapter side) |
| Compatibility | Nintendo Switch 2 Console, Original Nintendo Switch (V1) Joy-Cons (Not compatible with Switch Lite/OLED Joy-Cons) |
11. Warranty and Support
JDDWIN products are manufactured to high-quality standards. For any questions, technical support, or warranty inquiries, please contact JDDWIN customer service through the retailer's platform or visit the official JDDWIN website for contact information. Please retain your proof of purchase for warranty claims.


