Caroma D1 (B0FSZZL7PR)
Caroma Electric Scooter D1 User Manual
Model: D1 (B0FSZZL7PR) | Brand: Caroma
1. Introduction
Welcome to the Caroma Electric Scooter D1 user manual. This manual provides essential information for the safe operation, maintenance, and troubleshooting of your new electric scooter. Please read this manual thoroughly before using the scooter to ensure optimal performance and safety.

Figure 1: Caroma Electric Scooter D1 - General View (Animated)
2. Important Safety Warnings
Failure to follow these safety instructions could result in serious injury or death.
- Always wear a helmet and appropriate safety gear (knee pads, elbow pads) when riding.
- Do not ride in wet conditions, heavy rain, or through puddles.
- Avoid riding on uneven surfaces, loose gravel, or slippery terrain.
- Ensure all bolts and fasteners are tightened before each ride.
- Do not exceed the maximum load capacity of 300 lbs (136 kg).
- Keep both hands on the handlebars while riding.
- Familiarize yourself with local laws and regulations regarding electric scooter use.
- Children should only operate the scooter under adult supervision.
3. Setup and Assembly
Your Caroma Electric Scooter D1 comes partially assembled. Follow these steps for final assembly and initial setup:
- Unpacking: Carefully remove all components from the packaging. Check for any damage during transit.
- Handlebar Installation: Attach the handlebar to the main stem. Ensure it is securely fastened with the provided bolts. The handlebar is designed to fold for transport; ensure it is locked in the upright position before riding.
- Seat Adjustment: Adjust the seat height to a comfortable riding position. Ensure the quick-release lever or bolts are securely tightened.
- Basket Attachment: Secure the rear carry basket to the designated mounting points using the provided hardware.
- Tire Inflation: Inflate the 14-inch fat tires to the recommended pressure (check tire sidewall for PSI). The tires are air-filled for better shock absorption.
- Brake Check: Test both front and rear disc brakes to ensure they are functioning correctly. Adjust brake tension if necessary.
- Initial Charge: Fully charge the scooter before its first use. Refer to the "Charging" section for detailed instructions.
Video 1: Overview of the Caroma D1 Electric Scooter, demonstrating its features and design. This video is provided by the seller and offers a visual guide to the product.
4. Operating Instructions
To operate your Caroma Electric Scooter D1, follow these steps:
- Power On: Insert the key into the ignition located near the battery compartment and turn it to the "ON" position. The battery level indicator on the handlebar will light up.
- Throttle Control: The scooter features a twist-grip throttle on the right handlebar. Gently twist the throttle towards you to accelerate.
- Braking: Use the brake levers on both handlebars to slow down or stop. The scooter is equipped with dual mechanical disc brakes for effective stopping power. The rear tail light will illuminate brighter when brakes are applied.
- Lights: Press the headlight button on the left handlebar to turn the front headlight and rear tail light on/off.
- Bell: Use the bell on the left handlebar to alert pedestrians or other riders.
- Folding Mechanism: To fold the handlebar for transport, locate the folding latch near the base of the handlebar stem. Disengage the latch and fold the handlebar down. Ensure it is securely latched when unfolded for riding.
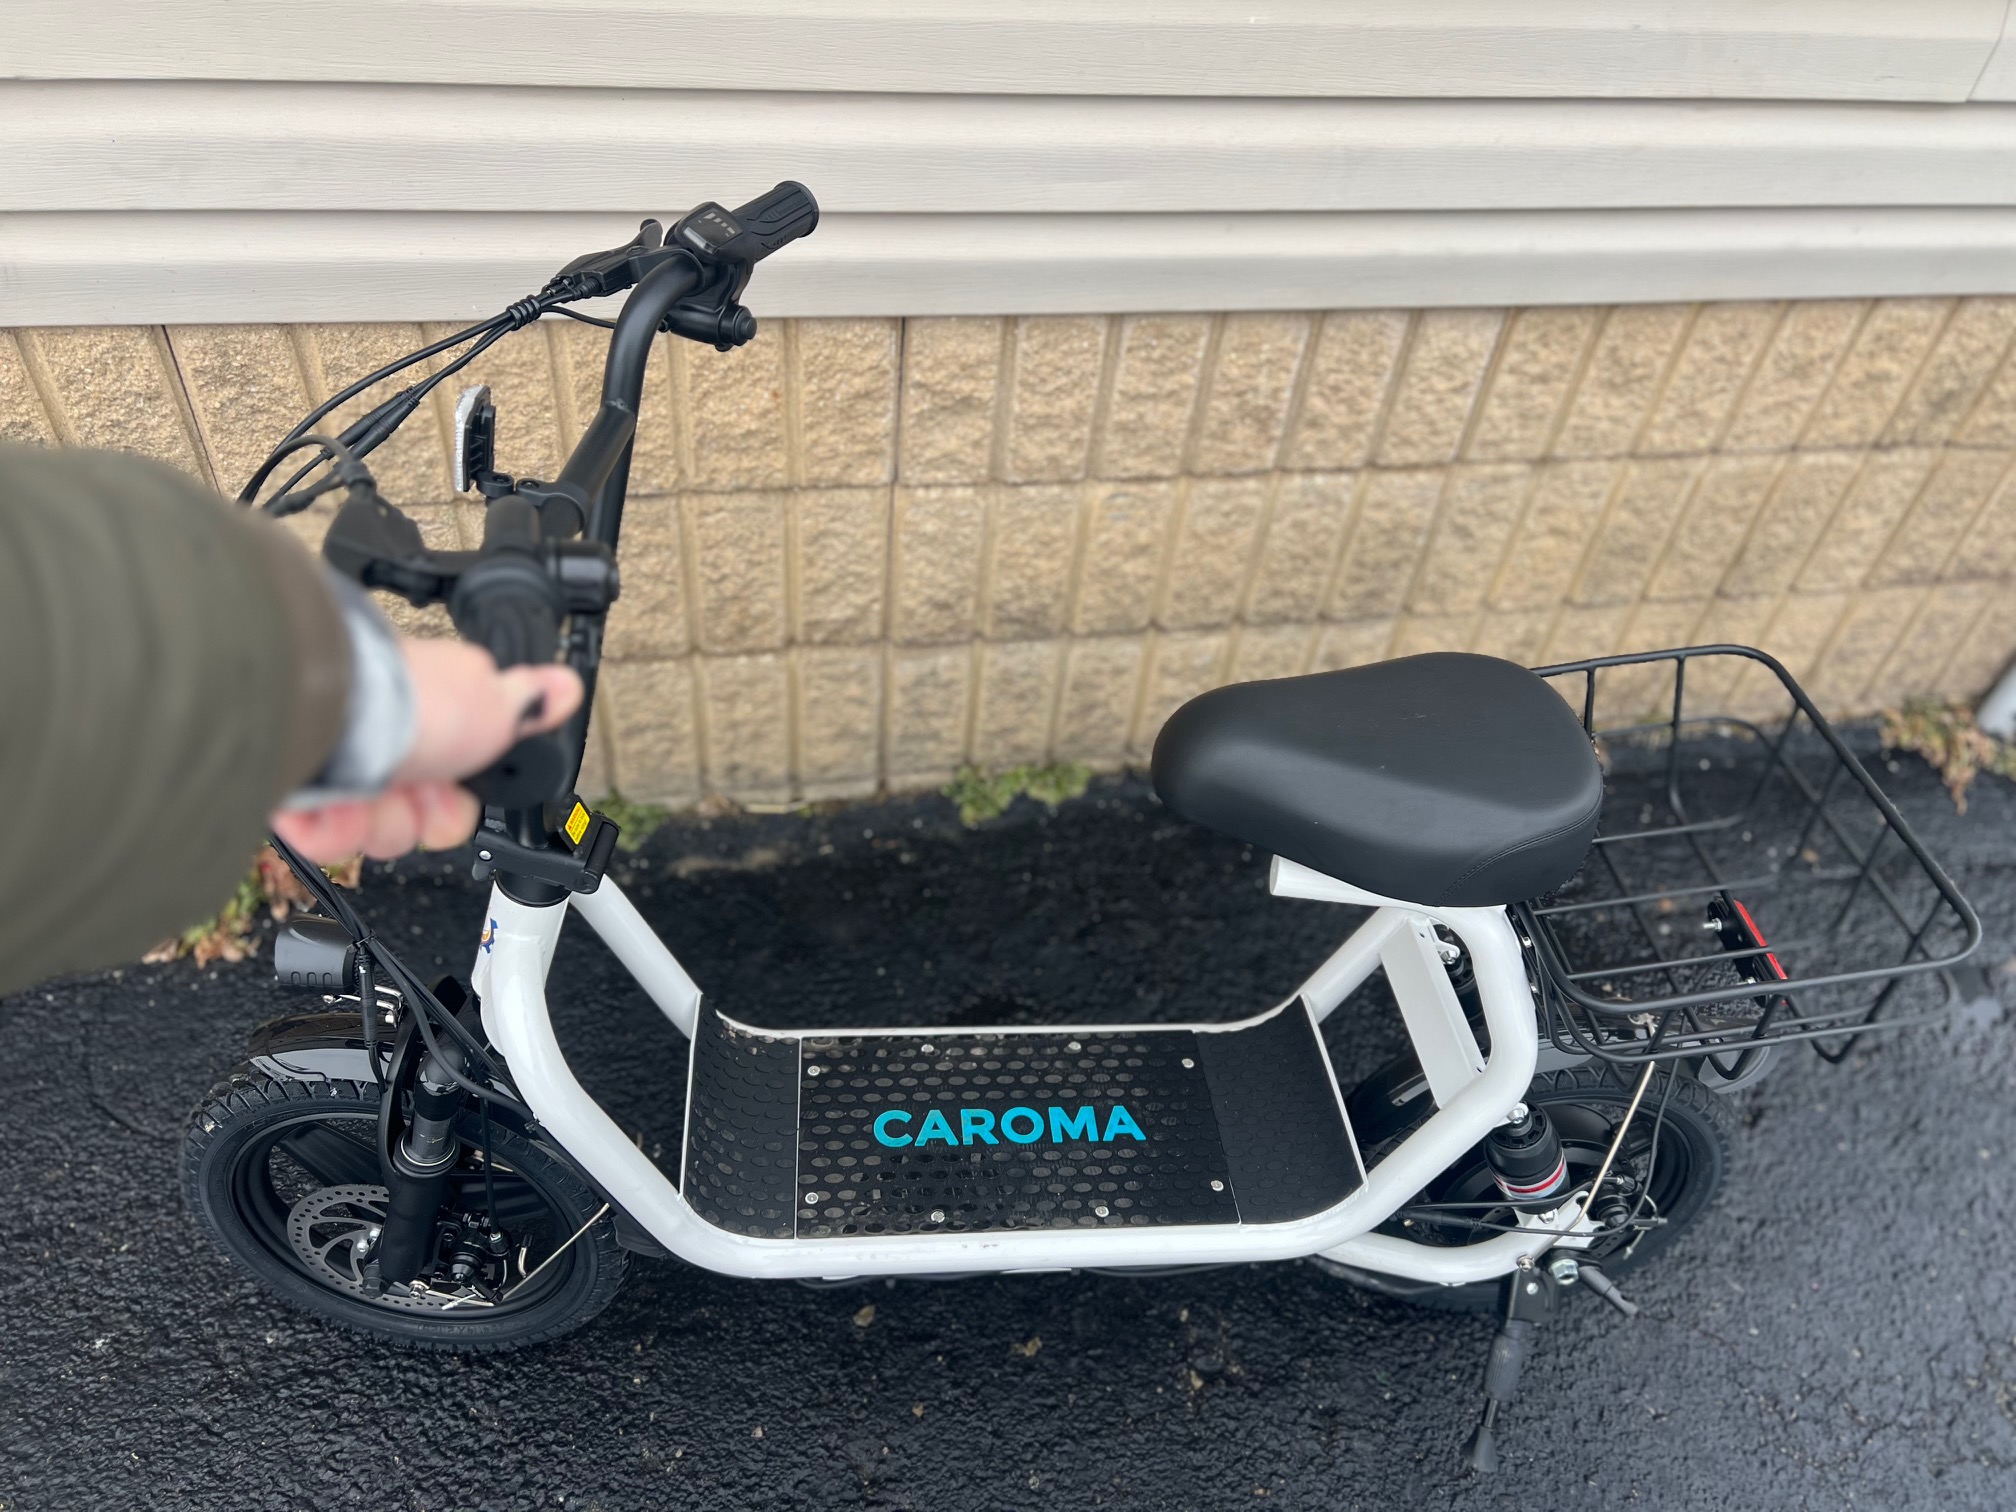
Figure 2: Handlebar Controls and Battery Indicator (Illustrative)
5. Charging the Battery
To charge your Caroma Electric Scooter D1:
- Ensure the scooter is powered off.
- Locate the charging port on the side of the battery compartment, near the ignition key.
- Connect the charger to the charging port, then plug the charger into a standard wall outlet.
- The indicator light on the charger will typically show red during charging and turn green when fully charged.
- Charging time is approximately 7-8 hours for a full charge.
- Always use the original charger provided with your scooter.
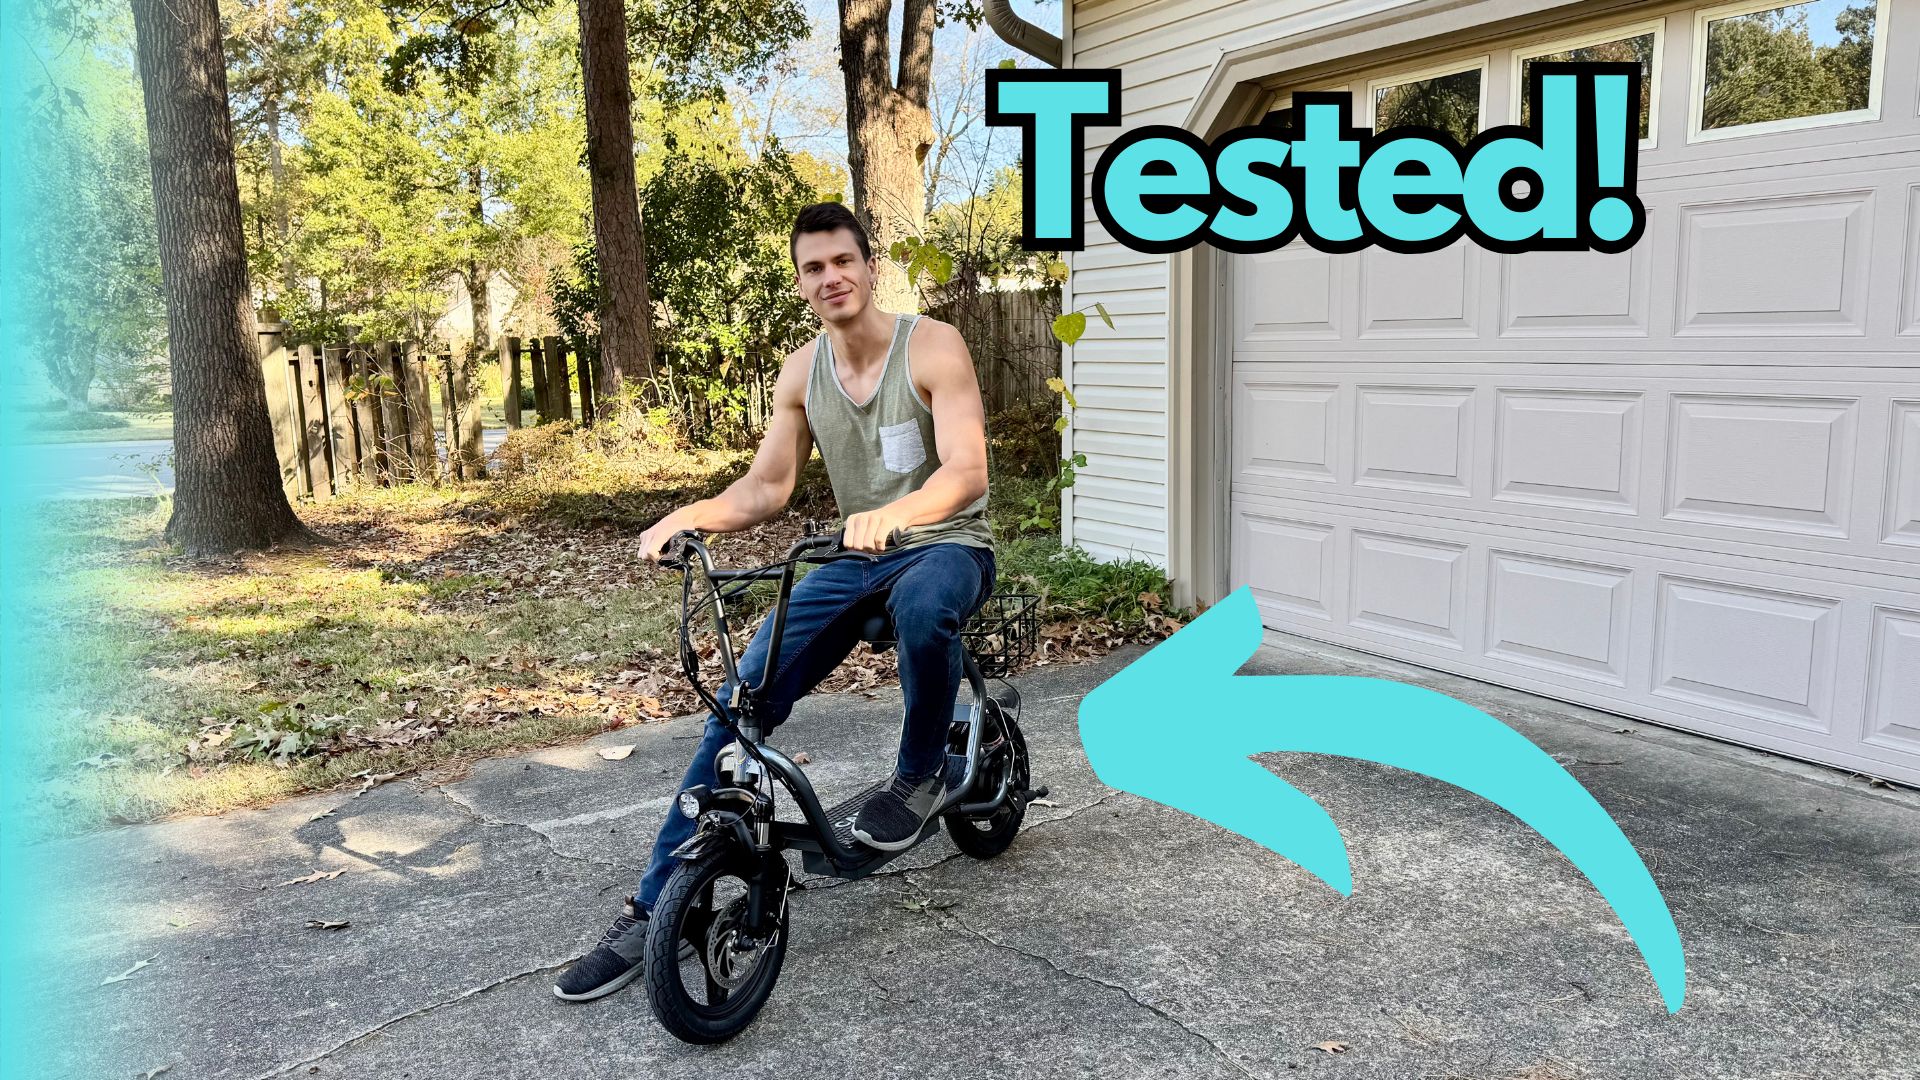
Figure 3: Charging Port and Ignition Key (Illustrative)
6. Maintenance
- Cleaning: Wipe down the scooter with a damp cloth. Do not use high-pressure water or immerse the scooter in water.
- Tires: Regularly check tire pressure and inflate as needed. Inspect tires for wear and tear.
- Brakes: Periodically check brake pads and cables for wear. Adjust brake tension to ensure responsive braking.
- Battery Care: Store the scooter in a cool, dry place. If storing for extended periods, charge the battery to 50-70% and recharge every 2-3 months.
- Fasteners: Periodically check all screws, bolts, and quick-release mechanisms to ensure they are tight and secure.
7. Troubleshooting
| Problem | Possible Cause | Solution |
|---|---|---|
| Scooter does not power on | Battery is low or dead; Ignition key not in ON position | Charge the battery; Turn the ignition key to ON |
| Motor not engaging | Throttle issue; Loose connection | Check throttle for obstruction; Inspect all cable connections |
| Brakes feel loose | Brake cable tension is low; Worn brake pads | Adjust brake cable tension; Replace brake pads |
| Reduced range/speed | Low tire pressure; Battery degradation; Heavy load | Inflate tires to recommended PSI; Consult support for battery check; Reduce load |
8. Specifications
| Feature | Detail |
|---|---|
| Brand | Caroma |
| Model | D1 (B0FSZZL7PR) |
| Motor Power | 800W (Rated) / 1200W (Peak) |
| Max Range | Up to 30 Miles |
| Max Speed | Up to 20 Mph |
| Tire Size | 14-inch Fat Tires |
| Braking System | Dual Mechanical Disc Brakes |
| Suspension | Dual Suspension |
| Max Load | 300 lbs (136 kg) |
| Features | Foldable, Seat, Carry Basket, Headlight, Tail Light |
9. Warranty and Support
For warranty information, technical support, or service inquiries, please refer to the warranty card included with your product or visit the official Caroma website. Keep your purchase receipt as proof of purchase.
Caroma Store: Visit the Caroma Store on Amazon