1. Introduction
Thank you for choosing the Viewedge 49" Curved DQHD 120Hz Gaming Monitor. This manual provides essential information for the proper installation, operation, and maintenance of your monitor. Please read it thoroughly before using the product and retain it for future reference.
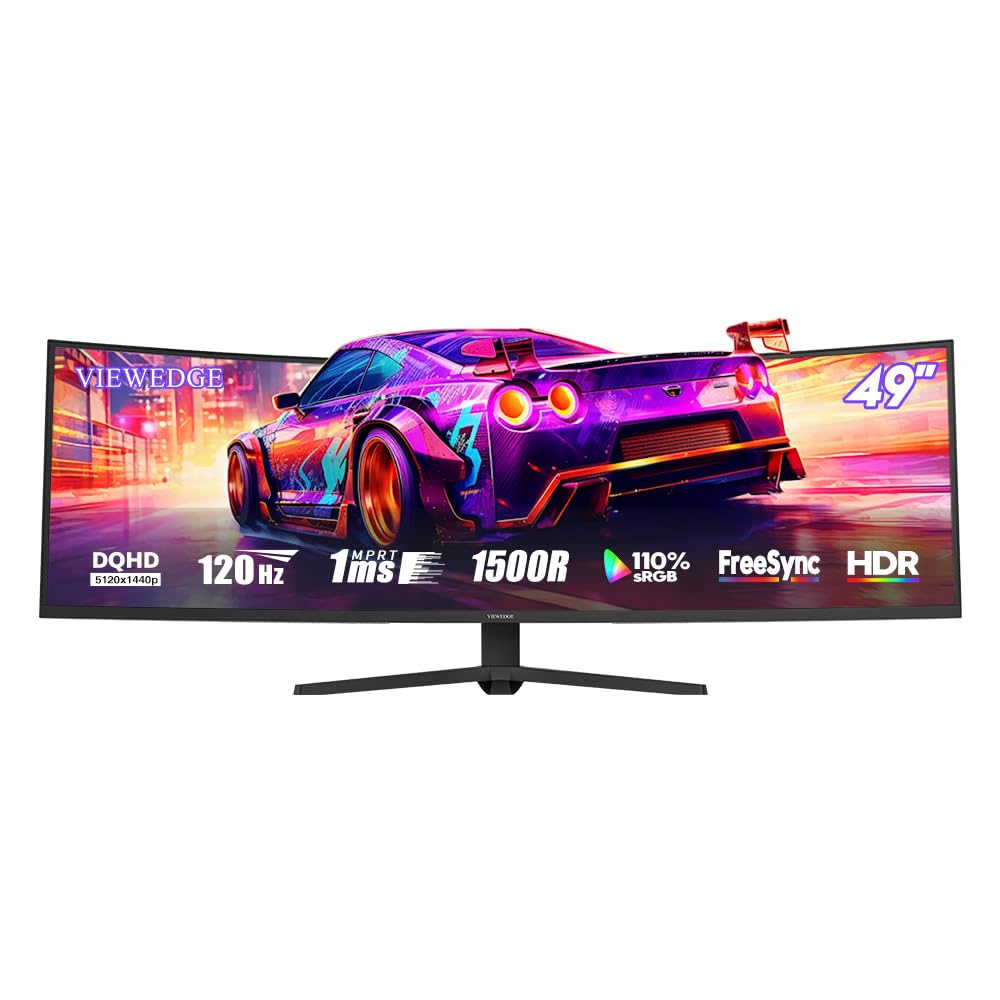
Image 1.1: The Viewedge 49-inch Curved DQHD 120Hz Gaming Monitor.
2. Safety Information
To ensure safe and optimal performance, please observe the following safety precautions:
- Do not expose the monitor to rain or moisture to prevent fire or electric shock.
- Do not open the monitor casing. There are no user-serviceable parts inside. Refer all servicing to qualified personnel.
- Place the monitor on a stable, flat surface to prevent it from falling.
- Ensure proper ventilation around the monitor. Do not block ventilation openings.
- Use only the power adapter and cables supplied by the manufacturer.
- Unplug the monitor from the power outlet during lightning storms or when unused for extended periods.
- Avoid placing heavy objects on the power cord or monitor cables.
- Clean the monitor with a soft, dry cloth. Do not use liquid cleaners or aerosol cleaners.
3. Package Contents
Please check the package contents upon unpacking. If any items are missing or damaged, contact your retailer.
- Viewedge 49" Curved DQHD 120Hz Gaming Monitor
- Monitor Stand (Base and Neck)
- Power Adapter and Power Cable
- DisplayPort (DP) Cable
- HDMI Cable (may vary by region)
- User Manual (this document)
- Warranty Card (if applicable)
4. Setup
4.1 Assembling the Stand
- Carefully remove the monitor from its packaging, keeping it protected on a soft surface.
- Attach the stand neck to the monitor panel. Ensure it clicks securely into place or is fastened with screws as per the design.
- Attach the stand base to the stand neck. Tighten any screws firmly.
- Place the assembled monitor on a stable, level desk.
4.2 Wall Mounting (Optional)
The monitor supports VESA 75x75mm wall mounting. Wall mount accessories are not included.
- Remove the stand from the monitor if it is already attached.
- Secure the VESA-compatible wall mount bracket (not included) to the monitor using M4 (4mm diameter) screws.
- Mount the monitor to the wall according to the wall mount manufacturer's instructions.

Image 4.1: Rear view of the monitor showing 75x75mm VESA mounting points and tilt adjustment range.
4.3 Connecting to a Computer
Connect the monitor to your computer using the provided DisplayPort (DP) cable or an HDMI cable.
- DisplayPort (DP) Connection: Connect one end of the DP cable to the DP port on your computer's graphics card and the other end to one of the DP 1.4 ports on the monitor. This connection supports the full DQHD resolution and 120Hz refresh rate.
- HDMI Connection: Connect one end of an HDMI cable to the HDMI port on your computer's graphics card and the other end to one of the HDMI 2.0 ports on the monitor.
- Audio Output: Connect headphones or external speakers to the 3.5mm audio output jack on the monitor if you wish to use the monitor's audio passthrough.
Image 4.2: Monitor rear panel showing available connectivity options: 2x DisplayPort 1.4, 2x HDMI 2.0, and 1x Earphone jack.
4.4 Power Connection
- Connect the power adapter to the monitor's power input jack.
- Plug the power cable into the power adapter, then into a grounded electrical outlet.
5. Operating Instructions
5.1 Powering On/Off
Press the power button located on the monitor to turn it on or off. The power indicator light will illuminate when the monitor is on.
5.2 On-Screen Display (OSD) Menu
The OSD menu allows you to adjust various monitor settings. Use the control buttons (usually located on the back or bottom right of the monitor) to navigate and select options.
Common OSD Menu Options include:
- Picture Settings: Brightness, Contrast, Sharpness, Color Temperature.
- Input Select: Choose between DP1, DP2, HDMI1, HDMI2.
- Audio: Volume control for the earphone output.
- Gaming Features: FreeSync/G-Sync, Crosshair, Response Time (Overdrive).
- Display Settings: Aspect Ratio, HDR mode.
- OSD Settings: OSD Language, OSD Transparency, OSD Timeout.
5.3 Key Features
5.3.1 DQHD Resolution and 1500R Curvature
The 49-inch panel features a DQHD (5120x1440p) resolution, providing a vast workspace or immersive gaming experience. The 1500R curvature enhances the sense of depth and envelops the viewer, making the display feel more natural and reducing eye movement across the wide screen.

Image 5.1: Illustration of DQHD 5120x1440 pixel resolution, offering rich detail.
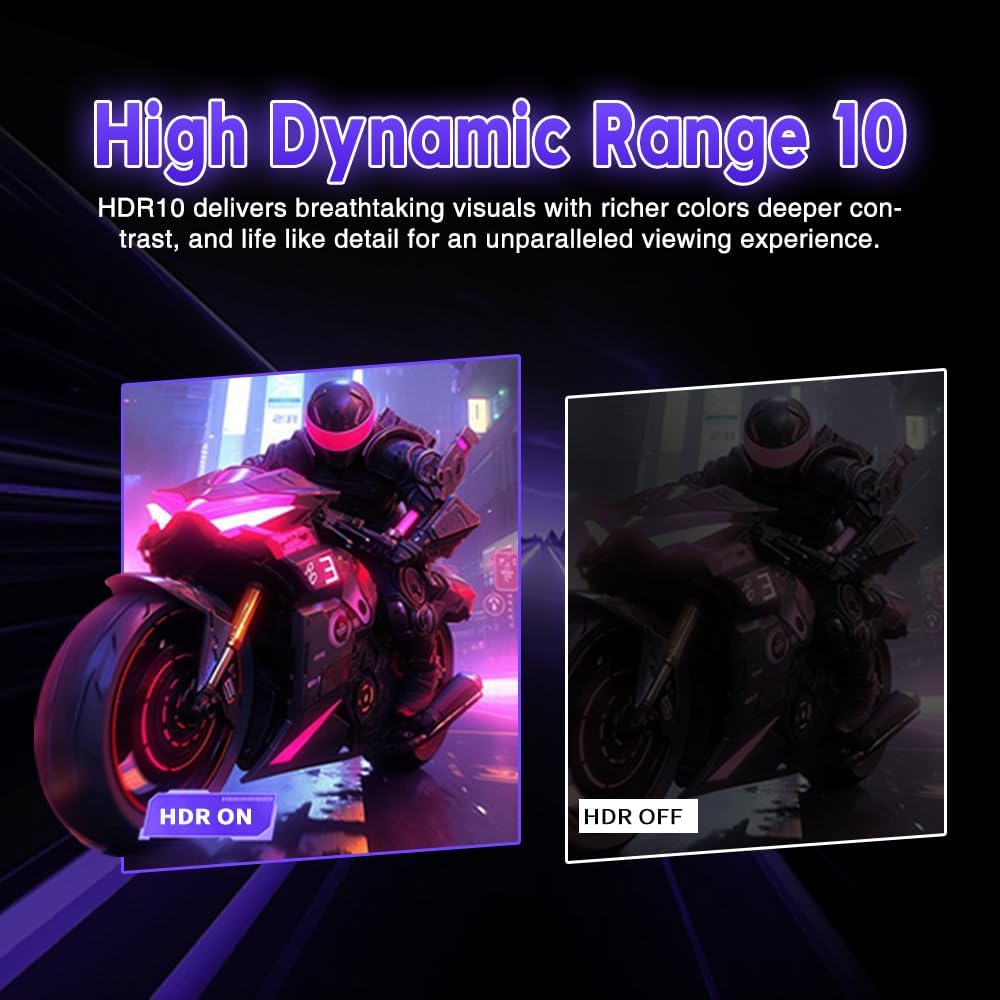
Image 5.2: Explanation of the 1500R curvature, enhancing immersive depth.
5.3.2 High Refresh Rate and Fast Response Time
With a 120Hz refresh rate and 1ms (MPRT) response time, the monitor delivers smooth motion and reduces ghosting, crucial for fast-paced gaming.

Image 5.3: Visual representation of 120Hz refresh rate and 1ms response time for gaming.
5.3.3 HDR10 Support
High Dynamic Range 10 (HDR10) support provides richer colors, deeper contrast, and more lifelike detail in compatible content, enhancing the visual experience.

Image 5.4: Visual comparison demonstrating the enhanced detail and color with HDR10 enabled.
5.3.4 Adaptive Sync (FreeSync/G-Sync Compatible)
The monitor supports Adaptive Sync technology (FreeSync and G-Sync compatible), which synchronizes the monitor's refresh rate with your GPU's frame rate. This eliminates screen tearing and stuttering, providing a fluid gaming experience. Enable this feature in your graphics card settings and the monitor's OSD.

Image 5.5: Visual demonstration of FreeSync technology, preventing screen tearing.
5.3.5 GamePlus Features
The monitor includes GamePlus features such as Crosshair and Dark Balance functions. These can be accessed via the OSD menu to enhance your gaming experience.

Image 5.6: GamePlus features, including a customizable crosshair for improved aiming.
5.3.6 Eye Protection Features
The monitor incorporates flicker-free technology and a blue light filter to reduce eye strain during prolonged use. These features contribute to a more comfortable viewing experience.
6. Maintenance
6.1 Cleaning the Monitor
- Always unplug the monitor before cleaning.
- Use a soft, lint-free cloth to gently wipe the screen and exterior surfaces.
- For stubborn marks, lightly dampen the cloth with water or a mild, non-abrasive screen cleaner. Do not spray cleaner directly onto the screen.
- Avoid using alcohol, ammonia, or abrasive cleaners, as they can damage the screen surface.
6.2 Storage
If storing the monitor for an extended period, disconnect all cables and store it in a cool, dry place, preferably in its original packaging to protect it from dust and physical damage.
7. Troubleshooting
| Problem | Possible Cause | Solution |
|---|---|---|
| No image on screen |
|
|
| Image is blurry or distorted |
|
|
| No sound from earphone jack |
|
|
| Screen tearing or stuttering in games |
|
|
8. Specifications
| Feature | Detail |
|---|---|
| Brand | Viewedge |
| Model | 49 inch DQHD 120Hz |
| Screen Size | 49 Inches |
| Panel Type | VA |
| Curvature | 1500R |
| Resolution | 5120 x 1440 (DQHD) |
| Aspect Ratio | 32:9 |
| Refresh Rate | Up to 120Hz |
| Response Time | 1ms (MPRT) |
| Color Gamut | 110% sRGB (typical) |
| HDR Support | HDR10 |
| Adaptive Sync | FreeSync / G-Sync Compatible |
| Connectivity | 2x DisplayPort 1.4, 2x HDMI 2.0, 1x 3.5mm Audio Out |
| VESA Mount | 75x75mm |
| Tilt Adjustment | -5° to 20° (±3°) |
| Eye Protection | Flicker-Free, Low Blue Light |
9. Warranty and Support
Viewedge monitors are manufactured with quality and performance in mind. This product comes with a standard manufacturer's warranty. Please refer to the warranty card included in your package for specific terms and conditions, including warranty duration and coverage details.
For technical support, troubleshooting assistance, or warranty claims, please contact Viewedge customer service through the contact information provided on your warranty card or the official Viewedge website.
Online Resources: For the latest drivers, firmware updates, and additional support resources, please visit the official Viewedge website.


