Introduction
This manual provides instructions for the installation, operation, and maintenance of your Cloudeck M.2 NVMe SSD Enclosure, Model CDK-102. This external USB-C enclosure is designed to house M.2 NVMe SSDs, offering high-speed data transfer capabilities.
Package Contents
Verify that all items are present in the package:
- Cloudeck M.2 NVMe SSD Enclosure
- USB-C Data Cable
- Screwdriver
- Mounting Screws for SSDs
- Thermal Pad
Product Features
- High-Speed Data Transfer: Supports USB 3.2 Gen2 for up to 10Gbps data transfer rates. Backward compatible with USB 3.1 and USB 3.0.
- Broad Compatibility: Designed for M.2 NVMe protocol SSDs with M-key or B&M-key, supporting sizes 2242, 2260, and 2280, up to 8TB capacity.
- System Compatibility: Works with Windows, Mac OS, Linux, Android, and iOS systems.
- Enhanced Security & Stability: Features an advanced RTL9210 chip with short-circuit, over-current, and multi-protection mechanisms. Supports UASP/Trim for efficient data transfer.
- Durable and Portable Design: Ultra-slim aluminum enclosure with an extra silicone case for portability and durability.
- Smart Sleep Function: Automatically enters sleep mode after 10 minutes of inactivity to save power and extend SSD lifespan.
- RGB Lighting: Integrated RGB lighting provides visual feedback and aesthetic appeal.
Note: This enclosure does not support SATA NGFF SSDs or mSATA SSDs.
Setup Instructions
Follow these steps to install your M.2 NVMe SSD into the enclosure:
- Open the Enclosure: Carefully slide open or unfasten the enclosure to access the internal M.2 slot.
- Apply Thermal Pad: Peel off the protective film from both sides of the thermal pad and place it onto the SSD controller chip area. This helps dissipate heat.
- Insert SSD: Gently insert your M.2 NVMe SSD into the M.2 slot at a 45-degree angle. Ensure the gold contacts are fully seated.
- Secure SSD: Push the SSD down and secure it with the provided screw into the appropriate mounting hole (2242, 2260, or 2280) using the screwdriver.
- Close Enclosure: Carefully close the enclosure, ensuring it is securely fastened.

Figure 1: Disassembled enclosure showing the M.2 slot.
Operating Instructions
Once your SSD is installed, connect the enclosure to your device:
- Connect to Device: Use the provided USB-C data cable to connect the enclosure to a USB-C port on your computer, smartphone, or tablet.
- Initial Recognition: Your operating system should automatically detect the new storage device. If it's a new SSD, you may need to initialize and format it through Disk Management (Windows) or Disk Utility (Mac OS) before use.
- Data Transfer: Drag and drop files to and from the recognized drive. For optimal 10Gbps transfer speeds, ensure your device's USB-C port supports USB 3.2 Gen2 and use the appropriate data cable.
- Smart Sleep Function: The enclosure will automatically enter a power-saving sleep mode after 10 minutes of inactivity. This helps conserve power and prolong the life of your SSD.
- RGB Lighting: The integrated RGB lighting will display various colors, indicating activity and adding a visual element.
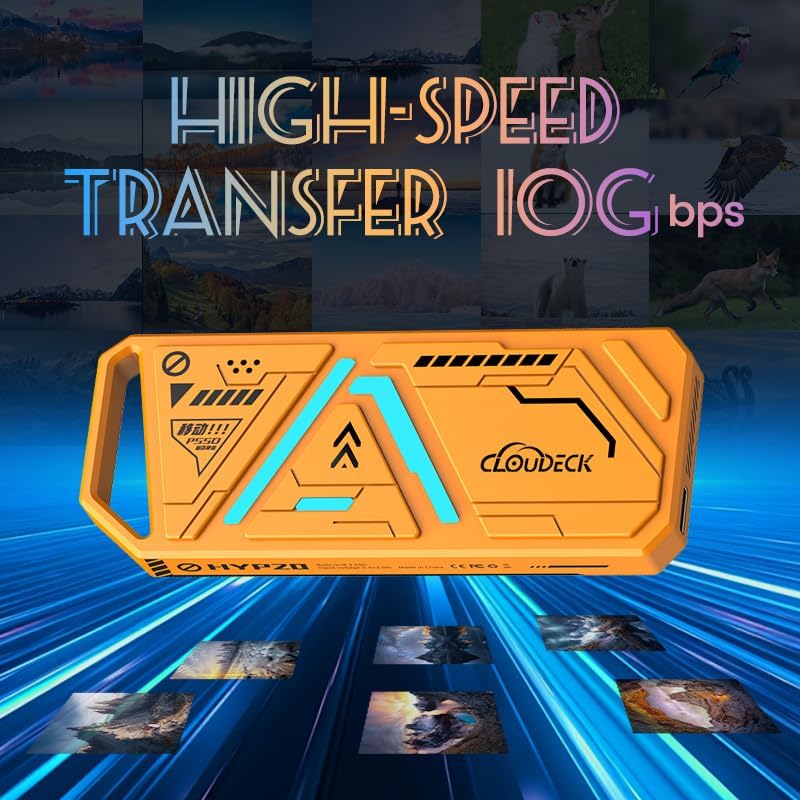
Figure 2: Enclosure connected for high-speed data transfer.

Figure 3: Smart sleep feature activation.

Figure 4: Enclosure with RGB lighting active.
Maintenance
To ensure the longevity and optimal performance of your SSD enclosure:
- Keep the enclosure clean and free from dust. Use a soft, dry cloth for cleaning.
- Avoid exposing the enclosure to extreme temperatures, humidity, or direct sunlight.
- Do not drop or subject the enclosure to strong impacts.
- Always safely eject the drive from your operating system before disconnecting the cable to prevent data corruption.
Troubleshooting
- Enclosure not recognized by computer:
- Ensure the USB cable is securely connected to both the enclosure and the computer.
- Try a different USB port on your computer.
- Test with a different USB-C data cable.
- Verify that the M.2 NVMe SSD is correctly installed and seated within the enclosure.
- For new SSDs, ensure it has been initialized and formatted in Disk Management (Windows) or Disk Utility (Mac OS).
- Slow data transfer speeds:
- Ensure your computer's USB port supports USB 3.2 Gen2 (10Gbps). Connecting to a USB 2.0 or 3.0 port will result in lower speeds.
- Use the provided USB 3.2 Gen2 compatible data cable.
- Verify that your M.2 NVMe SSD itself is capable of high speeds.
- Close other applications that might be consuming system resources or disk I/O.
- Enclosure gets warm during use:
- It is normal for the aluminum enclosure to become warm during high-speed data transfer, as it acts as a heatsink to dissipate heat from the SSD.
- Ensure the thermal pad is correctly installed on the SSD.
Specifications
| Model Number | CDK-102 |
| Interface | USB 3.2 Gen2 Type-C |
| Data Transfer Rate | Up to 10 Gbps |
| SSD Compatibility | M.2 NVMe (M-key / B&M-key) |
| SSD Sizes Supported | 2242, 2260, 2280 |
| Max Capacity | 8 TB |
| Chipset | RTL9210 |
| Dimensions | 109mm x 44mm x 12mm (approx.) |
| Weight | 130 Grams |
| Material | Aluminum Alloy |
| Operating Systems | Windows, Mac OS, Linux, Android, iOS |

Figure 5: Product Dimensions.
Warranty and Support
Cloudeck products are designed for reliability and performance. For warranty information or technical support, please refer to the contact details provided with your purchase or visit the official Cloudeck website.
Please retain your proof of purchase for warranty claims.