1. Introduction and Overview
This manual provides detailed instructions for the assembly, operation, and maintenance of your Timechee Baby Dresser with Changing Table Top. This multi-functional furniture piece is designed to offer spacious storage and a convenient changing area for your nursery, transitioning into a standard dresser as your child grows.
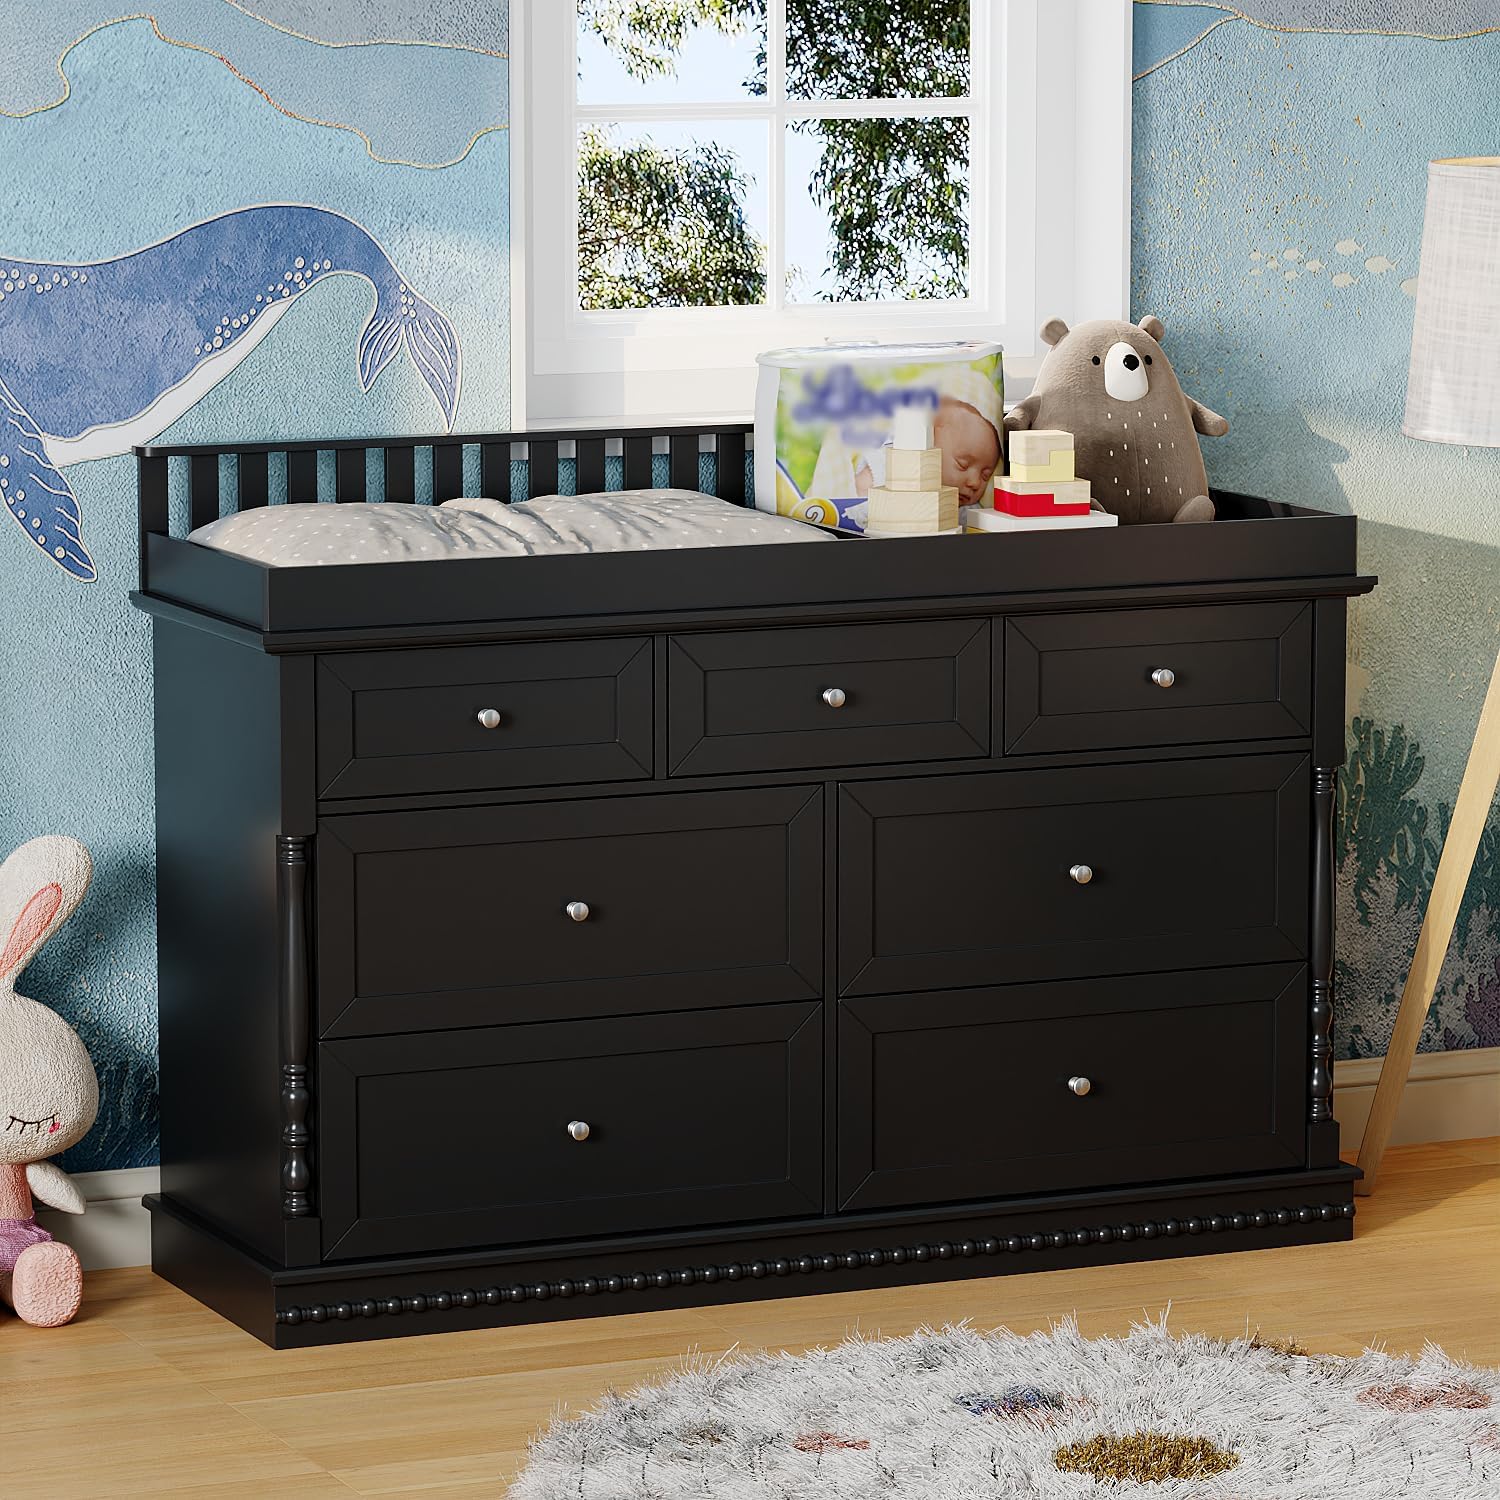
Image 1.1: The Timechee Baby Dresser with Changing Table Top, showcasing its design and functionality in a nursery environment.
2. Safety Information
Your safety and the safety of your child are paramount. Please adhere to the following safety guidelines:
- Always use the provided anti-tip kit to secure the dresser to the wall. This prevents accidental tipping, which can cause serious injury.
- Ensure the changing table top is securely attached when in use. The side rails provide added safety during diaper changes.
- The dresser features rounded edges to minimize the risk of bumps and scrapes. However, always supervise children around furniture.
- Do not allow children to climb on the dresser or open drawers unsupervised.
- Keep small parts and assembly hardware out of reach of children.
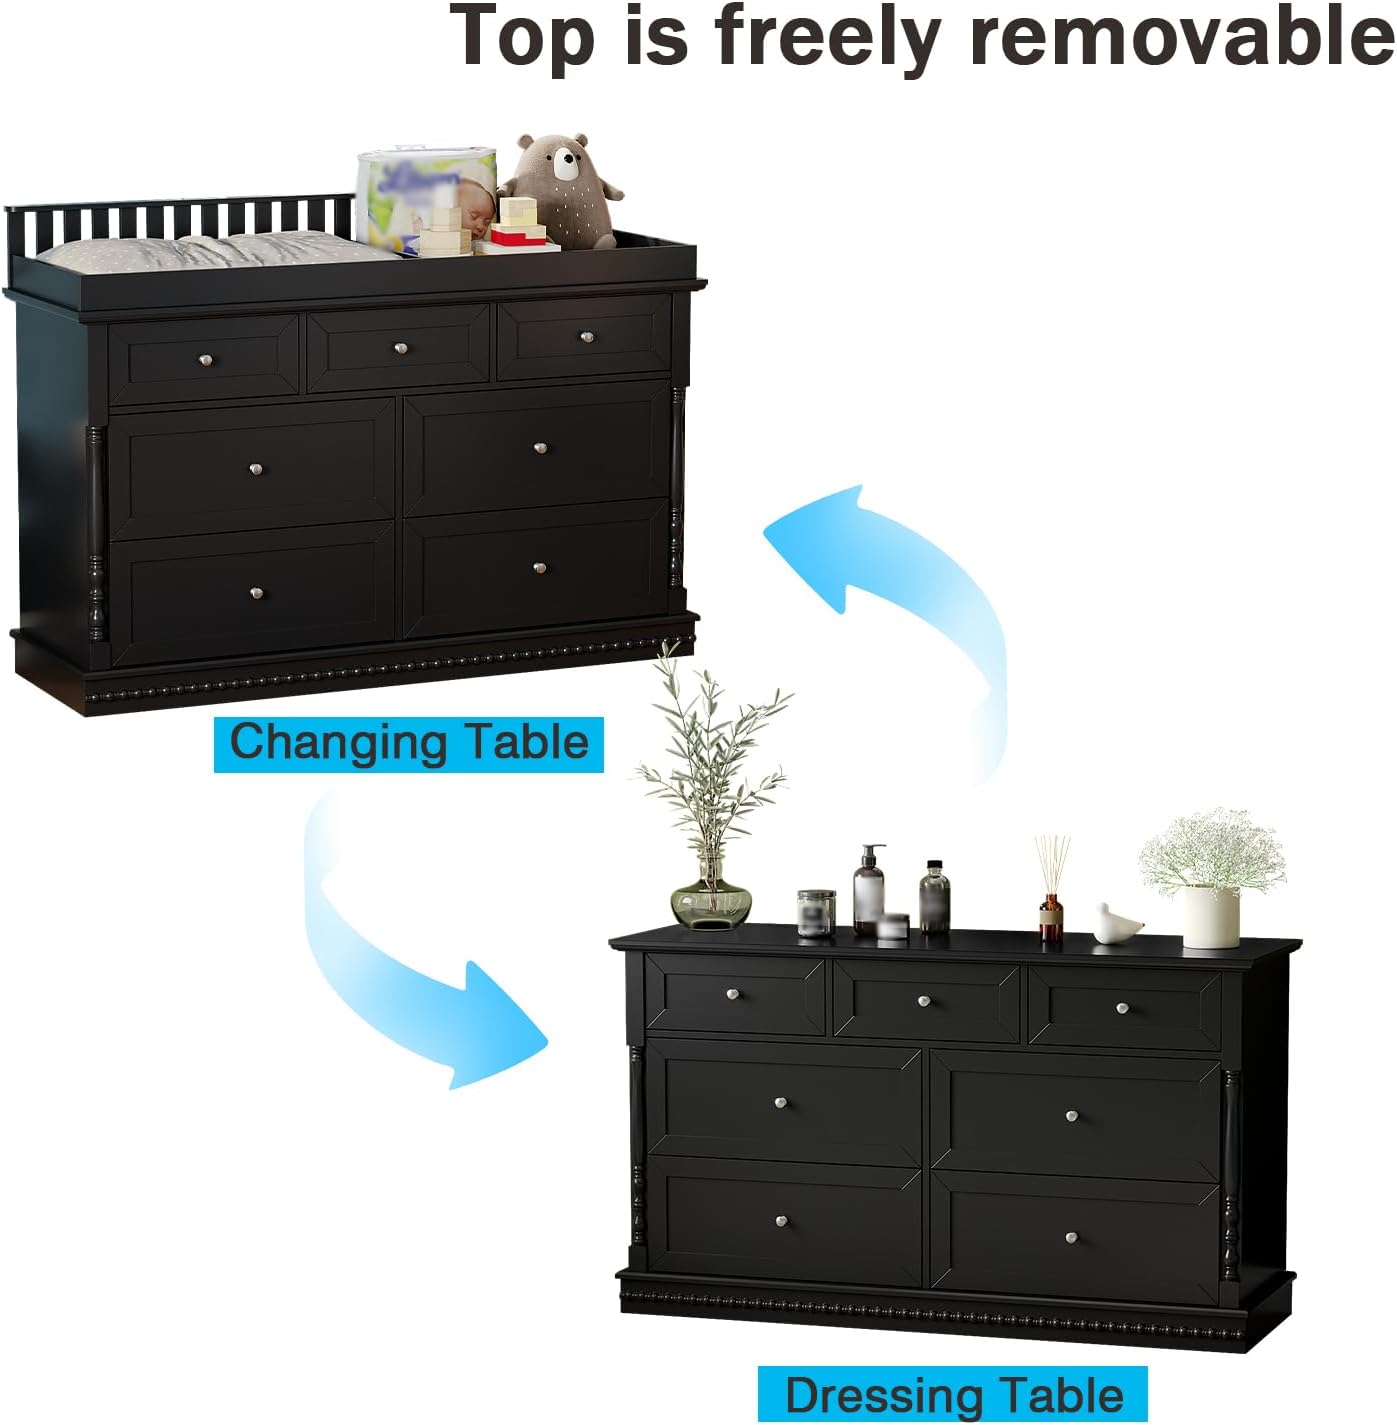
Image 2.1: Detailed view highlighting the 4-inch raised guardrail protection and the anti-tip kit for enhanced safety.
3. Package Contents
Before beginning assembly, verify that all components are present and undamaged. The package typically includes:
- Dresser panels (various sizes)
- Drawer components (fronts, sides, backs, bottoms)
- Changing table top components (frame, rails)
- Hardware kit (screws, dowels, cam locks, drawer slides, handles, anti-tip kit)
- Assembly instruction manual
If any parts are missing or damaged, please contact Timechee customer support for assistance.
4. Setup and Assembly
Assembly of the Timechee Baby Dresser requires careful attention to detail. It is recommended to have two adults for assembly due to the weight and size of some components. Please follow the step-by-step instructions provided in the included manual.
4.1 Preparation
- Clear a spacious, flat, and clean area for assembly.
- Unpack all components and lay them out, organizing them by part number as indicated in the manual.
- Ensure you have the necessary tools, such as a screwdriver (power drill recommended for efficiency, but use with care to avoid overtightening).
4.2 Assembly Steps (General Outline)
- Assemble the main frame of the dresser using the designated panels and hardware.
- Attach the drawer slides to the dresser frame.
- Assemble each of the seven drawers, ensuring the drawer slides are correctly installed.
- Insert the assembled drawers into the dresser frame.
- Assemble the changing table top and place it securely on the dresser.
- Install the anti-tip kit to the back of the dresser and secure it to a wall stud.

Image 4.1: An exploded diagram illustrating the various components and their dimensions, crucial for correct assembly.
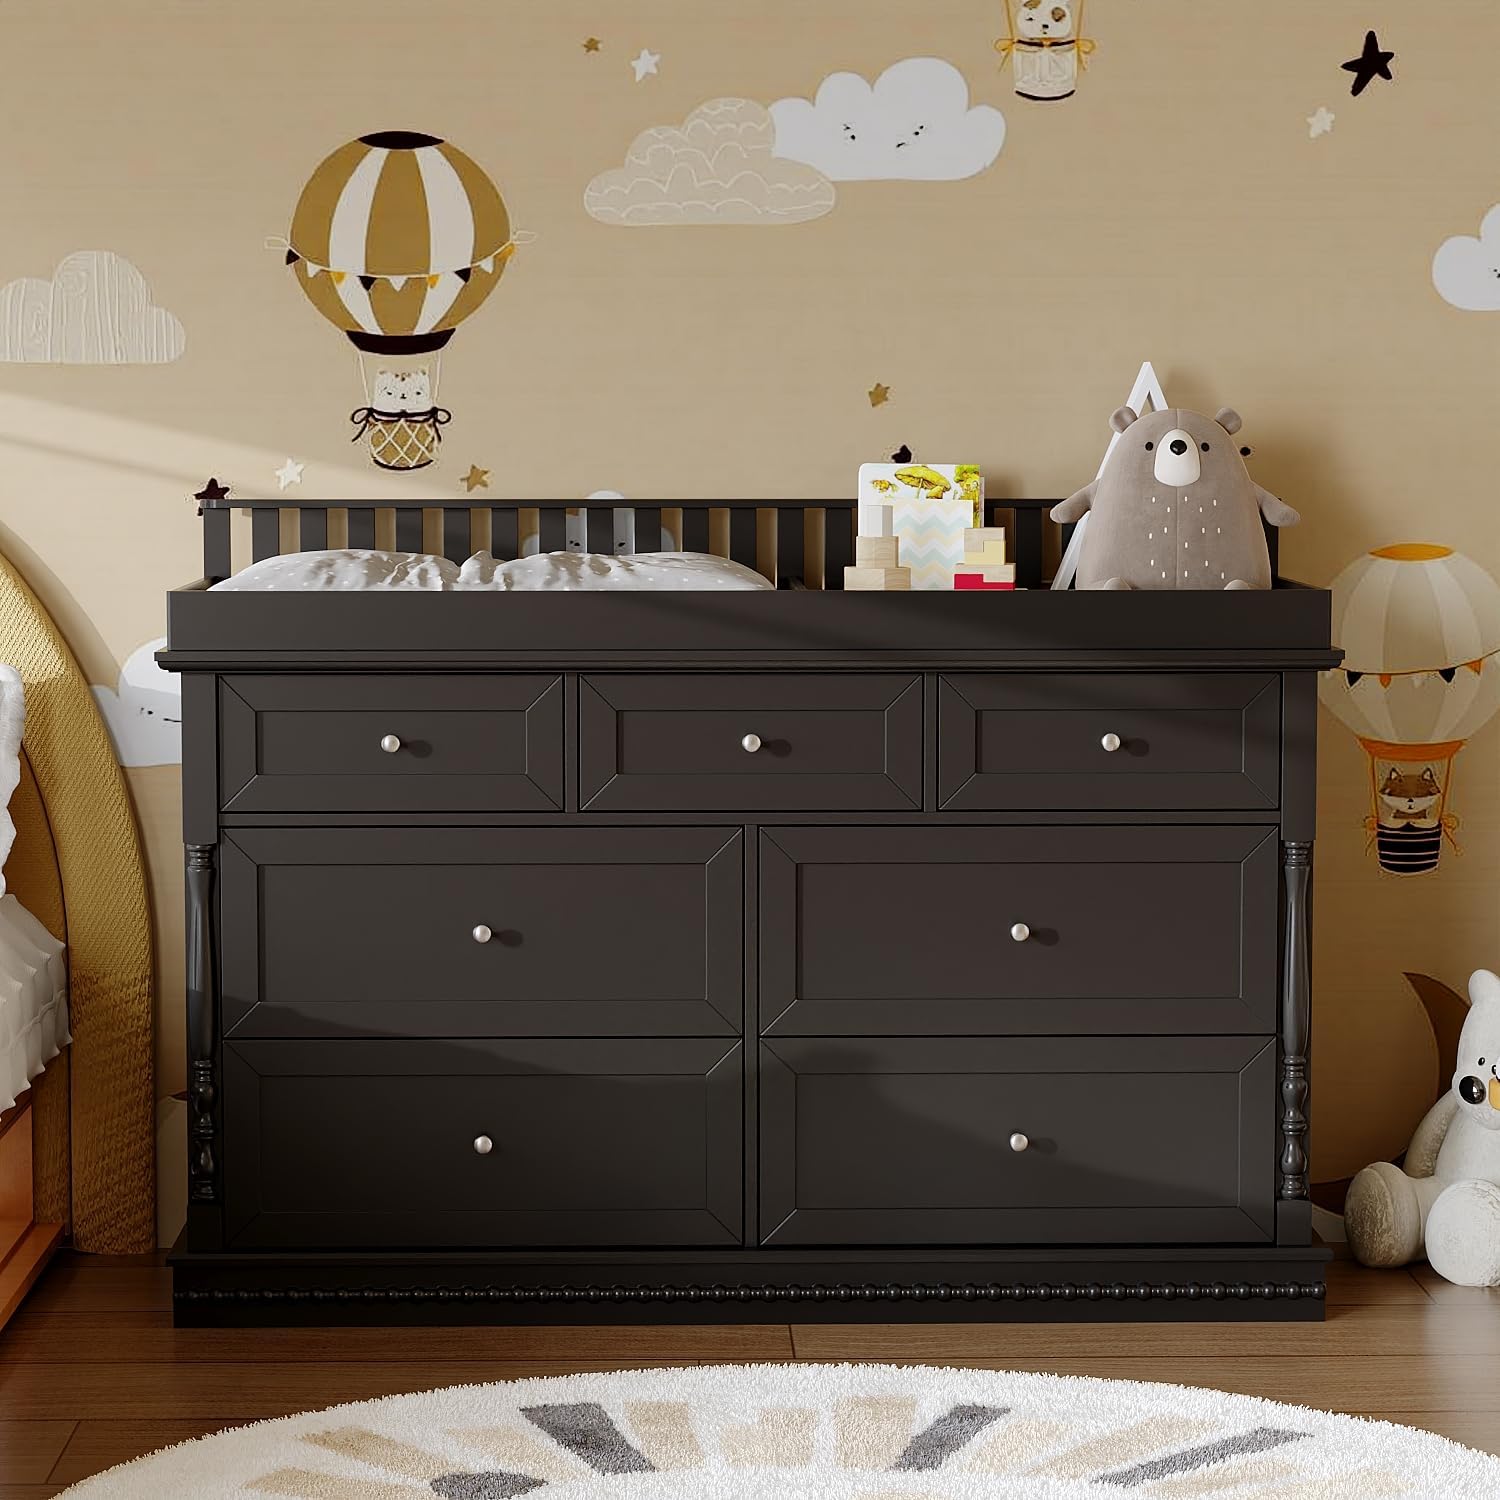
Image 4.2: Comprehensive dimensions of the assembled dresser and individual drawers, aiding in planning and placement.
5. Operating Instructions
5.1 Using the Storage Drawers
The dresser features seven spacious drawers designed for organizing baby essentials. The drawers operate on smooth glides for easy opening and closing.
- Top Drawers: Ideal for smaller items like diapers, wipes, creams, and small clothing.
- Bottom Drawers: Suitable for larger items such as blankets, clothing, or toys.

Image 5.1: The dresser with several drawers open, demonstrating its ample storage capacity for various baby necessities like formula, skincare products, and clothes.

Image 5.2: A close-up of an open drawer, illustrating how diapers and wipes can be neatly stored.
5.2 Multi-functional Changing Table Top
The changing table top is designed for versatility. It can be used as a secure changing station and later removed to convert the unit into a standard dresser.
- Changing Table Mode: Place a changing pad (not included) within the designated area on top. The raised rails provide a secure boundary.
- Dresser Mode: Once the changing table function is no longer needed, the top frame can be easily removed, transforming the unit into a stylish dresser for long-term use.

Image 5.3: A visual representation of the removable top, demonstrating the seamless transition from a baby changing table to a regular dresser.
6. Maintenance
To ensure the longevity and appearance of your Timechee dresser, follow these maintenance tips:
- Wipe surfaces regularly with a soft, damp cloth. Avoid abrasive cleaners or harsh chemicals.
- Promptly clean up spills to prevent staining or damage to the finish.
- Periodically check all hardware and tighten any loose screws to maintain stability.
- Keep the dresser away from direct sunlight and extreme temperature changes to prevent warping or fading.
7. Troubleshooting
If you encounter any issues with your dresser, consider the following common solutions:
- Wobbly Dresser: Ensure all cam locks and screws are fully tightened. Verify that the dresser is on a level surface.
- Sticking Drawers: Check that the drawer slides are properly aligned and free of obstructions. Lubricate slides with a silicone spray if necessary.
- Damaged Parts: If any part is damaged during assembly or use, contact Timechee customer support for replacement parts.
8. Specifications
| Feature | Detail |
|---|---|
| Product Dimensions | 56.5"L x 19.3"W x 40"H |
| Color | Black |
| Number of Drawers | 7 |
| Material | Premium MDF and Pine Wood |
| Item Weight | 142 Pounds |
| Drawer Type | Under Mounted Slide |
| Special Features | Removable Changing Table Top, Anti-Tip Kit, Rounded Edges, Roman Column Elements |
9. Warranty and Support
For warranty information, replacement parts, or further assistance, please contact Timechee customer support. Refer to your purchase documentation for specific warranty terms and contact details.
You can typically find support information on the manufacturer's official website or through the retailer where the product was purchased.