1. Important Safety Instructions
Always read and understand all safety warnings and instructions before operating this power tool. Failure to follow the warnings and instructions may result in electric shock, fire, and/or serious injury. Save all warnings and instructions for future reference.
- Work Area Safety: Keep the work area clean and well-lit. Cluttered or dark areas invite accidents. Do not operate power tools in explosive atmospheres, such as in the presence of flammable liquids, gases, or dust.
- Electrical Safety: Power tool plugs must match the outlet. Never modify the plug in any way. Do not expose power tools to rain or wet conditions. Water entering a power tool will increase the risk of electric shock.
- Personal Safety: Always wear eye protection (safety glasses or goggles) and hearing protection. Use a dust mask if operating in dusty conditions. Dress properly; avoid loose clothing, jewelry, or long hair that can be caught in moving parts.
- Tool Use and Care: Do not force the power tool. Use the correct power tool for your application. Disconnect the plug from the power source before making any adjustments, changing accessories, or storing power tools.
- Bandsaw Specific Safety: Ensure the workpiece is securely clamped before cutting. Keep hands and fingers away from the blade path. Allow the blade to reach full speed before beginning a cut.
2. Product Overview
The Klutch MBS108 Electric Portable Benchtop Bandsaw is designed for versatile cutting tasks, offering both handheld and benchtop functionality. Its robust design allows for cutting various materials including round pipe, square stock, conduit, and wood.

Figure 2.1: Klutch MBS108 Bandsaw in its benchtop configuration, ready for stationary cutting tasks.

Figure 2.2: Klutch MBS108 Bandsaw detached from its base for portable, handheld operation.
Key Features:
- Dual Functionality: Easily switches between portable handheld use and stationary benchtop operation.
- Large Cutting Capacity: Accommodates a variety of material sizes for diverse cutting needs.
- Quick-Lock Vise: Allows for fast and secure clamping of workpieces without sliding.
- Adjustable Cutting Angle: The base tilts for angled cuts.
- Integrated LED Light: Provides illumination for the cutting area.
- Tool-less Blade Guide Adjustment: Simplifies blade guide adjustments.
- Safety Switch: Prevents unintended operation.

Figure 2.3: Close-up of the workpiece vise clamp, designed for quick and secure material fastening.

Figure 2.4: Detail of the angle adjustment scale on the base, allowing for precise miter cuts.

Figure 2.5: View of the integrated LED light, illuminating the cutting path for improved visibility.

Figure 2.6: The quick-release lever for detaching the saw from its benchtop base.
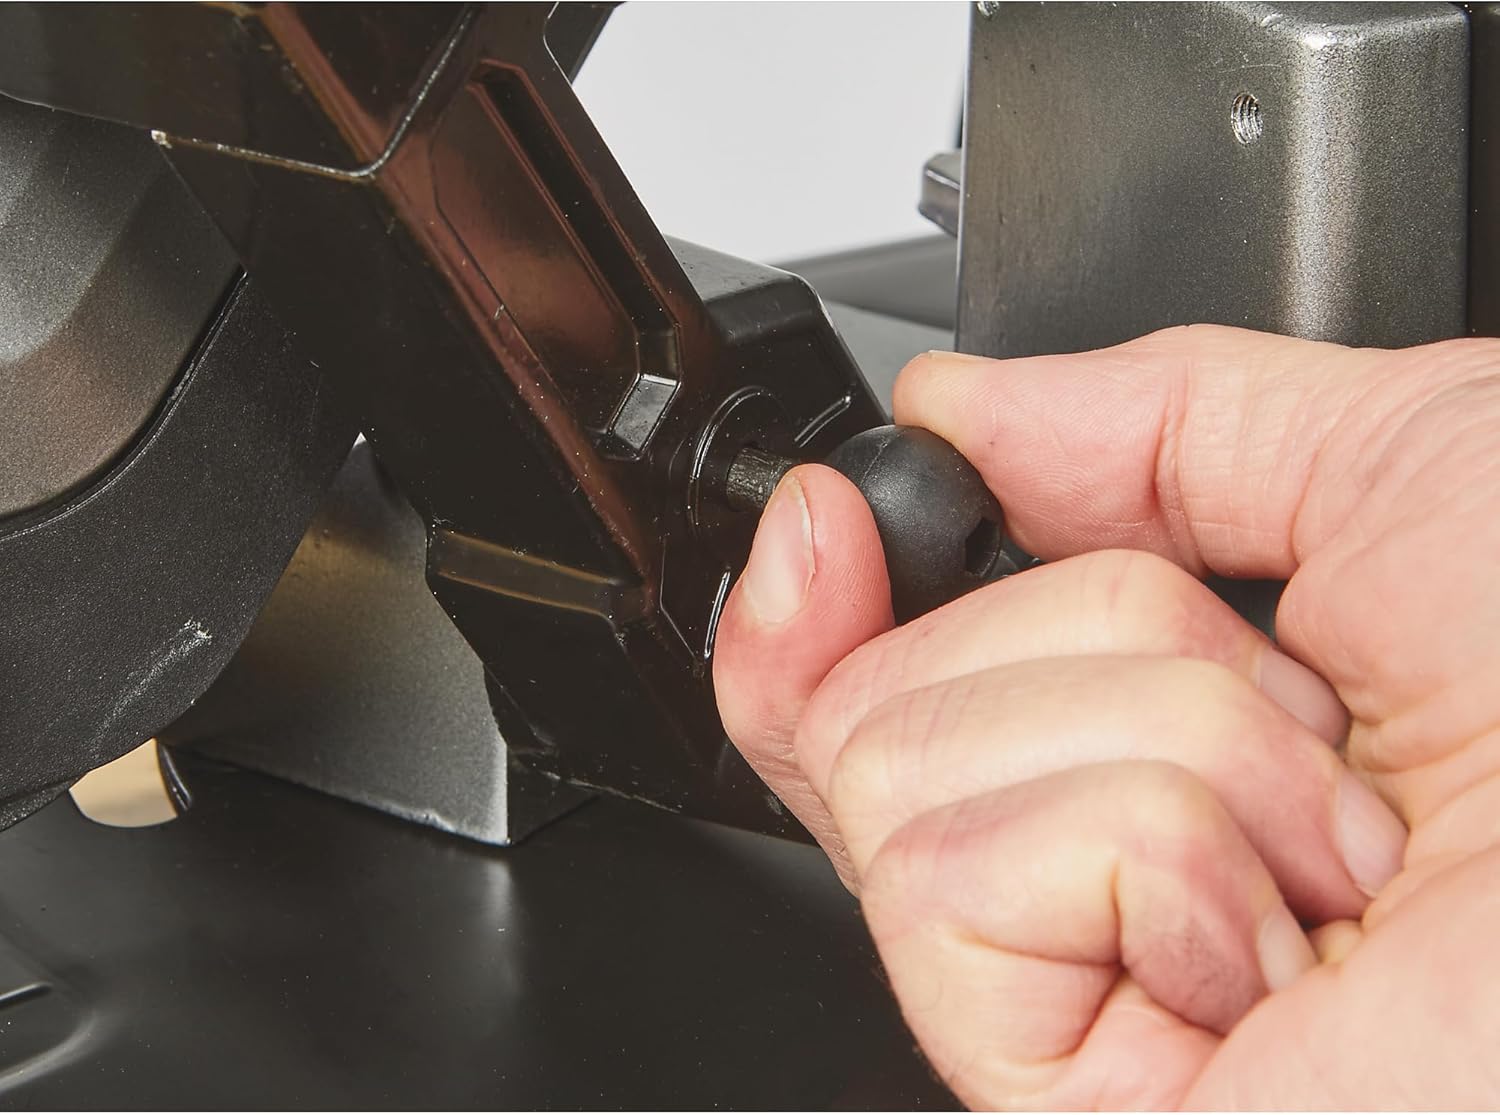
Figure 2.7: The tool-less knob for adjusting the blade guide, ensuring proper blade alignment.

Figure 2.8: Integrated storage for hex keys, providing convenient access for adjustments.
3. Setup
3.1 Unpacking and Inspection
- Carefully remove all components from the packaging.
- Inspect the tool for any damage that may have occurred during shipping. Do not operate if damaged.
- Ensure all listed components are present. (1) Band saw is included.
3.2 Attaching to Benchtop Base
The bandsaw can be used handheld or mounted to its benchtop base for stationary operation.
- Place the benchtop base on a stable, level surface.
- Align the bandsaw unit with the mounting points on the base.
- Secure the bandsaw to the base using the quick-release mechanism or fasteners provided, ensuring it is firmly seated.
3.3 Blade Installation/Tensioning
Refer to the specific instructions for blade installation and tensioning provided with your blade or in the detailed manual. Proper blade tension is crucial for safe and effective cutting.
- Always unplug the tool before installing or changing blades.
- Follow the directional arrows on the blade and tool for correct installation.
- Adjust blade tension according to the manufacturer's recommendations for the specific blade type.
4. Operating Instructions
4.1 General Operation
- Ensure the power cord is securely plugged into a 120V power outlet.
- Always wear appropriate personal protective equipment (PPE), including eye and hearing protection.
- Before starting, ensure the workpiece is free of obstructions and securely clamped if using the benchtop function.
4.2 Handheld Operation
- Ensure the saw is detached from the benchtop base.
- Grip the saw firmly with both hands.
- Position the blade against the material to be cut, ensuring it is stable.
- Engage the power switch and allow the blade to reach full speed.
- Apply steady, even pressure to guide the saw through the material. Do not force the cut.
4.3 Benchtop Operation
- Ensure the saw is securely attached to the benchtop base.
- Place the workpiece into the vise and tighten the clamp firmly.
- For angled cuts, adjust the base tilt to the desired angle (refer to Figure 2.4).
- Engage the power switch.
- Slowly lower the saw blade into the workpiece, allowing the blade to do the cutting.
- Once the cut is complete, release the power switch and allow the blade to stop before raising the saw.
4.4 Cutting Various Materials
This bandsaw is suitable for cutting round pipe, square stock, conduit, and wood. Always select the appropriate blade for the material being cut. Harder materials require finer tooth blades, while softer materials can use coarser tooth blades.
5. Maintenance
Regular maintenance ensures the longevity and safe operation of your bandsaw. Always unplug the tool from the power source before performing any maintenance.
5.1 Blade Replacement
- Unplug the bandsaw.
- Loosen the blade tensioning mechanism.
- Carefully remove the old blade, noting its path around the wheels and guides.
- Install the new blade, ensuring it is correctly seated on the wheels and within the blade guides.
- Tension the new blade according to the manufacturer's specifications.
5.2 Cleaning
- After each use, clean dust and debris from the tool using a brush or compressed air.
- Wipe down external surfaces with a damp cloth. Do not use harsh chemicals or solvents.
- Keep ventilation openings clear to prevent overheating.
5.3 Inspection and Storage
- Regularly inspect the power cord for damage.
- Check all fasteners and ensure they are tight.
- Store the bandsaw in a dry, secure location out of reach of children.
6. Troubleshooting
This section addresses common issues you might encounter with your bandsaw. For problems not listed here, contact customer support.
| Problem | Possible Cause | Solution |
|---|---|---|
| Saw does not start | No power supply; Faulty switch; Overload protection tripped | Check power connection; Test outlet; Reset circuit breaker; Contact service if switch is faulty. |
| Blade not cutting efficiently | Dull blade; Incorrect blade for material; Insufficient blade tension | Replace blade; Use appropriate blade; Adjust blade tension. |
| Excessive vibration or noise | Loose components; Damaged blade; Incorrect blade tracking | Check and tighten all fasteners; Replace damaged blade; Adjust blade tracking. |
| Motor overheats | Overloading the tool; Blocked ventilation; Prolonged use | Reduce cutting pressure; Clear ventilation openings; Allow tool to cool down. |
7. Specifications
| Feature | Specification |
|---|---|
| Brand | Klutch |
| Model Number | MBS108 |
| Power Source | Corded Electric |
| Voltage | 120V |
| Product Dimensions (L x W x H) | 21.3" x 14.3" x 11.5" |
| Included Components | (1) Band saw |
| Surface Recommendation | Pipe, Square Stock, Conduit, Wood |
8. Warranty and Support
For warranty information or technical support, please refer to the documentation included with your purchase or contact Klutch customer service. Keep your proof of purchase for any warranty claims.
Manufacturer: Klutch