1. Introduction and System Overview
The TUGARD Wireless WiFi/GSM Smart Home Alarm System provides comprehensive security for your home or business. This system integrates WiFi and GSM connectivity, allowing for reliable monitoring and alerts even if one network is unavailable. It features a user-friendly interface, mobile app control, and compatibility with smart home assistants like Alexa and Google Assistant.

Figure 1.1: TUGARD Alarm System Control Panel highlighting dual network support and voice control compatibility. The image displays the main control panel with a digital screen showing time and system status, along with icons indicating features like 2.4-inch TFT screen, APP remote control, timing alarm, 13 national languages, Alexa voice control, and app/call/SMS notifications.
2. Package Contents
Verify that all components are present in your package:
- 1 x Alarm Host (Main Control Panel)
- 1 x Siren
- 3 x PIR Motion Detectors
- 10 x Door/Window Sensors
- 3 x RFID Cards
- 2 x Remote Controls
- 1 x SOS Button
- 1 x Doorbell Push Button
3. System Features
- Dual Network Connectivity: Supports 2.4GHz WiFi and 2G GSM SIM card for continuous security.
- No Monthly Fees: Operates without recurring subscription costs.
- Mobile App Control: Manage your system from anywhere using the dedicated smartphone app (Tuya or Smart Life).
- Voice Assistant Compatibility: Integrates with Amazon Alexa and Google Assistant for convenient voice control.
- Programmable Arm/Disarm: Schedule specific times for arming and disarming the system.
- Instant Notifications: Receive app notifications, calls, or SMS messages upon alarm triggers.
- Multi-Language Support: The system supports 13 different languages for user interface and voice prompts.
- Easy DIY Installation: Designed for straightforward setup without professional assistance.
4. Setup Guide
4.1 Initial Setup and Placement
Place the alarm host in a central location within your home, ensuring it has access to a power outlet and good WiFi signal coverage. Avoid placing it near large metal objects or other devices that may cause interference.

Figure 4.1: Recommended placement of the alarm host and various sensors within a home environment. The diagram illustrates the alarm hub, PIR motion sensor, door & window sensor, wireless strobe siren, gas detector, WiFi doorbell, outdoor camera, and smoke detector in different areas of a house.
4.2 Powering On the Alarm Host
- Connect the power adapter to the alarm host and plug it into a wall outlet.
- The system will power on automatically. Follow the on-screen prompts for initial configuration.
4.3 Mobile App Installation and Pairing
- Download the "Tuya Smart" or "Smart Life" app from your smartphone's app store (iOS or Android).
- Register for a new account or log in if you already have one.
- In the app, tap "Add Device" or the "+" icon.
- Select "Security & Video Surveillance" > "Alarm (Wi-Fi)" or search for your specific alarm model.
- Follow the in-app instructions to connect the alarm host to your 2.4GHz WiFi network. Ensure your phone is connected to the same 2.4GHz network during pairing.
4.4 GSM SIM Card Installation (Optional)
If you wish to use the GSM backup feature, install a 2G SIM card into the designated slot on the alarm host. Ensure the SIM card is active and has sufficient credit for calls and SMS.
4.5 Sensor Installation
Install the door/window sensors and PIR motion detectors in strategic locations. Ensure proper alignment for door/window sensors and clear line of sight for motion detectors.
- Door/Window Sensors: Mount the two parts of each sensor on the door/window frame and the moving part, ensuring they are within 1 cm of each other when closed.
- PIR Motion Detectors: Install in corners or areas where intruders are likely to pass, typically 2-2.2 meters (6.5-7.2 feet) above the floor. Avoid direct sunlight or heat sources.
4.6 Pairing Accessories
All included sensors, remote controls, RFID cards, SOS button, and doorbell push button are pre-paired. If you need to add new accessories or re-pair existing ones, refer to the alarm host's menu or the mobile app's device management section.
5. Operating Instructions
5.1 Arming and Disarming the System
You can arm or disarm the system using the alarm host keypad, remote controls, RFID cards, or the mobile app.
- Arm (Away Mode): Activates all sensors. Use when leaving the property.
- Home Arm (Stay Mode): Activates perimeter sensors (e.g., door/window sensors) while allowing free movement inside.
- Disarm: Deactivates all sensors.
5.2 Voice Control with Alexa/Google Assistant
Once integrated with your smart home assistant, you can use voice commands to control your alarm system.
- Example Commands:
"Alexa, arm my home."
"Hey Google, disarm the alarm."
5.3 Programmable Arm/Disarm Schedules
Set up daily or weekly schedules for automatic arming and disarming through the mobile app or the alarm host's settings.

Figure 5.1: Mobile app interface displaying options to set timing for arming and disarming the alarm system, such as 07:00 (Away Mode), 10:00 (Disarmed Mode), 12:00 (Away Mode), 17:00 (Disarmed Mode), and 22:00 (Away Mode).
5.4 Emergency Notifications and Auto-Dial
In the event of an alarm trigger, the system will sound the siren and send notifications. It can also automatically call or send SMS messages to up to 5 pre-set phone numbers.

Figure 5.2: The alarm system's automatic notification feature, showing how it calls and messages designated contacts (represented by phone numbers and people talking on phones) when an illegal intruder is detected, alongside the alarm host and a smartphone displaying an incoming call from "Home Alarm system".
5.5 Renaming Sensors
For easier identification of triggered sensors, you can rename them within the mobile app.
- Open the mobile app and navigate to the device list.
- Select the sensor you wish to rename.
- Access the sensor settings and enter a descriptive name (e.g., "Living Room Window", "Front Door").

Figure 5.3: Mobile app interface demonstrating the process of renaming a door sensor. The image shows a smartphone screen with the "Device edit" menu, where a user can enter a new sub-device name, such as "My son room", to customize sensor identification.
5.6 Language Settings
The alarm system supports 13 languages. You can change the display language and voice prompts through the alarm host's settings menu.
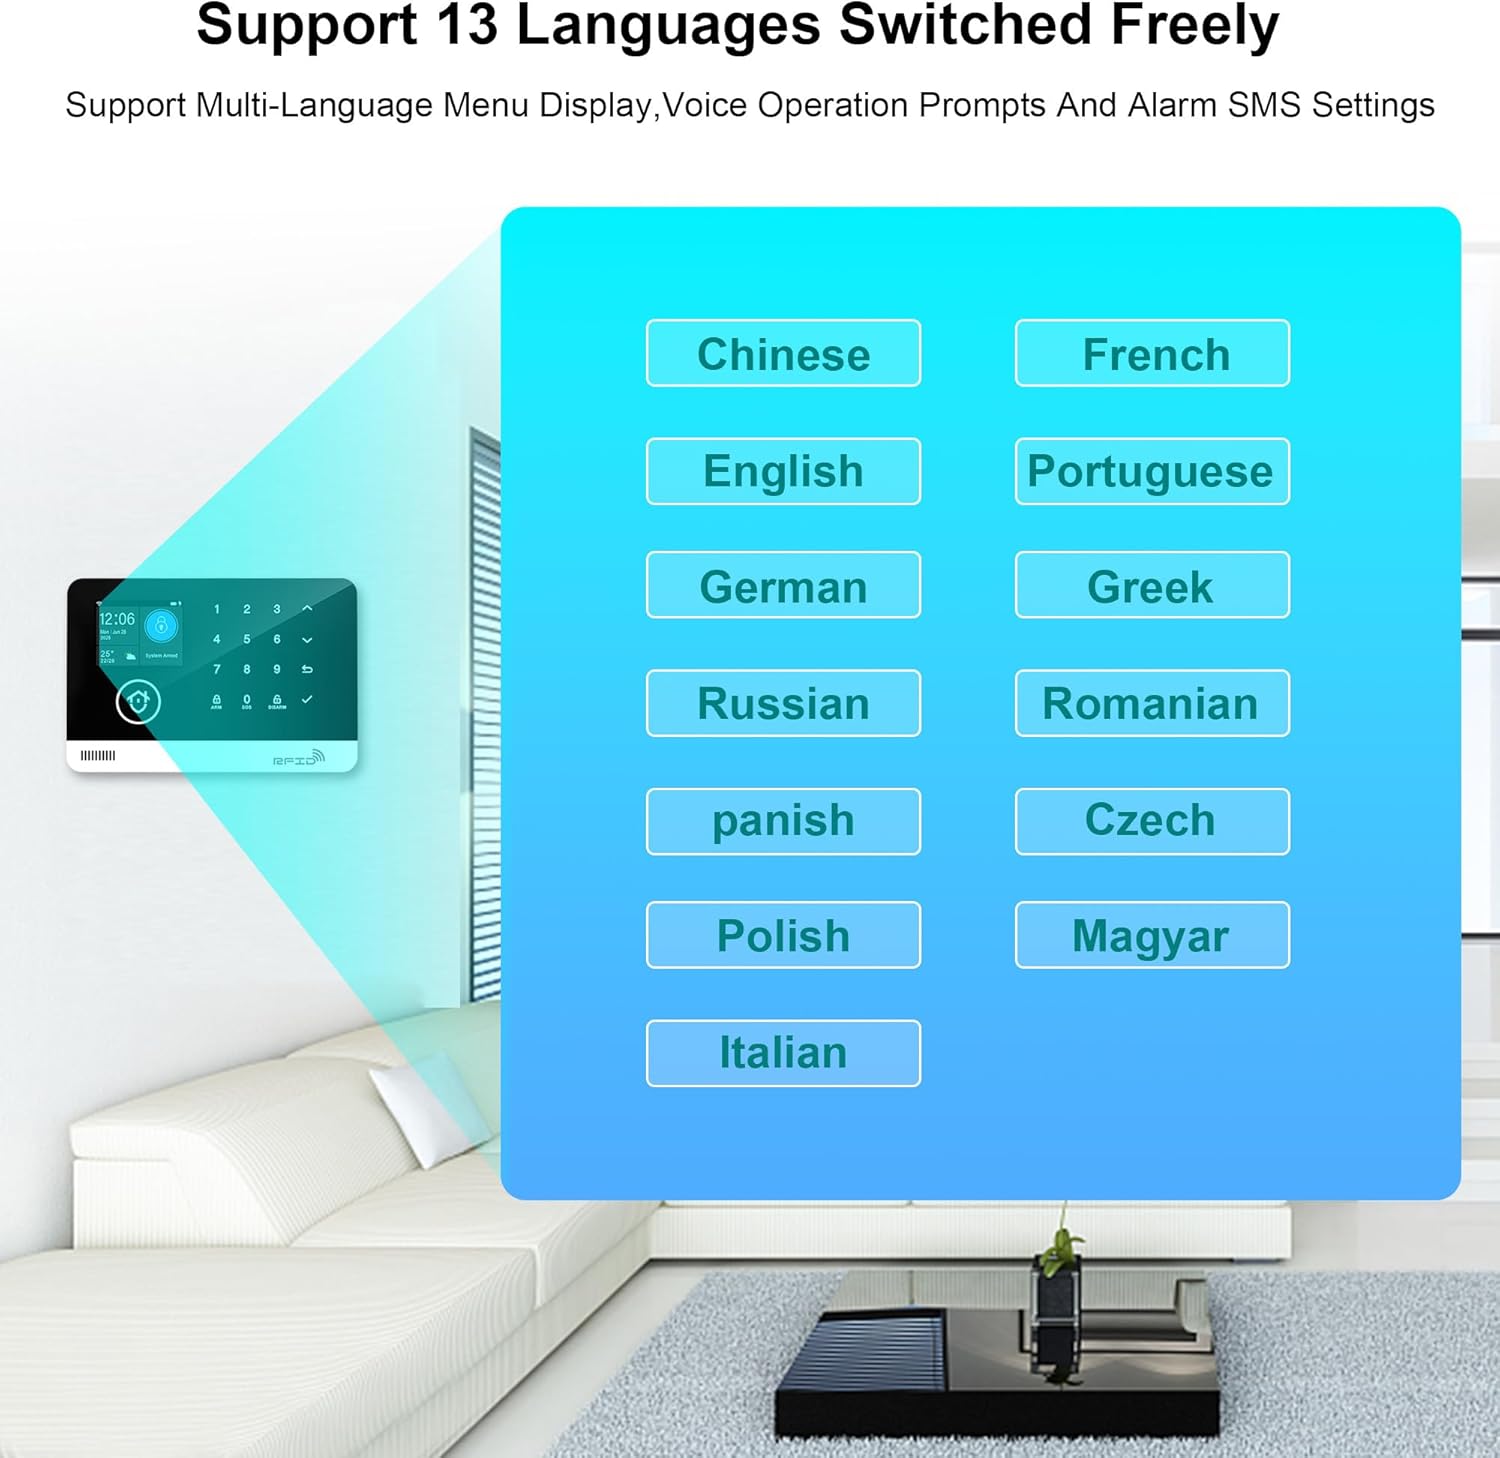
Figure 5.4: A visual representation of the 13 languages supported by the TUGARD alarm system, including Chinese, English, German, Russian, Spanish, Polish, Italian, French, Portuguese, Greek, Romanian, Czech, and Magyar.
6. Maintenance
6.1 Battery Replacement
Sensors and remote controls are battery-powered. Replace batteries when the system indicates a low battery warning or when devices become unresponsive. Refer to individual sensor manuals for specific battery types and replacement procedures.
6.2 Cleaning
Wipe the alarm host and sensors with a soft, dry cloth. Avoid using abrasive cleaners or solvents, as these can damage the device surfaces.
7. Troubleshooting
| Problem | Possible Cause | Solution |
|---|---|---|
| System not connecting to WiFi | Incorrect WiFi password; 5GHz WiFi network; weak signal. | Ensure correct 2.4GHz WiFi password. Move host closer to router. Restart router and host. |
| Sensors not triggering alarm | Low battery; sensor out of range; improper installation. | Check/replace sensor batteries. Ensure sensors are within range of the host. Verify correct sensor alignment/placement. |
| No app notifications/calls | App permissions denied; incorrect phone numbers; no GSM signal/credit. | Check app notification permissions. Verify preset phone numbers. Ensure SIM card is active and has credit/signal. |
| Voice control not working | Incorrect integration with Alexa/Google; device offline. | Re-link the TUGARD system in your Alexa/Google Home app. Ensure the alarm host is connected to WiFi. |
8. Specifications
| Feature | Specification |
|---|---|
| Brand | TUGARD |
| Model Number | ZASD-G03-4G-EB003 |
| Connectivity Technology | WiFi (2.4GHz), GSM (2G) |
| Compatible Devices | Smartphone (iOS/Android), Amazon Alexa, Google Assistant |
| Item Dimensions (L x W x H) | 7.09 x 4.72 x 0.55 inches (Alarm Host) |
| Item Weight | 1.23 Kilograms (Total System) |
| Voltage | 220 Volts |
| Maximum Wireless Range | 100 Meters (Sensor to Host) |
| Battery Average Life (Sensors) | 3 years |
| Battery Cell Type | Lithium Ion (Internal Host Battery) |
| Built-In Media | LCD Control Panel |
| UPC | 727636984299 |
9. Warranty and Support
TUGARD products are designed for reliability and performance. For warranty information, technical support, or service inquiries, please refer to the contact details provided with your product packaging or visit the official TUGARD website. Keep your purchase receipt as proof of purchase for warranty claims.