Introduction
Thank you for choosing the EUREKA ERGONOMIC Height Adjustable Under Desk Keyboard Tray. This manual provides detailed instructions for the assembly, operation, and maintenance of your new keyboard tray. Designed for ergonomic comfort and space-saving efficiency, this 32-inch tray offers height, tilt, and swivel adjustments to optimize your workspace. Please read this manual thoroughly before installation and use to ensure proper function and safety.
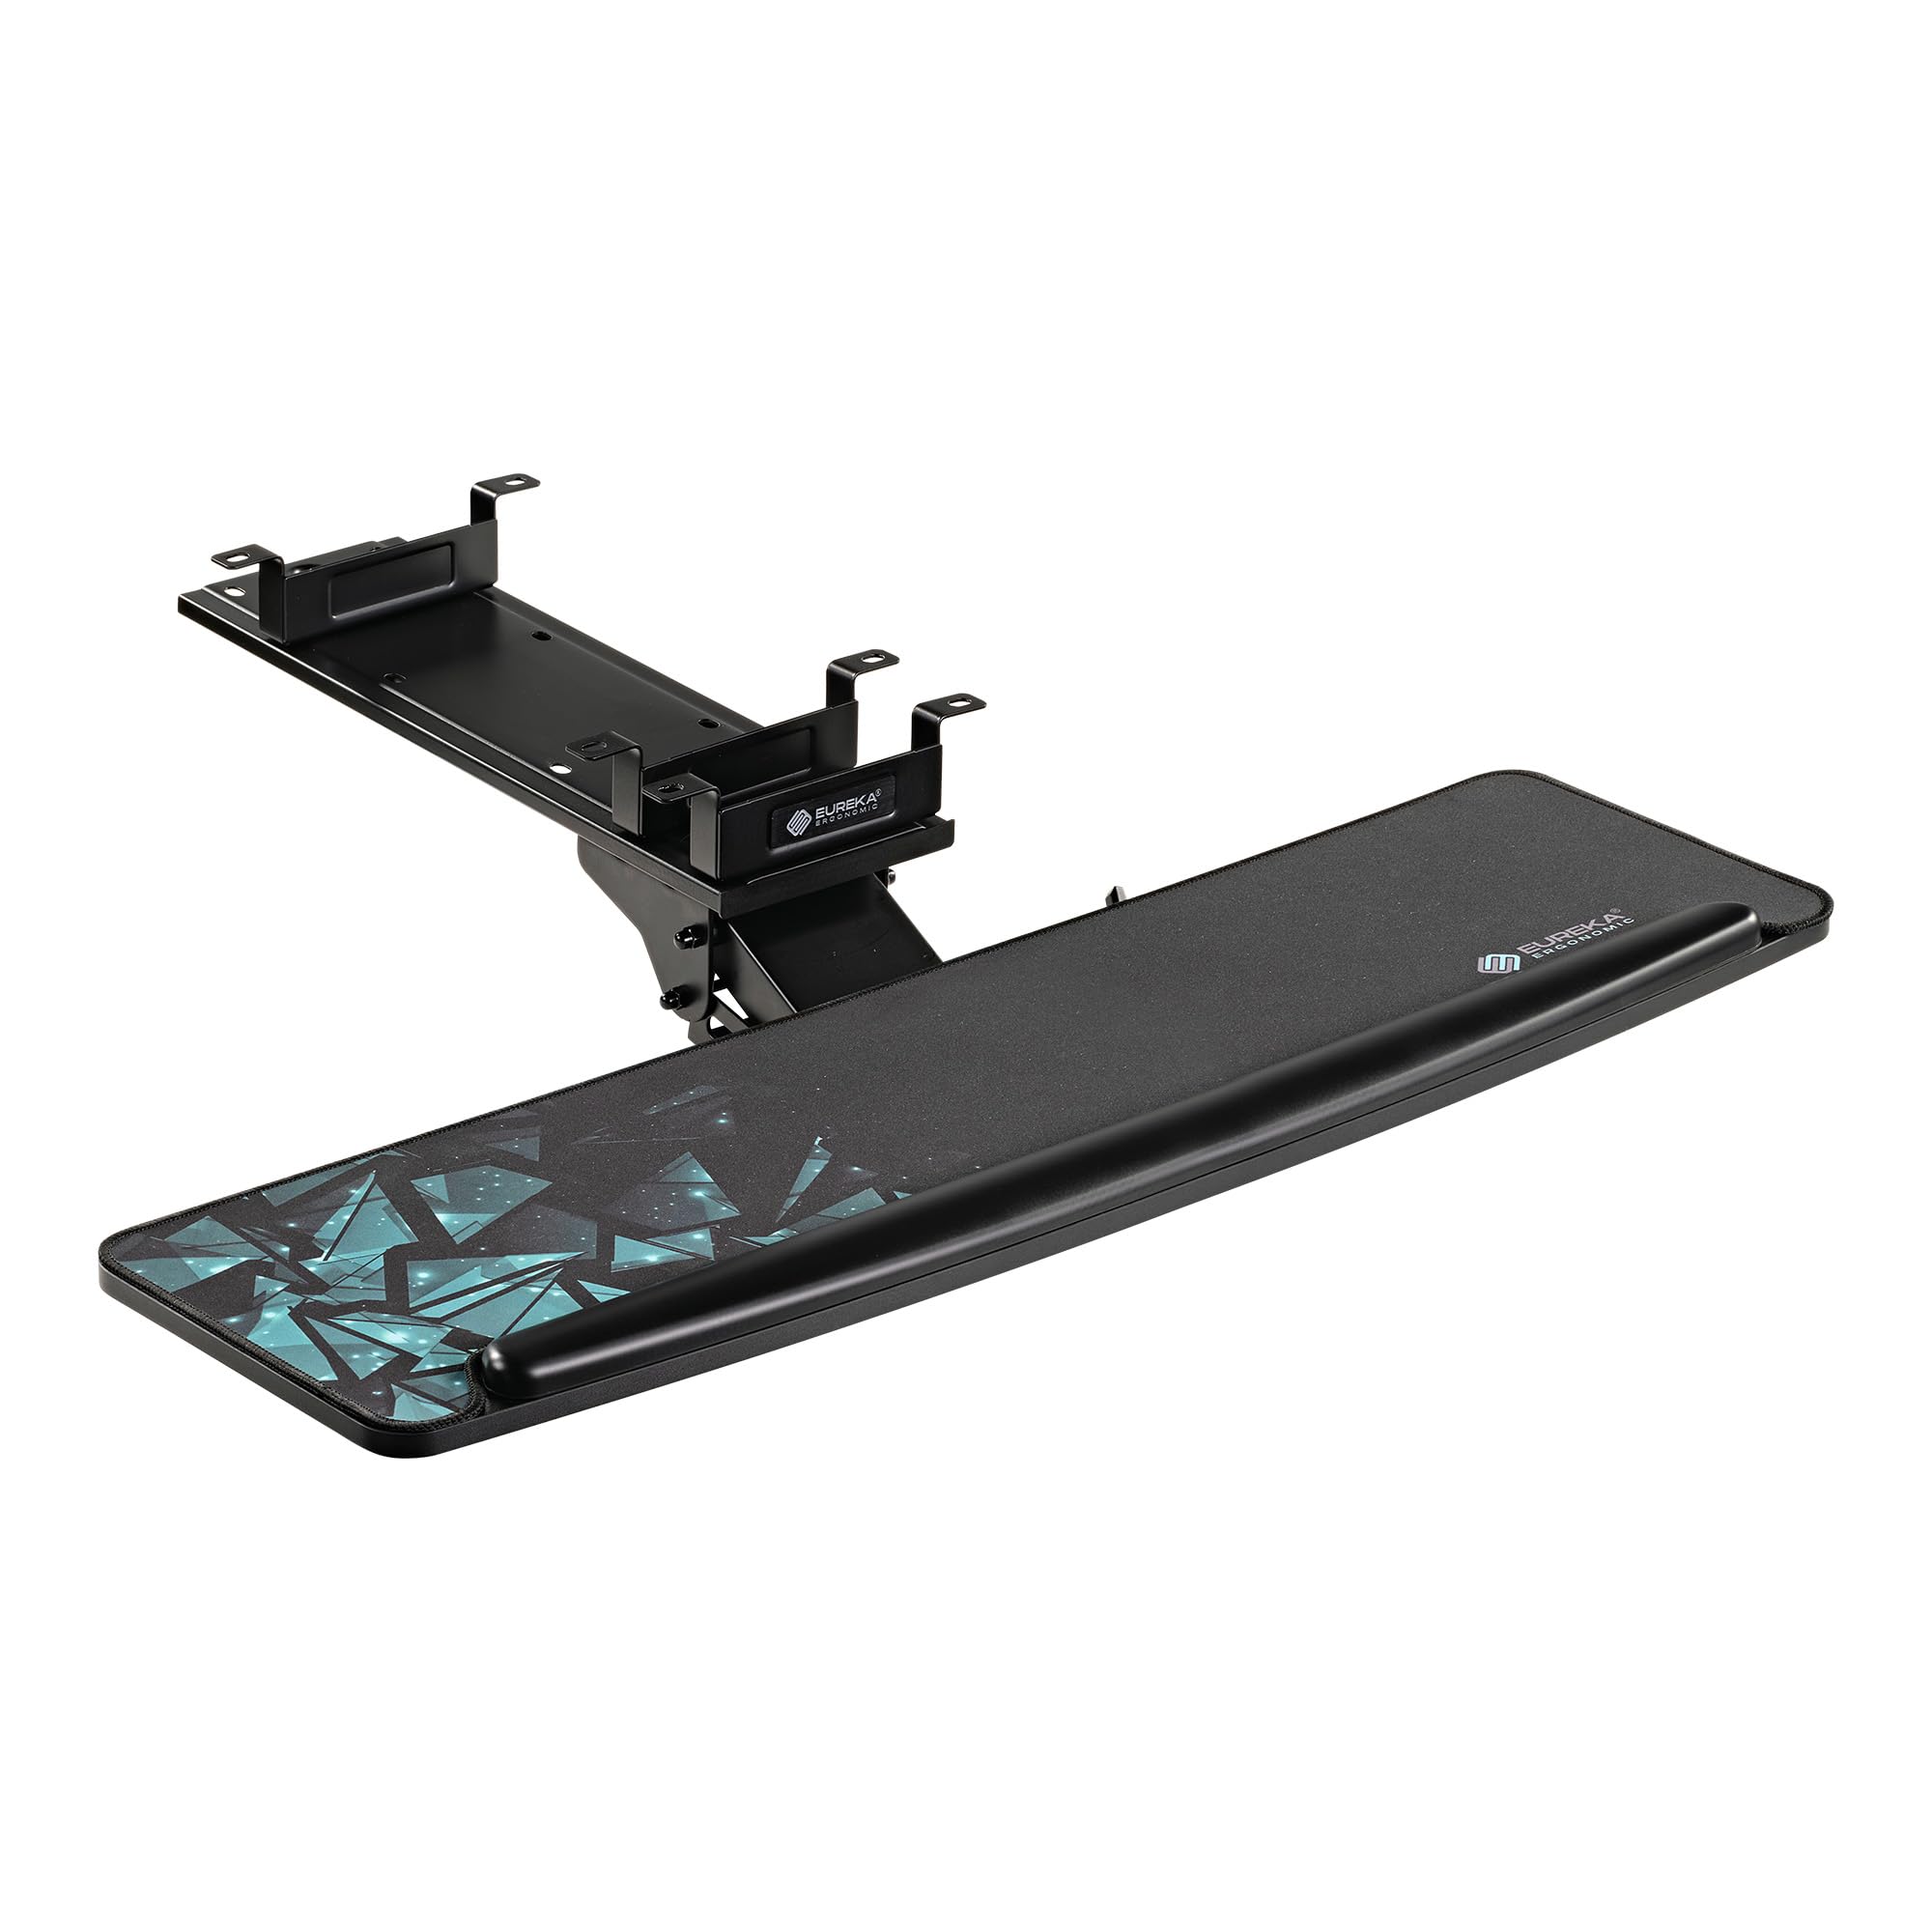
Image: The EUREKA ERGONOMIC 32-inch Height Adjustable Under Desk Keyboard Tray, showcasing its large surface and ergonomic design.
Safety Information
- Ensure all components are securely fastened before use.
- Do not exceed the maximum weight capacity of 6.6 lbs (3 kg).
- Keep hands clear of moving parts during adjustment to prevent pinching.
- Verify desk compatibility and thickness (at least 0.71 inches) before drilling.
- Avoid placing hot liquids or heavy objects directly on the tray surface.
Package Contents
Please check the package to ensure all items are present:
- Keyboard Tray (32 inches)
- Mounting Brackets and Rail Assembly
- Hardware Kit (screws, washers, etc.)
- Mouse Pad
- Wrist Rest
- User Manual (this document)
Specifications
| Feature | Detail |
|---|---|
| Model | 32-inch Height Adjustable Keyboard Tray |
| Dimensions (Tray) | Approximately 32 inches (width) x 10.25 inches (depth) |
| Material | Carbon Steel, EPA TSCA Title VI and CARB Phrase II Particle Board with Carbon Fiber Finish |
| Weight Capacity | 6.6 lbs (3 kg) |
| Adjustments | Height, 360° Swivel, 43° Tilt |
| Minimum Desk Thickness | 0.71 inches |
| Mounting Bracket Depth | 17.8 inches |
Setup and Installation
Before beginning installation, ensure your desk is compatible. The tray is suitable for wood, MDF, or similar materials. Avoid plastic, stone, or glass desks. Your desktop thickness must be at least 0.71 inches. Ensure sufficient legroom and that the tray will not interfere with desk motors if applicable.
Step 1: Prepare Your Workspace
Clear the area under your desk. Measure your desk to confirm the 32-inch tray and its 17.8-inch mounting bracket depth will fit without obstruction.
Step 2: Attach Mounting Brackets to Desk
Position the mounting brackets under your desk. The rail assembly can be detached from the arm for easier installation. Use the provided screws to secure the brackets. It is recommended to pre-drill pilot holes to prevent wood splitting. Ensure the brackets are aligned and securely fastened.

Image: This image displays the mounting brackets and the underside of the keyboard tray, indicating key dimensions for installation such as the bracket's depth (17 13/16 inches) and width (10 3/4 inches), and the tray's overall width (31 1/2 inches) and depth (10 1/4 inches).
Step 3: Assemble Tray to Rail Mechanism
Attach the keyboard tray to the rail mechanism using the designated screws. Ensure it is centered and firmly attached.
Step 4: Attach Tray Assembly to Mounted Brackets
Slide the assembled keyboard tray and rail mechanism into the mounted brackets under your desk. Ensure it clicks into place or is secured according to the specific design of the sliding mechanism.
Step 5: Final Checks
Gently pull and push the tray to ensure smooth movement. Check all screws for tightness. Confirm the tray is level and stable.
Operating Instructions
Adjusting Height and Tilt
The keyboard tray features a single knob for adjusting both height and tilt. Locate the knob underneath the tray. Loosen the knob to allow for adjustment. Position the tray to your desired height and tilt angle (up to 43° vertically). Once in position, tighten the knob firmly to secure the tray. The tray also allows for limited negative tilt for ergonomic comfort.
Swivel Function
The tray can be rotated 360° horizontally. Simply apply gentle force to swivel the tray to your preferred angle. This allows for flexible positioning and easy access.
Sliding In and Out
To slide the tray forward or backward, gently lift the tray slightly to disengage the gravity self-locking mechanism, then push or pull. This mechanism prevents accidental movement, ensuring stability during use.
Using the Wrist Rest and Mouse Pad
The integrated lip acts as a wrist rest and prevents your keyboard from sliding off, especially when the tray is tilted. The smooth carbon fiber texture provides an ideal surface for your mouse.
Maintenance
- Cleaning: Wipe the tray surface with a soft, damp cloth. Avoid abrasive cleaners or harsh chemicals.
- Inspections: Periodically check all screws and connections to ensure they remain tight. Re-tighten if necessary.
- Lubrication: The sliding mechanism is designed for smooth operation. If movement becomes stiff, a small amount of silicone-based lubricant can be applied to the rails, avoiding contact with the tray surface.
Troubleshooting
| Problem | Possible Cause | Solution |
|---|---|---|
| Tray is difficult to slide in/out. | Gravity self-locking mechanism engaged; rails are dry or dirty. | Gently lift the tray before pushing/pulling. Clean rails and apply silicone lubricant if needed. |
| Tray feels unstable or wobbly. | Mounting screws are loose; tray not properly secured to rail. | Check and tighten all mounting screws under the desk and those connecting the tray to the mechanism. |
| Cannot adjust height or tilt. | Adjustment knob is too tight. | Loosen the adjustment knob sufficiently before attempting to change position. |
Warranty and Support
EUREKA ERGONOMIC products are designed for quality and durability. For any questions, concerns, or assistance with your keyboard tray, please contact our customer support team. Our local customer support team is always there to offer timely help.
Please refer to your purchase documentation or the EUREKA ERGONOMIC official website for specific warranty details and contact information.