1. Introduction
Thank you for choosing the TUGARD ZASD-G03-4G-EB004 Wireless WiFi/4G Home Alarm System. This system provides comprehensive security for your home or office with advanced features including WiFi and 4G connectivity, a 1080P indoor camera, and smart app control. This manual will guide you through the installation, operation, and maintenance of your new security system.
For optimal performance and safety, please read this manual thoroughly before installation and retain it for future reference.
2. Package Contents
Verify that all items are present in your package:
- 1x Alarm Host (Main Control Panel)
- 1x Indoor Security Camera (1080P)
- 2x Motion Detectors (PIR Sensors)
- 4x Door/Window Sensors
- 2x Remote Controls
- 2x RFID Cards
- 1x 120 dB Siren
- 1x Power Adapter for Alarm Host
- 1x User Manual
3. Safety Information
- Do not expose the alarm host or sensors to extreme temperatures, humidity, or direct sunlight.
- Ensure the power adapter is connected to a suitable power source (220V).
- Keep the system away from strong electromagnetic interference.
- Do not attempt to disassemble or repair the device yourself. Contact customer support for assistance.
- Dispose of batteries according to local regulations.
4. Setup
4.1 Alarm Host Installation
Place the alarm host in a central location within your home, away from direct sunlight and moisture. Ensure it is within range of your WiFi router and has good cellular signal if using a SIM card.
- Connect the power adapter to the alarm host and plug it into a wall outlet.
- The system will power on automatically.
- If using 4G connectivity, insert a 2G/3G/4G SIM card into the designated slot on the alarm host. Ensure the SIM card is active and has credit for calls/SMS.

Figure 4.1: Alarm host with SIM card slot and two-way communication. The host supports app, SMS, and call notifications.
4.2 App Download and Connection
The system is compatible with the 'Tuya' and 'Smart Life' applications.
- Download the 'Tuya' or 'Smart Life' app from your smartphone's app store.
- Register for an account or log in.
- Follow the in-app instructions to add your alarm host. This typically involves selecting 'Security & Video Surveillance' > 'Alarm (Wi-Fi)' and following the pairing process. Ensure your phone is connected to a 2.4GHz WiFi network during setup.
4.3 Sensor Installation
All sensors are wireless and can be easily installed using the self-adhesive method.
4.3.1 Door/Window Sensors
Install these sensors on doors and windows. Ensure the two parts of the sensor are aligned and within 1 cm of each other when the door/window is closed.

Figure 4.2: Door sensor installation and app interface for renaming sensors. You can check sensor status and rename them in the mobile app.
4.3.2 Motion Detectors (PIR Sensors)
Mount motion detectors in corners or areas where intruders are likely to pass. Position them at a height of 2-2.5 meters for optimal detection. Avoid placing them near heat sources or in direct sunlight.

Figure 4.3: PIR motion detector detecting movement. It offers 110-degree detection with high sensitivity.
4.4 Indoor Security Camera Setup
The 1080P indoor camera connects via WiFi and offers live view, two-way audio, and human detection.
- Power on the camera using its dedicated power adapter.
- Open the 'Tuya' or 'Smart Life' app and select 'Add Device'.
- Choose 'Security & Video Surveillance' > 'Smart Camera' and follow the on-screen instructions to connect the camera to your WiFi network.

Figure 4.4: Easy DIY installation and multipurpose application. The system supports one-click arming and disarming.
5. Operating Instructions
5.1 Arming and Disarming
You can arm or disarm the system using the alarm host, remote controls, RFID cards, or the mobile app.
- Arm: Press the 'Arm' button on the host, remote, or app. The system will activate all sensors.
- Disarm: Press the 'Disarm' button on the host, remote, or app. You can also use an RFID card by tapping it on the host.
- Home Arm: Activates perimeter sensors (e.g., door/window sensors) while allowing free movement inside.

Figure 5.1: Alarm host control panel with 2.4-inch TFT screen. It supports app remote control, timing functions, and Alexa voice control.
5.2 App Control and Notifications
The 'Tuya' or 'Smart Life' app allows remote control and real-time notifications.
- Remote Operation: Arm, disarm, or set home arm mode from anywhere.
- Real-time Alerts: Receive instant push notifications on your smartphone when a sensor is triggered.
- Live View: Access the 1080P camera's live feed and use two-way audio.
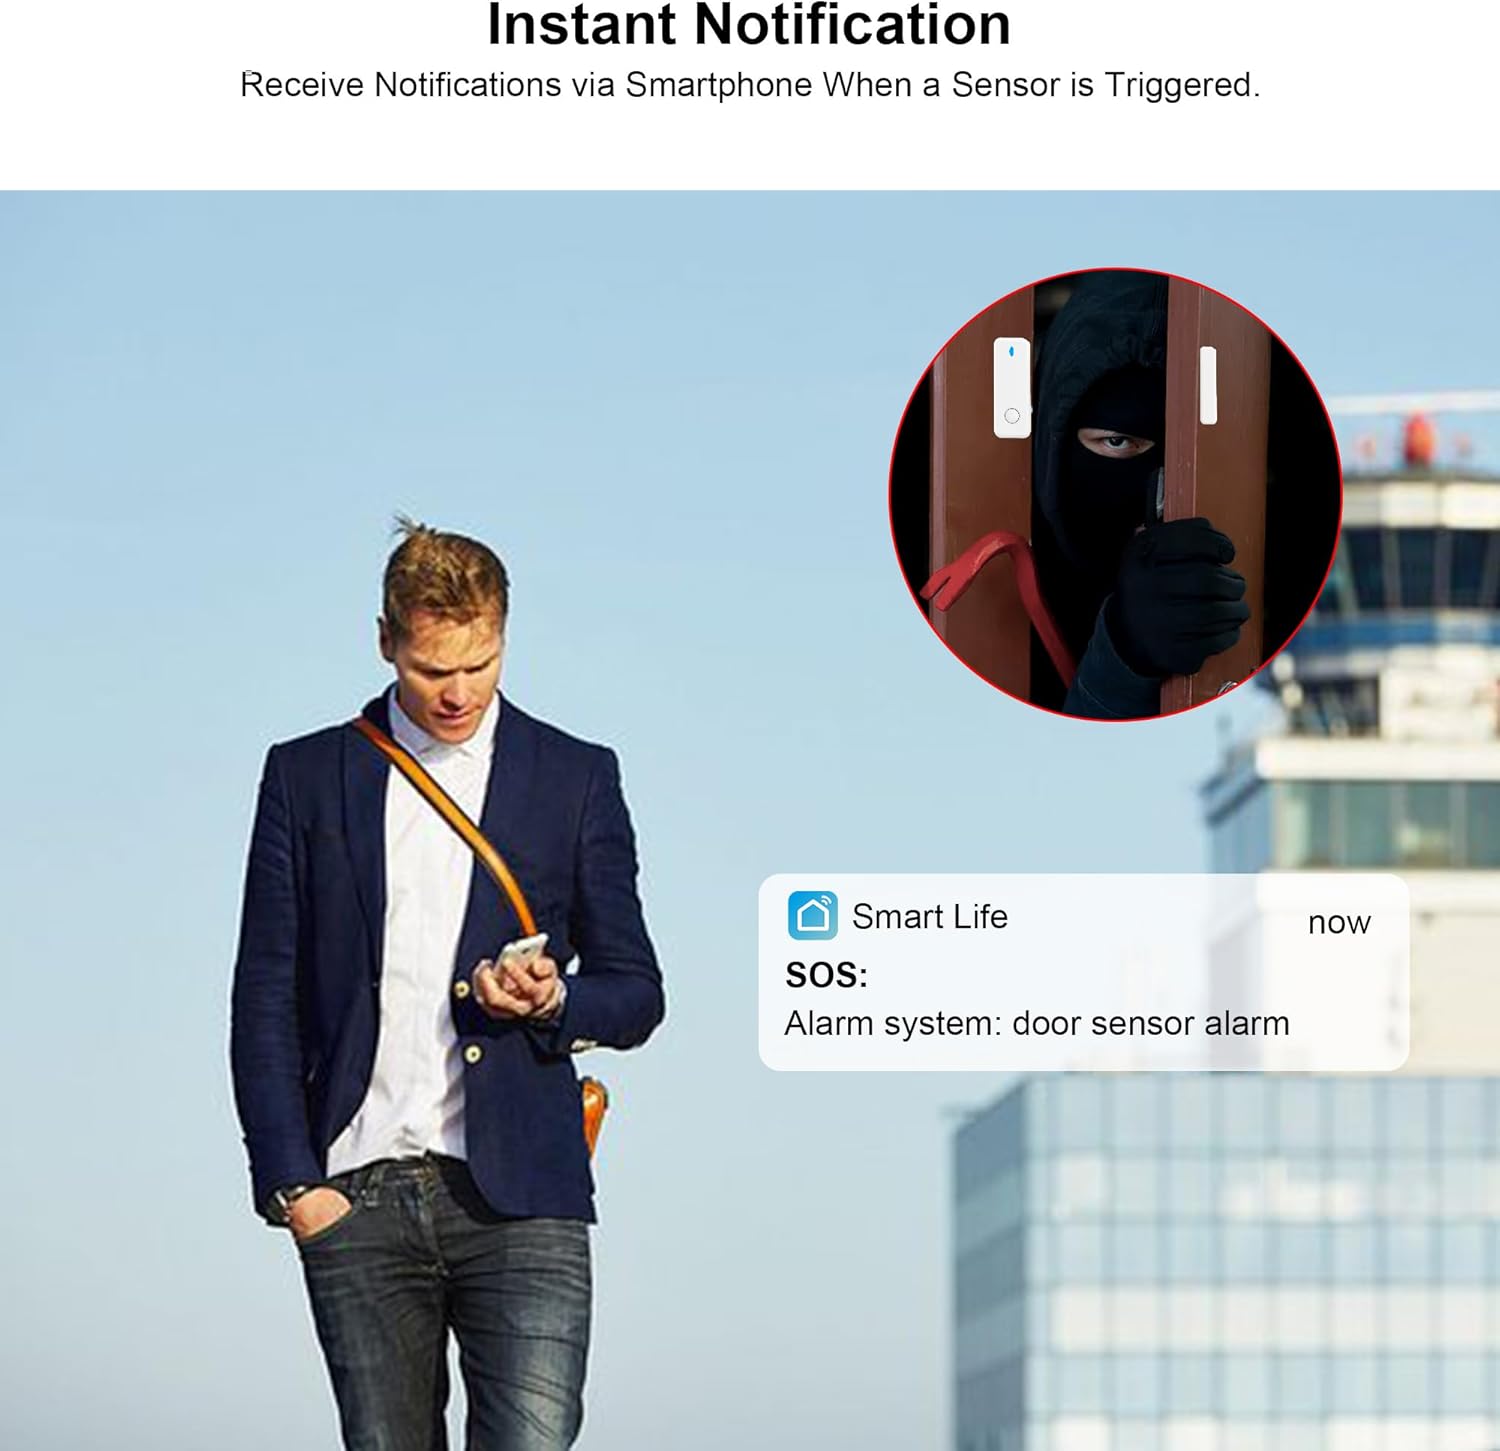
Figure 5.2: Instant notification via smartphone. The app provides real-time alerts when a sensor is triggered.
5.3 Emergency Call Function
If a SIM card is inserted, the system can automatically dial up to 5 pre-set phone numbers and send SMS alerts during an alarm event.

Figure 5.3: Emergency call function. The system can call up to 5 designated numbers in the event of a security breach.
5.4 Voice Control (Alexa/Google Home)
The system is compatible with Amazon Alexa and Google Home for voice commands. Link your 'Tuya' or 'Smart Life' account to your smart assistant app.
- Example command: "Alexa, disarm my home."
6. Maintenance
- Battery Check: The alarm host has a built-in Lithium-ion battery with a life of approximately 3 years. Sensors are battery-powered; replace batteries when the app indicates low power.
- Cleaning: Wipe the alarm host and sensors with a soft, dry cloth. Do not use liquid cleaners.
- Firmware Updates: Check the 'Tuya' or 'Smart Life' app regularly for firmware updates to ensure optimal performance and security.
- Connectivity: Periodically check WiFi and 4G signal strength to ensure reliable communication.
7. Troubleshooting
- System not powering on: Ensure the power adapter is securely connected and the outlet is functional.
- Sensors not triggering alarm: Check sensor battery levels in the app. Ensure sensors are correctly paired and within range of the alarm host. Verify proper alignment for door/window sensors.
- No app notifications: Check your phone's notification settings for the 'Tuya' or 'Smart Life' app. Ensure the alarm host is connected to WiFi or has an active SIM card with signal.
- Camera offline: Verify the camera's power supply and WiFi connection. Restart the camera and check its status in the app.
- SIM card issues: Ensure the SIM card is correctly inserted, active, and has sufficient credit. Check for network coverage in your area.
- Voice control not working: Confirm that your 'Tuya' or 'Smart Life' account is correctly linked to Alexa or Google Home. Check your internet connection.
8. Specifications
| Feature | Specification |
|---|---|
| Model Number | ZASD-G03-4G-EB004 |
| Connectivity | WiFi (2.4GHz), 4G (2G/3G/4G SIM card support) |
| Alarm Host Display | 2.4-inch TFT Colorful Screen |
| Indoor Camera Resolution | 1080P HD |
| Camera Battery | 5200 mAh Lithium-ion |
| Siren Volume | 120 dB |
| Power Source | Battery Powered (Alarm Host: 1 Lithium-ion included) |
| Battery Life (Host) | Approx. 3 years |
| Voltage | 220 Volts |
| Installation Method | Self-adhesive |
| Compatible Devices | Smartphone (Tuya/Smart Life App), Amazon Alexa, Google Home |
| Dimensions (L x W x H) | 18.01 x 11.99 x 1.4 cm |
| Weight | 1.4 Kilograms |
9. Warranty and Support
This product comes with a standard manufacturer's warranty. Please refer to the warranty card included in your package for specific terms and conditions. For technical support, troubleshooting assistance, or warranty claims, please contact TUGARD customer service through the contact information provided on the product packaging or the official TUGARD website.
Spare parts availability is typically 3 years from the date of purchase.