Introduction
The ANSAITE H09 is a mid-tower PC case designed for gaming and high-performance computing. It features a panoramic tempered glass side panel, pre-installed PWM ARGB fans, and extensive cooling support. This manual provides essential information for the proper setup, operation, and maintenance of your H09 PC case.
Product overview video of the ANSAITE H09 Mid-Tower PC Case. This video provides a visual overview of the ANSAITE H09 Mid-Tower PC Case, demonstrating its design, ARGB lighting, and key features.
Safety Information
- Always disconnect the power supply from the wall outlet before installing or servicing any components inside the PC case.
- Be aware of sharp edges inside the case. Handle components carefully to avoid injury.
- Wear an anti-static wrist strap to prevent electrostatic discharge (ESD) when handling sensitive electronic components.
- Keep the case and its components away from liquids and excessive humidity.
- Ensure proper ventilation around the PC case to prevent overheating.
Package Contents
Verify that all components are present before beginning installation:
- ANSAITE H09 Mid-Tower PC Case
- 9 x Pre-installed 120mm PWM ARGB Fans
- Accessory Box (containing screws, zip ties, and other small parts)
- User Manual (this document)
Specifications
| Feature | Specification |
|---|---|
| Model Name | H09 |
| Case Type | Mid Tower |
| Dimensions (L x W x H) | 16.54 x 11.22 x 15.75 inches (420 x 285 x 400 mm) |
| Weight | 13.5 pounds |
| Motherboard Compatibility | ATX, Micro ATX, Mini ITX |
| GPU Length Limit | Up to 400mm (15.75 inches) |
| CPU Cooler Height Limit | Up to 175mm |
| PSU Length Limit | Up to 200mm (7.87 inches) |
| Radiator Support (Top) | 360mm, 280mm, 240mm, 120mm |
| Radiator Support (Side) | 280mm, 240mm |
| Radiator Support (Bottom) | 360mm |
| Fan Support (Top) | 3 x 120mm or 2 x 140mm |
| Fan Support (Bottom) | 3 x 120mm or 2 x 140mm |
| Fan Support (Side) | 3 x 120mm or 2 x 140mm |
| Fan Support (Rear) | 1 x 120mm |
| I/O Panel | 1x USB 3.2 Gen 2 Type-C, 1x USB 3.0, 1x USB 2.0, 1x HD Audio, Power Button, Reset Button |
| PCIe Expansion Slots | 7 |
| Material | Metal, Tempered Glass |

This image provides a side view of the PC case, highlighting its physical dimensions: 16.54 inches (420mm) length, 11.22 inches (285mm) width, and 15.75 inches (400mm) height.

This diagram illustrates the extensive cooling support of the H09 case, detailing fan and radiator placements for the rear, top, bottom, and side panels, including support for up to 360mm radiators.
Setup and Installation
1. Preparing the Case
Before installing components, you will need to remove the tempered glass side panel for access.
- Locate the tempered glass side panel.
- Gently push the panel outward in the direction indicated by the arrow on the panel's edge. The panel uses a tool-free mechanism for easy removal.
- For front glass removal, first remove the screws on the side of the rear compartment.

This image demonstrates the 'Push to Open' mechanism for quick access to internal components and the method for removing the front glass by unscrewing the rear compartment screws.
2. Motherboard Installation
The H09 case supports ATX, Micro ATX, and Mini ITX motherboards. Install standoffs as required for your motherboard size, then secure the motherboard with screws.
3. CPU Cooler Installation
Install your CPU cooler according to its manufacturer's instructions. The H09 case supports CPU coolers up to 175mm in height.
4. Graphics Card (GPU) Installation
Install your graphics card into the appropriate PCIe slot. The case accommodates GPUs up to 400mm (15.75 inches) in length. Vertical GPU installation is supported, but a riser cable is not included.
5. Power Supply Unit (PSU) Installation
The power supply mounts at the bottom of the case. Install your PSU, ensuring it is secured with screws. The case supports PSUs up to 200mm (7.87 inches) in length.
6. Storage Drive Installation
Utilize the provided brackets for installing mechanical hard drives (HDDs) and solid-state drives (SSDs). Refer to the accessory box for specific mounting hardware.
7. Fan and Radiator Installation
The H09 case comes with 9 pre-installed 120mm PWM ARGB fans: 3 on the top (forward-blade), 3 on the bottom (reverse-blade), and 3 on the side (reverse-blade). These fans are pre-wired for convenience. Additional fan and radiator configurations are supported as detailed in the specifications section.
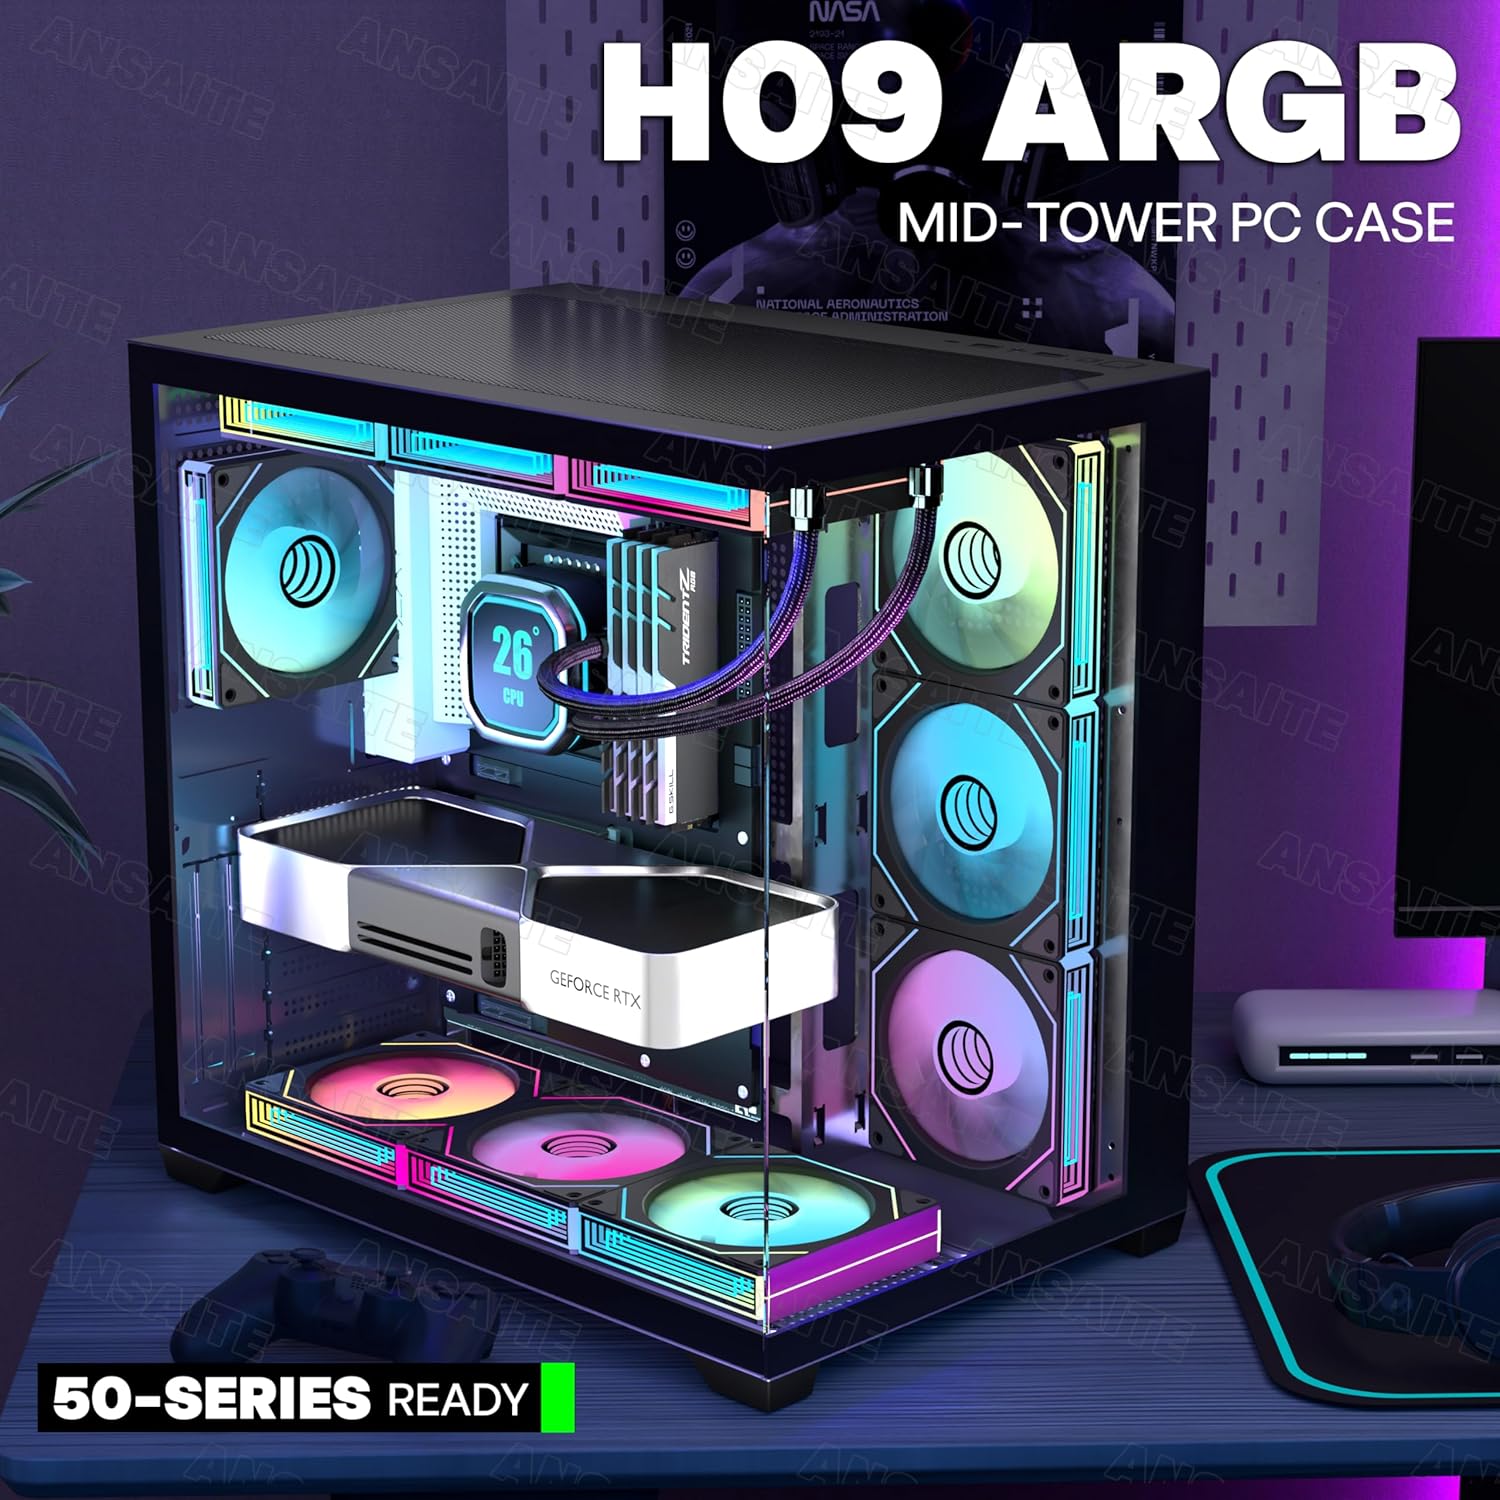
This image displays the front and side view of the ANSAITE H09 PC case, showcasing its panoramic tempered glass and the vibrant ARGB lighting of the pre-installed fans and internal components.
8. Cable Management
The H09 case offers ample space and a back-connect design to facilitate clean cable management, which helps optimize airflow and maintain a tidy interior. Route cables through the designated cutouts and tie-down points.

This diagram shows recommended cable routing paths for both standard and back-connect motherboards, demonstrating how to achieve clean cable management within the H09 case.
Operating Instructions
1. ARGB Fan Control
The pre-installed PWM ARGB fans can be controlled via your motherboard's ARGB software. Connect the fans to a +5V ARGB motherboard header. No separate controller is necessary for basic functionality. This allows for synchronization of lighting effects and fan speed adjustments through your computer's software.

This graphic highlights the ARGB sync capabilities of the case fans, compatible with major motherboard software like ASRock Polychrome Sync, RGB Fusion, Aura Sync, and MSI Mystic Light Sync, allowing for customized lighting effects.

This graphic details the specifications of the 120mm PWM ARGB fans, including fan speed (600-1800 RPM), air volume (29.22-77.3 CFM), and noise level (6-28 dB(A)). It also shows the ARGB color customization interface.
2. I/O Panel Usage
The front I/O panel provides convenient access to various ports and controls:
- USB 3.2 Gen 2 Type-C Port: For high-speed data transfer with compatible devices.
- USB 3.0 Port: For standard USB 3.0 devices.
- USB 2.0 Port: For standard USB 2.0 devices.
- HD Audio Jacks: For connecting headphones and microphones.
- Power Button: To power on/off your PC.
- Reset Button: To restart your PC.

This image displays the front I/O panel with its USB ports (Type-C, USB 3.0, USB 2.0), HD Audio, Power, and Reset buttons. It also reiterates the tool-free method for removing the tempered glass side panel.
Maintenance
1. Dust Filters
The H09 case is equipped with magnetic dust filters on both the top and bottom panels. Regularly clean these filters to maintain optimal airflow and prevent dust buildup inside your PC. To clean, simply remove the magnetic filters, gently brush off accumulated dust, and reattach them.

This image highlights the magnetic dust filters located on the top and bottom panels of the case, designed to prevent dust accumulation while maintaining optimal airflow.
2. General Cleaning
For general cleaning of the case exterior and interior, use a soft, dry cloth. For stubborn smudges on tempered glass, a microfiber cloth with a small amount of glass cleaner can be used, applied to the cloth first, not directly to the glass. Ensure the PC is powered off and unplugged before cleaning.
Troubleshooting
This section addresses common issues you might encounter during or after building your PC in the H09 case.
- No Power: Double-check all power connections, including the 24-pin ATX, 8-pin CPU, and PCIe power cables. Ensure the PSU switch is in the 'ON' position and the wall outlet is functional.
- Fans Not Spinning/ARGB Not Lighting Up: Verify that all fan and ARGB cables are correctly connected to the motherboard headers or any fan/ARGB hub. Ensure your motherboard's ARGB software is properly configured.
- No Display Output: Confirm that your monitor is connected to the graphics card (not the motherboard's integrated graphics ports, unless you are using integrated graphics). Reseat the graphics card and RAM modules.
- Overheating: Ensure all fans are spinning in the correct direction for optimal airflow (intake/exhaust). Clean dust filters regularly. Verify CPU cooler and GPU cooler are properly seated and functioning.
- Loose Panels/Vibration: Ensure all screws and tool-free mechanisms for panels are securely fastened. Check for any loose components inside the case.
Warranty Information
For detailed warranty information regarding your ANSAITE H09 PC Case, please refer to the manufacturer's official website or the warranty card included with your purchase. Warranty terms and conditions may vary by region and retailer.
Support
Should you require technical assistance, have questions about installation, or need further support for your ANSAITE H09 PC Case, please contact ANSAITE customer service. You can typically find contact information on the official ANSAITE website or through your product retailer.