
1. Introduction
This manual provides comprehensive instructions for the assembly, operation, maintenance, and troubleshooting of your GarveeHome 29-inch Wheeled Snow Shovel. Please read this manual thoroughly before using the product to ensure safe and efficient snow removal.
2. Safety Information
WARNING: Failure to follow these safety instructions may result in injury or property damage.
- Always keep hands and feet away from the blade during operation and adjustment.
- Be cautious when pushing heavy snow to avoid strain or injury.
- Wear appropriate footwear to prevent slipping, especially on icy surfaces.
- Ensure all fasteners are securely tightened before each use.
- Do not use the snow shovel on uneven or excessively sloped surfaces where stability may be compromised.
- Store the shovel in a dry, secure location away from children and pets.
3. Package Contents
Verify that all components are present before beginning assembly:
- Snow Shovel Blade (1)
- Main Handle Assembly (1)
- Wheel Assembly (1)
- Adjustable Handle Grip (1)
- Hardware Pack (Bolts, Nuts, Washers, Cotter Pins, Wrenches) (1)
- Instruction Manual (1)

Image: All components included in the package.
4. Assembly Instructions
Follow these steps to assemble your GarveeHome Snow Shovel. Refer to the provided diagram and video for visual guidance.

Image: Concise Installation Guide.
- Part 1: Attach Blade to Main Frame
Place the holed metal piece (Part 1) flat on a steady installation surface. Insert one end of Part 2 (angled metal rod) into Part 1's hole, adjust to the right angle, and fix it. Pass Part 3 (bolt-like part) through Part 2's hole from Part 1's other side, then tighten preliminarily. Use the provided M6x16mm bolts (x4) and nuts to secure the blade to the main frame.
- Part 2: Secure Blade Angle Mechanism
Install Part 4 (long part) on top of Part 2, ensuring it's firm and at the designed angle. Use M6x45mm bolts (x1) and nuts (x1) to secure the blade angle adjustment mechanism.
- Part 3: Attach Handle Grip
Attach Part 5 (handle-equipped part) to Part 4's top by rotating or tightening. Use M6x50mm bolts (x1) and nuts (x1) to secure the handle grip.
- Part 4: Install Wheels
Install Part 6 (circular component) on Part 5. Check all parts are tight – installation is done. Secure the wheels to the axle using the provided cotter pins. Ensure the wheels spin freely but are securely attached.
- Final Tightening
Once all components are in place, double-check and securely tighten all bolts and nuts using the provided tools. Ensure there is no wobble in the handle or blade.
Assembly Video
Video: Official GarveeHome product video demonstrating assembly and usage.
5. Operating Instructions
The GarveeHome Snow Shovel is designed for efficient snow removal from driveways, sidewalks, and other paved surfaces. Follow these guidelines for optimal performance:
5.1 Adjusting Handle Height
- The handle features 5 adjustable height settings (15.74/27.55/35.43/42.12/45.67 inches or 40/70/90/107/116cm).
- To adjust, locate the adjustment mechanism on the handle. Loosen the knob or pin, slide the handle to your desired height, and secure it firmly.
- Adjust the handle to a comfortable height that allows you to push without excessive bending or reaching, reducing strain on your back.

Image: 5-Level Adjustable Grip for various user heights.
5.2 Adjusting Blade Angle
- The 29-inch metal blade can be adjusted bidirectionally up to 45 degrees or fixed at a preferred angle.
- To adjust, locate the 5-hole adjustment design near the blade. Remove the pin, set the blade to the desired angle (left, right, or straight), and reinsert the pin to secure it.
- Angling the blade allows you to push snow to the side, preventing it from accumulating directly in front of the shovel.

Image: Angle-adjustable blade with 5-hole adjustment.
5.3 Snow Removal Technique
- Push the shovel forward with a steady motion. The large 10-inch inflatable wheels provide traction and reduce effort.
- The nylon slider at the base of the blade is effective for removing up to 5 inches of compacted snow or 10 inches of loose snow.
- For deeper snow, clear in multiple passes, taking off smaller layers at a time.
- Avoid attempting to clear excessively heavy or wet snow in a single pass to prevent strain.
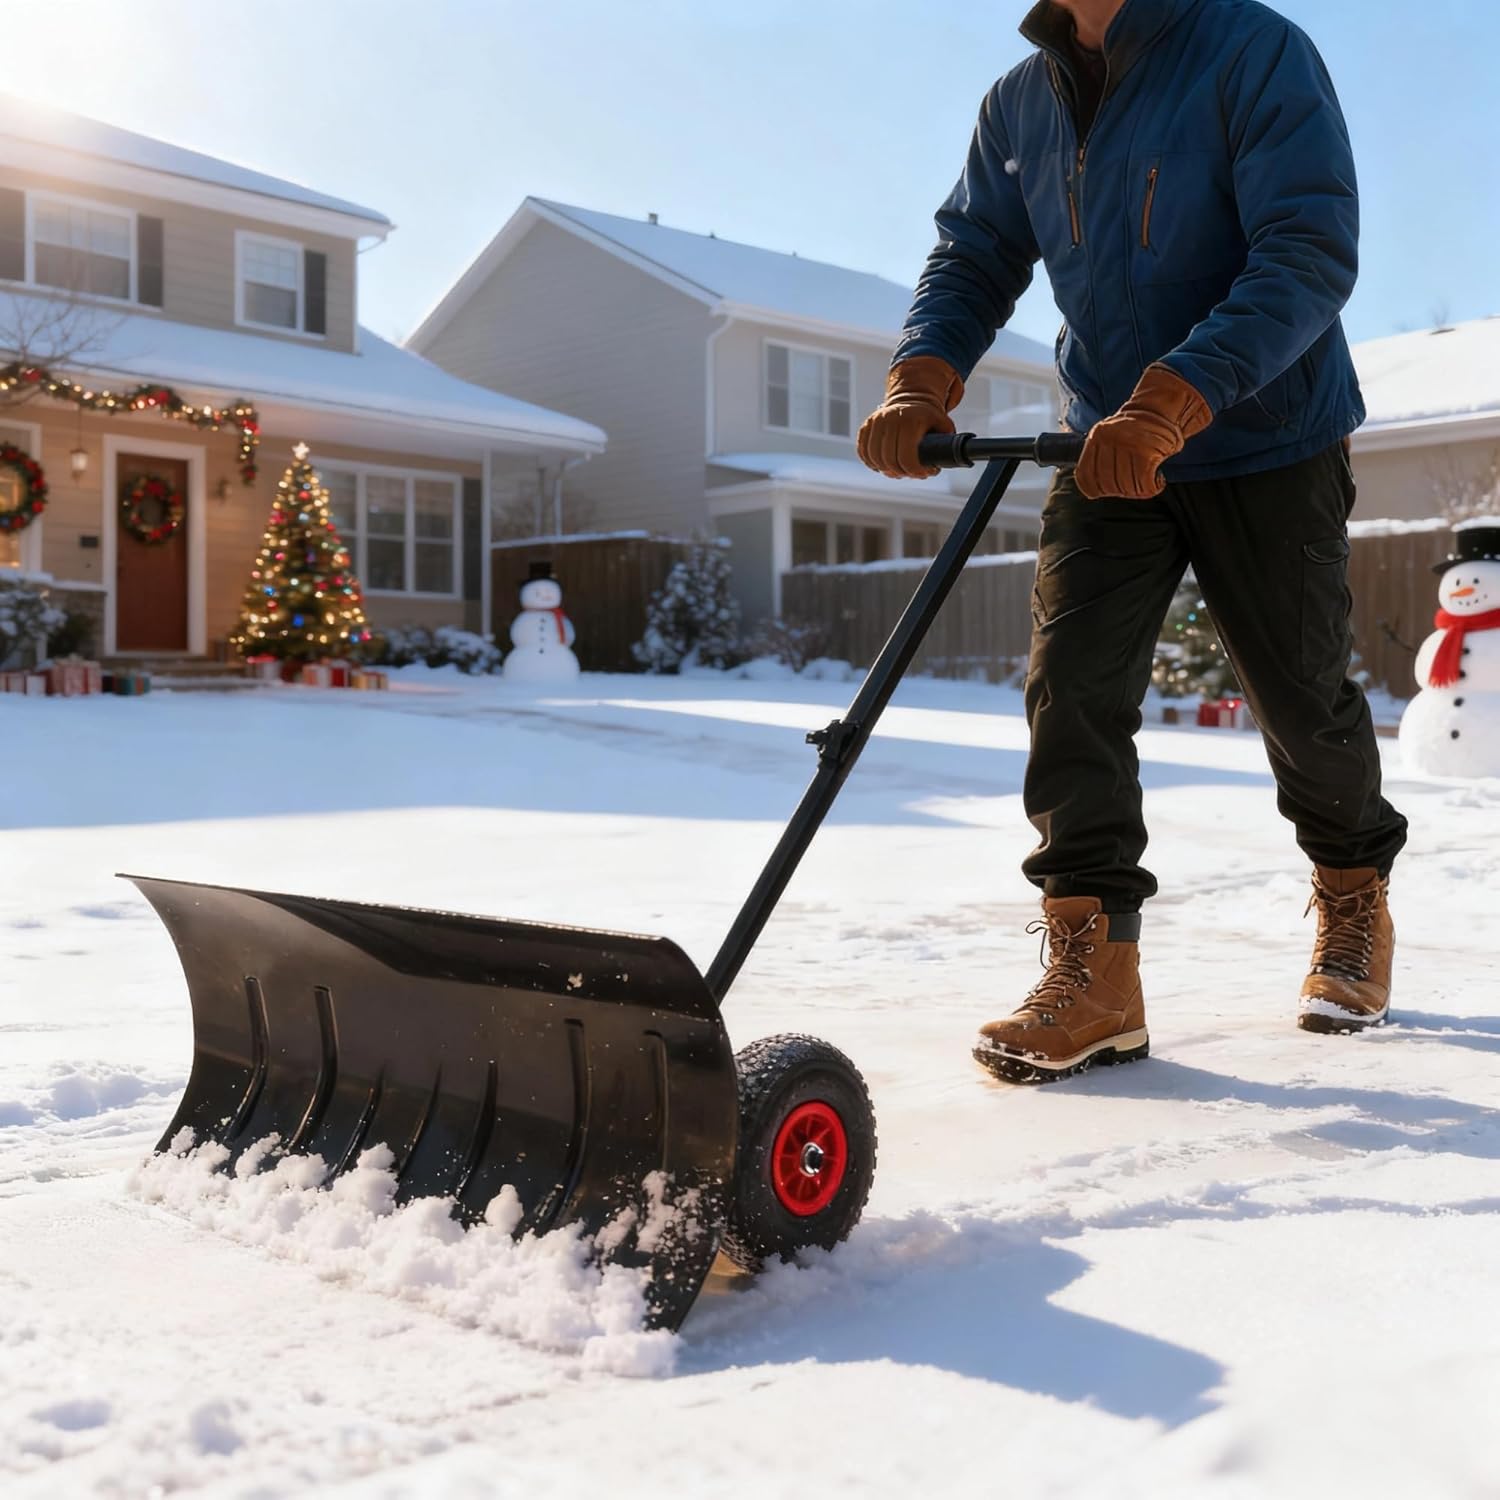
Image: Efficient snow removal on a driveway.
6. Maintenance
- Cleaning: After each use, remove any snow, ice, or debris from the blade, wheels, and frame. Wipe down metal parts to prevent rust.
- Lubrication: Periodically apply a silicone spray or rust protectant to metal components, especially moving parts and the blade, to ensure smooth operation and longevity.
- Storage: Store the snow shovel in a dry, covered area when not in use. The latch design of the wheels allows for easy installation and removal for compact storage.
- Tire Pressure: Check the tire pressure of the inflatable wheels periodically and inflate as needed to maintain optimal traction and ease of pushing.

Image: Snow shovel stored upright.
7. Troubleshooting
| Problem | Possible Cause | Solution |
|---|---|---|
| Difficulty pushing snow | Excessively deep or heavy/wet snow; low tire pressure; incorrect blade angle. | Clear snow in multiple, shallower passes. Check and inflate tire pressure. Adjust blade angle for easier snow displacement. |
| Blade not clearing snow effectively | Blade angle incorrect; worn nylon slider. | Ensure blade is set to the optimal angle for the snow type. Inspect nylon slider for wear and replace if necessary. |
| Handle feels wobbly | Loose fasteners on handle assembly. | Tighten all bolts and nuts on the handle and frame connections. |
| Wheels losing traction | Low tire pressure; icy surface. | Check and inflate tire pressure. Apply sand or ice melt to icy areas for better grip. |
8. Specifications
| Feature | Detail |
|---|---|
| Model Number | 7QOpbWeotaYgtvlIKdFOVg1dL |
| Brand | GarveeHome |
| Material | Metal |
| Color | Black |
| Product Dimensions (L x W x H) | 47.24 x 16 x 29 inches |
| Item Weight | 27.1 Pounds |
| Handle Material | Metal |
| Blade Material | Metal |
| Grip Type | Ergonomic |
| Blade Width | 29 inches |
| Wheel Size | 10 inches (inflatable) |
| Adjustable Handle Heights | 15.74/27.55/35.43/42.12/45.67 inches (40/70/90/107/116cm) |
| Adjustable Blade Angle | Up to 45 degrees bidirectional (5-hole design) |
9. Warranty Information
For warranty details and claims, please refer to the warranty card included with your product or contact GarveeHome customer support directly. Keep your proof of purchase for warranty validation.
10. Customer Support
If you have any questions, require assistance, or need to order replacement parts, please contact GarveeHome customer support through their official website or the contact information provided in your product packaging. Please have your model number (7QOpbWeotaYgtvlIKdFOVg1dL) ready when contacting support.