
1. Introduction
The RayCue All-in-One Dock is designed to expand the connectivity and storage capabilities of your Mac mini M4 or M4 Pro. This docking station integrates multiple ports, an SSD enclosure, and a smart display into a compact, aluminum alloy design that complements your Mac mini.
2. Product Overview
2.1. Smart UI Display
The dock features an innovative Smart UI Display that cycles through five interfaces every 10 seconds. These interfaces show startup animation, power status, M.2 SSD information, data port activity, and HDMI connection status. When a device is connected, the relevant screen displays instantly.

Image: Front view of the RayCue All-in-One Dock, highlighting the Smart UI Display showing various system and connection statuses.
2.2. Port Layout
The RayCue All-in-One Dock provides a comprehensive set of ports for various peripherals and external devices.

Image: Detailed diagram illustrating the location and type of all ports on the front and back of the RayCue All-in-One Dock.
- Front Ports:
- 1 x USB-A 3.0 (5Gbps)
- 1 x USB-A 3.2 (10Gbps)
- 1 x USB-C 3.2 (10Gbps)
- 1 x SD Card Reader (up to 160MB/s)
- 1 x TF (MicroSD) Card Reader (up to 160MB/s)
- Rear Ports:
- 1 x USB-C Charging Port (for dock power)
- 1 x 3.5mm Audio Jack
- 1 x USB-A 3.0 (5Gbps)
- 1 x HDMI Port (4K@60Hz)
- 1 x USB-C Host Port (connects to Mac mini)
3. Setup Instructions
3.1. Connecting to Mac mini
- Place your Mac mini M4 securely on top of the RayCue All-in-One Dock.
- Connect the provided USB-C to USB-C cable from the dock's USB-C Host port (rear) to an available Thunderbolt/USB-C port on your Mac mini.
- For stable operation, especially when using high-power SSDs or multiple peripherals, connect the dedicated USB-C Charging Port (rear) on the dock to a power source using the provided USB-A to USB-C charging cable and a suitable power adapter (not included).
3.2. M.2 NVMe/SATA SSD Installation
The dock supports M.2 NVMe and SATA SSDs up to 8TB capacity (2230/2242/2260/2280 sizes).
- Carefully remove the bottom cover plate of the dock.
- If applicable, apply the thermal silicone pad to your M.2 SSD (remove protective film first).
- Insert the M.2 SSD into the designated slot, ensuring it is seated correctly.
- Secure the SSD with the provided SSD mounting screw.
- Replace the bottom cover plate and secure it with the screw.
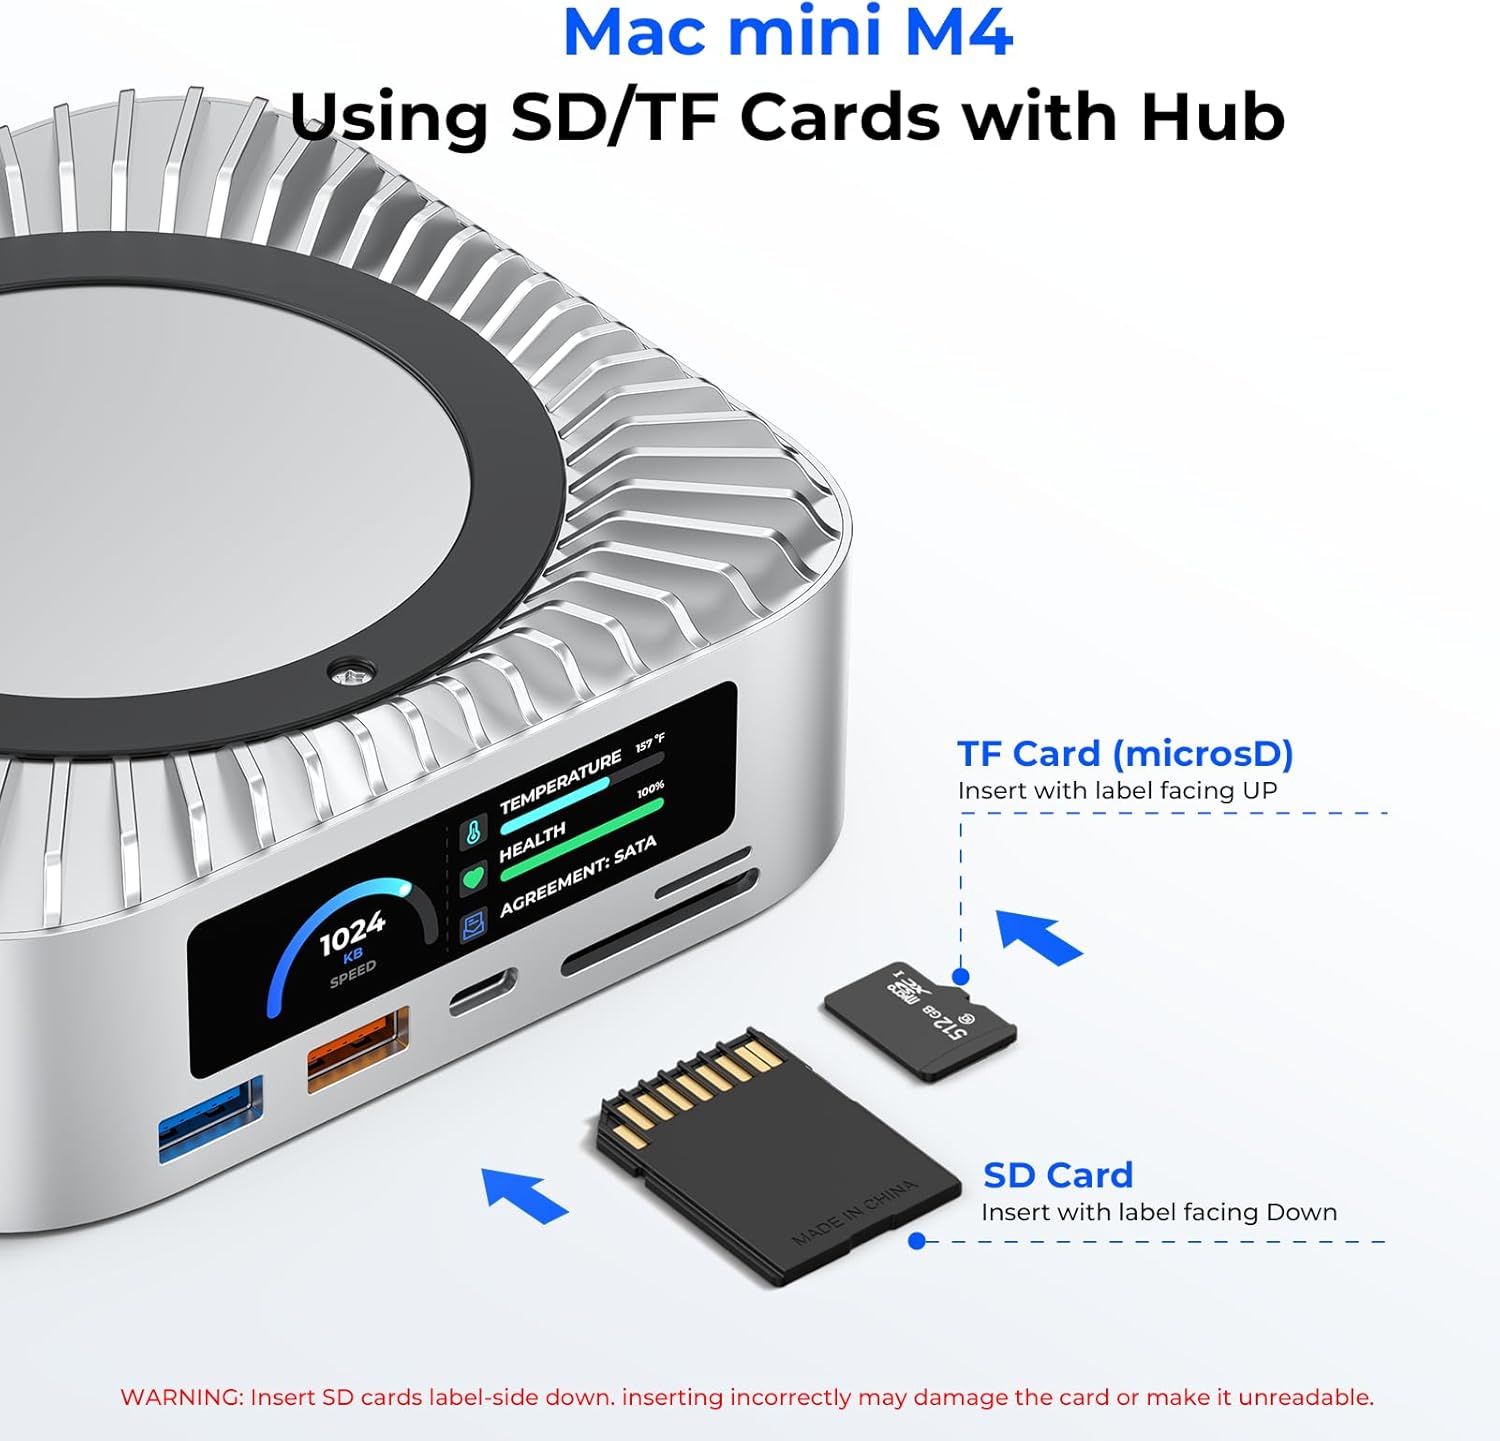
Image: Exploded view diagram detailing the steps for installing an M.2 SSD into the dock's enclosure.

Image: Visual guide demonstrating the placement of the thermal silicone pad and insertion of an M.2 SSD.
4. Operating Instructions
4.1. Using USB Data Ports
Connect your USB-A and USB-C peripherals to the corresponding ports on the front of the dock. The 10Gbps ports are ideal for high-speed storage devices like external SSDs, while the 5Gbps ports are suitable for keyboards, mice, and flash drives.
4.2. HDMI Video Output
Connect an HDMI cable from the dock's HDMI Port (rear) to your monitor, HDTV, or projector. The dock supports 4K resolution at 60Hz. This port allows you to mirror or extend your Mac mini's display. Note: This dock supports only one external monitor via HDMI.
4.3. SD/TF Card Readers
Insert your SD or TF (MicroSD) cards into the front-facing card reader slots. Ensure the cards are inserted with the label facing the correct direction as indicated on the dock. The card readers support speeds up to 160MB/s.
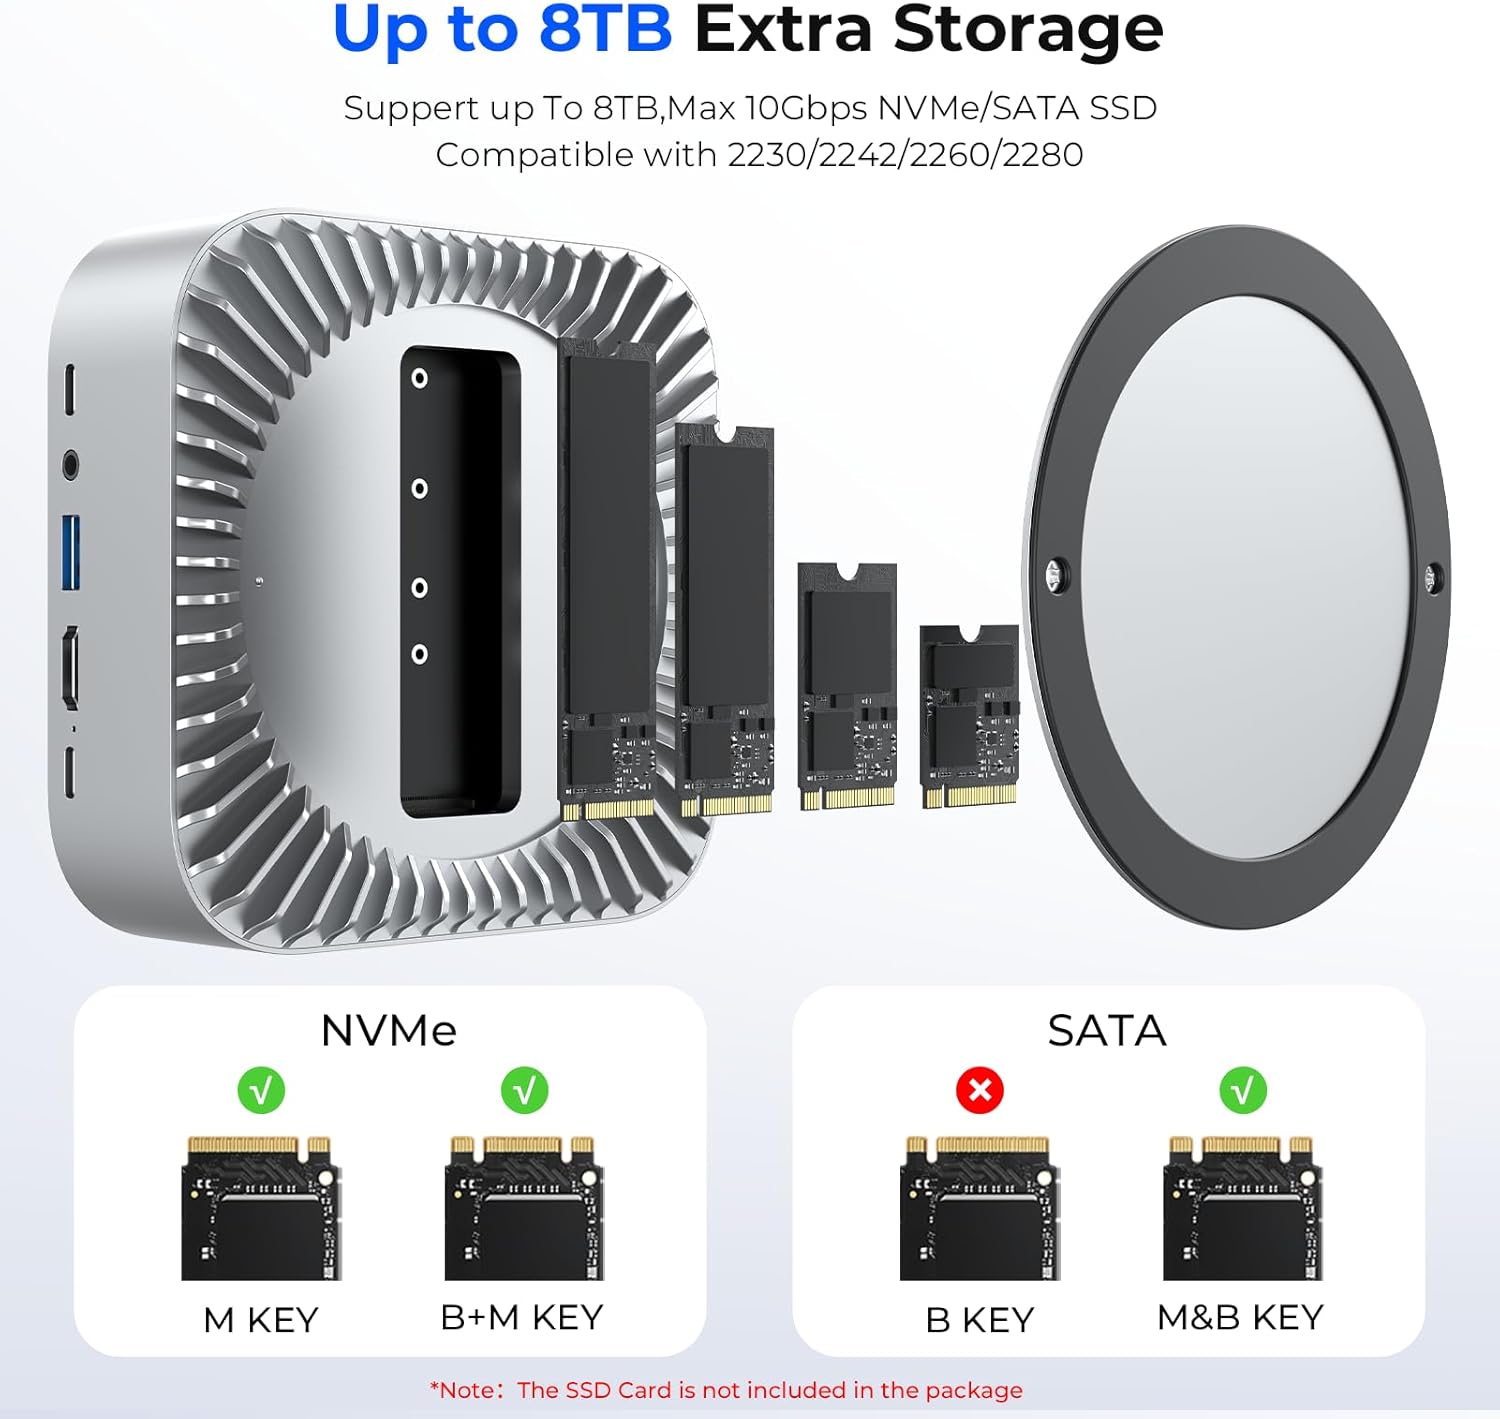
Image: Instructions for correctly inserting SD and TF cards into the dock's card reader slots.
5. Maintenance
- Keep the dock clean by wiping it with a soft, dry cloth. Avoid using liquid cleaners or aerosols.
- Ensure proper ventilation around the dock. Do not block the cooling fins.
- Avoid exposing the device to extreme temperatures, humidity, or direct sunlight.
- Regularly check cable connections to ensure they are secure.
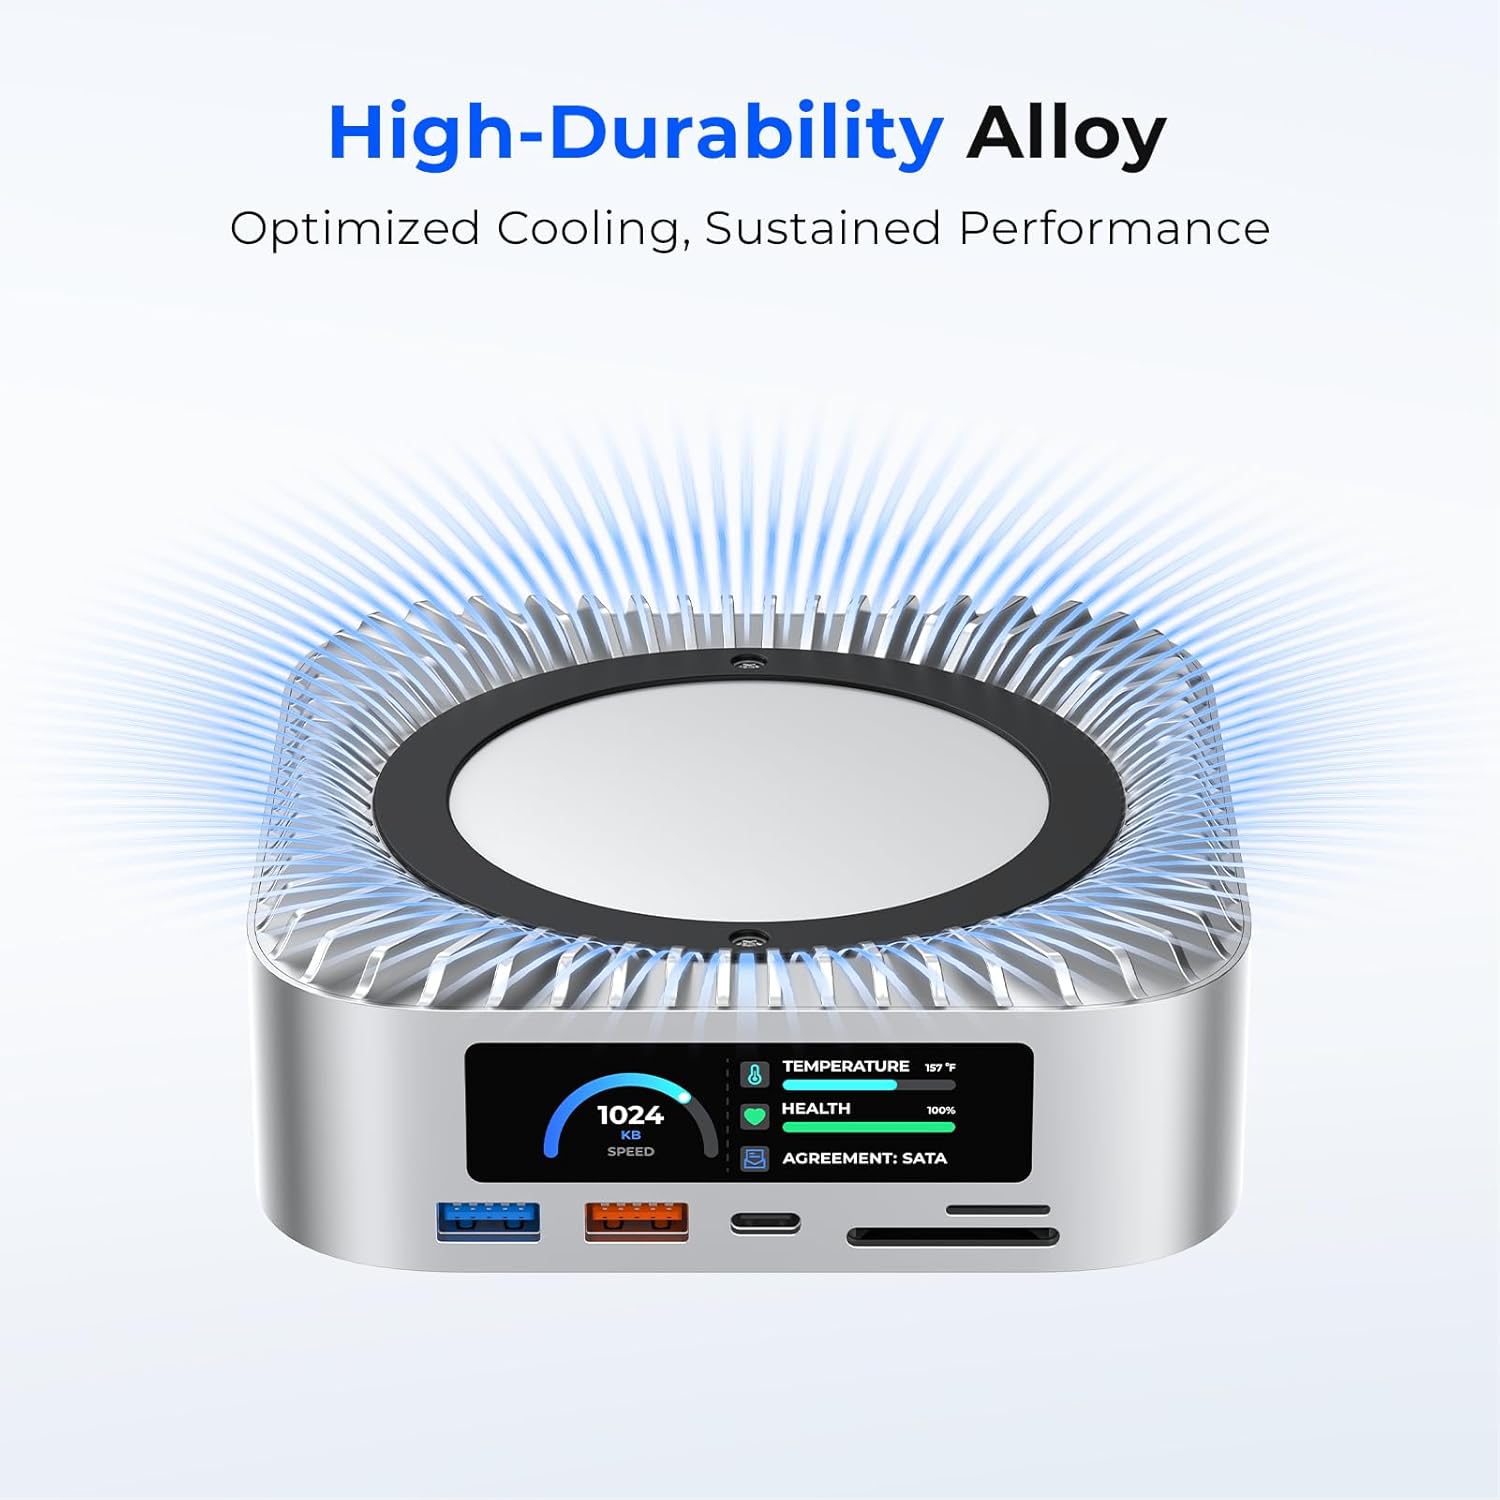
Image: The dock's design incorporates cooling fins for sustained performance.
6. Troubleshooting
| Issue | Possible Cause | Solution |
|---|---|---|
| SSD frequently disconnects or is not recognized. | Insufficient power supply to the dock, especially with high-power SSDs. | Ensure the dedicated USB-C Charging Port on the rear of the dock is connected to a power source. Use a reliable power adapter. |
| No display output via HDMI. | Incorrect cable connection, incompatible monitor settings, or Mac mini display settings. | Verify the HDMI cable is securely connected. Check your Mac mini's display settings. Ensure your monitor supports 4K@60Hz. |
| USB devices are not detected. | Loose connection, device driver issues, or insufficient power. | Reconnect the USB device. Ensure the dock is powered. Try a different USB port or restart your Mac mini. |
| SD/TF card not readable. | Card inserted incorrectly, card is damaged, or format is incompatible. | Ensure the card is inserted correctly (refer to section 4.3). Try another card or check the card's format on another device. |
7. Specifications
- Brand: RayCue
- Model: All-in-One Dock for Mac mini M4
- Color: Silver
- Hardware Interface: 3.5mm Audio, HDMI, MicroSD, USB 3.1 Type B, USB 3.2 Gen 1
- Compatible Devices: Mac mini M4, Mac mini M4 Pro, Mac mini 2024
- Total USB Ports: 3 (front) + 1 (rear) = 4 data ports, 1 (rear) for charging
- Data Transfer Rate: Up to 10 Gigabits Per Second (USB 3.2 ports)
- Number of Ports: 8 (including card readers and audio)
- Item Weight: 0.71 Kilograms
- SSD Enclosure: M.2 NVMe/SATA SSD (2230/2242/2260/2280), up to 8TB
- HDMI Output: 4K@60Hz
8. Warranty and Support
This RayCue product comes with a 1-year warranty from the date of purchase. For technical support, warranty claims, or further assistance, please visit the official RayCue website or contact their customer service department. Keep your purchase receipt for warranty validation.