1. Introduction
This manual provides essential instructions for the safe and efficient operation, maintenance, and troubleshooting of your VEVOR #12 Commercial Electric Meat Grinder. Please read this manual thoroughly before initial use and retain it for future reference. This powerful 850W meat grinder is designed for grinding approximately 7 lbs (420 lbs/h) of meat per minute, suitable for various applications from home kitchens to restaurants.
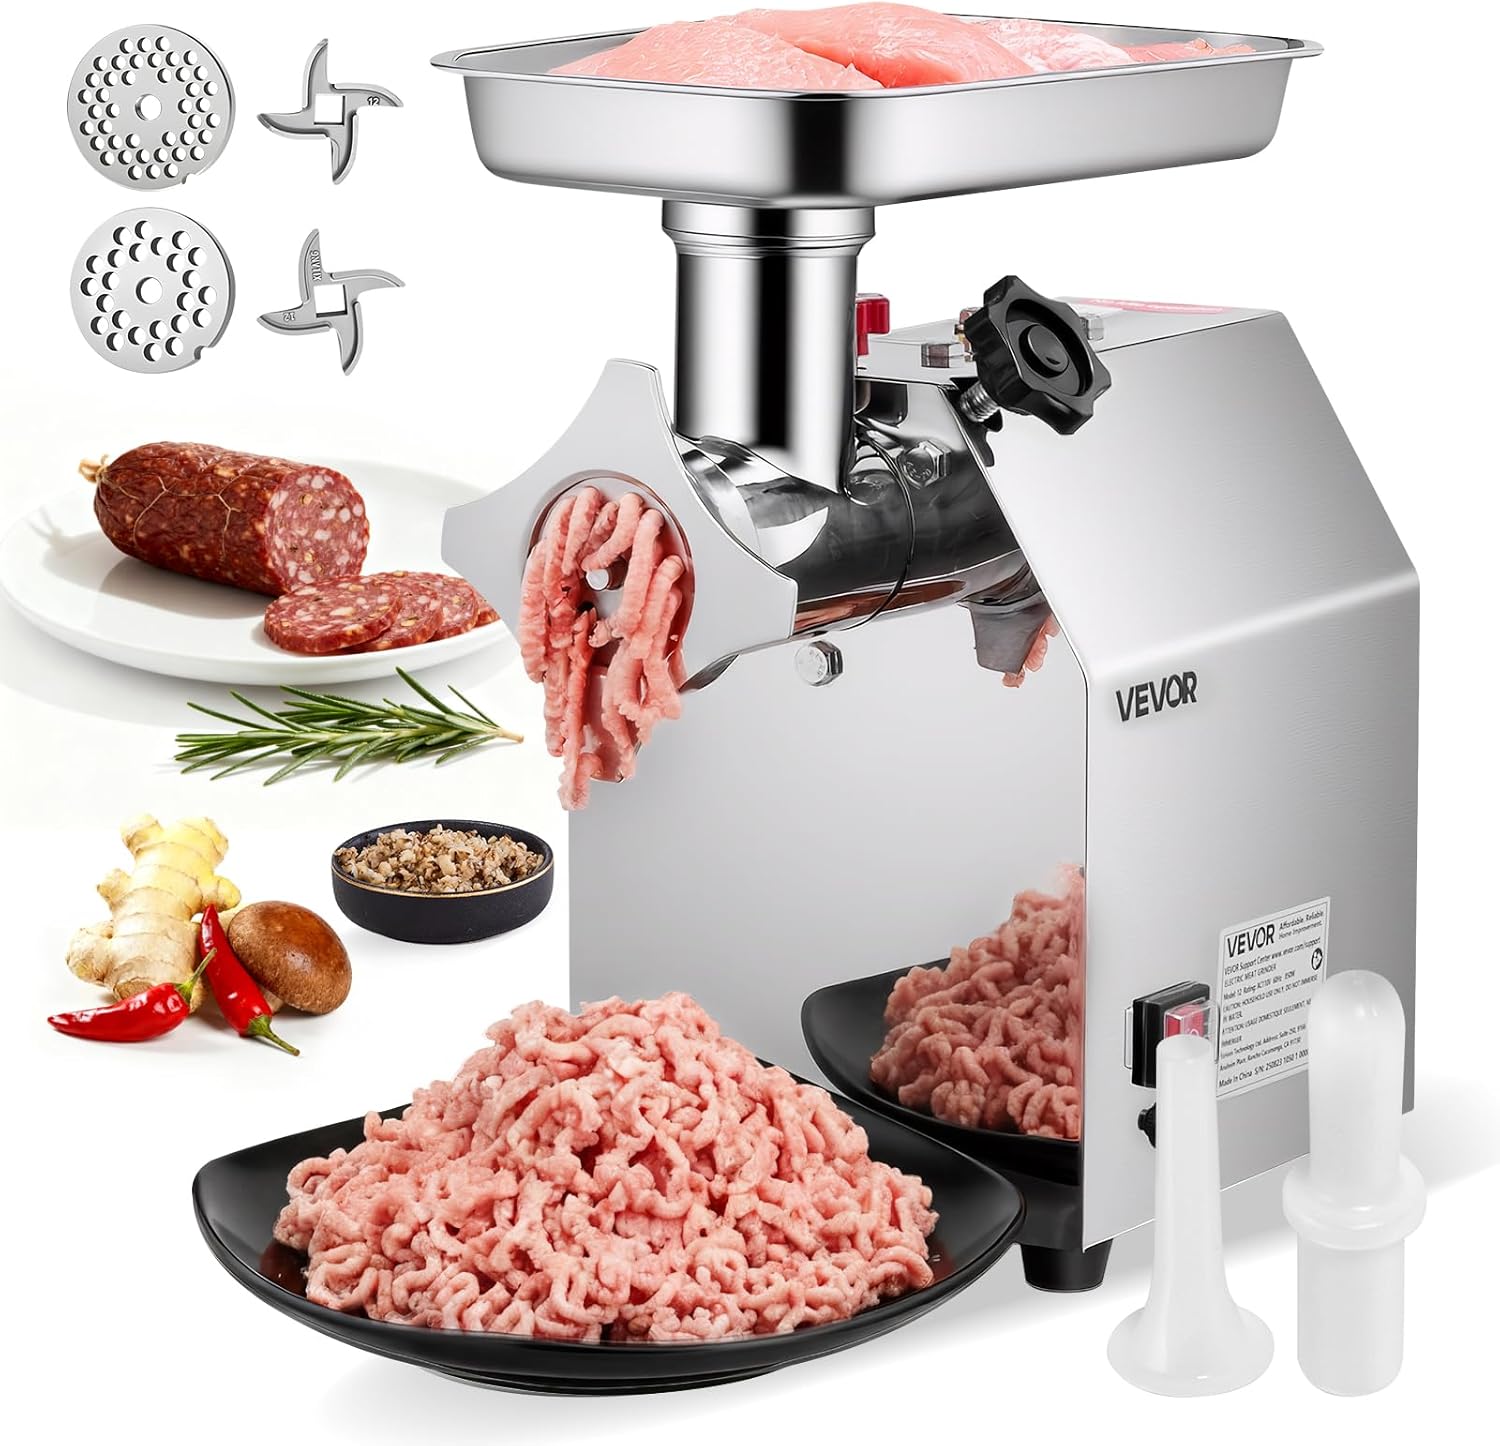
Figure 1: VEVOR #12 Commercial Electric Meat Grinder with various components and ground meat examples.
2. Safety Instructions
- Always ensure the appliance is unplugged before assembly, disassembly, or cleaning.
- Keep hands and utensils away from the feeding tube and grinding head during operation to prevent injury. Use the provided meat pusher.
- Do not operate the grinder continuously for more than 30 minutes to prevent overheating. Allow it to cool down before resuming use.
- Ensure the grinder is placed on a stable, flat, and dry surface. The unit features rubber feet for stability.
- Do not immerse the main motor unit in water or other liquids. Wipe clean with a dry cloth.
- Keep out of reach of children. This appliance is not intended for use by persons with reduced physical, sensory, or mental capabilities.
- Check all parts for damage before each use. Do not operate if any part is damaged.
- Only use VEVOR-approved accessories and replacement parts.
3. Package Contents
Verify that all items are present upon unpacking:
- 1 x VEVOR #12 Commercial Electric Meat Grinder Main Unit
- 2 x Cross Blades (1 pre-installed, 1 extra)
- 1 x Meat Funnel
- 2 x Grinding Plates (1 pre-installed 6.0 mm, 1 extra 8.0 mm)
- 1 x Meat Pusher
- 1 x User Manual
- Sausage Stuffer Kit (includes various attachments for sausage making)

Figure 2: Included accessories: 6mm grinding plate, 8mm grinding plate, 20mm sausage stuffer, and meat pusher.
4. Setup
- Unpack and Inspect: Remove all packaging materials and inspect the grinder for any damage.
- Clean Components: Wash all detachable parts (grinding head, auger, blades, plates, meat tray, pusher, sausage stuffer) with warm, soapy water. Rinse thoroughly and dry completely.
- Assemble Grinding Head:
- Insert the auger into the grinding head.
- Place a cross blade onto the auger shaft, ensuring the sharp edges face outwards.
- Select the desired grinding plate (6.0 mm for fine, 8.0 mm for coarse) and place it over the cross blade.
- Secure the assembly with the locking ring, turning clockwise until hand-tight.
- Attach Grinding Head to Main Unit: Align the grinding head with the motor housing. Insert it and twist clockwise until it locks securely into place. Ensure the locking knob is tightened.
- Install Meat Tray: Place the stainless steel meat tray onto the top of the grinding head.
- Position Unit: Place the assembled grinder on a stable, flat, and dry countertop. The rubber feet will help secure the unit during operation.

Figure 3: Visual guide for assembling and disassembling the grinding head components.
5. Operating Instructions
- Meat Preparation: Cut meat into strips or cubes that fit easily into the feeding tube. For optimal grinding, partially freeze the meat for about 30-60 minutes until firm but not solid. This helps prevent clogging and ensures a cleaner grind.
- Power On: Plug the grinder into a suitable power outlet. Place a bowl or container beneath the grinding head to collect the ground meat.
- Start Grinding: Press the 'ON/OFF' switch to start the motor.
- Feed Meat: Place prepared meat into the meat tray and gently feed it into the grinding tube using the meat pusher. Never use your fingers or other utensils to push meat.
- Continuous Operation: The grinder is designed for continuous operation for up to 30 minutes. If grinding for longer periods, allow the motor to rest for at least 10-15 minutes after each 30-minute cycle to prevent overheating.
- Sausage Stuffing (Optional): To make sausages, replace the grinding plate and blade with the appropriate sausage stuffer attachment. Feed the prepared meat mixture into the tube and guide the sausage casing onto the stuffer.
- Reverse Function: If the grinder jams, immediately press the 'REV' (Reverse) button to clear the obstruction. Once cleared, switch back to 'ON/OFF' to resume grinding.
- Finish Grinding: Once all meat is processed, turn off the grinder and unplug it from the power outlet.

Figure 4: Proper use of the meat grinder with the meat pusher.
6. Maintenance and Cleaning
Regular cleaning and maintenance ensure the longevity and hygienic operation of your meat grinder.
- Disassembly: Unplug the unit. Disassemble the grinding head by reversing the assembly steps. Remove the meat tray, locking ring, grinding plate, cross blade, and auger.
- Cleaning Detachable Parts: Wash all stainless steel components (grinding head, auger, blades, plates, meat tray) with warm, soapy water immediately after use. Rinse thoroughly to remove all food residue. These parts are generally dishwasher-safe.
- Cleaning Main Unit: Wipe the exterior of the motor housing with a damp cloth. Do not use abrasive cleaners or immerse the main unit in water.
- Drying: Ensure all parts are completely dry before reassembly or storage to prevent rust, especially for non-stainless steel components.
- Storage: Store the clean and dry grinder and its accessories in a cool, dry place.

Figure 5: Detachable parts of the grinder are dishwasher-safe for easy cleaning.
7. Troubleshooting
| Problem | Possible Cause | Solution |
|---|---|---|
| Motor does not start | No power supply; Unit not properly assembled | Check power connection; Ensure all parts are correctly assembled and locked. |
| Meat not grinding or jamming | Meat too tough/large; Grinding head clogged with fat/sinew; Blade/plate incorrectly installed | Cut meat into smaller pieces and partially freeze; Use 'REV' function to clear jam, then disassemble and clean; Reassemble blade and plate correctly. |
| Excessive noise or vibration | Loose components; Unit not stable | Check all connections and tighten; Ensure unit is on a stable, flat surface. |
| Motor overheating | Continuous operation for too long | Allow the unit to cool down for 10-15 minutes after 30 minutes of continuous use. |
8. Specifications
- Item Model Number: 12
- Rated Power: 850W
- Grinding Capacity: 7 lbs/min (approx. 420 lbs/h)
- Continuous Working Time: 30 min
- Caliber: #12
- Net Weight: 34.83 lbs / 15.8 kg
- Product Dimensions (WxDxH): 14.37"L x 8.46"W x 16.54"H (with tray)
- Material: Food-grade Stainless Steel (grinding head, tray, blades, plates)
- UPC: 197988714484
- ASIN: B0FSK9PR5H

Figure 6: Detailed product dimensions and specifications.
9. Warranty and Support
VEVOR provides technical support and an E-Warranty for its products. For detailed warranty information, technical assistance, or to register your product, please visit the official VEVOR support website:
Please have your model number (12) and ASIN (B0FSK9PR5H) ready when contacting support.