
1. Introduction
This manual provides detailed instructions for the installation, setup, and operation of your Dual Electronics XDVD269BT 6.2″ AV DVD Receiver. Please read this manual thoroughly before using the product to ensure proper usage and to prevent damage. Keep this manual for future reference.
The XDVD269BT is designed to enhance your in-car audio and video experience, offering features such as AM/FM radio, CD/DVD playback, USB and microSD media support, Bluetooth connectivity for hands-free calling and audio streaming, and a dedicated input for a backup camera.
2. Safety Information
- Driving Safety: Do not operate the unit's functions that require prolonged attention while driving. Always keep your eyes on the road and hands on the steering wheel.
- Volume Control: Keep the volume at a level where you can still hear outside traffic and emergency signals. Prolonged exposure to high volume levels can cause hearing damage.
- Installation: Ensure professional installation or follow all wiring and mounting instructions carefully. Incorrect installation can lead to malfunction or damage to the vehicle's electrical system.
- Power Source: Connect the unit only to a 12V DC power supply with a negative ground.
- Moisture: Do not expose the unit to moisture or water to prevent electric shock or fire.
- Temperature: Avoid extreme temperatures. Ensure proper ventilation around the unit.
3. Product Overview
The Dual Electronics XDVD269BT is a versatile in-dash AV DVD receiver designed for comprehensive multimedia control and connectivity in your vehicle. It features a 6.2-inch touchscreen display and various input options.
3.1 Key Features
- High-Resolution 6.2" LCD Touchscreen Display (800p x 480p)
- Adjustable Image Settings: Brightness, Contrast, Hue, Saturation, Sharpness
- Bluetooth Integration: Hands-free Calls, Music Streaming (A2DP), Phonebook Support, ID3 Tags
- AM/FM Radio Tuner with 30 Presets (18 FM / 12 AM)
- Voice Activation Button for Siri or Google Assistant
- Programmable On-Screen Shortcut for Smartphone Navigation
- Dual iPlug Smart Remote App Compatibility (Apple/Android)
- Front microSD Card Slot for Media Playback
- Front USB Port with 1A Charging Capability
- Front 3.5mm Auxiliary Input
- Rear RCA Input for Backup Camera
- Steering Wheel Control Compatibility (requires PAC SWC Interfaces)
- Media Playback: CD, DVD, USB, microSD
- File Compatibility: MP3, JPEG Formats
3.2 Unit Components
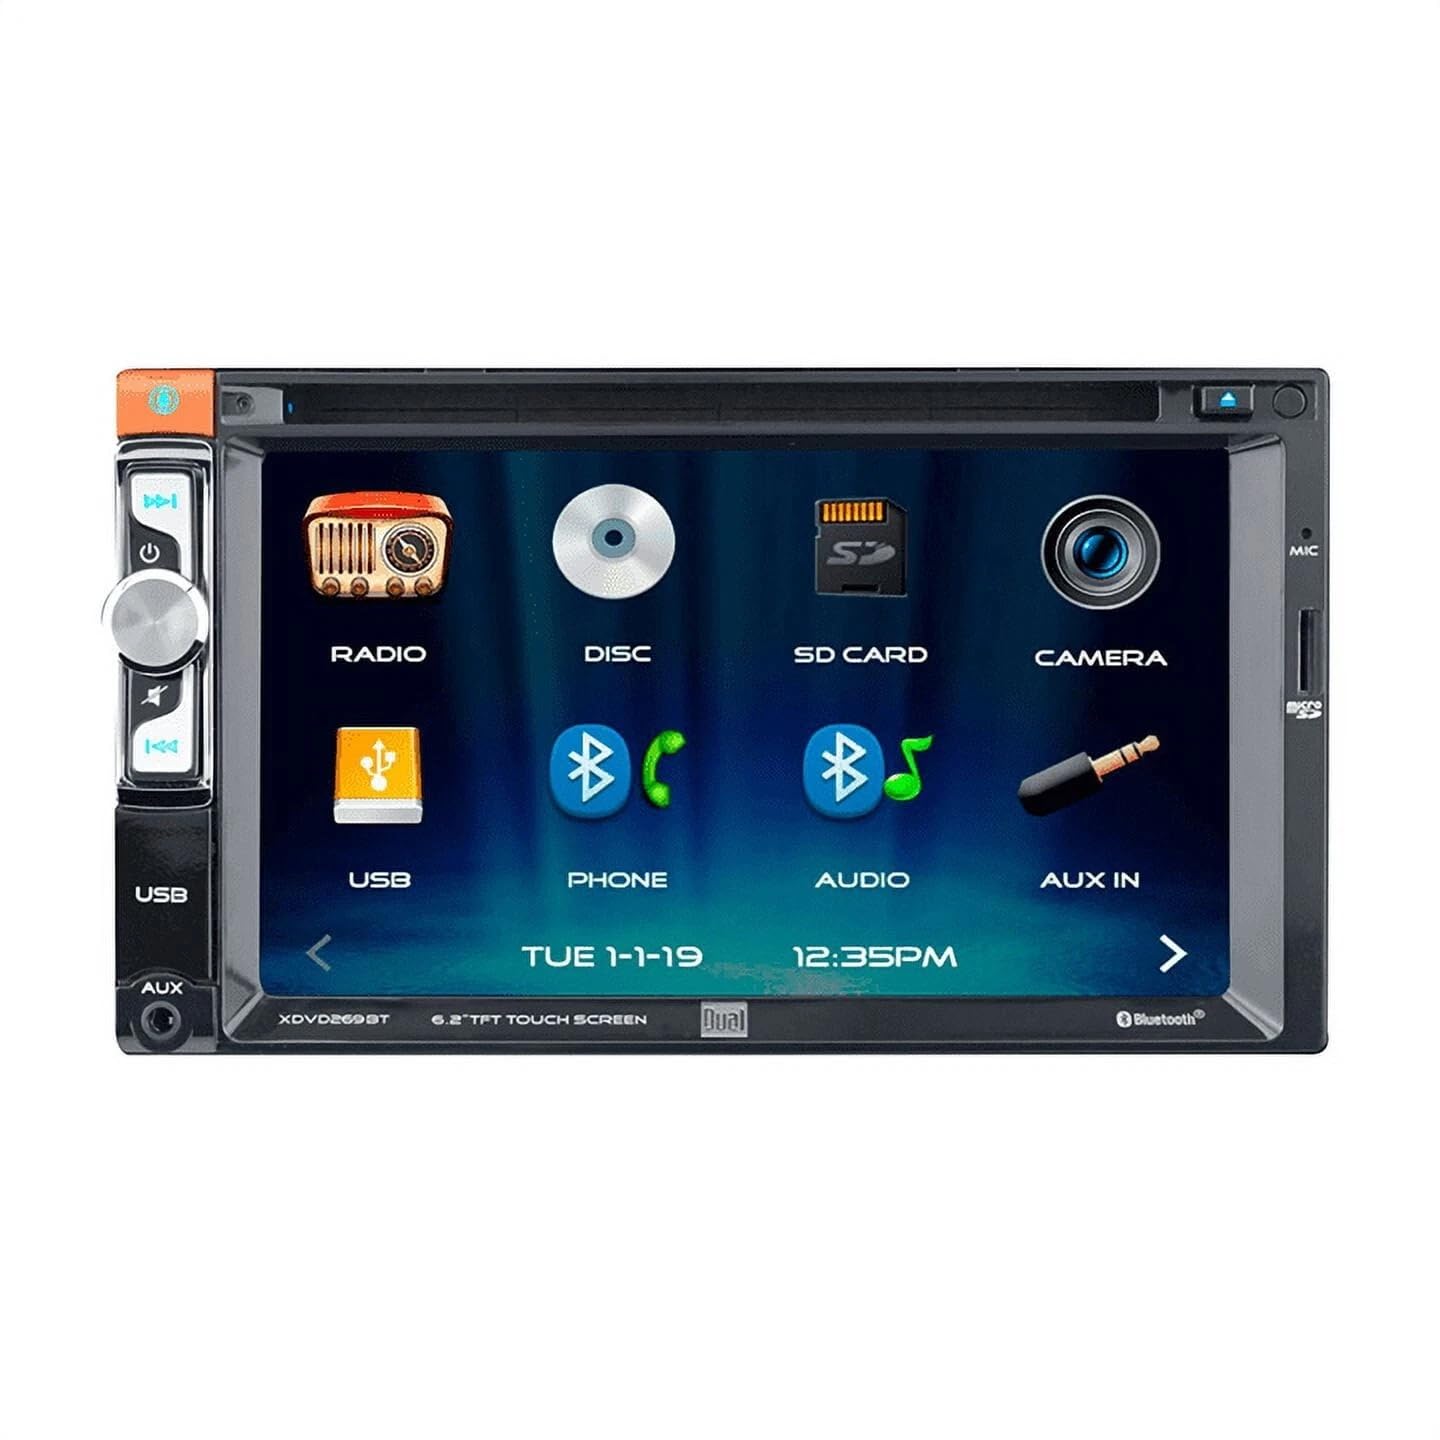
Figure 3.2.1: Front view of the XDVD269BT receiver, showing the 6.2-inch touchscreen, control knob, and various buttons on the left side, along with USB and AUX inputs.
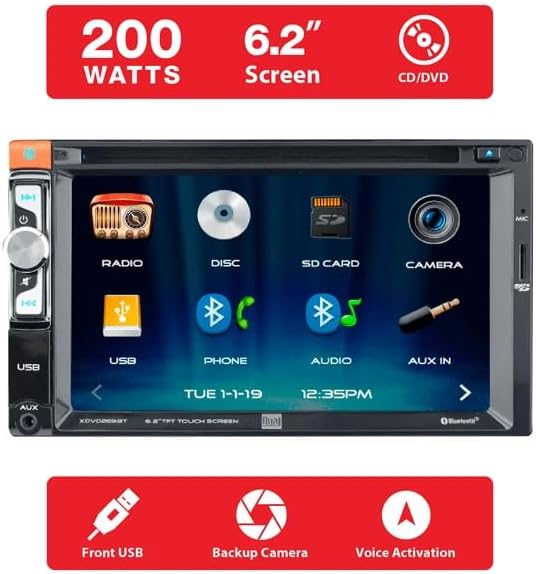
Figure 3.2.2: Front view of the XDVD269BT, emphasizing its 200 Watts power, 6.2-inch screen, CD/DVD capability, front USB, backup camera support, and voice activation.

Figure 3.2.3: The XDVD269BT receiver seamlessly integrated into a vehicle's dashboard, demonstrating its in-car appearance.

Figure 3.2.4: Side profile of the XDVD269BT unit, illustrating its 7-inch chassis depth for installation planning.

Figure 3.2.5: Rear view of the XDVD269BT, highlighting the power harness connection, backup camera input (RCA), RCA preamp outputs (R-L, R-R), and radio antenna input.
4. Installation
Proper installation is crucial for the optimal performance and safety of your XDVD269BT receiver. If you are unsure about any part of the installation process, it is recommended to seek assistance from a qualified professional installer.
4.1 Pre-Installation Checklist
- Disconnect the vehicle's negative battery terminal before starting any electrical work.
- Ensure you have all necessary tools and mounting hardware.
- Verify the vehicle's dashboard opening matches the unit's dimensions (Double-DIN).
4.2 Wiring Connections
Refer to the wiring diagram provided with the unit and the image below for correct connections. Incorrect wiring can cause damage to the unit or the vehicle.

Figure 4.2.1: Included power harness and installation screws. The power harness connects to the vehicle's electrical system and the receiver's rear port.
- Power Harness: Connect the main power harness wires (constant 12V, accessory 12V, ground) to the corresponding wires in your vehicle.
- Speaker Wires: Connect the speaker wires to your vehicle's speakers, ensuring correct polarity.
- Antenna: Connect the vehicle's radio antenna to the antenna input on the rear of the unit.
- Backup Camera (Optional): If installing a backup camera (sold separately), connect its RCA video output to the "CAM IN" RCA input on the receiver's rear. Ensure the camera's power is wired correctly to trigger when the vehicle is in reverse.
- RCA Preamp Outputs: If using external amplifiers, connect them to the RCA preamp outputs (R-L, R-R) on the rear of the unit.
- Steering Wheel Control (Optional): If your vehicle has steering wheel controls, connect a compatible PAC SWC interface (sold separately) according to its instructions.
4.3 Mounting the Unit
Once wiring is complete, carefully slide the receiver into the dashboard opening. Secure it using the provided installation screws or the vehicle's mounting brackets. Ensure the unit is firmly seated and does not obstruct any vehicle controls.
5. Setup
After installation, reconnect the vehicle's negative battery terminal. The unit will power on. Follow these steps for initial setup.
5.1 Initial Power On and Basic Settings
- Press the POWER/VOLUME knob to turn on the unit.
- The initial setup screen may appear. Follow the on-screen prompts to set the language, time, and date.
- Access the SETTINGS menu from the main screen to adjust display, audio, and system preferences.
- Display Settings: Adjust Brightness, Contrast, Hue, Saturation, and Sharpness as desired. Configure Screen Timeout (Off, 10s, 20s, 30s).
5.2 Bluetooth Pairing
To use Bluetooth features, you must first pair your smartphone with the XDVD269BT.
- From the main menu, select the PHONE or BLUETOOTH icon.
- Ensure Bluetooth is enabled on your smartphone and set to "discoverable" mode.
- On the XDVD269BT, select "Pair Device" or "Search for Devices."
- Select "XDVD269BT" from the list of available devices on your smartphone.
- Confirm the pairing code on both devices if prompted.
- Once paired, the unit will automatically connect to your phone when in range.
6. Operating Instructions
This section details the various functions and operations of your XDVD269BT receiver.
6.1 General Operation
- Power On/Off: Press the POWER/VOLUME knob to turn the unit on or off.
- Volume Control: Rotate the POWER/VOLUME knob to adjust the volume level.
- Touchscreen: Navigate menus and select functions by touching the corresponding icons on the 6.2-inch display.
- Source Selection: From the main menu, select the desired source (Radio, Disc, SD Card, USB, AUX, Phone, Audio, Camera).
6.2 Radio (AM/FM)
- Select the RADIO icon from the main menu.
- Band Selection: Touch the "BAND" icon to switch between FM1, FM2, FM3, AM1, and AM2.
- Manual Tuning: Use the << or >> arrows to fine-tune the frequency.
- Seek Tuning: Press and hold the << or >> arrows to automatically seek the next strong station.
- Preset Stations: Touch and hold a preset number (1-6) to save the current station. Touch briefly to recall a saved station. The unit supports 18 FM and 12 AM presets.
6.3 Media Playback (CD/DVD/USB/microSD)
- CD/DVD: Insert a disc into the disc slot. The unit will automatically switch to Disc mode and begin playback.
- USB: Insert a USB drive into the front USB port. Select the USB icon. The unit will read compatible MP3/JPEG files.
- microSD: Insert a microSD card into the front microSD slot. Select the SD CARD icon. The unit will read compatible MP3/JPEG files.
- Playback Controls: Use the on-screen controls for Play/Pause, Skip Track, Fast Forward/Rewind.
6.4 Bluetooth Audio and Calls
Once your phone is paired, you can use the Bluetooth features.
- Bluetooth Audio Streaming: Select the AUDIO icon from the main menu. Play music from your phone, and control playback (Play/Pause, Skip) from the receiver. ID3 tags (song title, artist) will be displayed.
- Hands-free Calling: Select the PHONE icon. You can dial numbers, access your phonebook, view call history, and answer/end calls directly from the touchscreen.
- Voice Activation: Press the dedicated voice activation button on the unit (or on-screen icon) to engage Siri or Google Assistant on your connected smartphone.
6.5 Auxiliary Input
Connect external audio devices (e.g., MP3 players) to the front 3.5mm AUX input. Select the AUX IN icon from the main menu to listen to audio from the connected device.
6.6 Backup Camera
If a backup camera is connected and properly wired, the display will automatically switch to the camera view when the vehicle is shifted into reverse. You can also manually select the CAMERA icon from the main menu to view the camera feed at any time.
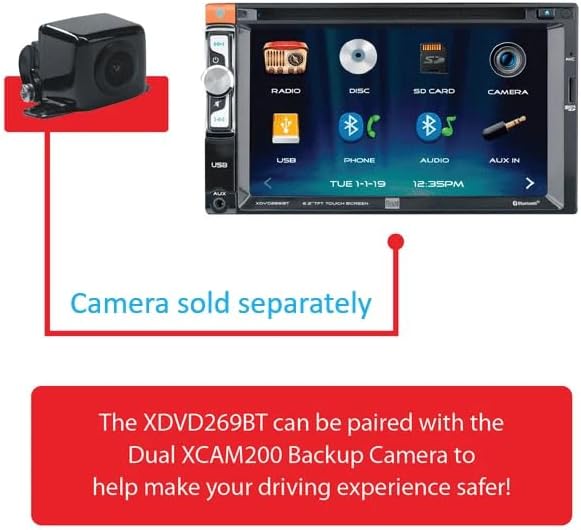
Figure 6.6.1: The XDVD269BT receiver shown with a compatible Dual XCAM200 Backup Camera (sold separately), illustrating how it enhances driving safety.
6.7 Smartphone Navigation Shortcut
The unit allows you to program an on-screen shortcut to quickly launch your preferred smartphone navigation application (e.g., Google Maps, Waze) via Bluetooth. Refer to the system settings for configuring this shortcut.
6.8 Dual iPlug Smart Remote App
Download the Dual iPlug Smart Remote app from the Apple App Store or Google Play Store. Connect your smartphone to the XDVD269BT via Bluetooth to control various functions of the receiver directly from your phone.
7. Maintenance
Proper maintenance ensures the longevity and optimal performance of your XDVD269BT receiver.
- Cleaning the Display: Use a soft, dry cloth to wipe the touchscreen. For stubborn smudges, lightly dampen the cloth with water or a screen cleaner designed for electronics. Do not use abrasive cleaners or solvents.
- Cleaning the Unit: Wipe the exterior of the unit with a soft, dry cloth.
- Disc Slot: Keep the disc slot free of dust and debris. Avoid inserting foreign objects.
- Temperature: Avoid exposing the unit to direct sunlight or extreme temperatures for extended periods, as this can affect the display and internal components.
8. Troubleshooting
If you encounter issues with your XDVD269BT, refer to the following common problems and solutions.
| Problem | Possible Cause | Solution |
|---|---|---|
| No power | Blown fuse; incorrect wiring; vehicle battery low. | Check and replace fuse; verify wiring connections; check vehicle battery. |
| No sound | Volume too low; mute function active; speaker wires disconnected; incorrect audio source. | Increase volume; deactivate mute; check speaker wiring; select correct audio source. |
| Bluetooth not connecting | Bluetooth not enabled on phone/unit; device not paired; interference. | Ensure Bluetooth is on; re-pair device; move closer to unit; restart phone/unit. |
| Disc/USB/SD card not playing | Incompatible file format; damaged media; media not inserted correctly. | Ensure media is compatible (MP3/JPEG); try different media; reinsert media. |
| Backup camera not displaying | Camera not connected; incorrect wiring; camera malfunction. | Check RCA video connection; verify trigger wire connection; test camera. |
| Unit freezes or is unresponsive | Temporary software glitch. | Press the RESET button (usually a small pinhole, refer to unit diagram if available) or disconnect vehicle battery for 1 minute. |
9. Specifications
| Display Type | 6.2-inch LCD Touchscreen (800p x 480p) |
| Power Output | 200 Watts (Peak) |
| Bluetooth | Hands-free Calling (HFP), Audio Streaming (A2DP), Remote Control (AVRCP), Phonebook Support, ID3 Tags |
| Radio Tuner | AM/FM with 30 Presets (18 FM / 12 AM) |
| Media Playback | CD, DVD, USB, microSD |
| File Compatibility | MP3, JPEG |
| USB Port | Front Input, 1A Charging |
| Auxiliary Input | Front 3.5mm |
| Camera Input | Rear RCA (for backup camera) |
| Chassis Depth | 7 inches |
| Operating Voltage | 12V DC, Negative Ground |
10. Warranty & Support
Dual Electronics products are designed and manufactured to high-quality standards. For specific warranty information, please refer to the warranty card included with your product or visit the official Dual Electronics website. Keep your proof of purchase for warranty claims.
For technical support, product inquiries, or service, please contact Dual Electronics customer support. Contact details can typically be found on the manufacturer's website or in the product packaging.
- Online Support: Visit the Dual Electronics website for FAQs, troubleshooting guides, and product registration.
- Customer Service: Refer to your product documentation for phone numbers or email addresses for direct support.


