Introduction
Thank you for choosing the HUINA 1/14 RC Electric Excavator 1535. This remote-controlled digger is designed for enthusiasts aged 14 and up, offering a realistic and engaging experience with its 15-channel 2.4G radio control, sound effects, and light features. This manual provides essential information for safe setup, operation, and maintenance to ensure optimal performance and longevity of your model.
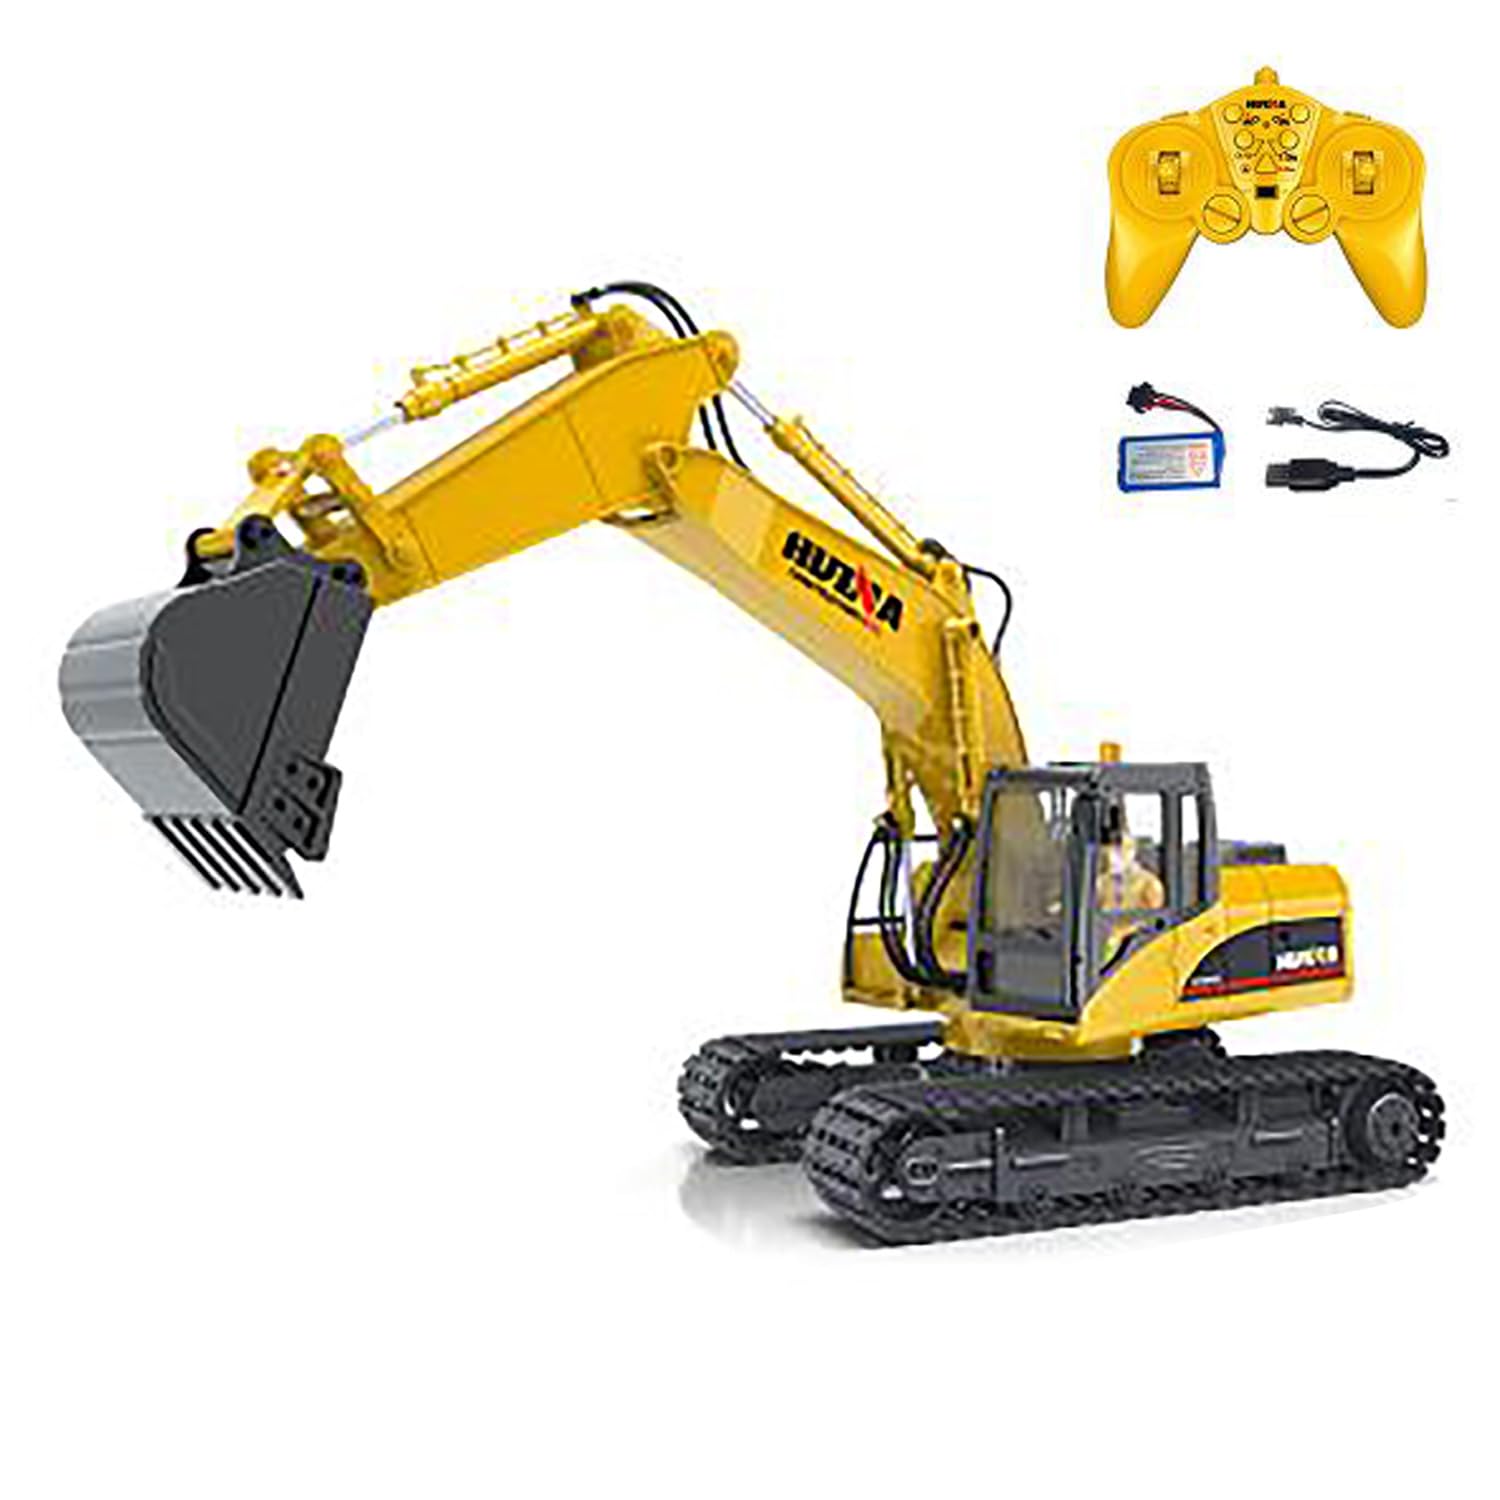
Figure 1: HUINA 1/14 RC Electric Excavator 1535.
Package Contents
- 1/14 RC Excavator Truck Toy
- 2.4G Radio Controller (AA*2 batteries not included)
- Vehicle Battery (7.4V Li-Po)
- USB Charging Cable
- Light & Sound Unit
Specifications
| Feature | Detail |
|---|---|
| Manufacturer | HUINA (wheelfun) |
| Scale | 1/14 |
| Model Number | 1535 (TH25807-AMZUS2-S) |
| Material | Metal, Plastic |
| Vehicle Size | Approx. 48 x 30 x 17.5 cm (18.9 x 11.8 x 6.9 inches) |
| Item Weight | 6 pounds |
| Vehicle Battery | 7.4V Li-Po (Included) |
| Remote Controller Battery | AA*2 (Not Included) |
| Play Time | Approx. 20-30 minutes |
| Charging Time | 2 hours |
| Remote Control Distance | Approx. 25 meters |
| Recommended Age | 14 years and up |

Figure 2: Excavator dimensions for reference.
Safety Information
- Always operate the excavator in a safe, open area away from people, pets, and obstacles.
- Do not operate near water or in wet conditions to prevent electrical damage.
- Keep fingers, hair, and loose clothing away from moving parts.
- Ensure the battery is fully charged before each use for optimal performance.
- Supervise younger users, even if the recommended age is met.
- Turn off both the excavator and remote controller when not in use.
Setup
1. Battery Installation
Vehicle Battery:
- Locate the battery compartment on the excavator.
- Carefully connect the provided 7.4V Li-Po battery to the excavator's power connector.
- Place the battery securely into the compartment and close the cover.
Remote Controller Battery:
- Open the battery cover on the back of the 2.4G radio controller.
- Insert 2 AA batteries (not included), ensuring correct polarity (+/-).
- Close the battery cover.
2. Charging the Vehicle Battery
- Connect the 7.4V Li-Po battery to the USB charging cable.
- Plug the USB charging cable into a compatible USB power source (e.g., computer, USB wall adapter).
- The charging indicator light on the USB cable will show the charging status (refer to charger instructions for specific light behavior).
- Charging typically takes about 2 hours. Disconnect once fully charged.
3. Remote Controller Pairing
- Ensure the excavator's battery is installed and the power switch is OFF.
- Turn ON the remote controller.
- Turn ON the excavator's power switch.
- The remote controller and excavator should automatically pair. A successful connection is usually indicated by a solid light on the remote or a specific sound from the excavator.
- If pairing fails, turn both devices OFF, then repeat steps 2-4.
Operating the Excavator
Basic Controls
The 15-channel remote controller allows for precise and full-function control of the excavator. Familiarize yourself with the joystick and button layout for optimal operation.
- Forward/Backward Movement: Use the left joystick to move the excavator forward or backward.
- Left/Right Steering: Use the left joystick to steer the excavator left or right while moving.
- Arm and Boom Control: The right joystick and various buttons control the independent movements of the bucket, boom, and arm for digging and lifting.
- Rotating Platform: Use dedicated buttons or joystick movements to rotate the excavator's cabin and arm assembly 360 degrees.
Special Functions
- Smart Lighting: Activate the one-touch powerful illumination for clear vision during night operations or in low-light conditions.
- Sound Effects: The excavator features realistic engine sounds and operational noises.
- Auto-Demo Mode: Press the auto-demo button to initiate a pre-programmed sequence of movements, showcasing the excavator's capabilities.

Figure 3: The excavator demonstrating its range of motion.
Maintenance
- Cleaning: After each use, especially if operated in dirt or sand, gently clean the excavator with a soft, dry cloth. Avoid water or harsh chemicals.
- Storage: Store the excavator and remote controller in a cool, dry place away from direct sunlight and extreme temperatures. Remove batteries from the remote controller if storing for extended periods.
- Battery Care: Do not overcharge or completely discharge the Li-Po battery. Follow charging guidelines to prolong battery life.
- Technical Support: For complex repairs or technical guidance, a professional after-sales and technical maintenance team is available to provide assistance in English via video or text.
Troubleshooting
| Issue | Possible Solution |
|---|---|
| Excavator does not turn on. | Ensure the vehicle battery is fully charged and correctly connected. Check the power switch. |
| Remote controller does not respond. | Check if AA batteries are correctly installed and have sufficient power. Ensure the remote is paired with the excavator. |
| Excavator loses connection. | Move closer to the excavator. Ensure no strong interference sources are nearby. Re-pair the remote controller. |
| Movements are sluggish or weak. | The vehicle battery may be low. Recharge the battery. |
Warranty and Support
The manufacturer uses solid packaging for all items. In case of damage upon arrival, a free replacement part can be resent. For any issues or technical assistance, a professional after-sales and technical maintenance team is available to provide guidance in English through video or text for repairs. Please contact the seller or manufacturer's support channels for further assistance.