
1. Introduction
This manual provides detailed instructions for the installation, operation, and maintenance of your CAMECHO 2K 9.66 Inch Mirror Dash Cam. Please read this manual thoroughly before using the product to ensure proper functionality and to maximize your driving safety and recording experience. This device features a 9.66-inch IPS touchscreen, 2K front camera, and 1080P rear camera, offering a wide field of view and advanced recording capabilities.
2. Product Overview
2.1 Key Features
- 9.66-inch IPS Touchscreen: Premium display for clear viewing and easy navigation.
- Triple Camera System: Front 2K (150°), Interior 1080P, and Rear 1080P (120°) cameras for comprehensive coverage.
- Super Night Vision: High-quality capture in low-light conditions.
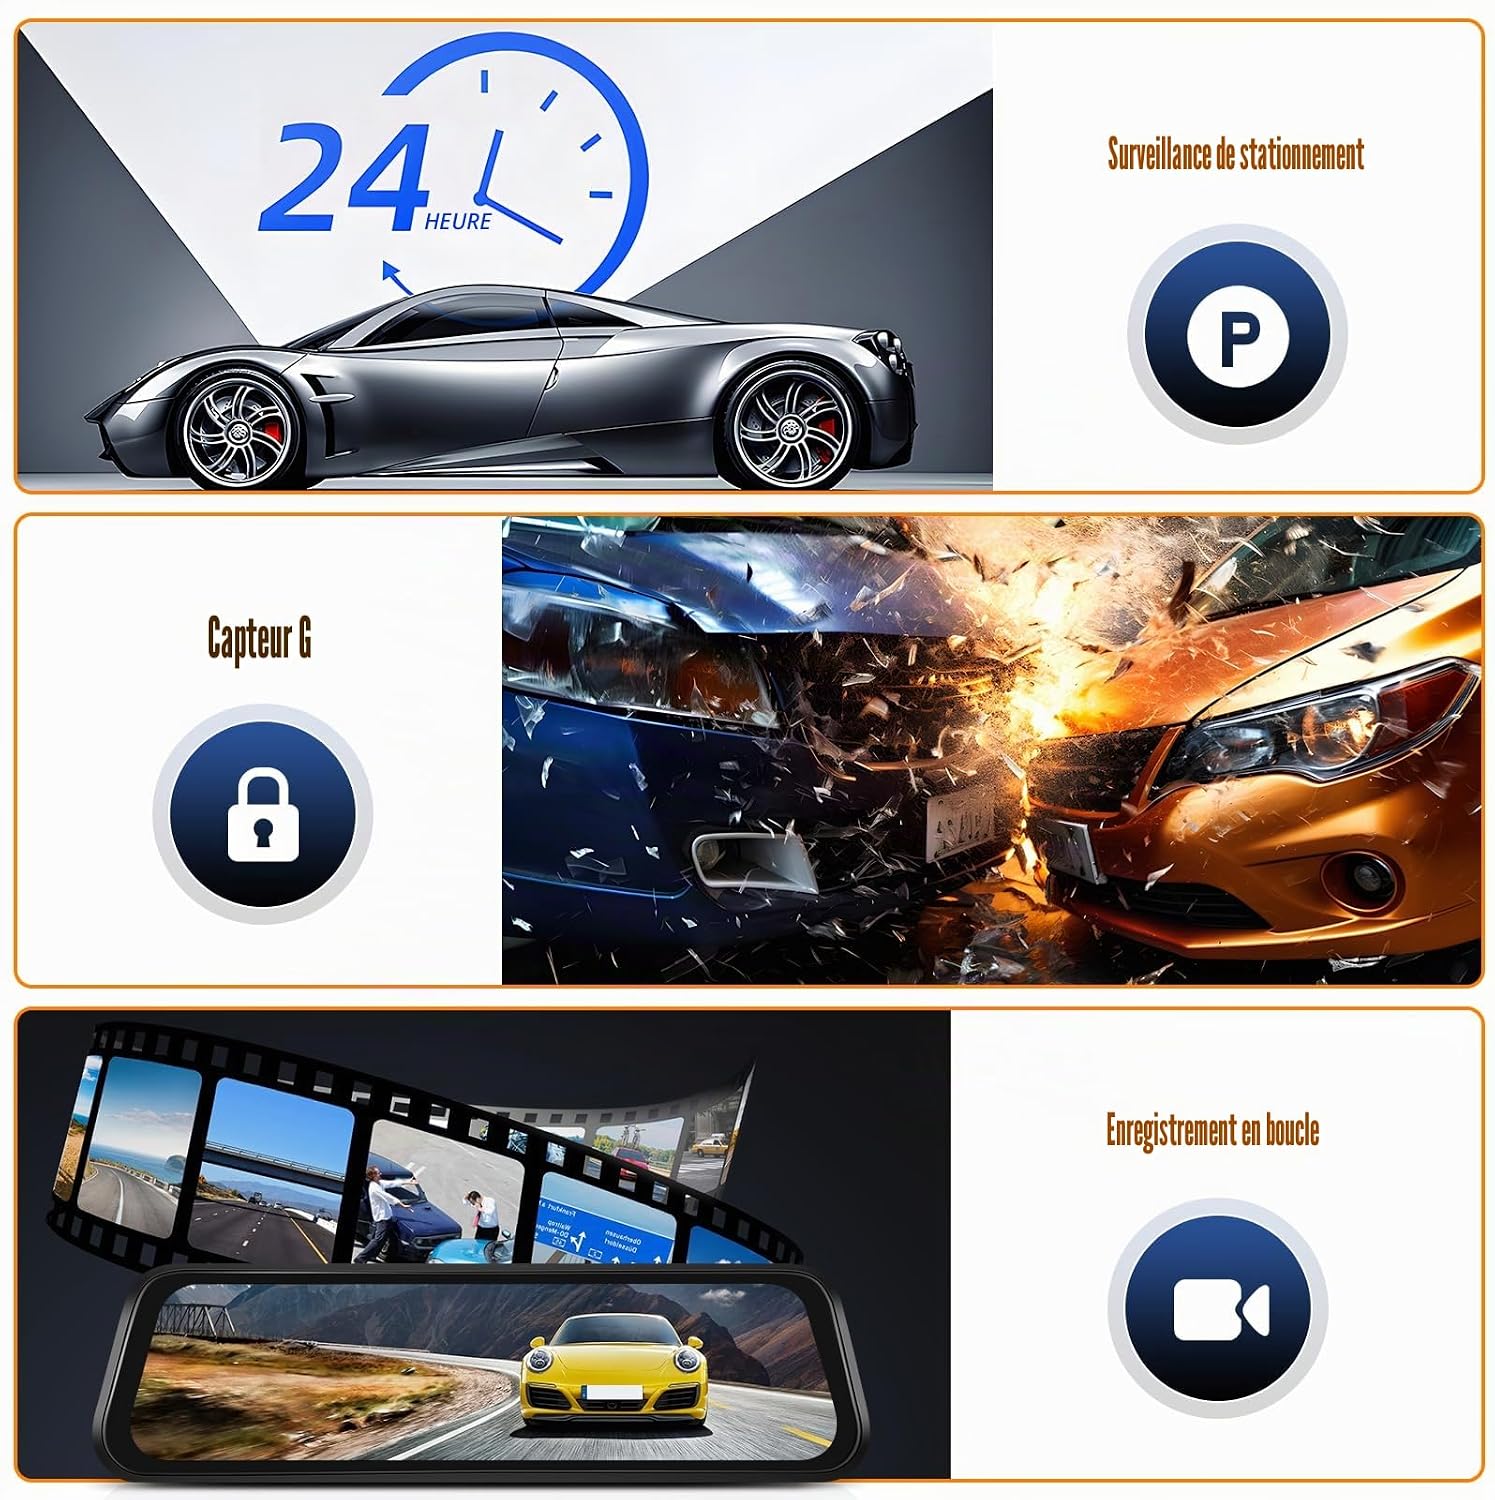
- 24-Hour Loop Recording: Continuous recording, overwriting oldest files when the memory card is full.
- G-Sensor: Automatically activates emergency video recording upon sudden impact or braking.
- Reverse Assist: Displays reversing lines on the screen to aid in safe parking.
- WiFi & APP Control: Connect to your smartphone via Wi-Fi for real-time viewing, management, and sharing of recordings.


2.2 Package Contents
Ensure all items are present in the package:
- 1 x DVR Mirror Dash Cam
- 1 x Integrated Camera (likely referring to the interior camera, or the main unit itself)
- 1 x Rear View Camera
- 1 x Rear View Camera Cable
- 1 x Car Charger
- 1 x User Manual
- Bandages for mounting

3. Setup & Installation
3.1 Installation Type
The CAMECHO Mirror Dash Cam is designed for rearview mirror installation, suitable for all vehicles equipped with a standard rearview mirror.
3.2 Installation Steps
- Mount the Dash Cam: Securely attach the mirror dash cam over your existing rearview mirror using the provided bandages. Ensure it is centered and stable.
- Connect Power: Plug the car charger into your vehicle's cigarette lighter socket and connect the other end to the dash cam's power input. Route the cable neatly along the windshield trim to avoid obstruction.
- Install Rear Camera: Mount the rear camera at the back of your vehicle, typically above the license plate or inside the rear window. Ensure a clear view.
- Route Rear Camera Cable: Connect the rear camera cable to the dash cam. Carefully route the cable from the rear camera to the main unit, tucking it under the vehicle's interior trim for a clean installation.
- Insert TF Card: Insert a compatible TF (microSD) card (maximum 128GB, not included) into the designated slot on the dash cam. Ensure the card is formatted before first use.
- Test Functionality: Start your vehicle to power on the dash cam. Verify that both front and rear cameras are displaying video on the screen and that recording has started. Test the reverse assist function by engaging reverse gear.

4. Operating Instructions
4.1 Power On/Off
- Automatic: The dash cam will automatically power on and begin recording when your vehicle's ignition is turned on. It will power off automatically when the ignition is turned off.
- Manual: Press and hold the power button located on the device to manually turn it on or off.
4.2 Touchscreen Interface
The 9.66-inch IPS touchscreen allows for intuitive control. Tap icons to access menus, change settings, view recordings, and switch camera views.
4.3 Recording Modes
- Normal Recording: Continuous recording while driving. Files are saved in segments (e.g., 1, 3, or 5 minutes) and loop recording ensures older files are overwritten.
- Emergency Recording: Triggered by the G-Sensor, these recordings are locked and protected from being overwritten.
- Parking Monitoring: Records events when the vehicle is parked and detects impact (requires continuous power supply or built-in battery charge).
5. WiFi APP Control
The dash cam supports WiFi connectivity, allowing you to connect your smartphone via the dedicated app (Viidure). This enables real-time viewing, management, and sharing of your recordings.
5.1 Connection Steps
- Download App: Scan the QR code provided in the manual or on the device packaging, or search for "Viidure" in your smartphone's app store (iOS or Android) to download and install the application.
- Enable WiFi on Dash Cam: Access the dash cam's settings menu and enable the Wi-Fi function. The screen will display the Wi-Fi network name (SSID) and password.
- Connect Smartphone: On your smartphone, go to Wi-Fi settings, find the dash cam's Wi-Fi network (e.g., "CAMECHO_XXXX"), and connect using the provided password.
- Open App: Launch the Viidure app. The app should automatically detect and connect to the dash cam, allowing you to view live footage, browse recorded files, download videos, and adjust settings.

6. Advanced Features
6.1 Night Vision
The dash cam is equipped with super night vision technology, ensuring high-quality video capture even in low-light conditions, tunnels, or at night. This feature enhances visibility and recording clarity during dark environments.

6.2 G-Sensor (Gravity Detection)
The built-in G-Sensor automatically detects sudden movements, impacts, or rapid braking. When triggered, it locks the current video segment, preventing it from being overwritten by loop recording. This ensures critical footage from accidents or incidents is preserved.
6.3 24-Hour Parking Monitoring
With 24-hour parking monitoring, the dash cam continues to protect your vehicle even when parked. If an impact is detected while the vehicle is off, the dash cam will automatically power on and record a short video. This feature requires a continuous power supply (e.g., hardwire kit, sold separately) or sufficient internal battery charge.
6.4 Loop Recording
Loop recording ensures continuous recording by overwriting the oldest unlocked video files when the memory card reaches its capacity. This eliminates the need to manually clear the memory card.
6.5 Reverse Assist
When you engage reverse gear, the dash cam automatically displays the rear camera view in full screen with guiding lines. These auxiliary lines assist in safer and more efficient parking, helping to prevent collisions.

7. Maintenance
- Clean the Lens: Regularly clean the front and rear camera lenses with a soft, lint-free cloth to ensure clear video quality.
- Format TF Card: It is recommended to format the TF card periodically (e.g., once a month) to maintain optimal performance and prevent data corruption. Back up any important files before formatting.
- Firmware Updates: Check the official CAMECHO website or app for any available firmware updates to ensure your dash cam has the latest features and bug fixes.
- Temperature: Avoid exposing the dash cam to extreme temperatures for extended periods, as this can affect battery life and device performance.
8. Troubleshooting
| Problem | Possible Cause | Solution |
|---|---|---|
| Dash cam does not power on. | No power supply; faulty car charger; loose connection. | Check car charger connection and vehicle's cigarette lighter. Ensure the car charger is functional. |
| Recording stops or freezes. | TF card full; slow TF card; TF card error. | Format the TF card. Use a high-speed (Class 10 or U3) TF card. Replace faulty TF card. |
| Poor video quality. | Dirty lens; protective film still on lens; incorrect resolution settings. | Clean camera lenses. Remove any protective film. Adjust video resolution settings in the menu. |
| Rear camera not displaying. | Loose cable connection; faulty rear camera. | Check the connection of the rear camera cable to the main unit. Ensure the cable is not damaged. |
| WiFi connection issues. | Incorrect password; app not updated; interference. | Verify Wi-Fi password. Update the Viidure app. Try connecting in a different location to rule out interference. |
9. Specifications
| Feature | Detail |
|---|---|
| Brand | CAMECHO |
| Model Name | Dual Cámara |
| Screen Size | 9.66 Inches IPS Touchscreen |
| Front Camera Resolution | 2K (1440p) |
| Rear Camera Resolution | 1080P |
| Field of View (Front) | 150 Degrees |
| Field of View (Rear) | 120 Degrees |
| Connectivity Technology | Wi-Fi |
| Special Features | Night Vision, G-Sensor, Loop Recording, Parking Monitoring, Reverse Assist, APP Control |
| Video Format | TS |
| Photo Format | M-JPG |
| Frame Rate | 25 FPS |
| Storage | Supports TF (microSD) card up to 128GB (not included) |
| Mounting Type | Rearview Mirror Mount |
| Control Method | Touchscreen |
| Compatible Devices | Smartphone (via Viidure App) |
| Item Weight | 600 Grams |
10. Warranty & Support
10.1 Warranty Information
CAMECHO provides a 2-year warranty for this product. This includes a 30-day return policy and a response to inquiries within 24 hours.
10.2 Customer Support
For any questions, technical assistance, or warranty claims, please contact CAMECHO customer support:
- Email: bs_support21@126.com
- Please include your product model and a detailed description of your issue for faster assistance.
