1. Introduction
This manual provides detailed instructions for the installation, operation, and maintenance of your Shuade replacement ceiling fan remote control. Please read this manual thoroughly before use to ensure proper functionality and to maximize the lifespan of your device. This remote control is designed to adjust fan speeds and control integrated lighting for compatible ceiling fan models.

Image 1: Front view of the Shuade ceiling fan remote control, showing buttons for fan speed (HI, MED, LOW, OFF) and light control.
2. Product Overview
The Shuade replacement remote control offers convenient wireless operation for your ceiling fan and its integrated lighting. It features a durable ABS construction and intuitive button layout for ease of use. The remote allows for three fan speed settings (High, Medium, Low) and includes a dedicated button for light control, which supports dimmable incandescent lighting.

Image 2: The remote control is suitable for various environments, including bedrooms, patios, dining rooms, and kitchens, providing convenient control over ceiling fans.
3. Compatibility
This remote control is designed to be compatible with a range of ceiling fan receiver modules. It features 4 DIP switching configurations for precise synchronization. Before setup, verify that your existing receiver module's FCC ID or model number matches one of the compatible models listed below:
- 2AAZPFAN53T / FAN-53T / L3HFANIIT / 1IT / KUJCE9103 / EO8BT / CHQ7030T / UC7030T
- 2AAZPFAN35TI / L3HFAN35T / L3HFAN35TI / KUJCE9603 / CH7202T (35T)
- L3H2010FANHD / FAN-HD / L3H2014FANHD / FAN-HD5 (HD5)
- UC-9050T / CHQ905IT / UC7067 (9050T)
The remote is also compatible with FAN30R, FAN28R, FAN18R, and UC7067FMRX receivers.

Image 3: Compatibility chart illustrating the 4 DIP switches and a list of compatible FCC ID/Model numbers for various ceiling fan receivers.
4. Setup Instructions
Follow these steps to set up your Shuade ceiling fan remote control:
- Install Battery: Open the battery compartment on the back of the remote control. Insert one 9V battery (not included), ensuring correct polarity.
- Match DIP Switches: Locate the 4 DIP switches inside the battery compartment of your new remote control and on your existing ceiling fan receiver module. These switches are small toggles labeled 1, 2, 3, 4.
- Configure Code: Carefully match the position (ON or OFF) of the 4 DIP switches on your new remote control to precisely match the configuration of the DIP switches on your existing receiver module. This synchronization prevents code conflicts and ensures proper communication between the remote and the fan.
- Test Functionality: After matching the DIP switches, close the battery compartment. Test the remote control by operating the fan and light functions to ensure proper synchronization.
Note: The remote control uses a 9V battery, which is NOT included in the package. The default DIP switch setting is 0000 (all OFF), but it is not recommended to use this setting without verifying compatibility with your receiver.

Image 4: Detailed diagram illustrating the process of matching the 4 DIP switches on the remote (transmitter) to the receiver for proper setup. It also indicates the 9V battery compartment.
5. Operating Instructions
Once set up, your Shuade remote control provides easy access to your ceiling fan's functions:
- Fan Speed Control:
- Press the 'HI' button for high fan speed.
- Press the 'MED' button for medium fan speed.
- Press the 'LOW' button for low fan speed.
- Press the 'OFF' button to turn the fan off.
- Light Control:
- Press the light bulb button (green button) to turn the light ON or OFF.
- If your fan's lighting supports dimming (incandescent), press and hold the light bulb button to adjust the brightness. Release the button when the desired brightness is achieved.

Image 5: The remote control in use, demonstrating its ability to control fan speeds and dim the light in a typical bedroom environment.
6. Maintenance
To ensure optimal performance and longevity of your remote control:
- Cleaning: Wipe the remote control with a soft, dry cloth. Do not use abrasive cleaners or solvents.
- Battery Replacement: Replace the 9V battery when the remote's range decreases or if it stops responding. Always dispose of used batteries responsibly.
- Storage: Store the remote in a dry place, away from direct sunlight and extreme temperatures.
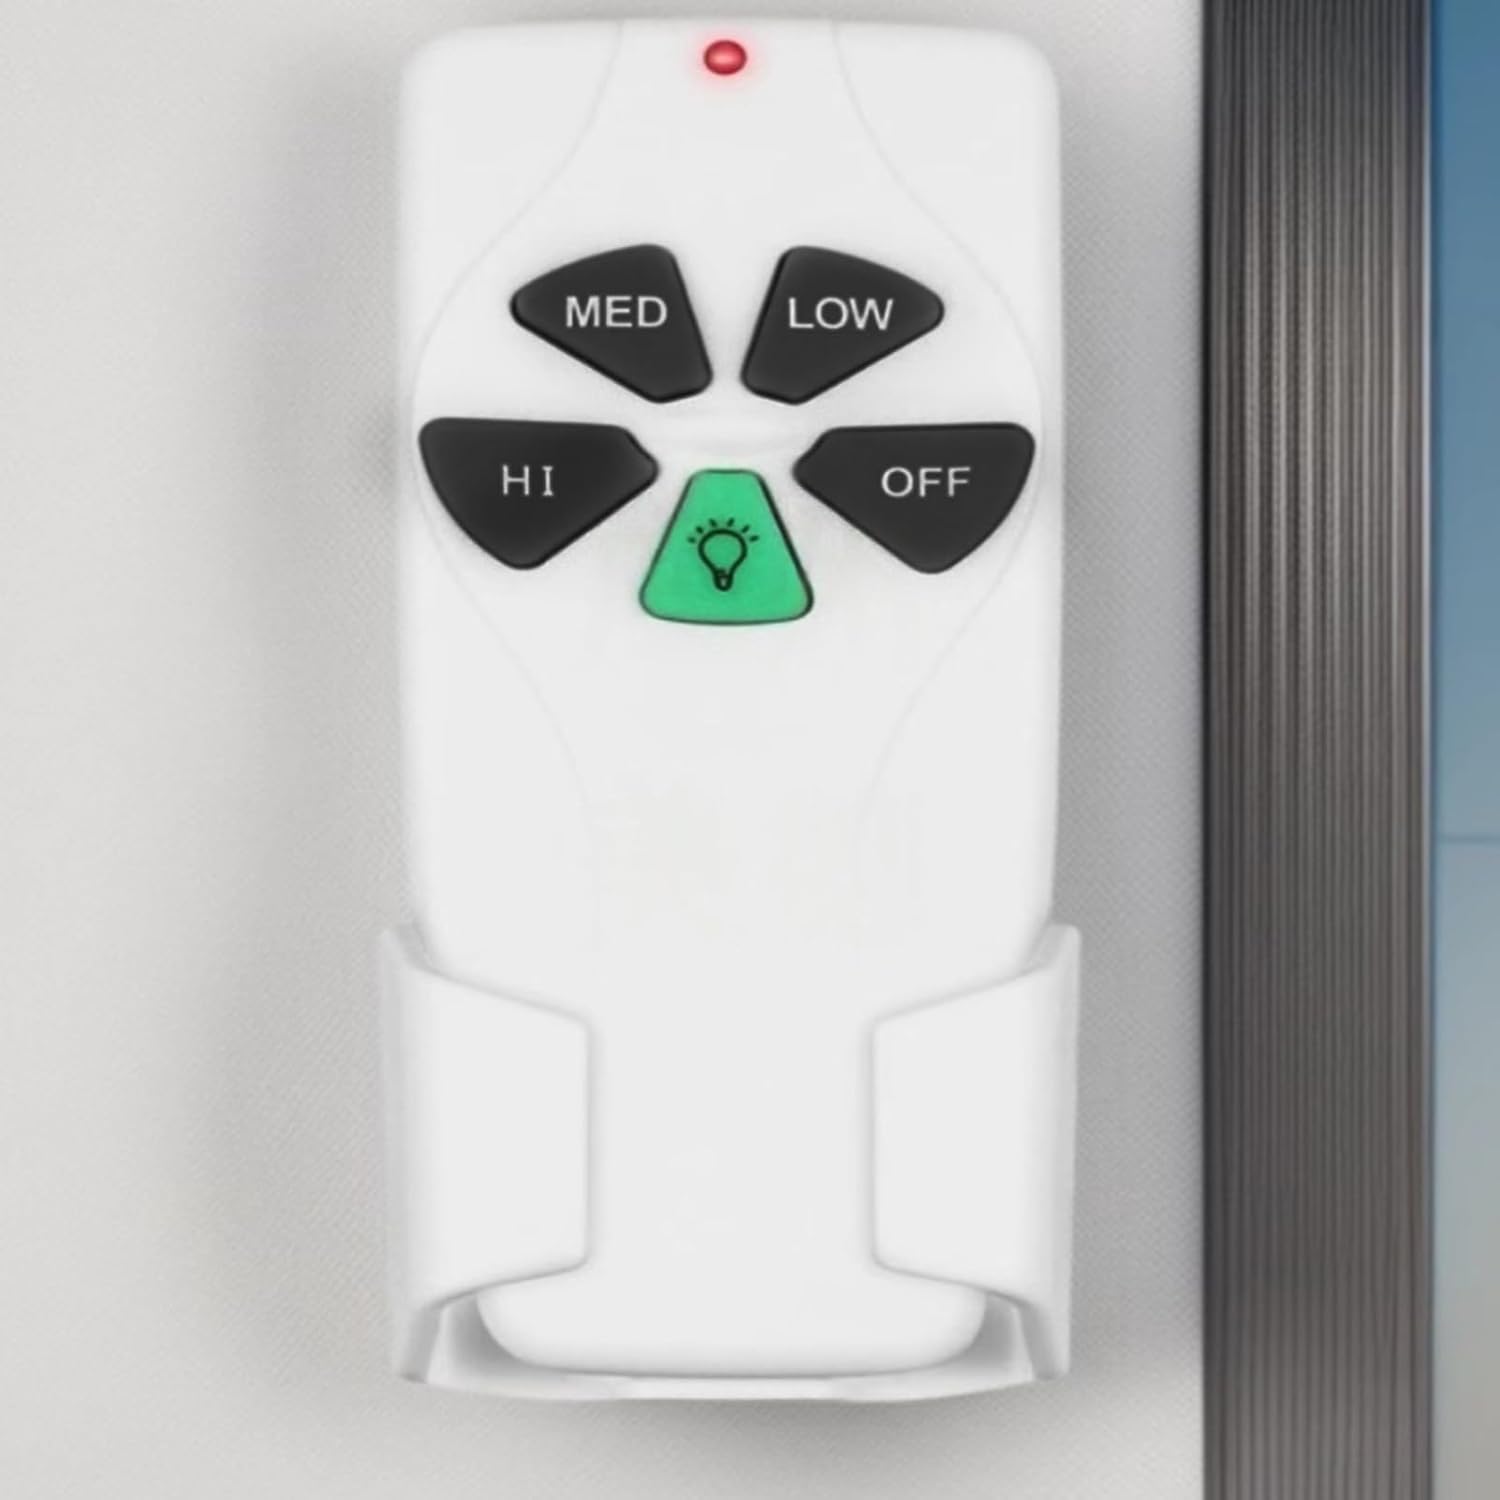
Image 6: The remote control securely placed in its wall-mounted holder, demonstrating a practical storage solution.
7. Troubleshooting
If you encounter issues with your remote control, refer to the following common problems and solutions:
| Problem | Possible Cause | Solution |
|---|---|---|
| Remote not responding | Dead or low battery | Replace the 9V battery. |
| Fan/Light not responding | DIP switches not matched | Re-check and match the DIP switch settings on both the remote and the receiver. |
| Limited range | Weak battery or interference | Replace battery. Ensure no major obstructions or sources of interference (e.g., large metal objects, other wireless devices) are between the remote and the receiver. |
| Light not dimming | Non-dimmable bulbs | Ensure you are using dimmable incandescent bulbs compatible with your fan's light kit. |
8. Specifications
- Brand: Shuade
- Manufacturer: SHUADE
- Model: SHUADE
- Item Model Number: SHUADE
- Included Components: 1 Ceiling Fan Remote Control
- Number of Items: 1
- Batteries Required: Yes (1 x 9V battery, not included)
- Material: ABS
- Dimensions: Approximately 12.7 x 5.50 cm (5 x 2.17 inches)
9. Warranty and Support
For warranty information or technical support, please refer to the retailer or manufacturer's official website where the product was purchased. Keep your purchase receipt as proof of purchase.