Introduction
This manual provides detailed instructions for the proper setup, operation, and maintenance of your Holosun AEMS X2 PRO/CORE Series 2MOA Dot Enclosed Optic. Please read this manual thoroughly before using the device to ensure safe and optimal performance.
Safety Information
WARNING: This product contains a button cell or coin battery. Ingestion Hazard: This product contains a button cell or coin battery. A swallowed button cell or coin battery can cause Internal Chemical Burns in as little as 2 hours and lead to death or serious injury. Keep new and used batteries OUT OF REACH OF CHILDREN. Seek immediate medical attention if a battery is suspected to be swallowed or inserted inside any part of the body.
What's in the Box
Your Holosun AEMS X2 PRO/CORE Series optic package includes:
- AEMS-CORE-X2-RD Optic
- Lens Cloth
- Tool

Image: Top view of the Holosun AEMS X2 PRO/CORE Series optic, highlighting the control buttons and Holosun branding.

Image: Side view of the Holosun AEMS X2 PRO/CORE Series optic, illustrating the battery tray and mounting hardware.
Setup
Battery Installation
The AEMS X2 PRO/CORE Series uses a CR2032 battery, housed in a side-mounted tray. Ensure the battery is inserted with the correct polarity as indicated on the device.
Mounting
The optic is designed for Picatinny Mount systems. Use the provided tool to securely attach the optic to your rifle. Ensure all screws are tightened to the manufacturer's recommended torque specifications to prevent movement during use.
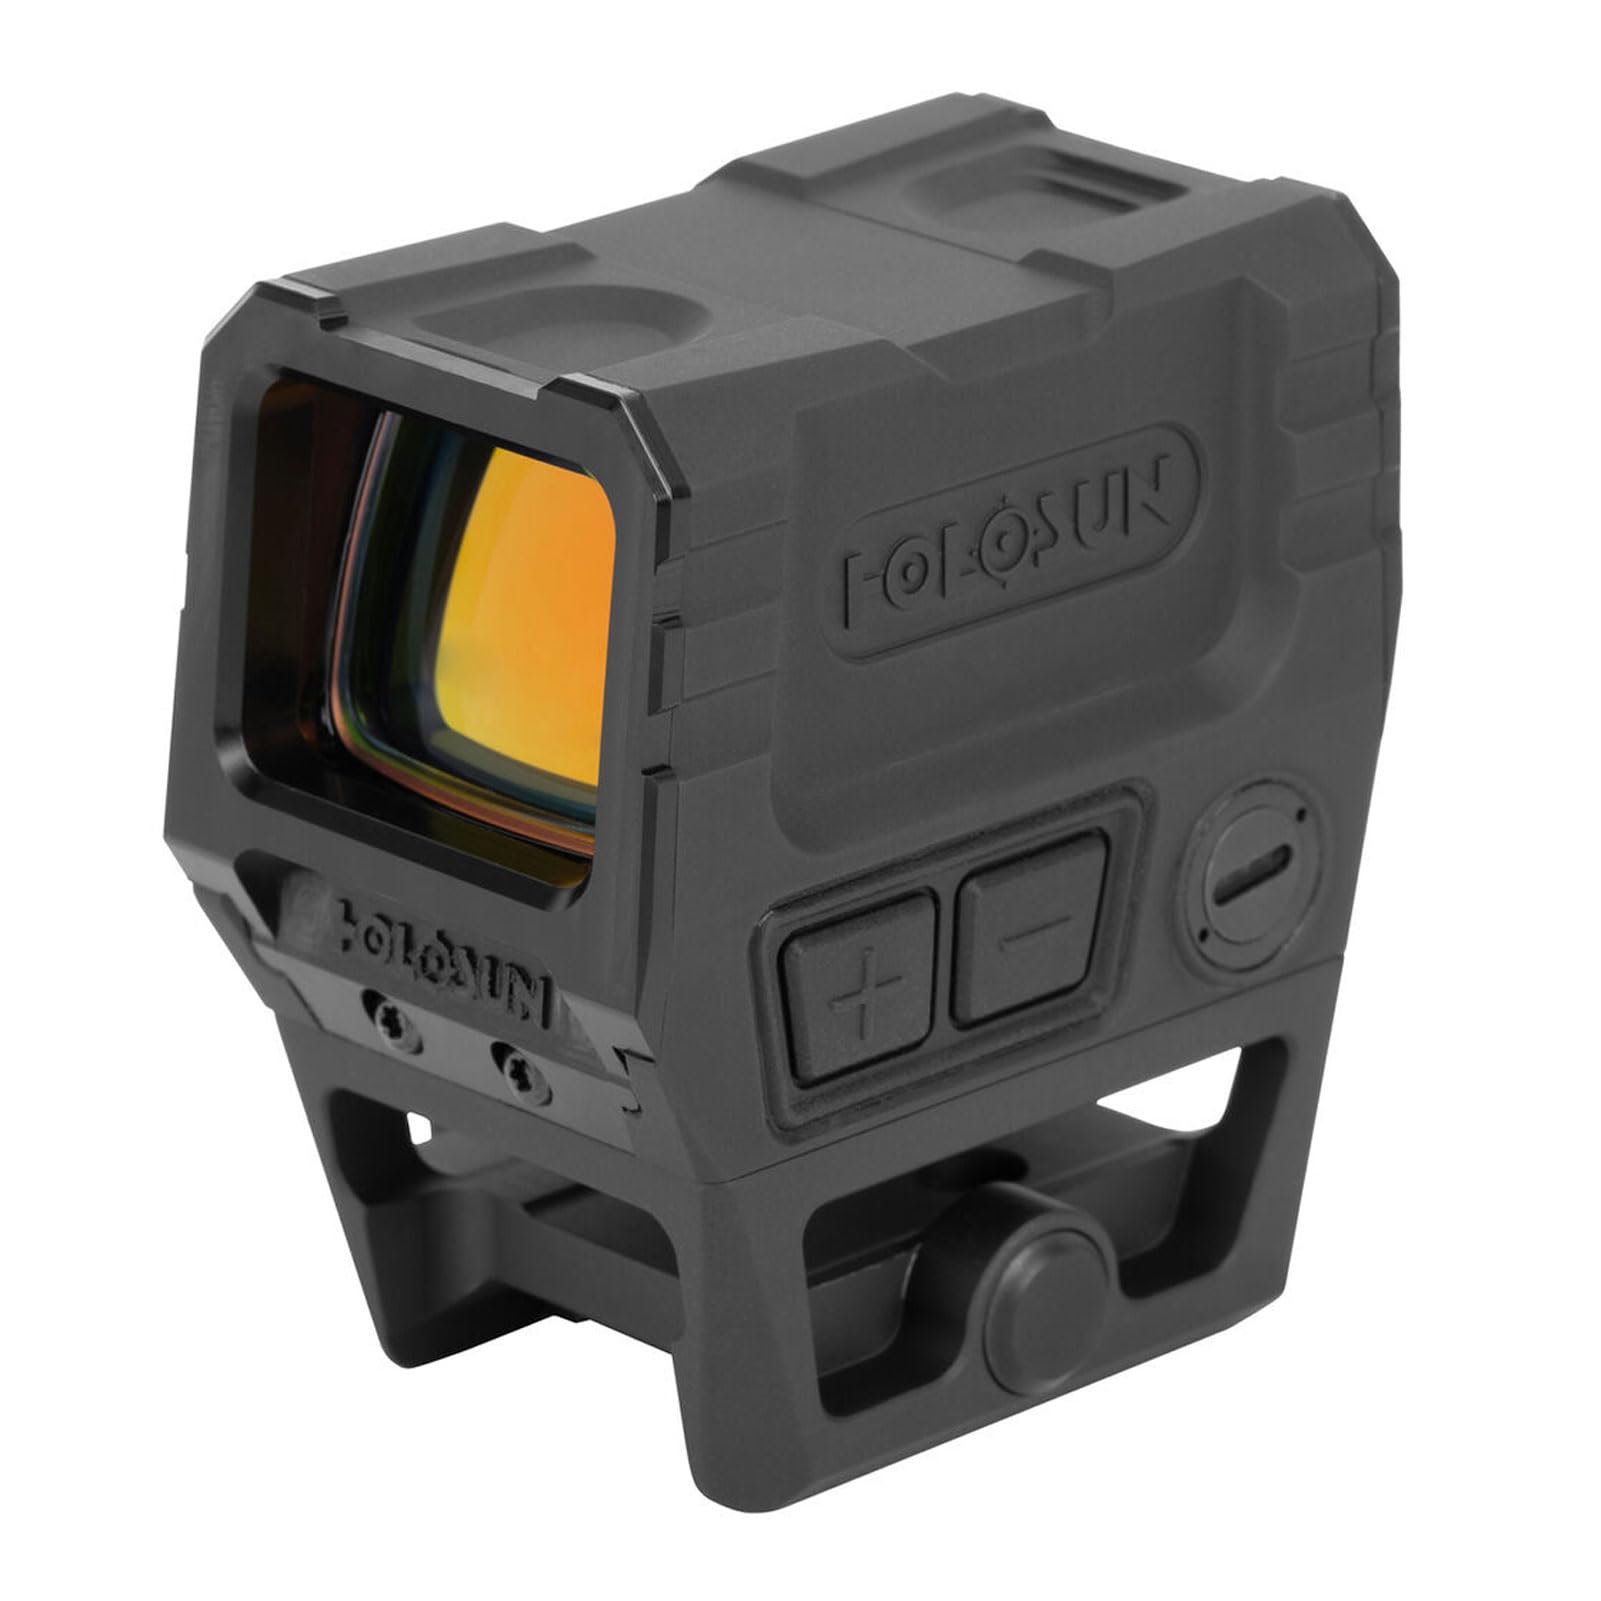
Image: Angled view of the Holosun AEMS X2 PRO/CORE Series optic, showcasing its compact form factor and Picatinny mount compatibility.
Unboxing and Initial Inspection
Before mounting, perform a visual inspection of your optic and accessories. The following video demonstrates the unboxing process and initial handling of the Holosun AEMS X2 PRO.
Video: Holosun AEMS X2 PRO Unboxing. This video provides a visual guide to unboxing the optic and its included components.
Operating Instructions
Power On/Off
To power on the optic, momentarily press either the '+' or '-' button. To manually power off the optic, press both the '+' and '-' buttons simultaneously. Note that manually powering off the optic will deactivate the Shake Awake feature until it is powered on again.
Shake Awake Technology
The optic features Shake Awake technology. If the optic is left on and motionless for a set period (default 10 minutes), it will enter sleep mode. Any movement will instantly power the optic back on to its last brightness setting. This feature conserves battery life.
Brightness Adjustment
The optic offers 10 daylight brightness settings and 2 night vision compatible settings. In automatic mode, the solar panel adjusts brightness from level 3 to 10 based on ambient light. To enter manual mode and access all brightness levels, including night vision, press and hold the '+' button for approximately 3 seconds. Once in manual mode, use the '+' and '-' buttons to cycle through brightness levels. To return to automatic mode, hold the '+' button for another 3 seconds.
Reticle Selection
The AEMS X2 PRO/CORE Series features a Multi-Reticle System. To cycle through available reticle options (2 MOA Dot, Circle Dot, etc.), press and hold the '-' button for approximately 3 seconds.

Image: A visual representation of the 2 MOA dot reticle available in the optic.
Sleep Mode Timer Adjustment
You can adjust the time before the optic enters sleep mode. The default is 10 minutes. Other options include 1 hour, 12 hours, or disabling sleep mode entirely. To enter the time adjustment mode, press and hold the '+' button for 10 seconds. Once in this mode, use the '+' and '-' buttons to cycle through the options. The reticle will blink to indicate the selected setting (1 blink for 10 min, 2 for 1 hr, 3 for 12 hrs, 4 for disabled). To save the setting, press both '+' and '-' buttons simultaneously.
Low Battery Indicator
When the battery is low, the reticle will flash once every 2 seconds to alert you that the battery needs to be changed.
Hands-on Operation Overview
This video provides a practical demonstration of the optic's controls, including power, brightness, and reticle adjustments.
Video: Hands-on Holosun AEMS X2 PRO. This video demonstrates the physical interaction with the optic's buttons and features.
Maintenance
Cleaning
Use the provided lens cloth to gently clean the optic's lenses. Avoid using harsh chemicals or abrasive materials that could damage the coatings. For the housing, a soft, damp cloth is sufficient.
Storage
Store the optic in a cool, dry place away from direct sunlight and extreme temperatures. If storing for extended periods, consider removing the battery to prevent leakage.
Troubleshooting
- Optic not powering on: Check if the CR2032 battery is correctly installed and has sufficient charge. Replace if necessary.
- Reticle not visible or dim: Adjust brightness settings using the '+' and '-' buttons. Ensure the optic is not in manual off mode. Check ambient light conditions.
- Reticle flashing: This indicates a low battery. Replace the CR2032 battery promptly.
- Optic not turning off automatically (Shake Awake): Verify the sleep mode timer setting. If set to 'disabled', the optic will remain on.
Specifications
| Feature | Specification |
|---|---|
| Brand | HOLOSUN |
| Model Name | AEMS-CORE-X2-RD |
| Reticle Type | 2 MOA Dot (Multi-Reticle options available) |
| Battery Life | Up to 50,000 hours |
| Battery Type | CR2032 |
| Shake Awake Technology | Yes, with Last Setting Recall |
| IP Rating | IP67 (Dust-tight, water immersion for 30 minutes) |
| Travel Range | ± 50 MOA |
| Reticle Brightness | 10 Daylight & 2 Lowlight settings |
| Window Size | 1.1 x 0.87 inches |
| Windage & Elevation Adjustment | 0.5 MOA Per Click |
| Housing Material | 7075 T6 Aluminum |
| Item Weight | 5.28 ounces |
| Mounting Type | Picatinny Mount |
Warranty and Support
This product comes with a Lifetime Manufacturer Defective Warranty. For warranty claims or technical support, please refer to the official Holosun website or contact their customer service directly.
You can register your product warranty by visiting holosun.com and scanning the QR code provided in your product packaging.


