1. Product Overview
The EUHOMY Commercial Ice Maker is designed for high-efficiency ice production, suitable for both home and commercial environments. This machine produces up to 105 lbs of clear ice per day and features a 33 lbs storage capacity. It includes a smart LCD control panel for easy operation, adjustable ice cube thickness, and an automatic cleaning function.

Figure 1: EUHOMY Commercial Ice Maker and included accessories (water filter, hoses, ice scoop).
2. Safety Instructions
- Ensure the ice maker is placed on a stable, level surface.
- Do not block ventilation openings.
- Connect to a grounded power outlet.
- Keep the appliance away from heat sources and direct sunlight.
- Do not immerse the appliance in water or other liquids.
- Unplug the appliance before cleaning or maintenance.
- Keep children away from the appliance during operation.
- Ensure the drain pipe is positioned below the machine's drain for proper gravity drainage.
- Allow the machine to stand upright for at least 24 hours before first use.
3. Setup and Installation
Proper installation is crucial for the optimal performance and longevity of your ice maker.
3.1 Unpacking
- Carefully remove the ice maker from its packaging.
- Inspect the unit for any shipping damage. Contact your retailer immediately if damage is found.
- Remove all packing materials, including tape and protective films.
- Ensure all accessories are present: water filter, water inlet hose, drain hose, ice scoop.
3.2 Placement
- Place the ice maker on a firm, level surface capable of supporting its weight when full of ice and water.
- Ensure adequate ventilation around the unit. Maintain at least 5 inches of space from walls and other objects.
- Avoid placing the unit near heat sources or in direct sunlight.
- The ambient temperature should be between 50°F (10°C) and 90°F (32°C) for optimal performance.
3.3 Water Connection
- Connect the Water Filter: Attach the provided water filter to the water inlet hose.
- Connect to Faucet: Connect one end of the water inlet hose to a cold water supply faucet.
- Connect to Ice Maker: Connect the other end of the water inlet hose (with filter) to the water inlet port on the back of the ice maker.
- Connect the Drain Hose: Attach the drain hose to the drain outlet on the back of the ice maker. Ensure the drain hose is positioned lower than the machine's drain for proper gravity drainage into a suitable drain.

Figure 2: Illustration of water filter, faucet, power, and drain hose connections.

Figure 3: Step-by-step guide for ice maker installation.
3.4 Power Connection
- Plug the power cord into a grounded electrical outlet.
- Important: After installation, allow the ice maker to stand upright for at least 24 hours before plugging it in and operating it. This allows refrigerants to settle.
4. Operating Instructions
The EUHOMY ice maker features an intuitive control panel for easy operation.

Figure 4: Intelligent touch control panel with various functions.
4.1 Control Panel Functions
- POWER: Turns the machine on/off.
- ICE MAKING: Indicates the machine is currently making ice.
- RESERVATION/CLEAN: Used for setting the timer or initiating the cleaning cycle.
- STOPPAGE: Indicates a temporary halt in operation.
- ICE FULL: Illuminates when the ice storage bin is full.
- ICE SHEDDING: Indicates ice is being released from the evaporator.
- CLEAN: Indicates the machine is in cleaning mode.
- TIME UP/TIME DOWN: Adjusts timer settings or ice thickness.
- HOT: Indicates a high-temperature condition.
- LIGHT: Controls the interior blue light. Press and hold for 5 seconds to unlock the child lock.
4.2 Initial Operation
- After connecting water and power, press the POWER button to turn on the machine.
- Perform an initial cleaning cycle before making the first batch of ice (refer to Section 5.1).
- The machine will automatically start the ice-making process once the cleaning is complete and water supply is confirmed.
4.3 Adjusting Ice Cube Thickness
You can adjust the thickness of the ice cubes by modifying the ice-making time.
- Use the "TIME UP" (^) and "TIME DOWN" (v) buttons to adjust the desired ice-making duration.
- A longer duration results in thicker ice cubes.
- Typical ice-making times for different thicknesses:
- Thin: Approximately 10 minutes
- Medium: Approximately 15 minutes
- Thick: Approximately 20 minutes

Figure 5: Ice thickness adjustment based on ice-making time.

Figure 6: Visual guide to adjusting ice cube thickness for various uses.
4.4 24-Hour Timer Function
The timer function allows you to set a delayed start or stop time for the ice maker.
- Press the RESERVATION/CLEAN button.
- Use the "TIME UP" (^) and "TIME DOWN" (v) buttons to adjust the desired delay time in hours (up to 24 hours).
- The machine will start or stop operation after the set time.

Figure 7: Setting the 24-hour timer on the control panel.
4.5 Interior Blue Light
The ice maker is equipped with an interior blue light for visibility. Press the LIGHT button to turn it on or off.
4.6 Child Lock Function
To prevent accidental operation, the control panel has a child lock feature.
- If the LIGHT button is blinking, the control panel is locked.
- To unlock, press and hold the LIGHT button for 5 seconds.
Video 1: Demonstration of the EUHOMY ice maker's features, including interior light, fast ice making, adjustable ice cube size, 24-hour timer, and automatic cleaning.
5. Maintenance and Cleaning
Regular cleaning and maintenance ensure hygienic ice production and extend the lifespan of your machine.
5.1 Automatic Cleaning Function
- Ensure the machine is connected to a water supply and the drain hose is properly positioned.
- Press and hold the CLEAN button for 5 seconds to activate the self-cleaning function.
- The cleaning cycle typically takes 5 minutes. The machine will automatically rinse its internal components.
- It is recommended to perform this cleaning cycle twice before making the first batch of ice and regularly thereafter based on usage.

Figure 8: Activating the self-cleaning function.

Figure 9: Initiating the automatic cleaning cycle.
5.2 Manual Cleaning and Descaling
- Daily Drainage: Pull out the small hose on the right side of the water tank to drain water once a day.
- Exterior Cleaning: Wipe the exterior of the machine with a soft, damp cloth. Do not use abrasive cleaners or solvents.
- Interior Cleaning: For thorough cleaning, especially to remove mineral buildup (descaling), use an ice machine cleaner solution as per the cleaner's instructions. Follow with multiple rinse cycles.
- Water Filter Replacement: Replace the water filter periodically to ensure clean water supply and optimal ice quality.
6. Troubleshooting
Refer to the following common issues and solutions before contacting customer support.
| Problem | Possible Cause | Solution |
|---|---|---|
| Control panel unresponsive. | Child lock is active. The "Light" button may be blinking. | Press and hold the LIGHT button for 5 seconds to unlock the child lock. |
| "Light" button blinking. | Indicates the control panel is locked. | Press and hold the LIGHT button for 5 seconds to unlock the child lock and resume operations. |
| No ice production. | No water supply, power issue, or machine not upright for 24 hours. | Check water connections and supply. Ensure power is connected. If newly installed, wait 24 hours before operation. |
| Ice is too thin/thick. | Ice-making time setting is incorrect. | Adjust ice-making time using the "TIME UP" (^) and "TIME DOWN" (v) buttons. |
| "ICE FULL" indicator on, but bin not full. | Ice sensor may be obstructed or faulty. | Clear any ice blocking the sensor. Clean the sensor if necessary. |
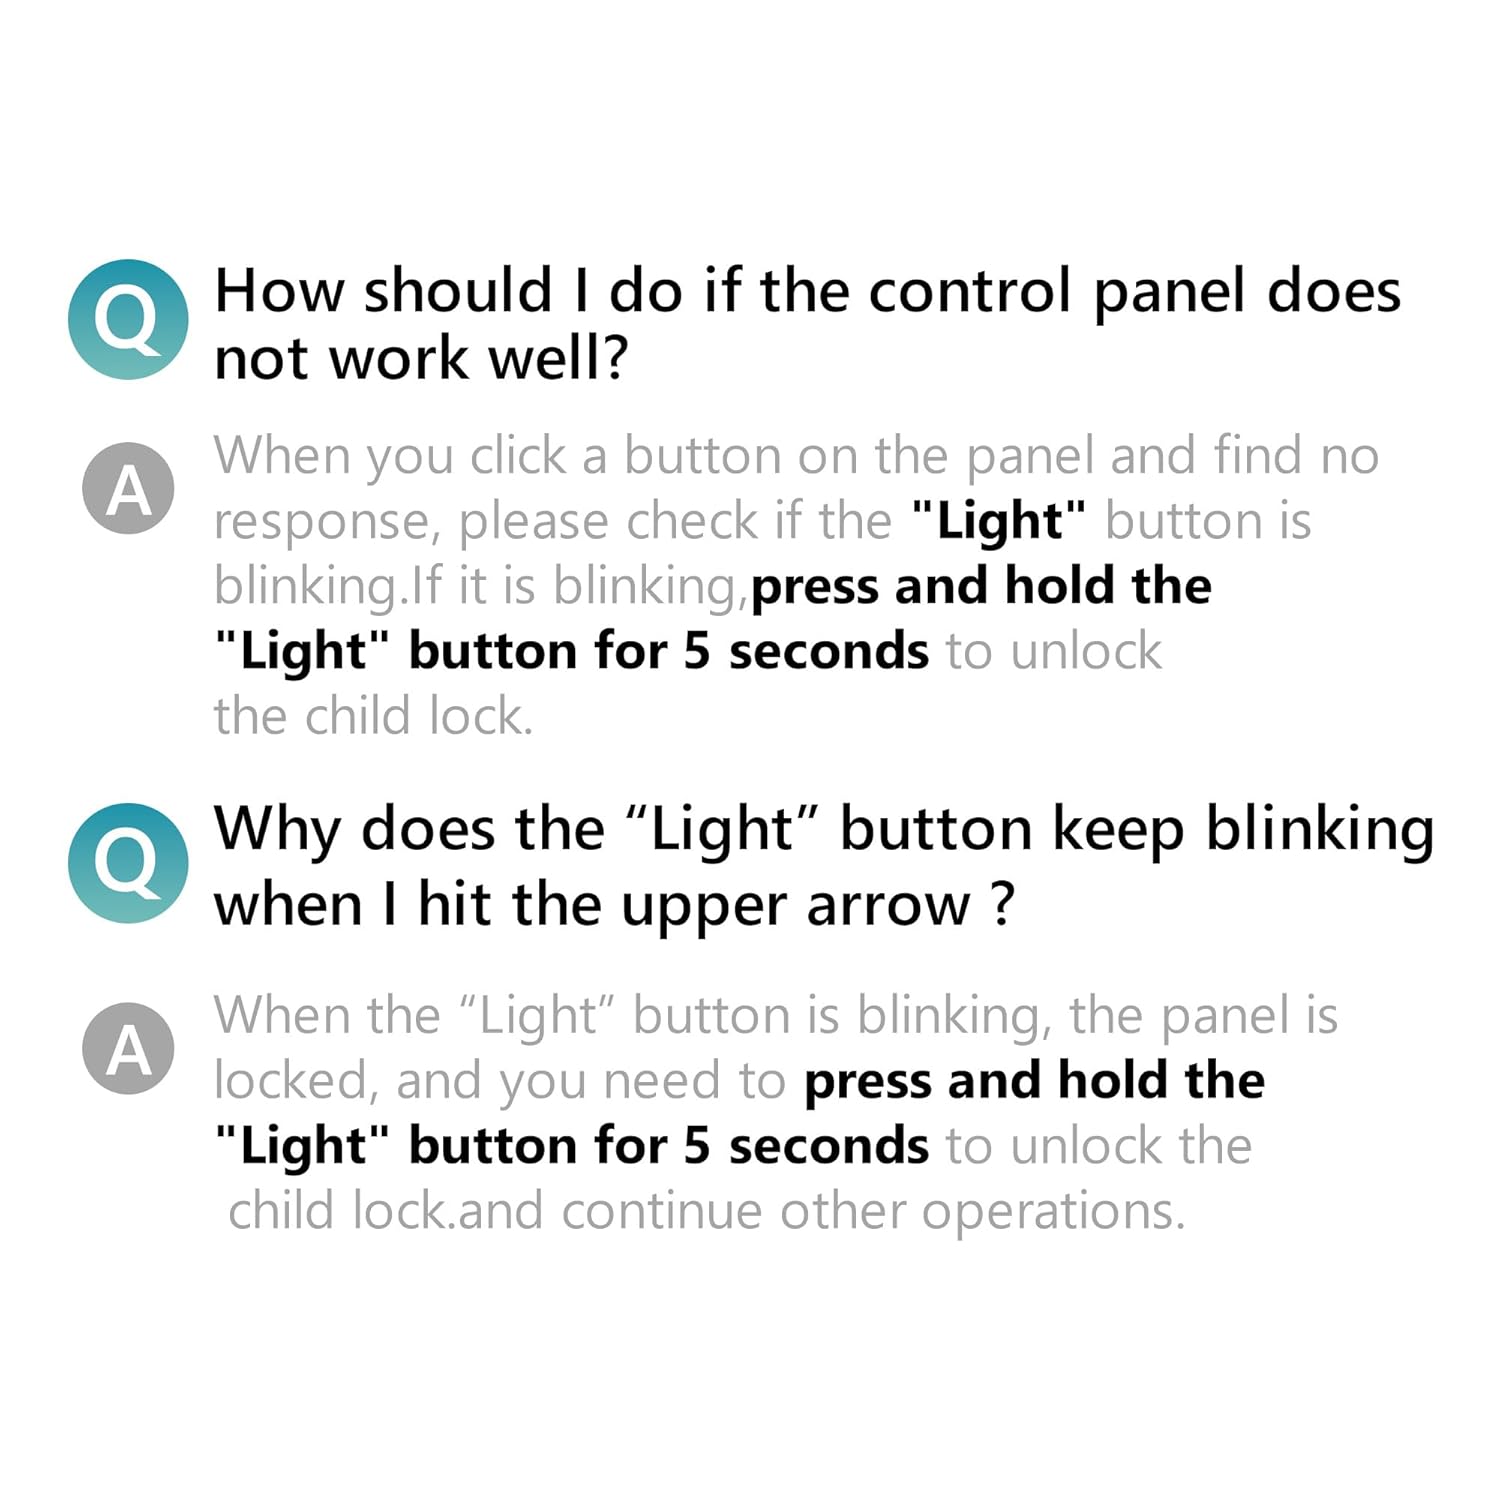
Figure 10: Common questions and answers regarding control panel functionality.

Figure 11: Detailed explanation for resolving a blinking "Light" button on the control panel.
7. Specifications
Detailed technical specifications for the EUHOMY Commercial Ice Maker.
| Feature | Specification |
|---|---|
| Model Name | CIM012-100BS-03 |
| Brand | EUHOMY |
| Ice Production Capacity | 105 lbs / 24 hours |
| Ice Storage Capacity | 33 lbs |
| Ice Cube Production Time | 8-12 minutes (45 cubes per batch) |
| Product Dimensions (D x W x H) | 16.14"D x 16.93"W x 30.9"H |
| Weight | 73.28 Pounds |
| Wattage | 255 watts |
| Material | Stainless Steel body, Pure Copper Compressor |
| Certifications | ETL certified for commercial use |

Figure 12: Summary of product specifications and dimensions.
8. Warranty and Support
For warranty information and customer support, please refer to the documentation included with your product or contact EUHOMY customer service directly.
- Customer Support: For assistance, please contact EUHOMY customer service.
- Returns: This product is returnable until January 31, 2026. Please check your purchase details for specific return policies.