GASIASHOP SRL ET4301
ETTROIT ET4301 Touch Screen Programmable Thermostat User Manual
Model: ET4301 | Brand: GASIASHOP SRL
Introduction
This manual provides detailed instructions for the installation, operation, and maintenance of your ETTROIT ET4301 Touch Screen Programmable Thermostat. Please read this manual thoroughly before installation and use to ensure proper function and safety.
Safety Information
- Always disconnect power before installing or servicing the thermostat.
- Installation should be performed by a qualified electrician in accordance with local electrical codes.
- Do not expose the thermostat to water or excessive humidity.
- Ensure proper grounding to prevent electrical shock.
Product Features
- Touch screen interface for easy control.
- Programmable settings for energy efficiency.
- Designed for in-wall installation in a 503 type box.
- AC 230V power supply.
- IP20 protection rating.
- Maximum current: 3A 250 VAC / 3A 30 VDC.
Package Contents
Verify that all items are present in the package:
- ETTROIT ET4301 Thermostat Unit
- Mounting Screws
- User Manual (this document)
Setup and Installation
1. Mounting Location
Choose a location on an interior wall, away from direct sunlight, drafts, or heat sources that could affect temperature readings. The thermostat is designed for in-wall installation in a standard 503 type electrical box.
2. Wiring Diagram
WARNING: Disconnect power at the main circuit breaker before proceeding with wiring. Incorrect wiring can cause damage to the thermostat or connected equipment, and may pose a risk of electric shock.

This image displays the wiring diagram for the ETTROIT ET4301 thermostat. It illustrates the connections for the 110-240Vac power supply (L and N) and the output terminals (NC, C, NO) for controlling the heating or cooling system. A temperature probe connection is also indicated.
- Connect the Live (L) wire from your power supply to the 'L' terminal on the thermostat.
- Connect the Neutral (N) wire from your power supply to the 'N' terminal on the thermostat.
- Connect the heating/cooling system control wires to the appropriate output terminals (NC, C, NO) as required by your system. Consult your HVAC system's manual for specific wiring requirements.
- If applicable, connect the external temperature probe to its designated terminals.
3. Mounting the Thermostat
- Carefully push the wired thermostat base into the 503 electrical box.
- Secure the thermostat base to the electrical box using the provided mounting screws.
- Attach the front panel of the thermostat to the base, ensuring it clicks securely into place.

This image shows the ETTROIT ET4301 thermostat unit alongside its product packaging. The thermostat features a white touch screen display with temperature and time indicators, and touch controls at the bottom.
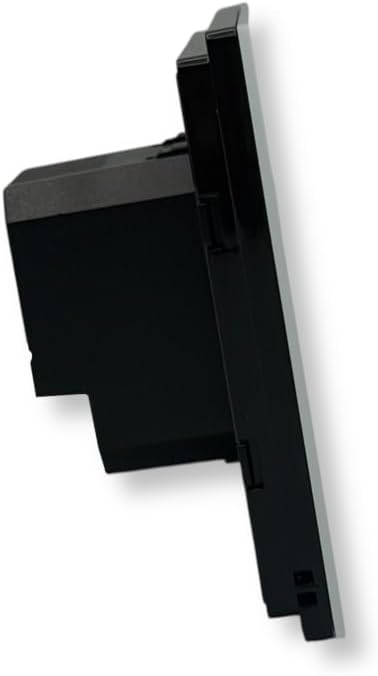
This image provides a side view of the ETTROIT ET4301 thermostat, highlighting its depth and how it would sit within a wall cavity.

This image displays the rear of the ETTROIT ET4301 thermostat, revealing the wiring terminal block and the product label with electrical specifications (110-240V, 50/60Hz, 3A 250VAC / 3A 30VDC).
Operating Instructions
1. Initial Power-On
After restoring power, the thermostat display will illuminate. It may show default settings or prompt for initial setup.

This image shows a close-up of the ETTROIT ET4301 thermostat's touch screen display, indicating a set temperature of 25.0°C and the current time (00:00) along with the day of the week (MON).
2. Touch Screen Controls
The thermostat features a touch-sensitive display. Common icons include:
- Power Button: To turn the thermostat ON/OFF.
- Settings/Gear Icon: To access advanced settings and programming modes.
- Up/Down Arrows: To adjust temperature setpoints or navigate menus.
- Mode Icon (e.g., fan, snowflake, sun): To switch between heating, cooling, or fan-only modes (if applicable).
3. Setting Time and Day
Access the settings menu (gear icon) to set the current time and day of the week. Follow the on-screen prompts to adjust these parameters using the up/down arrows.
4. Programming Schedule
The ET4301 allows for programmable schedules to optimize energy consumption. Navigate to the programming section within the settings menu. You can typically set different temperature setpoints for various times of the day and days of the week (e.g., weekday, weekend schedules).
- Select the day or group of days you wish to program.
- Set the desired start time and temperature for each period (e.g., Wake, Away, Home, Sleep).
- Save your changes before exiting the programming menu.
5. Manual Mode
To temporarily override the programmed schedule, adjust the temperature using the up/down arrows. The thermostat will maintain this temperature until the next programmed event or until manual mode is cancelled.
Maintenance
1. Cleaning the Thermostat
Wipe the screen and exterior with a soft, damp cloth. Do not use abrasive cleaners, solvents, or chemical sprays, as these can damage the display or casing.
2. Regular Checks
Periodically check the thermostat for any signs of damage or loose connections. Ensure the display is clear and responsive.
Troubleshooting
| Problem | Possible Cause | Solution |
|---|---|---|
| Thermostat display is blank. | No power supply. | Check circuit breaker. Ensure wiring connections are secure. |
| Heating/Cooling system not responding. | Incorrect wiring; system turned off; thermostat in wrong mode. | Verify wiring according to diagram. Check system power. Ensure thermostat is in the correct operating mode (Heat/Cool). |
| Inaccurate temperature reading. | Thermostat exposed to drafts or heat sources; faulty sensor. | Relocate thermostat if possible. Contact support if sensor is suspected faulty. |
| Touch screen unresponsive. | Temporary software glitch; screen damage. | Try cycling power to the thermostat. If issue persists, contact support. |
Specifications
- Model: ET4301
- Brand: GASIASHOP SRL
- Mounting: In-wall, 503 Box
- Power Supply: 110-240V AC, 50/60Hz
- Maximum Current: 3A 250 VAC / 3A 30 VDC
- Protection Rating: IP20
- Color: White
Warranty and Support
For warranty information or technical support, please contact GASIASHOP SRL directly. Refer to your purchase documentation for specific warranty terms and contact details.
Manufacturer: GASIASHOP SRL
ASIN: B0FRSWFFLT
First Available Date: September 19, 2025
Ask a question about this manual
Ask about setup, troubleshooting, compatibility, parts, safety, or missing instructions. Manuals+ will review the question and use this page’s manual context to help answer it.