1. Introduction
Thank you for choosing the Xelarvex 64GB Digital Voice Recorder. This compact and powerful device is designed for high-quality audio recording, featuring voice activation and AI noise reduction. Please read this manual carefully to ensure proper use and optimal performance of your device.
2. What's in the Box
- Voice Recorder
- Data Cable (USB)
- Earphone
- User Manual
3. Product Overview & Features
The Xelarvex Digital Voice Recorder is engineered for convenience and clarity. Its key features include:
- 64GB Storage Capacity: Stores up to 4,800 hours of recordings (at 192Kbps).
- Voice-Activated Recording: Automatically starts recording when sound is detected, saving storage space by eliminating silent periods.
- Long-Lasting Battery: Provides up to 48 hours of continuous recording on a single 1.5-hour charge. Automatically saves files when battery is low.
- AI Noise Cancellation: An AI smart sound processing chip reduces up to 97% of ambient noise for clearer audio.
- Portable & Lightweight Design: Weighing just 1 ounce, it's ideal for carrying on a keychain, bag, or lanyard.
- Multi-Functional Device: Compatible with MP3 players, computers, and smartphones for easy file transfer and playback.
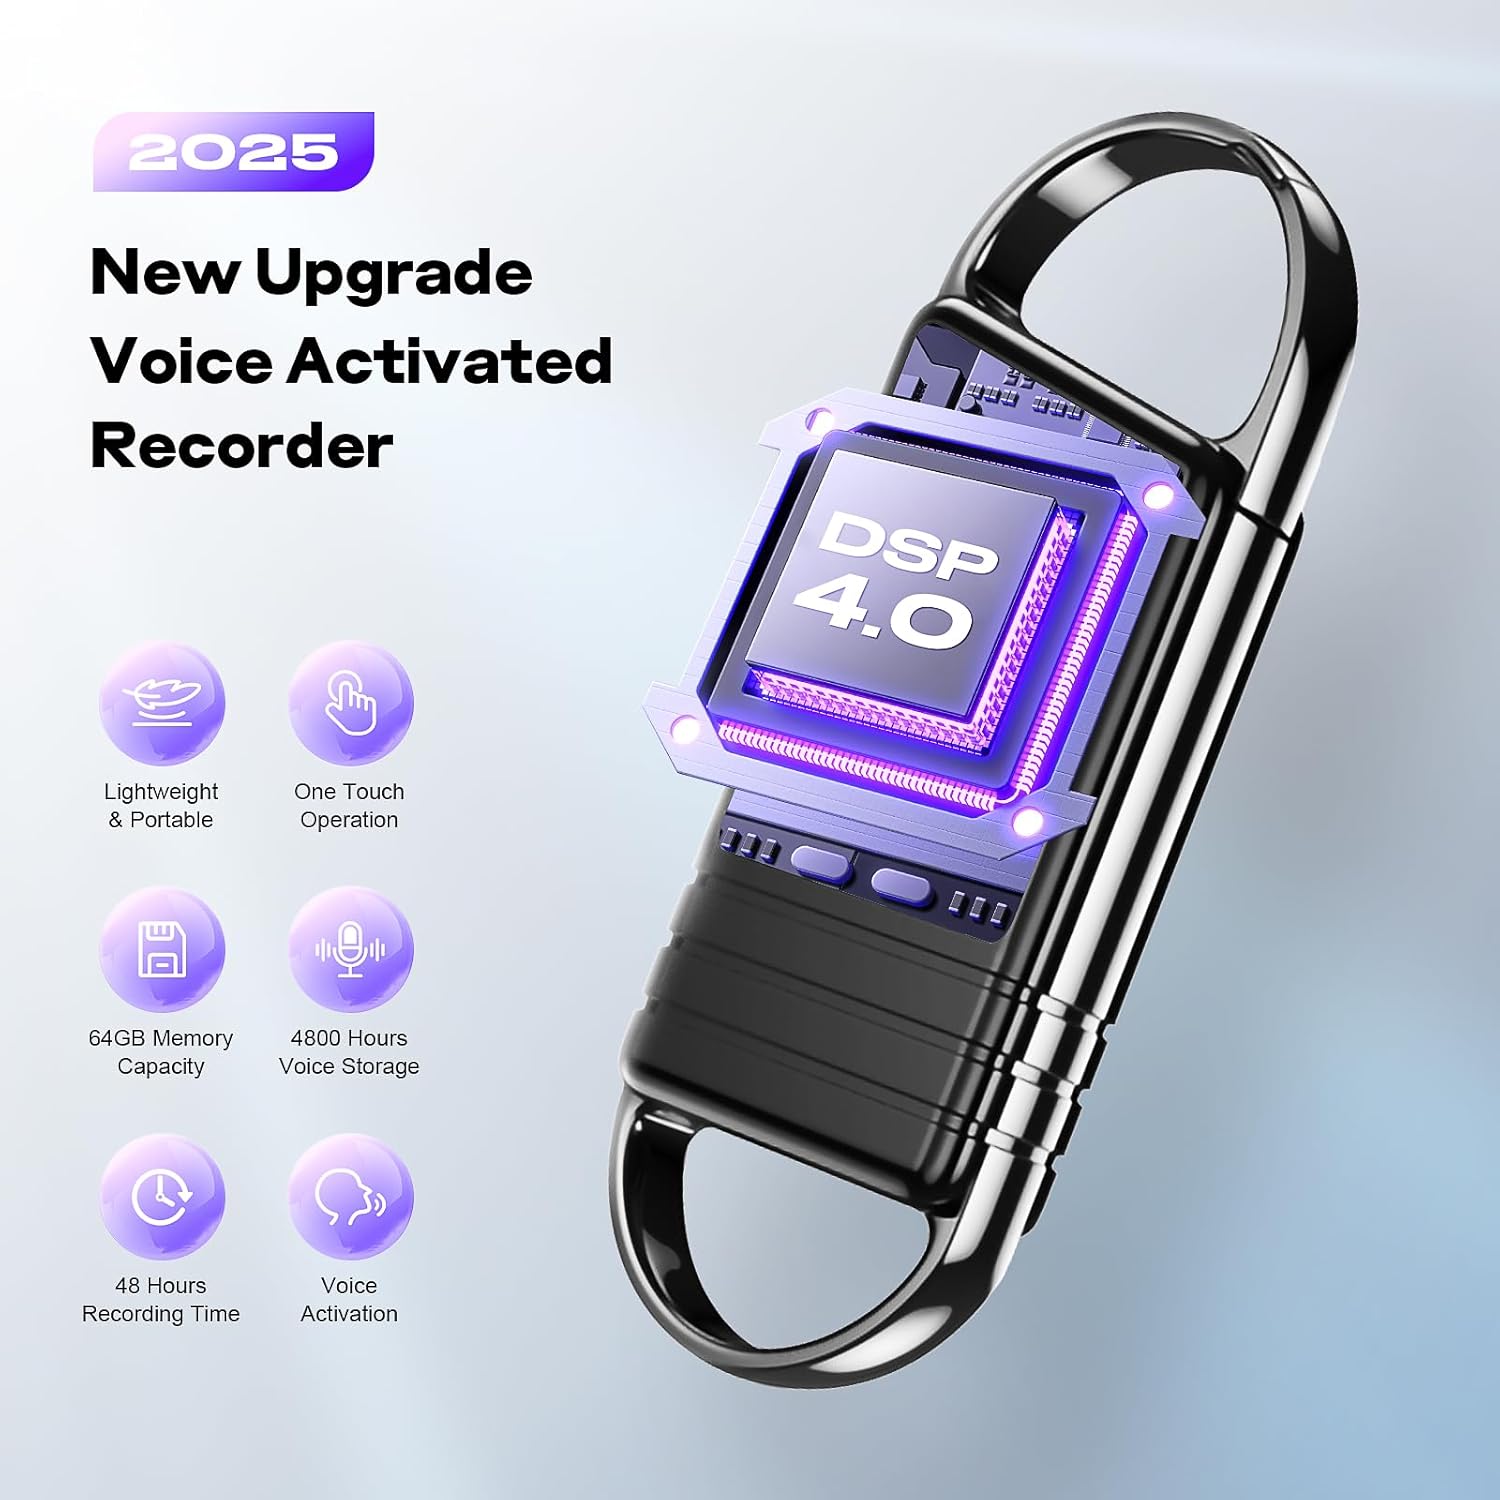
Image: Overview of the Xelarvex Digital Voice Recorder highlighting its core features.

Image: Illustration of the AI-Intelligent Noise Reduction technology within the device.

Image: Demonstrating the Voice Activated Recording feature in a meeting setting.

Image: Highlighting the powerful and portable nature of the device, weighing only 1 ounce and offering long battery life.

Image: Illustrating the multi-functional compatibility of the device with computers and phones.

Image: Visual representation of the ultra-portable design and various ways to carry the recorder.
4. Setup
4.1 Charging the Device
- Connect the provided USB data cable to the charging port on the recorder.
- Plug the other end of the USB cable into a computer's USB port or a compatible USB wall adapter (not included).
- The red indicator light will illuminate during charging.
- A full charge typically takes about 1.5 hours. The red light will turn off or change color (depending on model) when fully charged.
4.2 Initial Power On
To power on the device, slide the power switch to the 'ON' position. The indicator light will briefly flash.
5. Operating Instructions
5.1 Recording Audio
- Ensure the device is charged.
- Slide the power switch to the 'ON' position. The red indicator light will turn on, indicating the device is in recording mode.
- For voice-activated recording, the device will automatically begin recording when it detects sound above a certain threshold and pause when silent.
- To stop recording, slide the power switch to the 'OFF' position. The device will automatically save the current recording before powering down.
5.2 Playing Back Recordings
- Ensure the device is powered off.
- Connect the provided earphones to the earphone jack on the recorder.
- Slide the power switch to the 'ON' position. The blue indicator light will turn on, indicating the device is in playback mode.
- Use the 'M' button to navigate through recordings or adjust volume (refer to the detailed user guide for specific button functions).
- To stop playback, slide the power switch to the 'OFF' position.
5.3 Transferring Files to a Computer
- Connect the recorder to your computer using the USB data cable.
- The computer should recognize the device as a removable disk.
- Open the device folder to access your recorded audio files (typically in WAV format).
- Drag and drop files to your computer to save them.
Video: An overview of the Xelarvex Voice Recorder, demonstrating its features and ease of use, including recording and playback functions.
6. Maintenance
- Keep the device dry and away from extreme temperatures.
- Clean the device with a soft, dry cloth. Do not use liquid cleaners.
- Avoid dropping or subjecting the device to strong impacts.
- Regularly back up your recordings to a computer to prevent data loss.
7. Troubleshooting
7.1 Device Not Turning On
- Ensure the battery is charged. Connect to a power source and check if the charging indicator light appears.
- Verify the power switch is fully in the 'ON' position.
7.2 Cannot Hear Recordings
- Ensure earphones are securely plugged into the correct port.
- Check the volume level using the 'M' button during playback.
- Confirm the device is in playback mode (blue indicator light).
- If playing on a computer, check the computer's volume and audio settings.
7.3 Files Not Transferring to Computer
- Ensure the USB cable is properly connected to both the recorder and the computer.
- Try a different USB port on your computer.
- Restart your computer and try again.
- Ensure the device is powered off before connecting to the computer for file transfer.
7.4 Indicator Light Blinking Red and Blue
- This indicates that the device's memory is nearly full or completely full. Transfer recordings to a computer to free up space.
8. Specifications
| Feature | Detail |
|---|---|
| Memory Storage Capacity | 64 GB |
| Recording Time (192Kbps) | Up to 4800 hours |
| Continuous Recording Time | Up to 48 hours |
| Charging Time | Approx. 1.5 hours |
| Audio Format | WAV |
| Microphone Form Factor | Built-In |
| Hardware Interface | Micro USB 2.0 Type B |
| Headphones Jack | 3.5 millimeters |
| Compatible Devices | Personal Computer |
| Item Weight | 4.2 ounces |
| Package Dimensions | 6.5 x 3.58 x 1.1 inches |
9. Warranty and Support
Xelarvex products are designed for reliability and performance. For specific warranty details and customer support, please refer to the warranty card included in your product packaging or visit the official Xelarvex website. Keep your purchase receipt as proof of purchase for warranty claims.