
Introduction
This manual provides detailed instructions for the setup, operation, and maintenance of your kpasafe 1.3 Cuft Digital Security Safe Box. Please read this manual thoroughly before using the safe to ensure proper function and security. Keep this manual for future reference.
Important Safety Information
- Do not store emergency keys inside the safe. Keep them in a secure, separate location.
- Do not use rechargeable batteries.
- Do not mix old and new batteries, or different types of batteries.
- Ensure the safe is securely mounted to prevent unauthorized removal.
- Keep the safe away from excessive moisture or extreme temperatures.
- Always verify the door is securely locked after closing.
Package Contents
Verify that all items are present in the package:
- Safe Box (1)
- Emergency Key (2)
- Fireproof Bag (1)
- Expansion Bolts (4)
- Clamping Screws (4)
- User Manual (This document)
Setup Instructions
1. First-Time Opening (Using Emergency Key)
- Locate the emergency keys provided in the accessory box.
- Remove the emergency lock cover on the keypad panel.
- Insert an emergency key into the keyhole and rotate it counter-clockwise.
- While holding the key turned, twist the door handle clockwise to open the safe door.
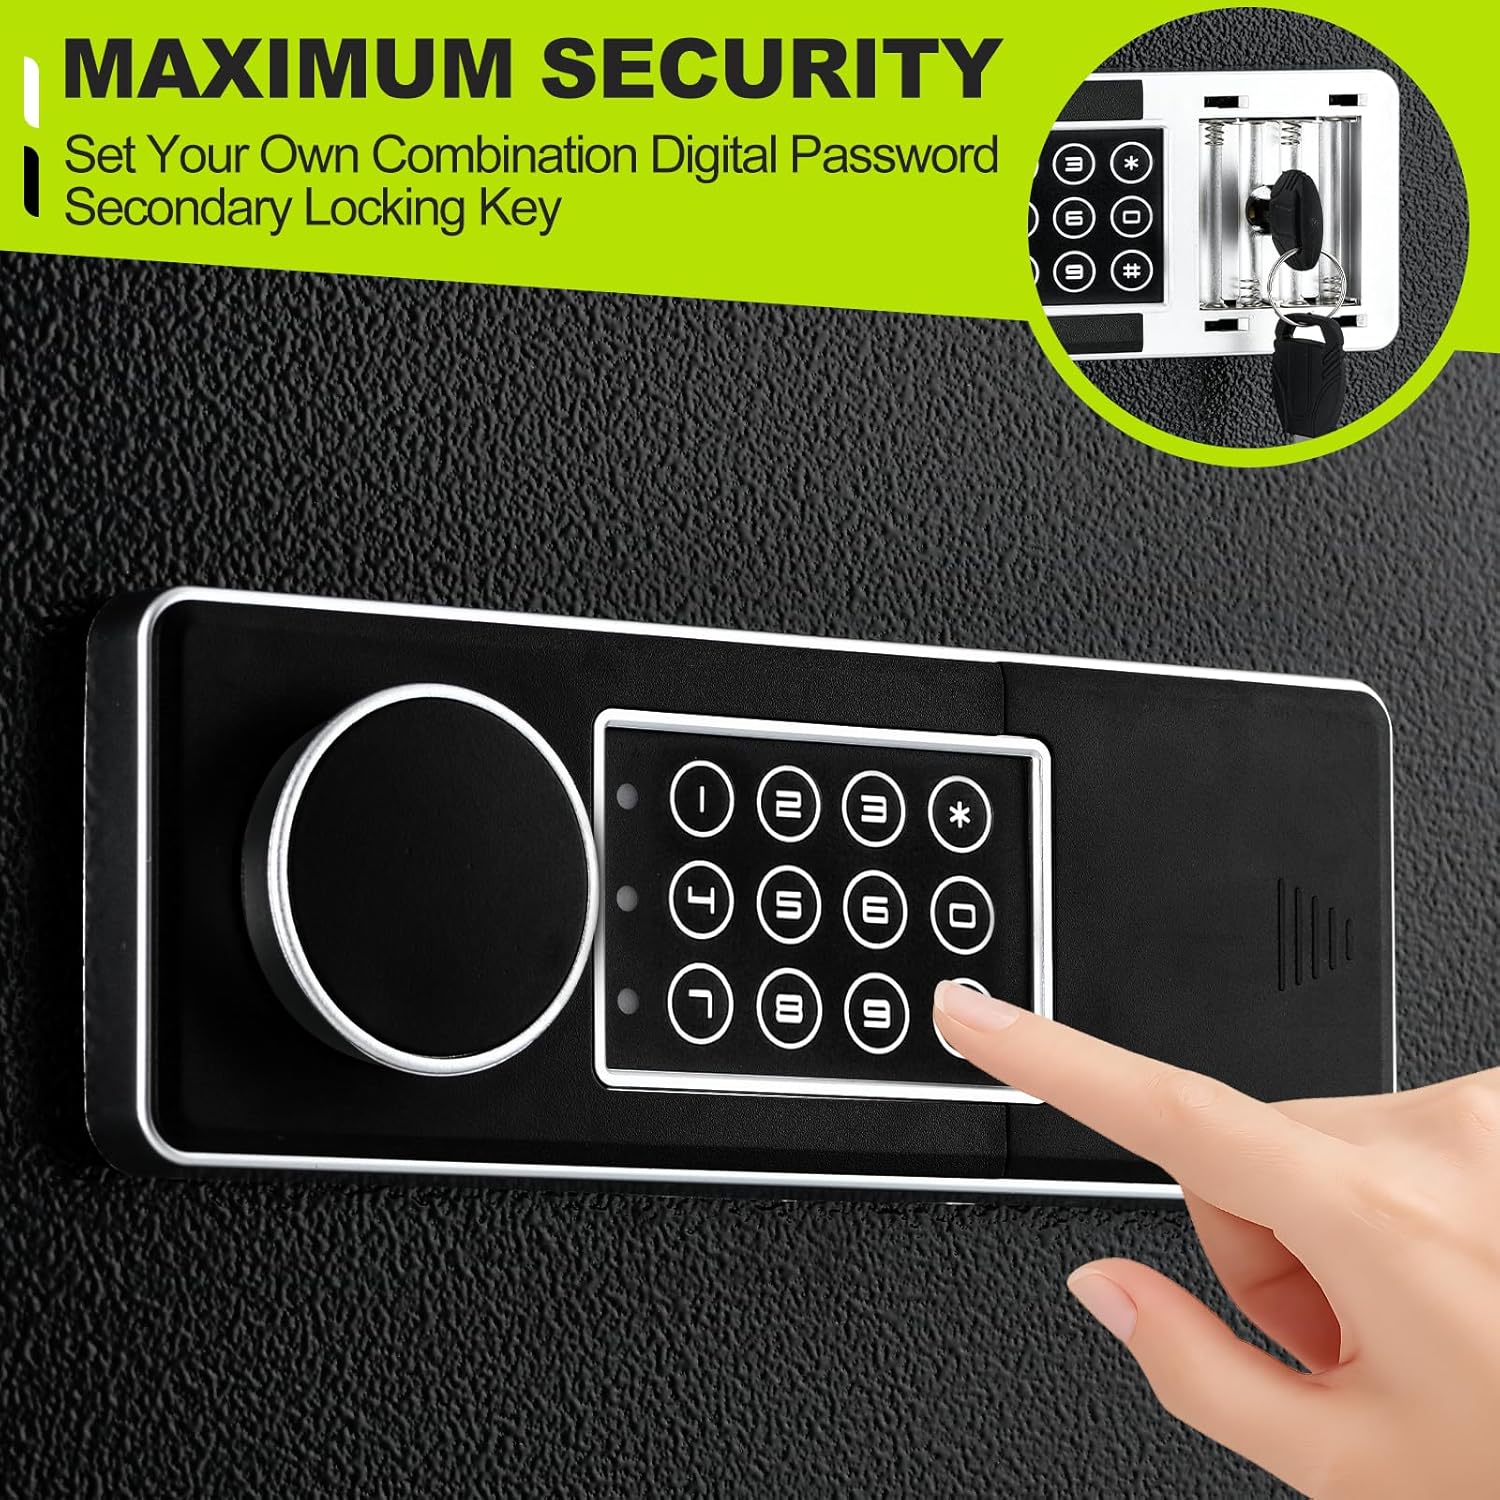
Figure 1: Emergency key insertion and handle rotation.
Video: Demonstrates the initial opening of the safe using the emergency key and installing batteries.
2. Battery Installation
- With the safe door open, locate the battery compartment on the inside of the door panel.
- Insert four (4) AA batteries (not included) into the compartment, ensuring correct polarity (+/-).
- Close the battery compartment cover.
Note: Do not use rechargeable batteries. Do not mix old and new batteries.

Figure 2: Battery installation in the keypad compartment.
3. Setting Your Personal Code
- With the safe door open, press the red reset button located on the inner side of the door, near the hinge. You will hear a beep and the indicator light on the keypad will flash.
- Enter your new user code (3 to 8 digits) on the keypad.
- Press the "#" button to confirm. The indicator light will stop flashing, and you will hear a confirmation beep.
Note: Test the new password several times with the door open before closing it.
Figure 3: Location of the red reset button.
Video: Demonstrates setting a new password for the safe.
4. Mounting the Safe
The safe is equipped with pre-drilled mounting holes and includes expansion screws for secure installation. This helps prevent unauthorized removal.
- Choose a suitable location for mounting (e.g., wall, floor, inside a cabinet).
- Mark the drilling points through the pre-drilled holes inside the safe.
- Drill pilot holes in the marked locations.
- Align the safe with the drilled holes and secure it using the provided expansion bolts.

Figure 4: Example of a securely mounted safe.
Operating Instructions
1. Opening the Safe with Your Code
- Enter your 3 to 8 digit user code on the keypad.
- Press the "#" button to confirm. The indicator light will turn green.
- Within 6 seconds, rotate the knob clockwise and pull the door outwards to open.
Figure 5: Entering the digital code to open the safe.
Video: Demonstrates opening the safe using the digital code.
2. Opening the Safe with Emergency Key
In case of battery failure or forgotten code, use the emergency key as described in the "First-Time Opening" section.
3. Silent Mode
To activate Silent Mode, refer to the detailed instructions in the full user manual (not provided in this summary). This mode disables keypad sounds for discreet operation.
4. Alarm System
The safe features an anti-theft alarm system:
- Incorrect Code Attempts: Three consecutive incorrect code entries will trigger a 20-second system lockdown and emit short beeps. Six consecutive incorrect entries will lock the safe for 5 minutes.
- Tampering: Any attempt to forcefully open or move the safe may activate the alarm.

Figure 6: Visual representation of the safe's alarm system.
Maintenance
1. Battery Replacement
Replace batteries when the low battery indicator appears or if the keypad becomes unresponsive. Follow the battery installation steps. Always replace all four batteries simultaneously with new, non-rechargeable AA batteries.
2. Cleaning
Clean the safe's exterior with a soft, damp cloth. Avoid abrasive cleaners or solvents that could damage the finish or electronic components.
Troubleshooting
| Problem | Possible Cause | Solution |
|---|---|---|
| Safe does not open with code. | Incorrect code entered; low batteries. | Re-enter code carefully. Replace batteries. Use emergency key. |
| Keypad is unresponsive. | Dead batteries. | Replace all four AA batteries. Use emergency key to open. |
| Alarm sounds unexpectedly. | Incorrect code attempts; physical shock/tampering. | Ensure correct code entry. Check for physical impact. |
| Door does not close properly. | Obstruction in door frame; locking bolts not retracted. | Clear any obstructions. Ensure handle is turned to retract bolts before closing. |
Specifications
| Feature | Detail |
|---|---|
| Brand | kpasafe |
| Model Number | SH-JL |
| Capacity | 0.77 Cubic Feet (Note: Product title states 1.3 Cuft, but specifications list 0.77 Cuft. Using specification value.) |
| Exterior Dimensions (DxWxH) | 9.8"D x 13.8"W x 9.8"H |
| Interior Dimensions (DxWxH) | 7.2"D x 13.6"W x 7.2"H |
| Lock Type | Electronic Combination Lock, Emergency Key |
| Material | Alloy Steel |
| Special Features | Anti-Theft, Digital Keypad, Alarm System, Removable Shelf, Fireproof Bag |
| Mounting Type | Floor Mount (Bolt-down ready) |
| Power Source | 4 x AA Batteries (not included) |

Figure 7: Product dimensions.

Figure 8: Fireproof document bag.

Figure 9: Removable shelf for customizable storage.
Warranty and Support
For warranty information or technical support, please refer to the contact details provided with your purchase documentation or visit the official kpasafe website. Keep your purchase receipt as proof of purchase.