1. Introduction
This manual provides instructions for the safe and efficient operation, maintenance, and troubleshooting of your Tilswall HVLP Paint Sprayer, Model Dreamer400. Please read this manual thoroughly before using the product and retain it for future reference.
2. Important Safety Instructions
Always follow basic safety precautions to reduce the risk of fire, electric shock, and personal injury.
- Wear appropriate personal protective equipment, including eye protection, gloves, and a respirator, especially when spraying paints or solvents.
- Ensure adequate ventilation in the work area to prevent the accumulation of hazardous fumes.
- Keep the work area clean and well-lit. Cluttered or dark areas invite accidents.
- Do not operate the sprayer near flammable liquids or gases.
- Always disconnect the power supply before cleaning, adjusting, or performing maintenance on the sprayer.
- Keep children and bystanders away while operating the sprayer.
- Use only manufacturer-recommended accessories and replacement parts.
3. Product Components
The Tilswall HVLP Paint Sprayer consists of several key components designed for efficient paint application.

Image 3.1: Overview of the Tilswall HVLP Paint Sprayer and included paint strainers. The sprayer features a main body with a motor, a spray gun assembly, a paint container, and a power cord. The strainers are cone-shaped filters.
- Sprayer Unit: The main body containing the motor and air pump.
- Spray Gun Assembly: Includes the nozzle, air cap, and trigger.
- Paint Container: A 600ml capacity cup for holding paint.
- Adjustable Flow Control Knob: Located on the trigger for regulating paint output.
- Power Cord: For connecting to an electrical outlet.
- Paint Strainers: Disposable paper filters with nylon inserts (190 micron) for removing impurities from paint.
4. Setup
4.1. Preparation of Work Area
Ensure the work area is clean, well-ventilated, and free from obstructions. Cover any surfaces not intended for painting to protect them from overspray.
4.2. Paint Preparation
Proper paint thinning is crucial for optimal spray performance and a smooth finish.
- Consult the paint manufacturer's recommendations for thinning.
- As a general guideline, thin the paint to a 100 DIN viscosity. This helps achieve finer atomization and reduces issues like streaks and drips.
- Use the provided paint strainers to filter the paint before pouring it into the container. This removes impurities that could clog the nozzle.

Image 4.1: Disposable 190 micron paint strainers. These are used to filter paint, ensuring a smooth, clog-free application.
4.3. Assembly
The Tilswall Dreamer400 features a streamlined unibody design with tool-free assembly.
- Attach the paint container to the spray gun assembly by screwing it securely into place.
- Ensure the nozzle and air cap are correctly seated and tightened.
- Connect the power cord to a suitable electrical outlet.
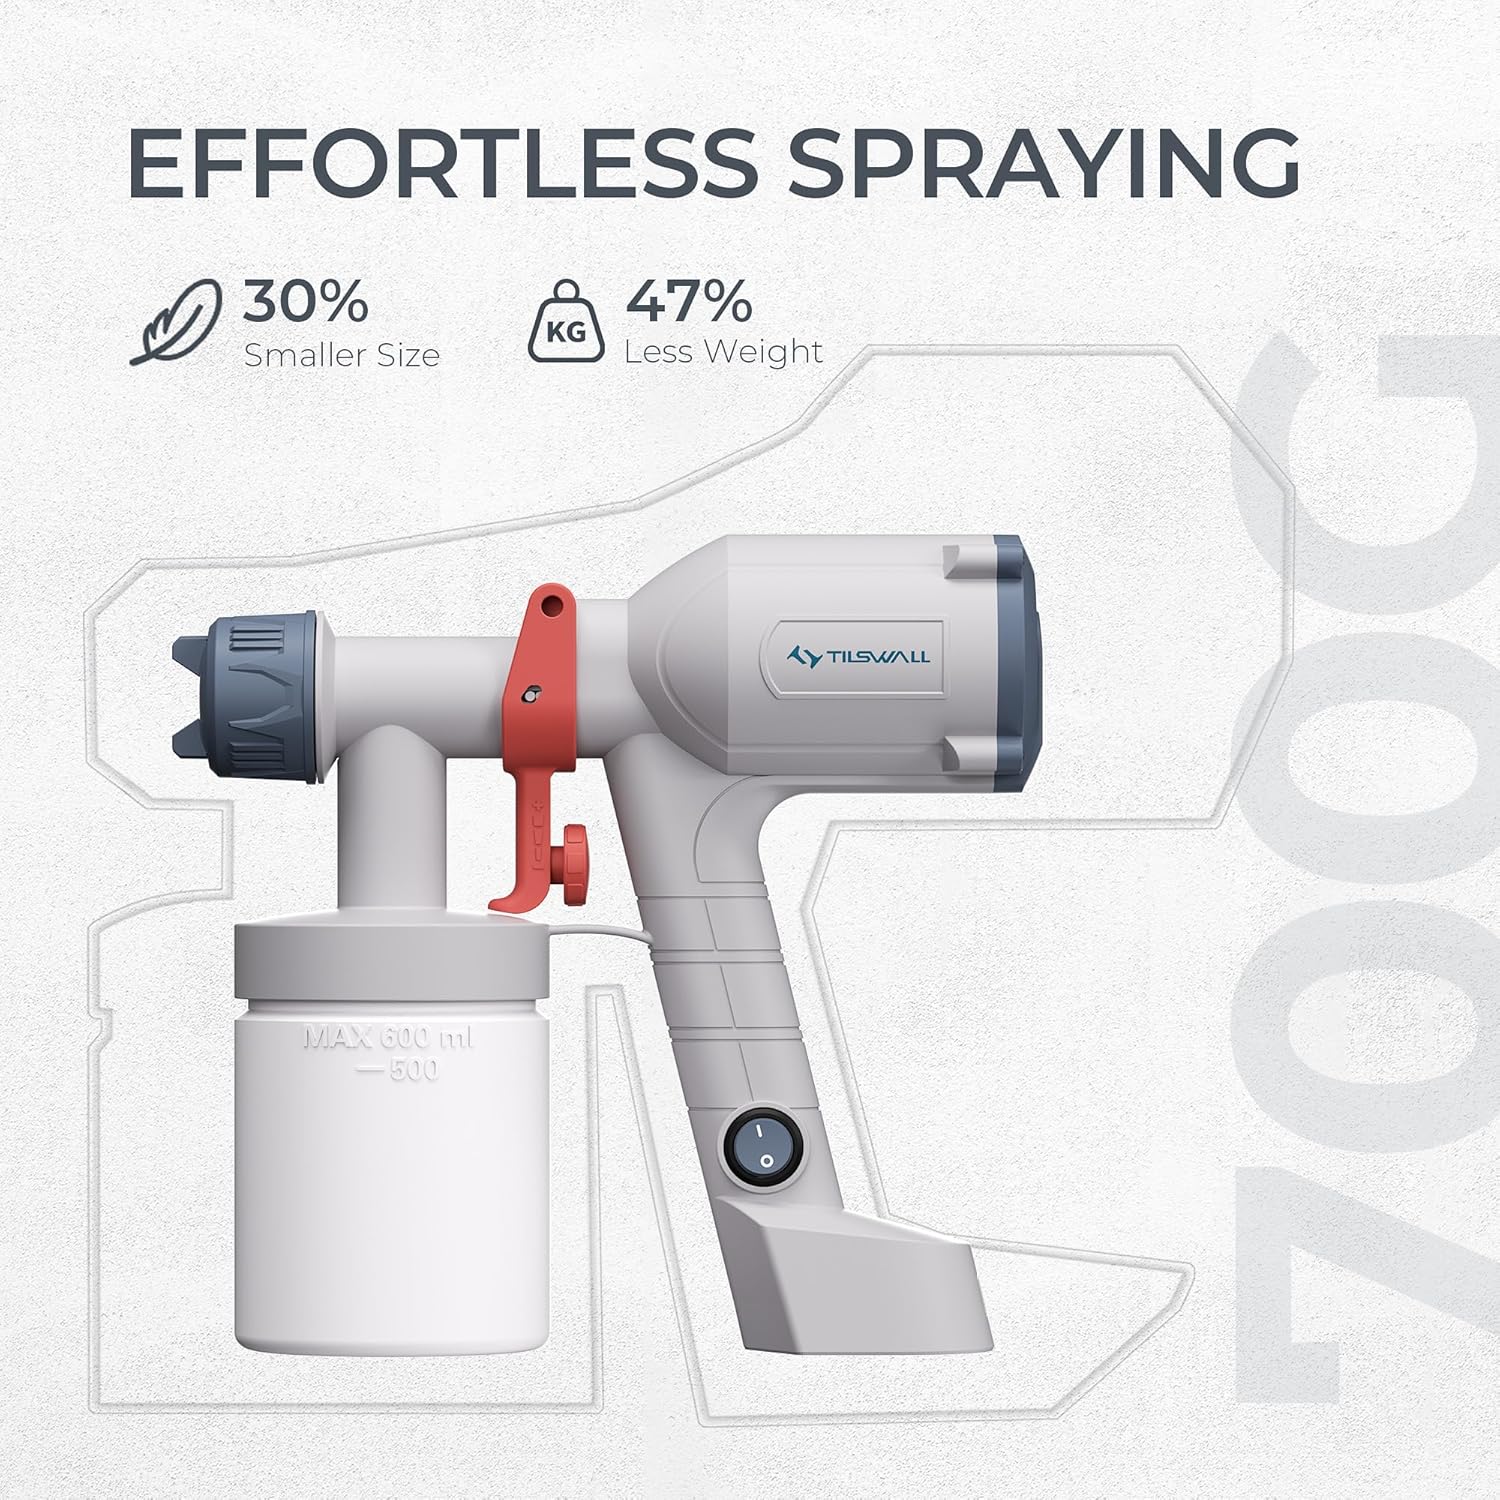
Image 4.2: The sprayer's ergonomic design contributes to effortless handling, being 30% smaller and 47% lighter than previous models.
5. Operation
5.1. Powering On and Off
Locate the power switch on the sprayer unit. Press to turn the unit on or off.
5.2. Adjusting Flow Control
The adjustable flow control knob allows you to fine-tune the paint flow for a smooth and even finish.
- Turn the knob clockwise to decrease paint flow.
- Turn the knob counter-clockwise to increase paint flow.
- Always test the spray pattern and flow on a scrap piece of material before applying to your project.

Image 5.1: Visual comparison demonstrating superior texture, complete coverage, and durable results achieved with the Tilswall Dreamer400 compared to traditional brush and roller methods.
5.3. Spraying Techniques
Maintain a consistent distance and speed while spraying to achieve an even coat. Overlap each pass by approximately 50%.

Image 5.2: The sprayer is shown in use for wall painting, utilizing a 2.0mm nozzle for suitable coverage.

Image 5.3: Internal view of the sprayer demonstrating its efficiency, capable of 4 times faster spraying and 50% more coverage than traditional methods.

Image 5.4: A visual demonstration of the sprayer's effectiveness, showing a wall before and after painting, highlighting the smooth finish.

Image 5.5: Examples of painted objects, including a wooden chair and a dog house, illustrating the sprayer's versatility and ability to achieve a consistent finish on various surfaces.
6. Maintenance
Proper cleaning and maintenance are essential for extending the lifespan of your paint sprayer and ensuring optimal performance.
6.1. Cleaning After Use
Promptly clean the spray paint gun after each use to prevent paint buildup and clogging.
- Disconnect the power supply.
- Empty any remaining paint from the container.
- Fill the container with an appropriate cleaning solution (water for latex paints, mineral spirits for oil-based paints).
- Reattach the container and spray the cleaning solution into a waste container until the output is completely clear, indicating no visible pigment. This is the water flush test.
- Disassemble the spray gun components (nozzle, air cap, paint container) and clean them thoroughly with the appropriate solvent and a brush.
- Rinse all components with clean water and allow them to dry completely before reassembly or storage.
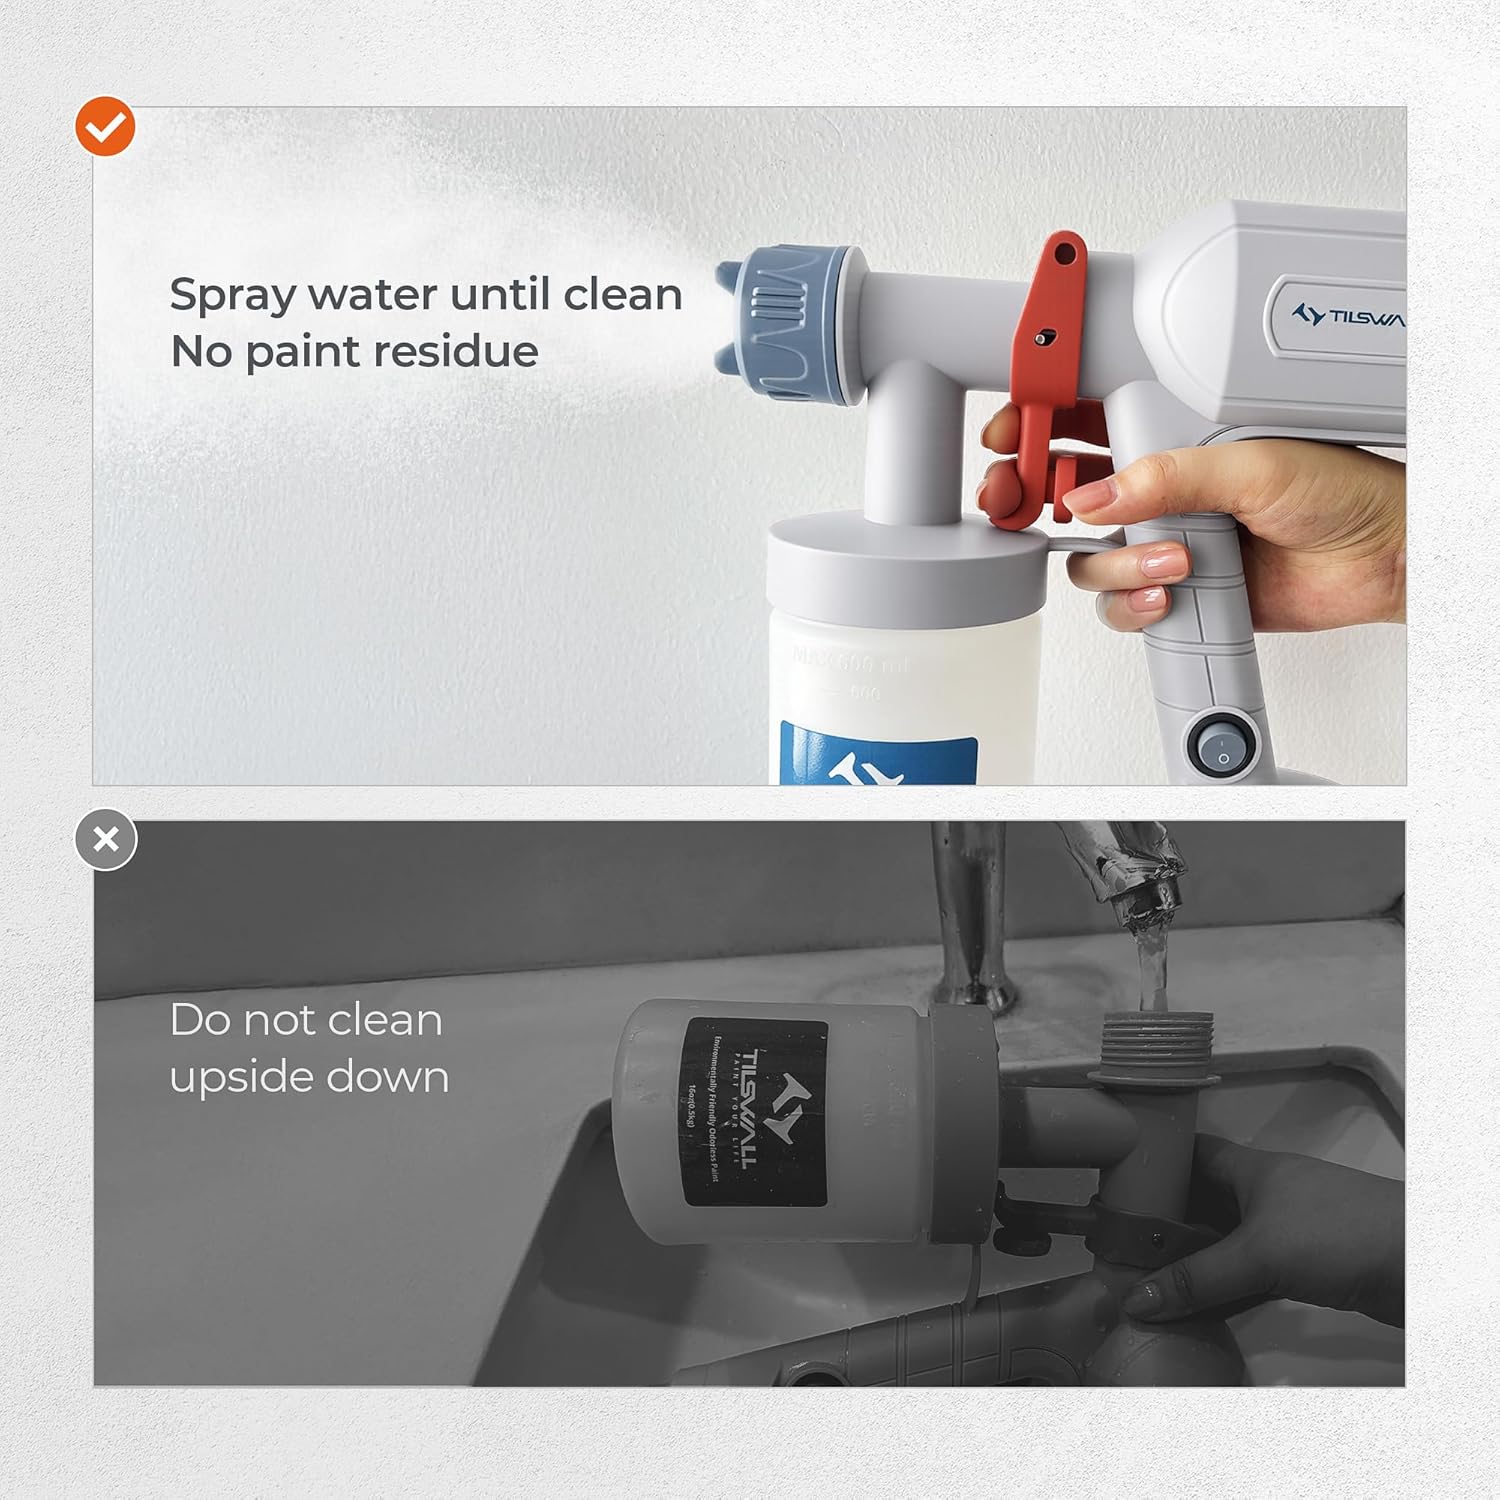
Image 6.1: Visual guide for cleaning. The top panel shows the correct method: spraying water until clean with no paint residue. The bottom panel shows an incorrect method: cleaning the sprayer upside down, which should be avoided.
6.2. Storage
Store the clean and dry paint sprayer in a cool, dry place, away from direct sunlight and extreme temperatures.
7. Troubleshooting
Refer to the following table for common issues and their solutions.
| Problem | Possible Cause | Solution |
|---|---|---|
| No spray or weak spray | Clogged nozzle, paint too thick, low paint level, air cap blocked. | Clean nozzle and air cap. Thin paint according to instructions. Refill paint container. Ensure air cap is clear. |
| Uneven spray pattern | Improper thinning, clogged nozzle, incorrect flow setting, inconsistent spraying technique. | Adjust paint viscosity. Clean nozzle. Adjust flow control knob. Practice consistent spraying motion. |
| Paint drips or runs | Paint too thin, too much paint flow, spraying too close to surface. | Thicken paint slightly. Reduce paint flow with control knob. Maintain proper spraying distance. |
| Sprayer motor runs but no paint sprays | Suction tube blocked, paint container not sealed properly. | Check and clear suction tube. Ensure paint container is tightly sealed. |
8. Specifications
- Model: Dreamer400
- Type: HVLP (High Volume Low Pressure) Electric Paint Sprayer
- Paint Container Capacity: Approximately 600 ml
- Nozzle Size: Includes 2.0mm nozzle (suitable for wall painting)
- Material: Aerospace-grade lightweight materials
- Weight: Reduced by 47% compared to previous models (specific weight not provided)
- Assembly: Tool-free unibody design
- Included Accessories: Disposable 190 micron paint strainers
- ASIN: B0FRRYX4DC
9. Warranty Information
Tilswall products are manufactured to high-quality standards. For specific warranty details, including coverage period and terms, please refer to the warranty card included with your product or visit the official Tilswall website. Keep your purchase receipt as proof of purchase for any warranty claims.
10. Customer Support
If you have any questions, require technical assistance, or need to report an issue with your Tilswall HVLP Paint Sprayer, please contact Tilswall customer support. Contact information can typically be found on the product packaging, the official Tilswall website, or through your retailer.


