1. Introduction
This manual provides instructions for the safe installation, operation, and maintenance of your Harbr Breeze Sunport 52-inch Ceiling Fan. Please read this manual thoroughly before attempting to assemble, install, operate, or troubleshoot this product. Keep these instructions for future reference.
The Harbr Breeze Sunport is a 52-inch damp-rated ceiling fan designed for both indoor and covered outdoor locations. It features a matte black finish, reversible blades, an integrated LED light kit with color-changing and dimming capabilities, and Easy2Hang installation features.
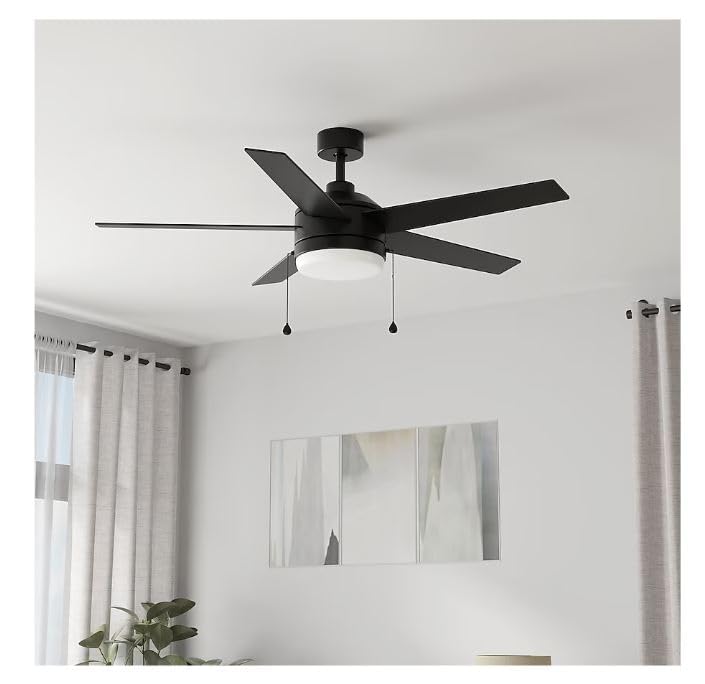
Figure 1: Harbr Breeze Sunport 52-inch Ceiling Fan overview.
2. Safety Information
WARNING: To reduce the risk of fire, electric shock, or personal injury, always follow these basic precautions:
- Read all instructions before installing the fan.
- Ensure the installation site is suitable for a ceiling fan and can support the fan's weight.
- All wiring must be in accordance with national and local electrical codes.
- Turn off power at the circuit breaker before beginning installation or maintenance.
- Do not operate the fan with damaged wiring or components.
- Avoid placing objects in the path of the fan blades.
3. Package Contents
Verify that all components are present before beginning installation. If any parts are missing or damaged, do not proceed with installation and contact customer support.
- Motor Housing Assembly
- Fan Blades (5)
- Blade Brackets
- Mounting Bracket
- Downrod (6-inch)
- Canopy
- Light Kit Assembly with Integrated LED
- Light Shade
- Hardware Pack (screws, washers, wire connectors)
- Pull Chains (2)
4. Setup and Installation
The Harbr Breeze Sunport fan features Easy2Hang installation to simplify the process. It supports dual mount installation for flat or angled ceilings.
4.1 Prepare for Installation
- Turn off power at the main circuit breaker.
- Ensure the outlet box is securely attached to the building structure and can support the fan's weight.
4.2 Mounting the Fan
The Easy2Hang features include a slide-on mounting bracket and easy mount magnetic canopy.
- Attach the mounting bracket to the outlet box using the provided screws.
- Assemble the downrod to the motor housing.
- Hang the fan motor assembly onto the mounting bracket.
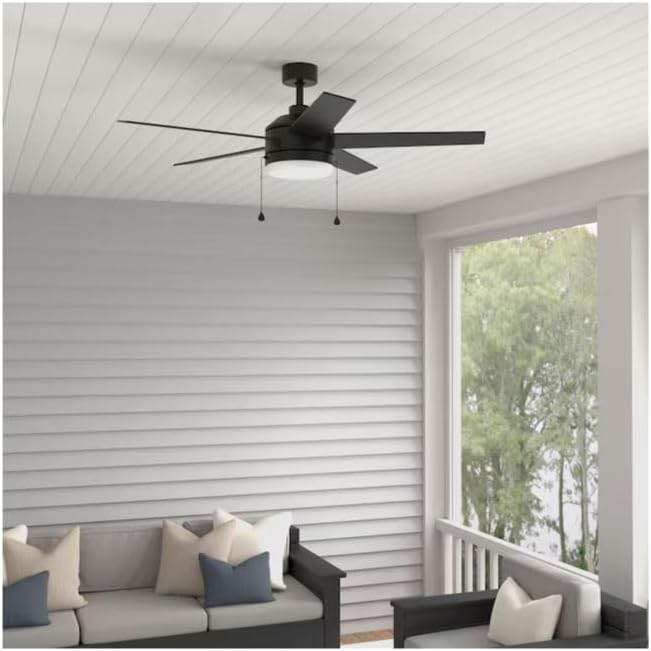
Figure 2: Fan installed in a covered outdoor setting.
4.3 Wiring Connections
Use the easy wire connectors for secure electrical connections.
- Connect the fan's wires to the household wiring according to the wiring diagram (refer to the separate wiring diagram sheet if provided).
- Secure all connections with wire connectors.
- Tuck connections neatly into the outlet box.
4.4 Attaching Blades and Light Kit
- Attach the five fan blades to the motor housing using the blade brackets and screws. Ensure they are securely fastened.
- Connect the integrated LED light kit wiring to the fan's light kit wiring.
- Attach the light kit assembly to the fan motor housing.
- Twist on the light shade to secure it to the light kit.
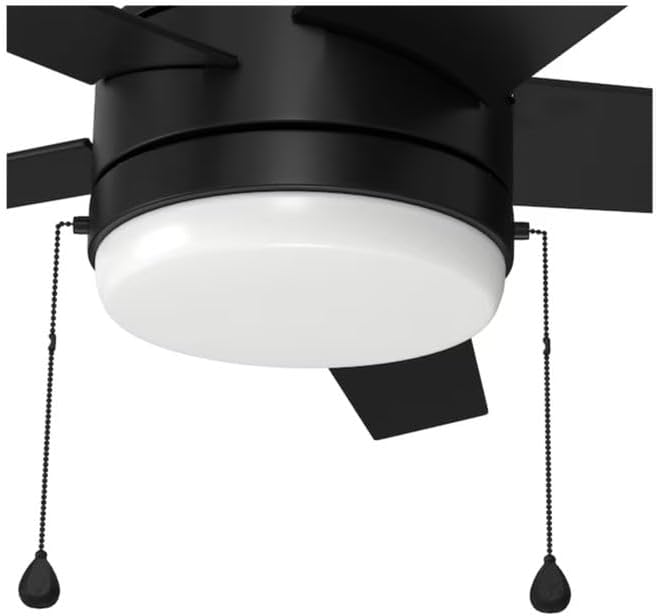
Figure 3: Integrated LED light kit and pull chains.
5. Operating Instructions
The Harbr Breeze Sunport fan is controlled by two pull chains.
5.1 Fan Speed Control
One pull chain controls the fan speed. Pull the chain to cycle through the available speeds (High, Medium, Low, Off).
- First Pull: High Speed
- Second Pull: Medium Speed
- Third Pull: Low Speed
- Fourth Pull: Off
5.2 Light Control and Dimming
The second pull chain controls the integrated LED light kit. It offers on/off functionality and dimming.
- Single Pull: Turns the light On or Off.
- Pull and Hold: To dim the light, pull down and hold the light pull chain. Release when the desired brightness is achieved.
5.3 Color Temperature Adjustment (CCT)
The integrated LED light offers five color temperature options (2700K, 3000K, 4000K, 5000K, 6500K).
- To change the color temperature, pull the light pull chain rapidly twice.
- Repeat this action until the desired color temperature is displayed. The light will cycle through the five options.
5.4 Reversible Blades
The fan features reversible blades, allowing you to change their appearance to match your room's style. To reverse the blades, ensure the fan is off and stationary, then manually flip each blade to its desired side.
6. Maintenance
Regular maintenance ensures optimal performance and extends the life of your ceiling fan.
- Cleaning: Periodically clean the fan with a soft, damp cloth. Do not use abrasive cleaners or solvents. Ensure power is off before cleaning.
- Blade Tightness: Check blade screws periodically to ensure they are tight. Loose blades can cause wobbling and noise.
- Light Kit: The integrated LED light kit does not require bulb replacement. If the light malfunctions, refer to the troubleshooting section.
7. Troubleshooting
| Problem | Possible Cause | Solution |
|---|---|---|
| Fan does not start | No power to the fan; Loose wire connections; Motor malfunction. | Check circuit breaker; Ensure all wire connections are secure; Contact customer support if motor is faulty. |
| Fan wobbles | Loose blade screws; Unbalanced blades; Loose mounting bracket. | Tighten all blade screws; Ensure blades are balanced; Secure mounting bracket. |
| Light does not work | Loose wire connection to light kit; Integrated LED failure. | Check light kit wiring connections; Contact customer support if LED is faulty. |
| Light does not dim or change color temperature | Incorrect operation of pull chain. | Refer to sections 5.2 and 5.3 for correct pull chain operation. |
8. Specifications
- Model Name: FLA52MBK5L
- Item Model Number: 6009624
- Brand: Generic
- Fan Diameter: 52 inches
- Blade Count: 5
- Finish: Matte Black
- Light Type: Integrated LED
- LED Wattage: 20W (Dimmable)
- Color Temperature Options: 2700K, 3000K, 4000K, 5000K, 6500K
- Control Type: Pull Chain
- Mounting Type: Dual Mount (Downrod included)
- Location Rating: Damp Rated (Indoor and Covered Outdoor)
- Recommended Room Size: Up to 400 sq ft
- Airflow (CFM): 4211 (on high speed)
- Product Dimensions: 52"D x 52"W x 15.5"H
- Item Weight: 20 pounds
9. Warranty and Support
For warranty information or technical support, please refer to the documentation included with your purchase or contact the retailer where the product was acquired. Keep your proof of purchase for warranty claims.
