Introduction
This manual provides comprehensive instructions for the safe and effective operation of your Apexcam M90 Action Camera. Please read this manual thoroughly before use and retain it for future reference. The Apexcam M90 is designed to capture high-quality video and photos in various environments, including underwater, with features like 4K/60fps video, 64MP images, EIS image stabilization, and Wi-Fi connectivity.
Package Contents
Verify that all items listed below are included in your package:
- Apexcam M90 Action Camera
- 64GB Memory Card
- Waterproof Protective Case
- 2 x 1350mAh Rechargeable Batteries
- External Microphone
- USB Charging Cable
- Multi-functional Battery Holder (Charger & Card Reader)
- Wireless Remote Control
- Rear Clip
- Steering Wheel Mount
- Helmet Mount
- Tripod Mount
- Carrying Case for Accessories
- User Manual (this document)

Camera Overview
The Apexcam M90 features a compact design with intuitive controls and a touchscreen display for easy navigation.
Key Features:
- 2.0-inch IPS Touchscreen: For live view, playback, and menu navigation.
- Front Display: For selfie mode and quick status checks.
- Lens: High-resolution lens with 8x digital zoom.
- Buttons: Power/Mode button, Shutter/OK button, Up/Down navigation buttons.
- Ports: Micro USB port for charging and data transfer, Micro HDMI port for video output, MicroSD card slot.

Setup
1. Battery Installation and Charging
The camera comes with two 1350mAh batteries. Ensure batteries are fully charged before first use.
- Open the battery compartment cover on the bottom of the camera.
- Insert a charged battery, ensuring correct orientation.
- Close the battery compartment cover securely.
- To charge, insert batteries into the multi-functional battery holder and connect it to a USB power source using the provided USB cable. Indicator lights on the charger will show charging status.
2. Memory Card Installation
A 64GB memory card is included. The camera supports Micro SD cards up to 128GB (U3 or higher recommended).
- Locate the MicroSD card slot on the side of the camera.
- Insert the MicroSD card with the gold contacts facing the back of the camera until it clicks into place.
- To remove, gently push the card until it springs out.
3. Waterproof Case Usage
The robust IP68 waterproof case allows the M90 to be used underwater up to 40 meters (130 feet).
- Open the latch on the top of the waterproof case.
- Carefully place the camera inside the case, ensuring it fits snugly.
- Close the latch firmly to seal the case.
- Important: Before using underwater, always perform a dry test with the case empty to ensure no leaks.

4. Mounting Accessories
The M90 comes with a variety of mounts for different activities.
- Tripod Mount: Attach the camera to a tripod using the standard screw thread.
- Bicycle Mount: Secure the camera to bicycle handlebars or other cylindrical objects.
- Helmet Mount: Use the adhesive pads to attach the camera to a helmet for hands-free recording.
- Rear Clip: For attaching the camera to straps or clothing.

Operating Instructions
1. Power On/Off
- To power on: Press and hold the Power/Mode button until the screen illuminates.
- To power off: Press and hold the Power/Mode button until the screen turns off.
2. Basic Recording (Video/Photo)
- Once powered on, the camera defaults to video recording mode.
- To start recording: Press the Shutter/OK button. A red indicator light will flash, and a timer will appear on the screen.
- To stop recording: Press the Shutter/OK button again. The red indicator light will stop flashing.
- To switch to photo mode: Briefly press the Power/Mode button. The screen icon will change to a camera.
- To take a photo: Press the Shutter/OK button.
3. Mode Selection
Swipe left or right on the touchscreen to access different modes, or use the Power/Mode button to cycle through them.
- Normal Video: Standard video recording.
- Slow Video: Records slow-motion footage.
- Loop Video: Records video in a continuous loop, overwriting older footage when the memory card is full.
- Time-lapse Video: Captures frames at set intervals to create a time-lapse video.
- Normal Photo: Standard photo capture.
- Auto Timer Photo: Sets a delay before taking a photo.
- Burst Photo: Captures multiple photos in quick succession.
- Time-lapse Photo: Captures photos at set intervals.
4. Settings
Access settings by tapping the gear icon on the touchscreen or using the navigation buttons.
- Video Resolution: Select from 4K/60fps, 4K/30fps, 2.7K/60fps, 2.7K/30fps, 1080P/60fps, 1080P/30fps, 720P/120fps, 720P/60fps.
- EIS (Electronic Image Stabilization): Enable for smoother footage, especially during action shots. (Recommended for 4K/30fps and lower resolutions).
- Image Quality: Adjust between High, Middle, and Low.
- Screen Brightness: Adjust display brightness.
- Image Rotation: Flip the image 180 degrees.
- Car Mode: Activates the camera as a dashcam, adapting to vibrations and light changes.

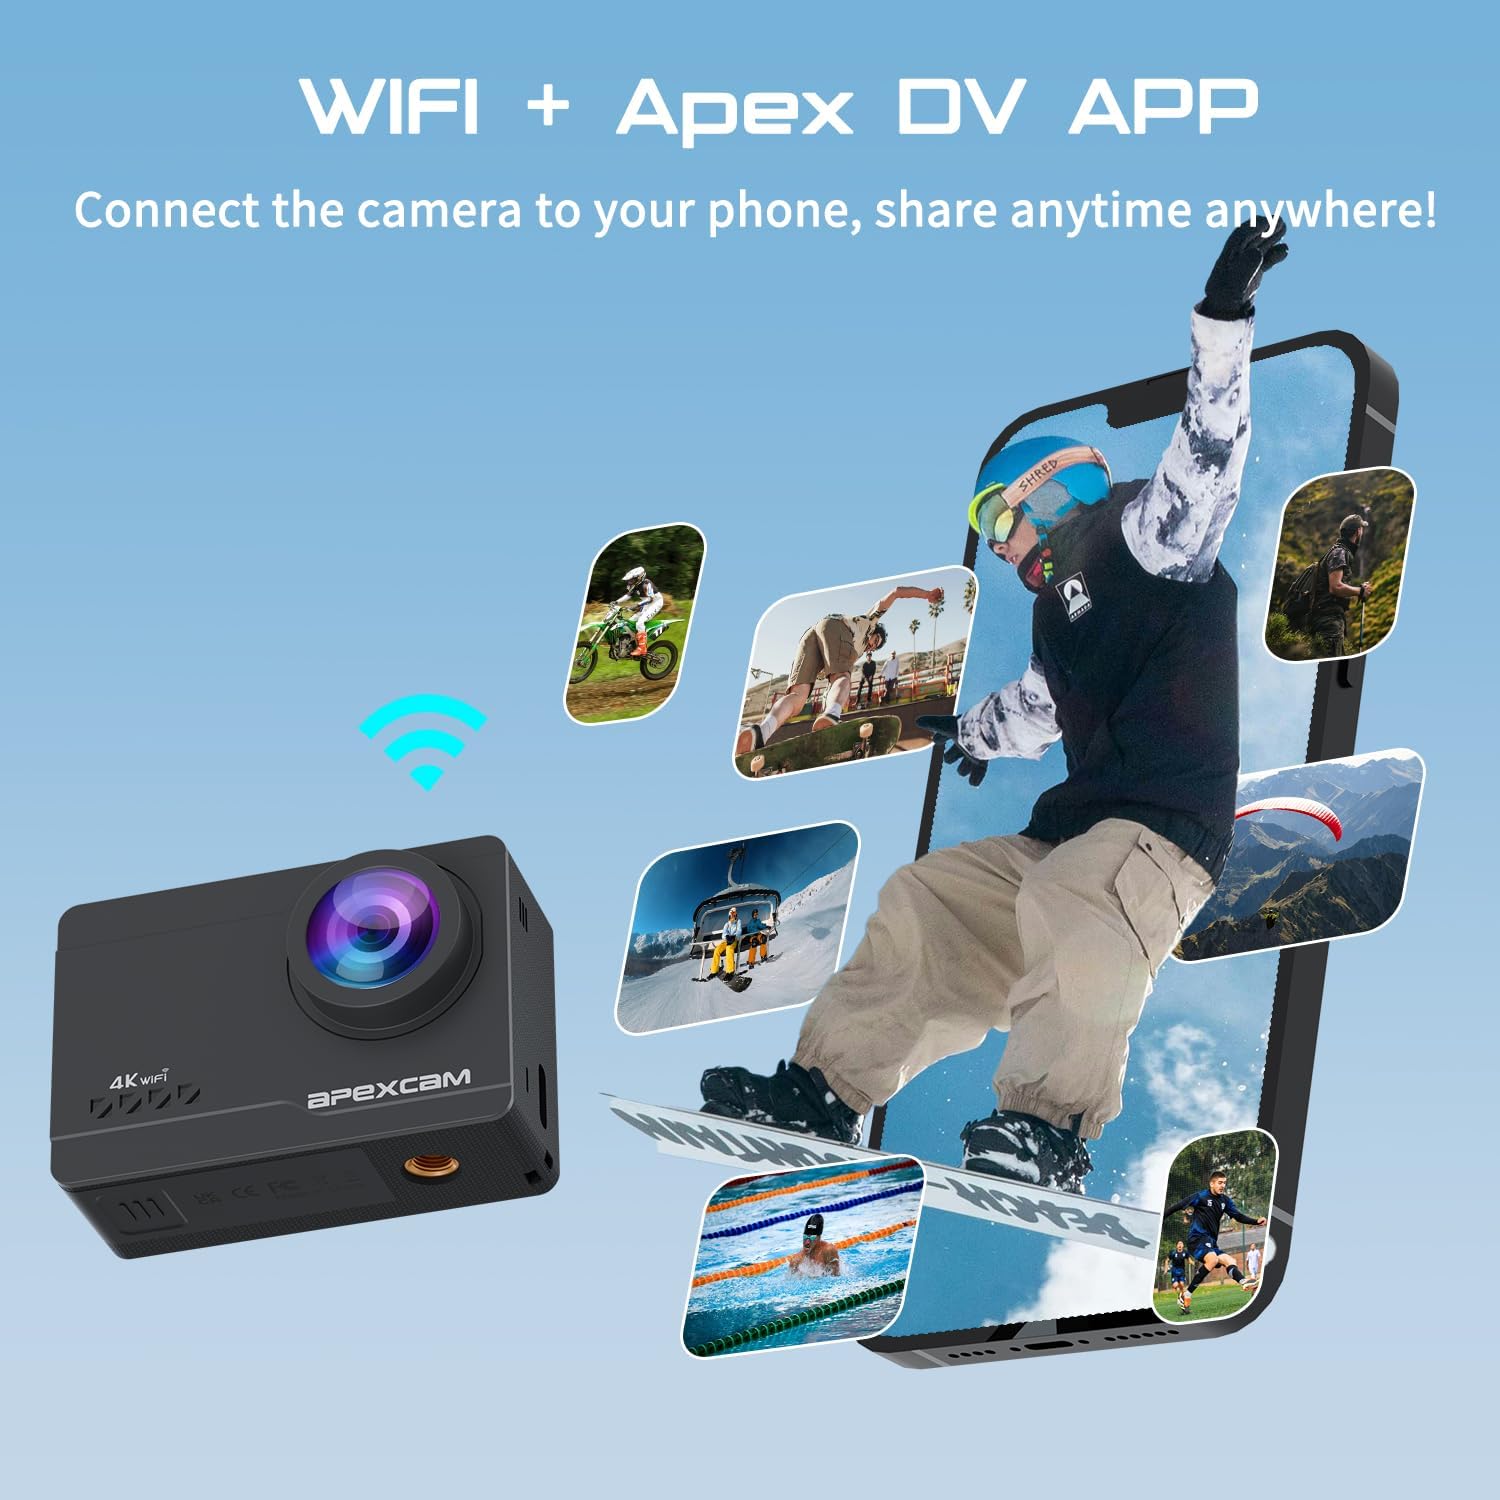
5. Wi-Fi Connection
Connect the camera to your smartphone via Wi-Fi using the "Apex DV" app for remote control, file transfer, and sharing.
- Download the "Apex DV" app from your smartphone's app store.
- On the camera, swipe down on the touchscreen to access Wi-Fi settings and enable Wi-Fi.
- On your smartphone, connect to the camera's Wi-Fi network (SSID and password displayed on the camera screen).
- Open the "Apex DV" app to control the camera remotely.

6. Remote Control Usage
The included wireless remote control allows for convenient operation from a distance.
- Ensure the remote control is paired with the camera (refer to the Quick Start Guide for pairing instructions).
- Use the red button to start/stop video recording.
- Use the gray button to take photos.
- WARNING: The remote control is not waterproof.
Maintenance
- Cleaning: Use a soft, dry cloth to clean the camera body and lens. For the waterproof case, rinse with fresh water after saltwater use and allow to air dry.
- Storage: Store the camera and accessories in a cool, dry place away from direct sunlight and extreme temperatures. Remove batteries if storing for extended periods.
- Battery Care: Do not expose batteries to high temperatures or disassemble them.
Troubleshooting
- Camera not turning on: Ensure the battery is fully charged and correctly inserted.
- Memory card error: Ensure the memory card is correctly inserted and formatted (FAT32 recommended). Try a different compatible MicroSD card.
- Wi-Fi connection issues: Ensure Wi-Fi is enabled on the camera and your smartphone. Verify the correct Wi-Fi password. Try restarting both devices.
- Poor audio quality: Ensure the external microphone is properly connected. If using the waterproof case, audio will be muffled.
- Unstable footage: Ensure EIS is enabled in the settings (if supported by the selected resolution).
Specifications
| Brand | Apexcam |
| Model Number | M90 |
| Video Capture Resolution | 4K (up to 60fps) |
| Photo Sensor Technology | CMOS |
| Image Resolution | 64MP |
| Screen Size | 2 Inches (Touchscreen) |
| Image Stabilization | 6-axis Electronic Image Stabilization (EIS) |
| Waterproof Depth | 40m (130ft) with case |
| Connectivity | 2.4G Remote Control, Wi-Fi |
| Optical Zoom | 8x |
| Flash Memory Type | Micro SD (up to 128GB) |
| Batteries | 2 x 1350mAh A batteries (included) |
| Product Dimensions | 10 x 10 x 10 cm; 580 g |
Warranty and Support
The Apexcam M90 Action Camera comes with a 2-year warranty. For technical support, warranty claims, or any inquiries, please contact Apexcam customer service. You can also find support and FAQs on the official Apexcam website or via the WhatsApp link provided on the product packaging.
WhatsApp Support: https://wa.me/qr/4OTG5MIDWQRTP1


