1. Introduction
The HiLetgo L293D DC and Stepper Motor Drive Shield is an expansion board designed for microcontrollers like Arduino and Raspberry Pi. It enables control of various types of motors, including up to four bidirectional DC motors or two stepper motors. This manual provides essential information for the proper setup, operation, and maintenance of your motor drive shield.
2. Key Features
- DC Motor Control: Supports control of up to 4 bidirectional DC motors with 4 PWM speed controllers, offering approximately 0.5% resolution.
- Stepper Motor Control: Enables control of up to 2 stepper motors, supporting forward/reverse, single/double step, staggered, micro-step, and rotation angle control.
- H-Bridge Driver: Integrated 4-way H-bridge using the L293D chip, providing 0.6A (1.2A peak) current per bridge.
- Voltage Range: Operates within a 4.5V to 36V range for motor power, with thermal shutdown protection.
- Power-Up Safety: Includes pull-down resistors to ensure motors remain stopped during power-up.
- Wiring Convenience: Equipped with large terminal blocks for easy and secure wiring (supports 10-22AWG).
- Reset Functionality: Features an onboard reset button for convenient operation.
- Isolated Power: Two large external power terminals allow for separate power supplies for logic and motor drive, enhancing stability and preventing interference.
- Servo Interfaces: Provides two interfaces for 5V servos, connected to Arduino's high-resolution dedicated timer for stable, jitter-free operation.
- Compatibility: Tested compatibility with Arduino Mega, Diecimila, and Duemilanove boards.
3. Setup Instructions
Follow these steps to properly set up your HiLetgo L293D Motor Drive Shield with your microcontroller.
3.1 Unpacking and Inspection
Carefully remove the motor drive shield from its packaging. Inspect the board for any visible damage, such as bent pins or broken components. If any damage is found, contact your supplier.
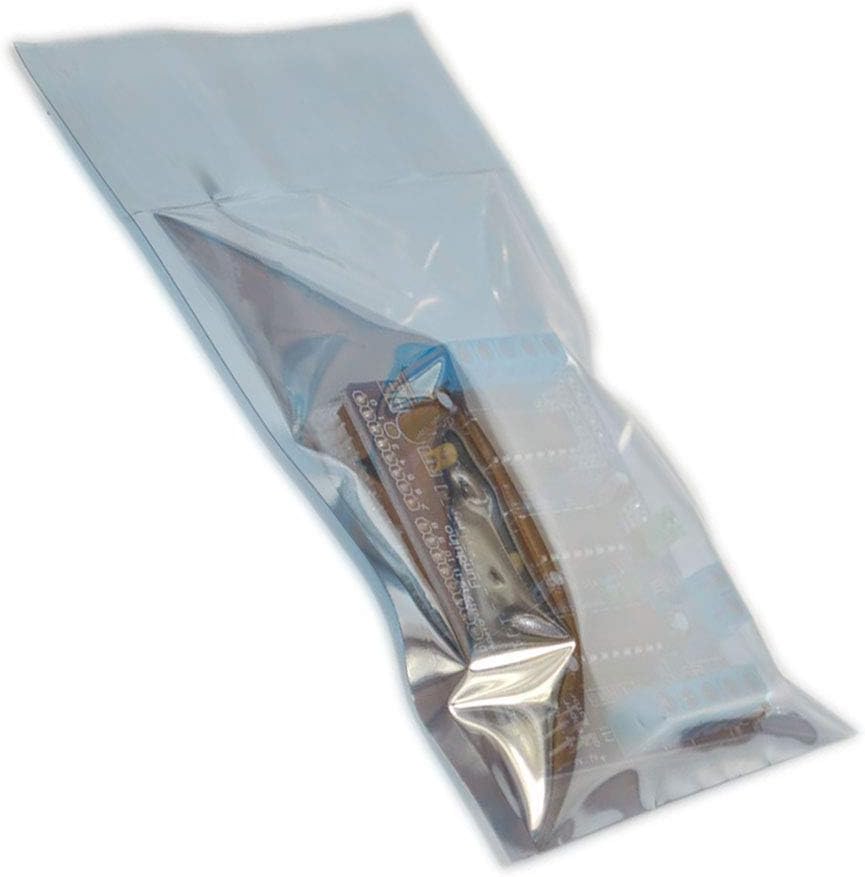
Figure 3.1: The HiLetgo L293D Motor Drive Shield typically comes in an anti-static bag for protection.
3.2 Connecting to a Microcontroller (e.g., Arduino)
- Align Pins: Carefully align the header pins on the bottom of the L293D shield with the corresponding female headers on your Arduino board.
- Press Gently: Apply gentle, even pressure to seat the shield firmly onto the Arduino. Ensure all pins are correctly inserted and none are bent.

Figure 3.2: Top-down view of the L293D Motor Drive Shield, showing pin headers and component layout.
3.3 Power Connections
The shield requires external power for the motors. It can also power the Arduino, or you can power them separately.
- External Motor Power: Connect your motor power supply (4.5V to 36V DC) to the large blue terminal block labeled "PWR_IN" or similar. Observe polarity (+ and -).
- Power Jumper: A jumper cap (often green) is typically present near the power terminals.
- If the jumper is installed, the external motor power will also power the Arduino board. Ensure your external power supply voltage is within the Arduino's acceptable input range (typically 7-12V for the barrel jack).
- If the jumper is removed, the Arduino and the motor shield must be powered separately. This is recommended for higher motor voltages or to isolate potential noise.

Figure 3.3: Angled view highlighting the power input terminals and motor connection points.
3.4 Motor Connections
- DC Motors: Connect up to four DC motors to the screw terminals labeled M1, M2, M3, and M4. Each pair of terminals (e.g., M1) controls one DC motor.
- Stepper Motors: Connect up to two stepper motors. A 4-wire stepper motor can be connected to M1/M2 and M3/M4. Refer to specific wiring diagrams for your stepper motor type.
- Servos: Connect 5V servos to the dedicated 3-pin headers labeled SERVO_1 and SERVO_2.

Figure 3.4: View showing the servo connection pins and the onboard reset button.
4. Operating Instructions
To operate the HiLetgo L293D Motor Drive Shield, you will typically use a compatible software library with your microcontroller.
- Software Library: For Arduino, the Adafruit Motor Shield V1 library is commonly used and compatible with this shield. Install it through the Arduino IDE's Library Manager.
- DC Motor Control:
- Initialize the motor object in your code.
- Use functions to set motor speed (PWM value) and direction (forward, backward, release/brake).
- Stepper Motor Control:
- Initialize the stepper motor object, specifying the number of steps per revolution.
- Use functions to set the stepping mode (single, double, interleave, microstep) and the number of steps to move.
- Servo Control:
- Include the standard Servo library in your Arduino sketch.
- Attach the servo to the appropriate pin and use
write()to set the angle.
Refer to the documentation and examples provided with the software library for detailed programming instructions.
5. Maintenance
The HiLetgo L293D Motor Drive Shield is a robust electronic component, but proper care ensures its longevity.
- Keep Clean: Keep the board free from dust, dirt, and moisture. Use a soft, dry brush or compressed air for cleaning.
- Handle with Care: Avoid bending pins or applying excessive force to components. Always handle the board by its edges.
- Storage: Store the shield in an anti-static bag when not in use to prevent electrostatic discharge (ESD) damage.
- Power Off: Always disconnect power before making or changing any wiring connections.
6. Troubleshooting
If you encounter issues with your motor drive shield, consider the following troubleshooting steps:
- No Motor Movement:
- Verify all power connections. Ensure the external motor power supply is connected and providing the correct voltage.
- Check the power jumper setting. If removed, ensure both Arduino and shield are separately powered.
- Confirm motor wiring is correct and secure in the terminal blocks.
- Review your code. Ensure motors are initialized and commands are sent correctly.
- Test motors directly if possible to rule out motor failure.
- Overheating Chips:
- The L293D chip has a maximum current rating of 600mA continuous (1.2A peak) per bridge. Exceeding this can cause overheating and damage.
- Ensure your motors do not draw current beyond the chip's specifications. For higher current motors, consider alternative drivers (e.g., L298N).
- Provide adequate ventilation around the shield.
- Unresponsive Servos:
- Check servo wiring for correct polarity (Signal, VCC, GND).
- Ensure the Servo library is correctly included and used in your code.
- Verify the 5V power supply to the servo pins.
- Audible Hum:
- A slight hum can sometimes occur with motor drivers. If it's excessive, ensure all connections are tight and consider using a separate, regulated power supply for the motors.
- Capacitors on the board help filter power; ensure they are not damaged.
- Physical Damage:
- Inspect pins for bending or corrosion. Gently straighten bent pins if possible.
- Check the L293D ICs for signs of damage or oxidation. If an IC is faulty and socketed, it may be replaceable.
7. Specifications
| Brand | HiLetgo |
| Model Number | 3-01-0506 |
| Driver Chip | L293D |
| Motor Voltage Range | 4.5V to 36V DC |
| Current per Bridge | 0.6A (1.2A peak) |
| DC Motor Channels | Up to 4 bidirectional |
| Stepper Motor Channels | Up to 2 |
| Servo Channels | 2 (5V) |
| Dimensions (LxWxH) | 2.67 x 0.78 x 2.16 inches |
| Weight | 2.88 ounces |
| Color | Blue |

Figure 7.1: Close-up of the L293D integrated circuit, the core driver component of the shield.
8. Safety Information
- Always ensure power is disconnected before making or changing any electrical connections.
- Do not exceed the maximum voltage and current ratings specified for the shield and its components.
- Avoid short circuits, which can damage the shield, power supply, or connected components.
- Keep the shield away from water, excessive heat, and static electricity.
- If you are unsure about any wiring or operation, consult an experienced professional or refer to reliable online resources.
9. Warranty and Support
For warranty information, technical support, or further assistance, please contact the manufacturer, HiLetgo, or your point of purchase. Retain your proof of purchase for warranty claims.