
IDEALHOUSE qZKfwhohi7zsVxe2REVtFweM0Vfj
IDEALHOUSE Full Floating Bed Frame User Manual
Model: qZKfwhohi7zsVxe2REVtFweM0Vfj
Introduction
This manual provides detailed instructions for the assembly, operation, and maintenance of your IDEALHOUSE Full Floating Bed Frame. Please read all instructions carefully before beginning assembly and retain this manual for future reference.
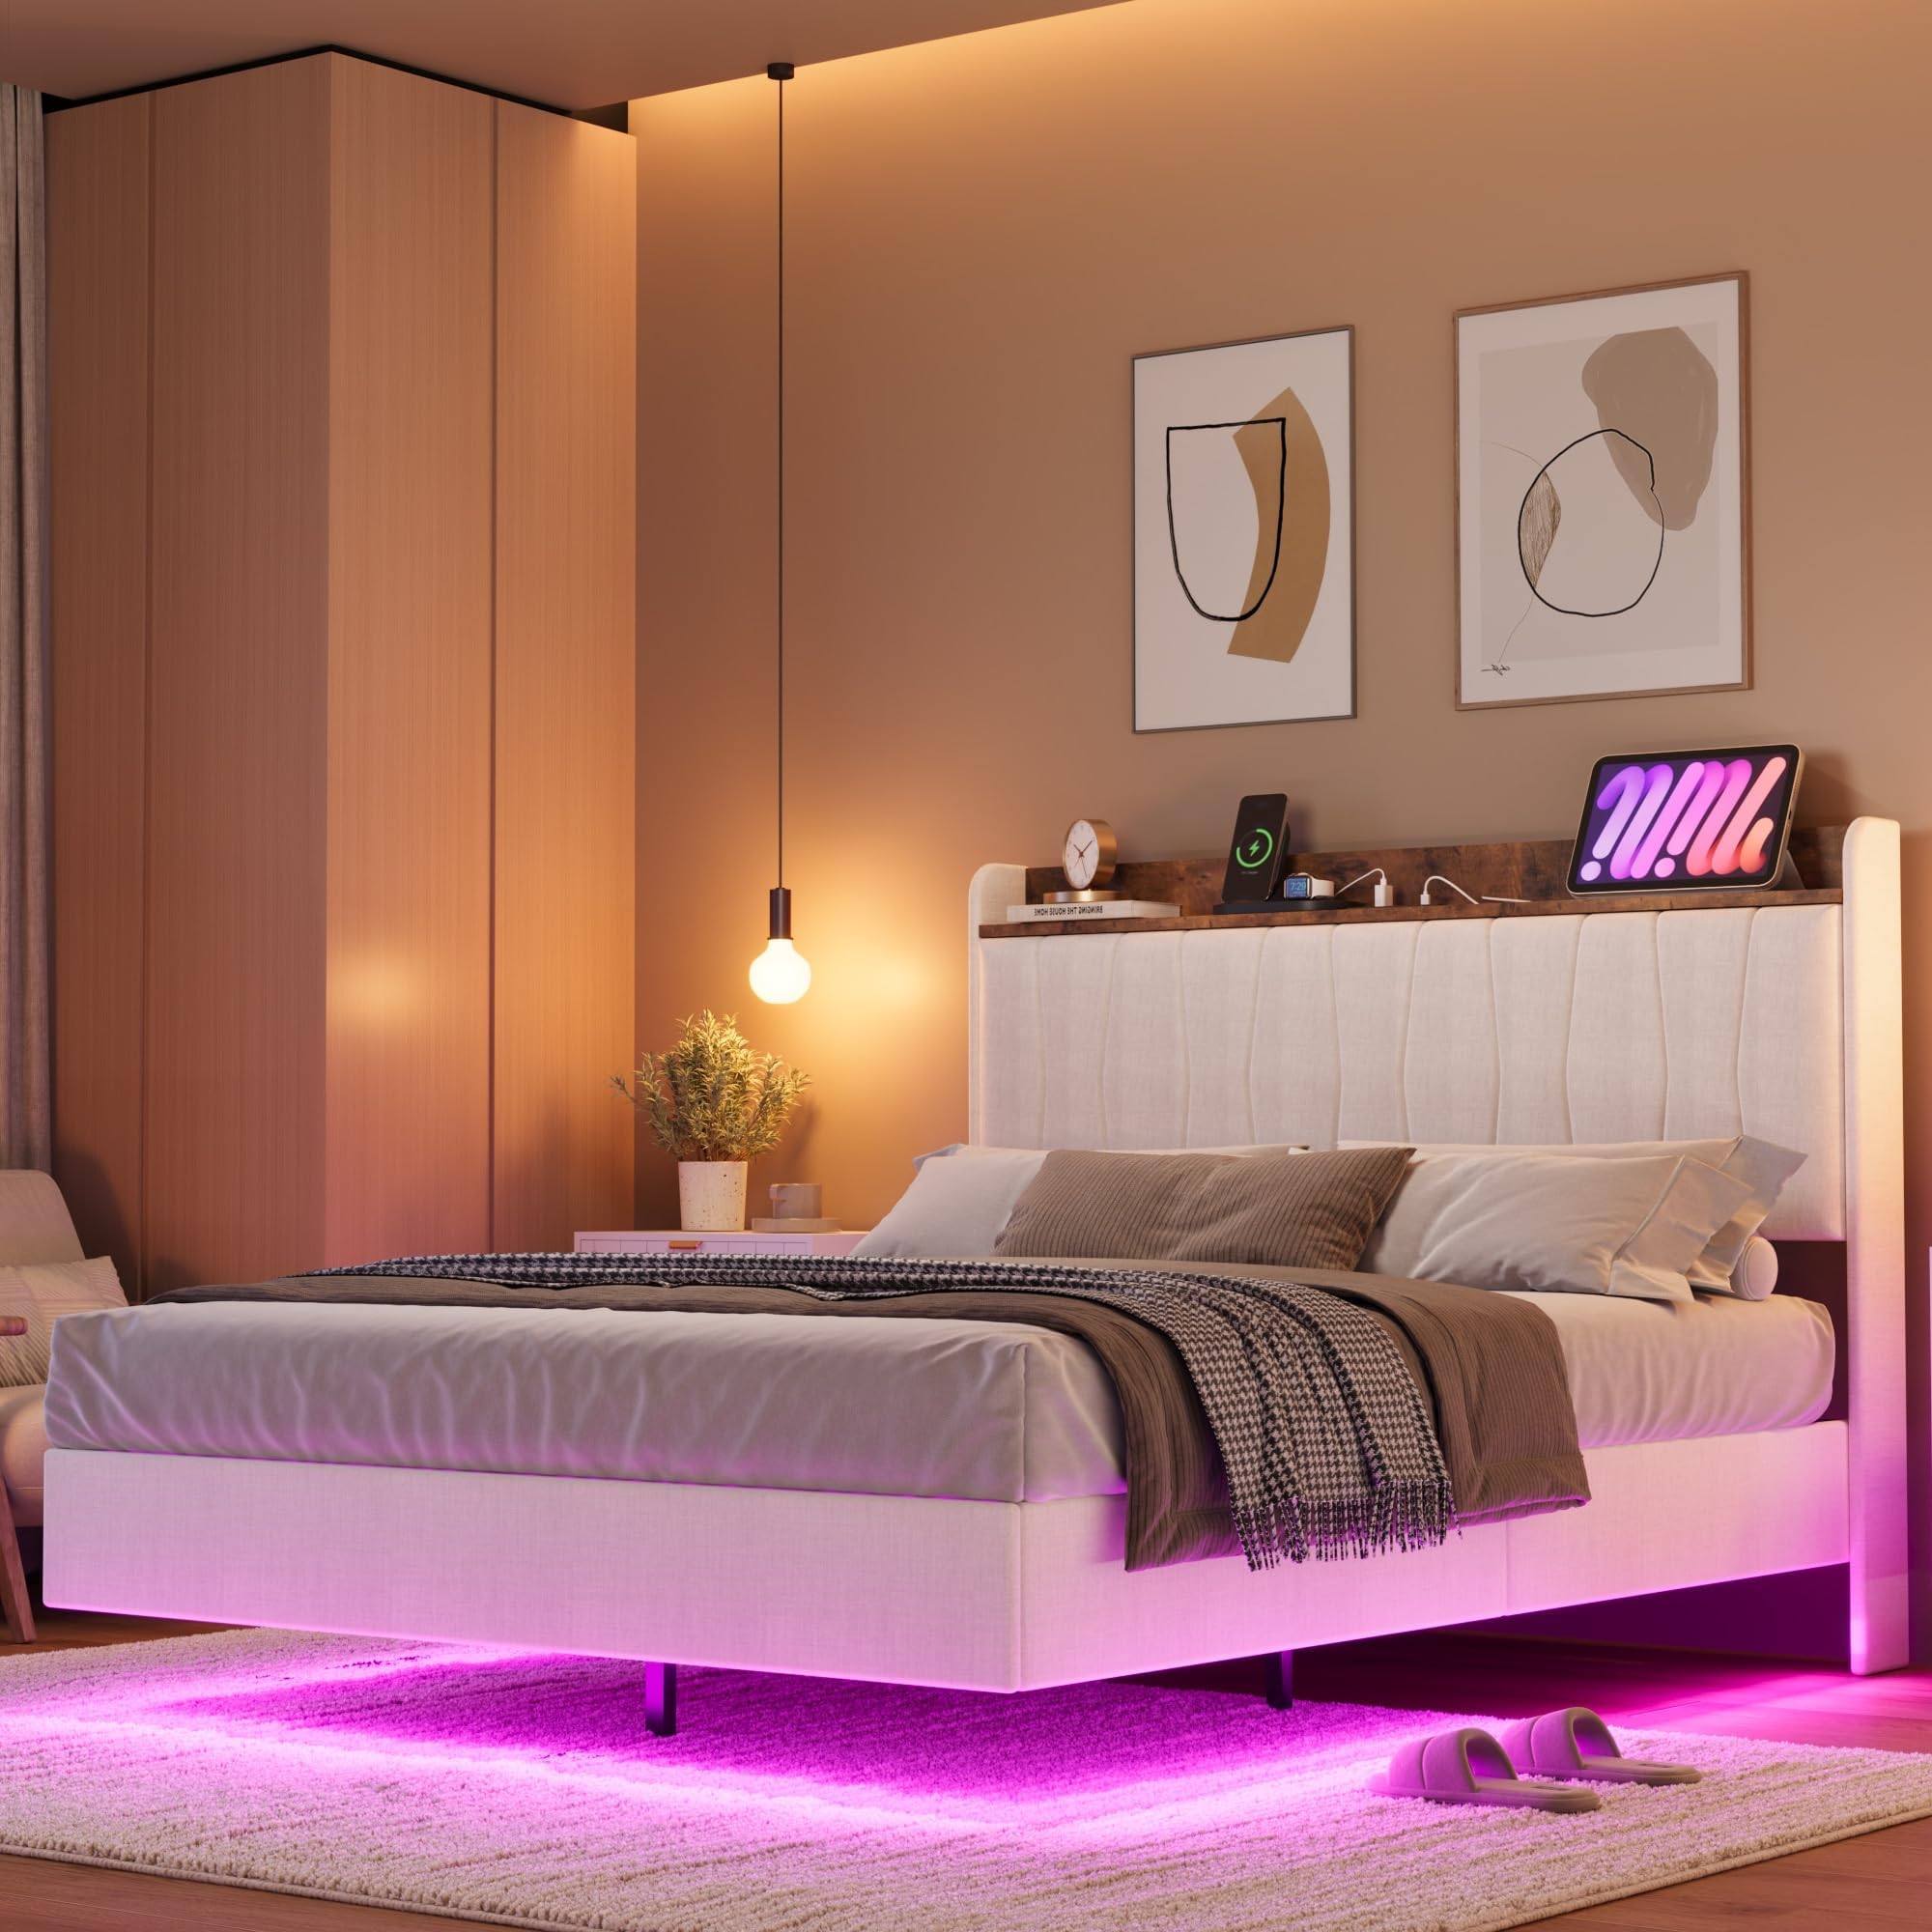
Image: The IDEALHOUSE Full Floating Bed Frame, showcasing its modern design, integrated LED lighting, and upholstered headboard.
Safety Information
To ensure safe use of your bed frame, please observe the following precautions:
- Always use a compatible mattress with a thickness of 8 to 10 inches to ensure stability and proper fit.
- Be cautious of sharp edges, particularly around the bed frame legs, during assembly and use.
- Follow all assembly instructions carefully and completely to prevent instability or structural issues.
- Do not exceed the maximum weight capacity of 1,200 lbs (544 kg) for the bed frame.
- Keep children and pets away from the assembly area to prevent accidents.
- Ensure all connections are securely tightened before use. Periodically check and re-tighten fasteners as needed.
Package Contents
Before beginning assembly, verify that all components are present and undamaged. If any parts are missing or damaged, please contact customer support.
The package typically includes:
- Headboard with integrated charging station and LED light strip
- Side rails (left and right)
- Footboard
- Wooden slats and support beams
- Hardware pack (screws, bolts, washers, Allen wrench, etc.)
- Remote control for LED lights
- Instruction Manual

Image: Illustration of key components including the upholstered frame, wooden slats, and steel support structure.
Setup and Assembly
The IDEALHOUSE Full Floating Bed Frame is designed for easy assembly. All parts are numbered, and detailed instructions are provided. It is recommended to have two people for assembly.
Before You Begin:
- Clear a spacious area for assembly.
- Unpack all components and lay them out on a soft, clean surface to prevent scratches.
- Identify all parts using the provided parts list in the separate assembly guide.
- Ensure you have the necessary tools (usually an Allen wrench is included, a screwdriver might be needed).
Assembly Steps:
- Attach Side Rails to Headboard: Connect the side rails to the headboard using the designated bolts and fasteners. Do not fully tighten until all major components are connected.
- Attach Footboard: Connect the footboard to the other end of the side rails. Ensure proper alignment.
- Install Center Support Beam: Place and secure the center support beam(s) to the frame.
- Place Wooden Slats: Lay the wooden slats across the frame, ensuring they are evenly spaced and secured according to the instructions. The quick-lock, bolt-free assembly system simplifies this step.
- Tighten All Fasteners: Once all components are in place, go back and securely tighten all bolts and screws.
- Connect Power: Plug in the power cord for the LED lights and charging station.

Image: Visual representation of the quick installation process for the wooden slats, highlighting the ease of assembly.

Image: Detailed dimensions for the Full size bed frame, including headboard height, length, and width.
Operating Instructions
1. Smart RGB Ambient Lighting
The integrated LED light strip offers customizable ambient lighting. Control is available via a remote control or a dedicated smartphone application.
- Color Selection: Choose from over 6,000 colors to match your mood or room decor.
- Multiple Flashing Modes: Select various dynamic lighting effects.
- Timer Function: Set schedules for the lights to turn on or off automatically.
- Microphone & Music Sync: The lights can react to sound and music, creating a dynamic light show.
- Control Methods:
- Remote Control: Use the included remote for basic functions like power, color change, and mode selection.
- Smartphone App: Download the official IDEALHOUSE app (refer to the separate LED light manual or QR code for app details) for advanced control, including custom styles, timing functions, and music synchronization.
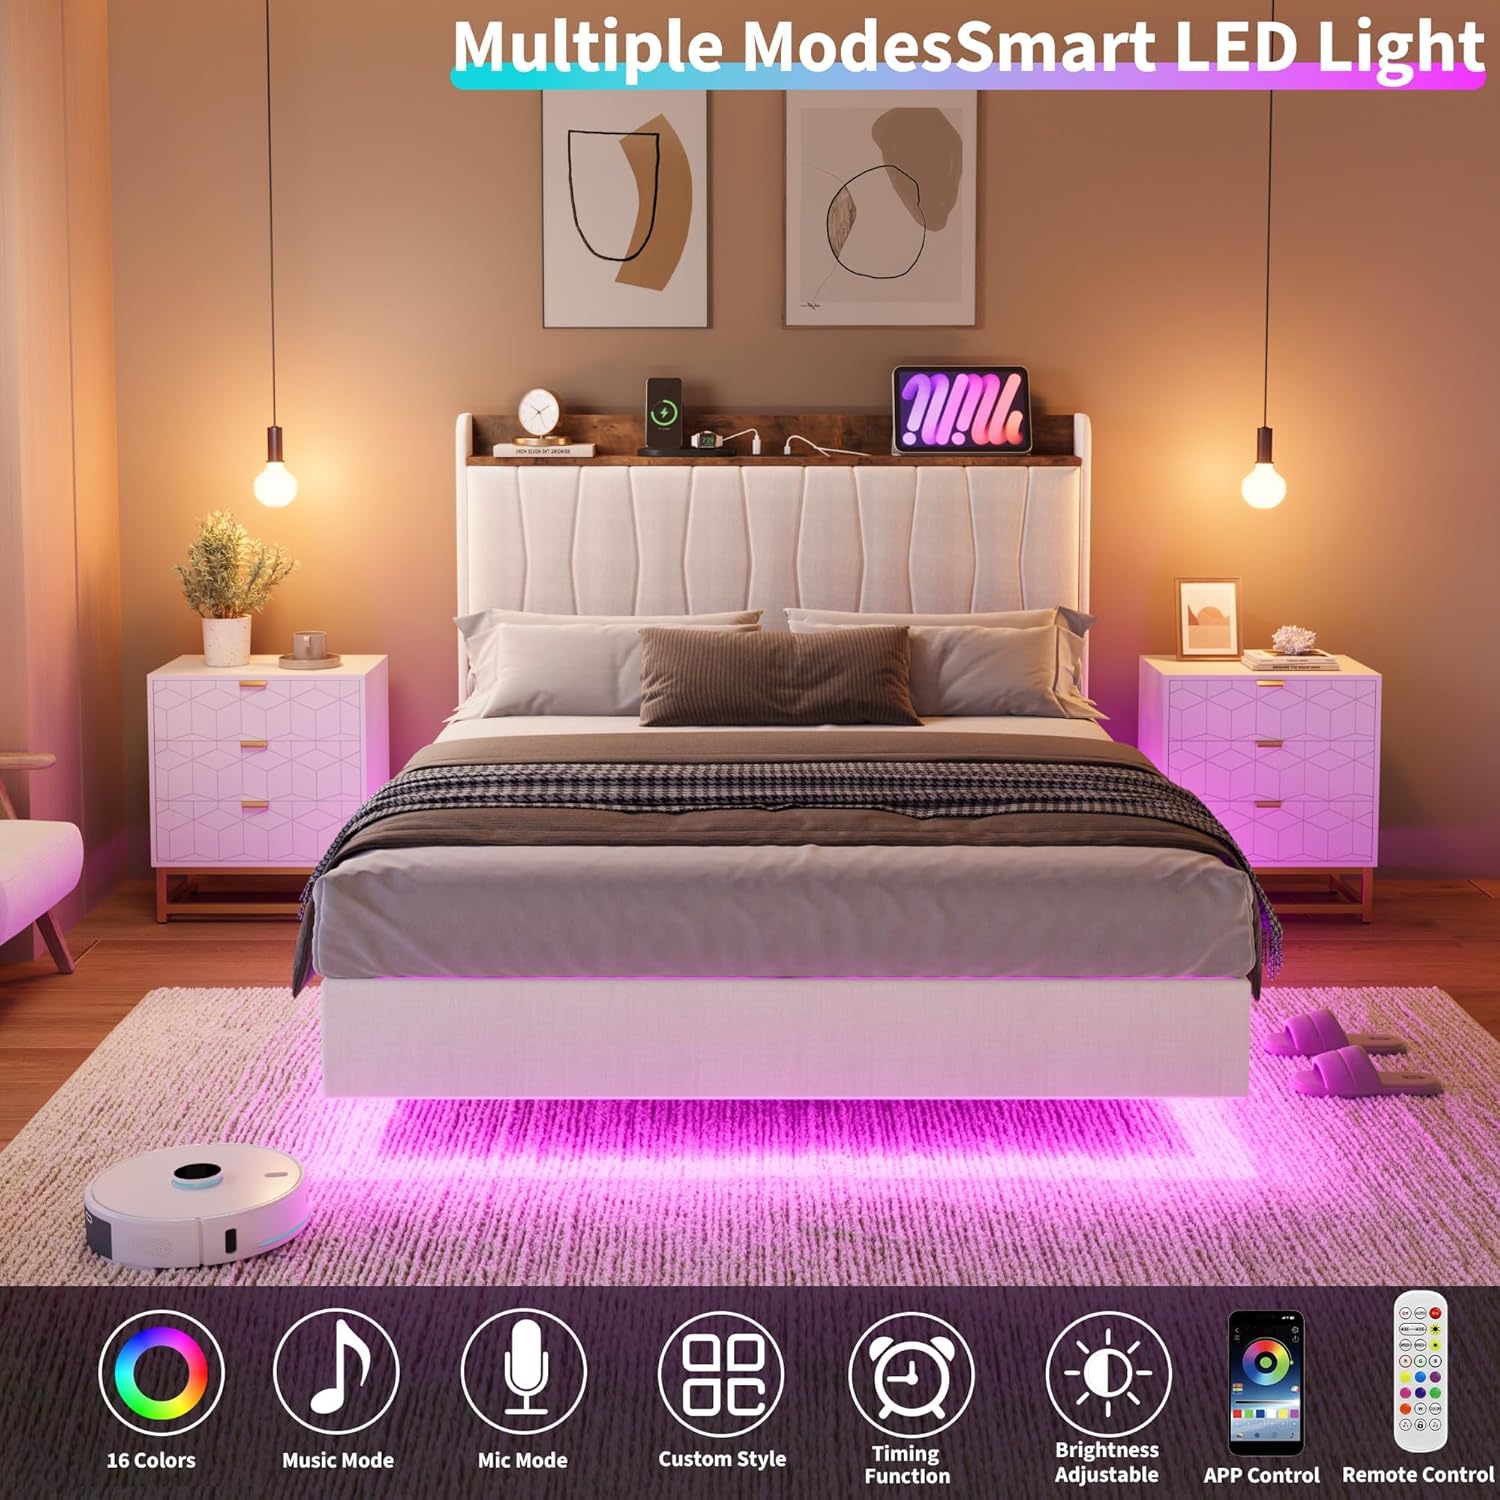
Image: The bed frame illuminated with various LED light colors, demonstrating the "Multiple Modes Smart LED Light" feature.

Image: Screenshots of the smartphone application interface, showing options for color customization, microphone and music sync, timing, and dynamic light modes.
2. Convenient Charging Station
The headboard features a built-in charging station to keep your devices powered and within reach.
- USB Ports: 1x USB port (5V/2A) for standard device charging.
- USB Type-C Ports: 1x USB Type-C port (5V/2A) for compatible devices.
- AC Outlets: 2x 125V/12A AC outlets for powering larger electronics.
- Usage: Simply plug your devices into the appropriate port or outlet. Ensure the bed frame's main power cord is connected to a wall outlet for the charging station to function.

Image: Detailed view of the headboard's integrated charging station, showing the USB, USB Type-C, and AC power outlets.
Maintenance
Regular maintenance will help prolong the life and appearance of your bed frame.
- Cleaning the Frame: Wipe the engineered wood and metal surfaces with a soft, damp cloth. Avoid harsh chemicals or abrasive cleaners.
- Cleaning the Upholstered Headboard: For the linen-blend fabric, gently spot clean with a mild fabric cleaner and a soft cloth. Test on an inconspicuous area first. Do not saturate the fabric.
- Fastener Check: Periodically (e.g., every 3-6 months) check all bolts and screws to ensure they remain tight. Re-tighten if necessary to maintain stability and prevent squeaking.
- LED Lights: The LED strip is designed for long-term use. If issues arise, refer to the troubleshooting section. Do not attempt to replace individual LEDs.
- Charging Station: Keep the ports free of dust and debris. Do not force plugs into the ports.
Troubleshooting
Here are solutions to common issues you might encounter:
Issue: LED Lights Not Working
- Check Power Connection: Ensure the bed frame's power cord is securely plugged into a functional wall outlet.
- Check Remote/App: Verify that the remote control has working batteries or that the smartphone app is correctly paired and functioning.
- Inspect LED Strip: Check for any visible damage to the LED strip or its connection points.
- Reset: Unplug the power cord for a few minutes, then plug it back in to reset the system.
Issue: Charging Station Not Functioning
- Verify Power: Confirm the bed frame is plugged into a live electrical outlet.
- Test with Different Devices/Cables: Try charging a different device or using a different charging cable to rule out device or cable issues.
- Check for Debris: Ensure USB and Type-C ports are clear of dust or foreign objects.
- Overload Protection: If too many high-power devices are connected, the charging station might temporarily shut off. Disconnect some devices and try again.
Issue: Bed Frame Squeaks or is Unstable
- Tighten Fasteners: Re-check and tighten all bolts and screws throughout the frame, especially at connection points.
- Even Surface: Ensure the bed frame is placed on a flat, even surface. Uneven flooring can cause instability.
- Slat Placement: Verify that all wooden slats are correctly positioned and secured.
- Weight Distribution: Ensure weight is distributed evenly and the maximum capacity is not exceeded.
Specifications
| Model Number | qZKfwhohi7zsVxe2REVtFweM0Vfj |
| Size | Full |
| Product Dimensions (L x W x H) | 79.1" x 55.9" x 44.5" (200.9 cm x 142 cm x 113 cm) |
| Material | Engineered Wood, Linen (Headboard) |
| Color | White |
| Weight Capacity | 1,200 lbs (544 kg) |
| Compatible Mattress Thickness | 8" - 10" |
| Charging Station Output | 2x AC Outlets (125V/12A), 1x USB (5V/2A), 1x USB Type-C (5V/2A) |
| LED Light Strip Length | 26.6 ft / 8.1 m |
| Assembly Required | Yes |
Warranty and Support
For warranty information, please refer to the documentation included with your purchase or contact IDEALHOUSE customer service directly. Our customer service team is available to assist you with any questions or concerns regarding your product.
Contact Information: Please refer to the contact details provided on the product packaging or the official IDEALHOUSE website for the most current support information.
Ask a question about this manual
Ask about setup, troubleshooting, compatibility, parts, safety, or missing instructions. Manuals+ will review the question and use this page’s manual context to help answer it.