
1. Introduction
Welcome to the ROUASD RC ERA C138PRO Bell 206 RC Helicopter instruction manual. This guide provides essential information for the safe operation, setup, and maintenance of your new remote-controlled helicopter. The C138PRO is a 1/33 scale model of the Bell 206, featuring advanced flight systems for both beginners and experienced pilots. Please read this manual thoroughly before operating the helicopter to ensure a safe and enjoyable experience.
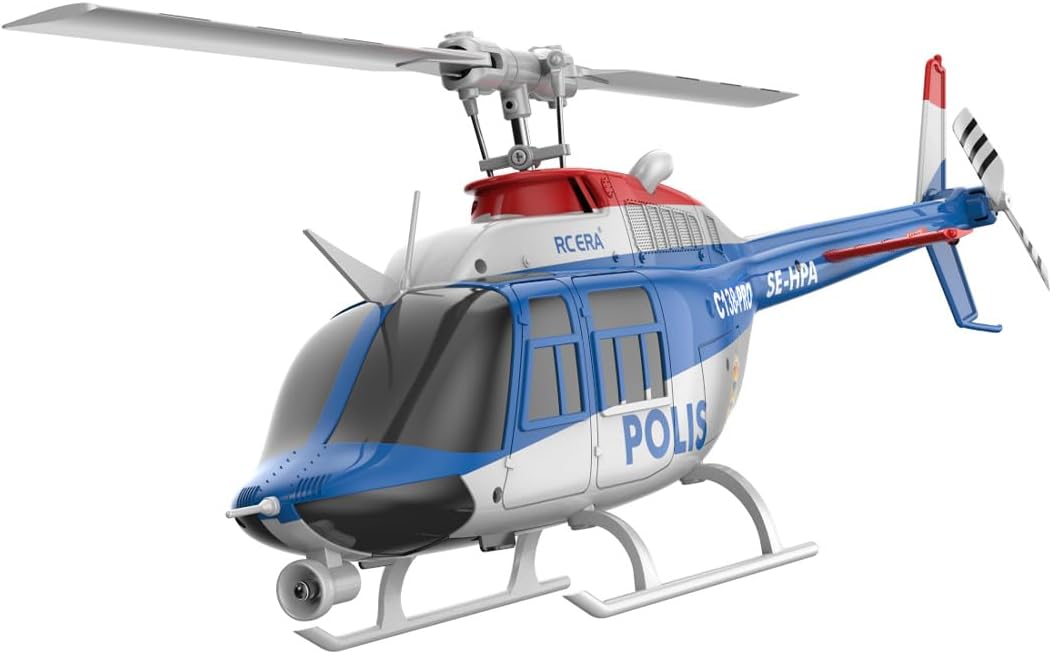
Image 1.1: The ROUASD RC ERA C138PRO Bell 206 RC Helicopter.
2. Product Overview and Features
The C138PRO helicopter is designed with several key features to enhance your flying experience:
- Advanced 6CH Flight System: Equipped with a collective pitch rotor, 3 precise digital servos, and a 6-axis gyroscope for stable flight, responsive control, and enhanced wind resistance.
- One-Key 3D Stunts & Inverted Flight: Supports one-touch inverted flying and advanced 3D maneuvers such as flips, rolls, and funnel turns. A brushless motor provides powerful thrust for aerobatics.
- Flybarless & Aerodynamic Design: The single-rotor structure follows aerodynamic principles, providing stronger lift, natural self-stabilization, and reduced drag.
- Smart Stability & Safety: Features barometric altitude hold, optical flow positioning, and intelligent failsafe functions like low-voltage alerts and stall protection. Switch between beginner-friendly 6G stabilization mode or advanced 3D mode.
- User-Friendly RTF Setup: Ready-to-fly version with an independent locator joystick controller for quick setup and smooth operation.
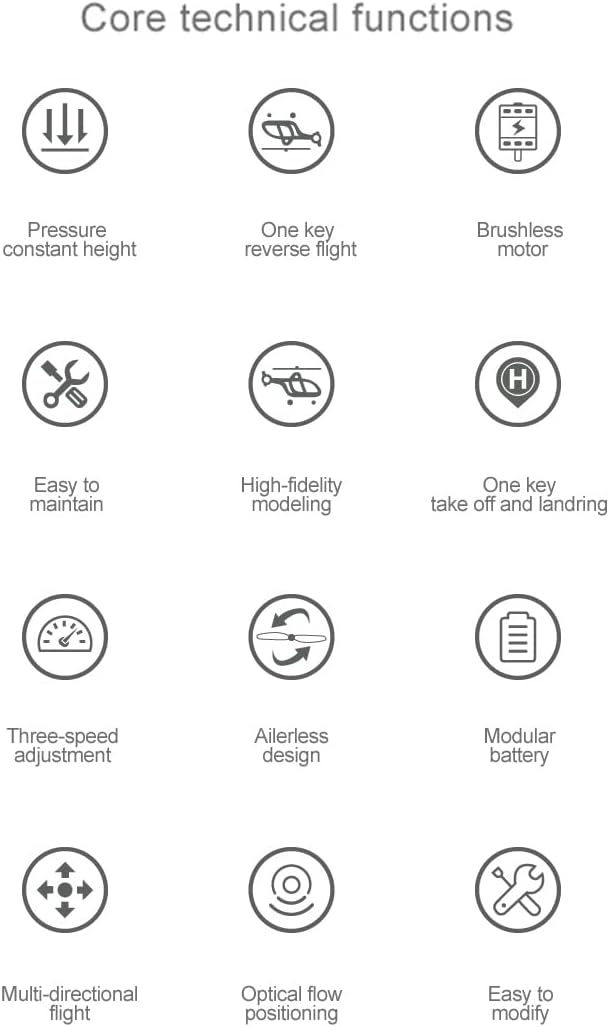
Image 2.1: Visual representation of core technical functions including pressure constant height, one-key reverse flight, brushless motor, easy to maintain, high-fidelity modeling, one-key takeoff and landing, three-speed adjustment, ailerless design, modular battery, multi-directional flight, optical flow positioning, and easy modification.

Image 2.2: The helicopter features optical flow positioning for stable flight and a six-way variable pitch structure with three servos for wind resistance and stable control. The remote controller is also shown.
3. Package Contents
Please verify that all items are present in your package:
- Helicopter x 1
- Remote controller x 1
- User manual x 1
- USB charging cable x 1
- Main blade x 2
- Tail blade x 1
- Li-ion battery x 1/2/3/4 (depending on package)
- Screwdriver x 1
- Hex wrench x 1
4. Setup Guide
4.1 Battery Installation and Charging
- Ensure the helicopter and remote controller are powered off.
- Insert 4 x 1.5AA batteries into the remote controller (batteries not included).
- Connect the helicopter's Li-ion battery to the USB charging cable.
- Plug the USB charging cable into a suitable USB power source (e.g., computer, USB wall adapter).
- The charging indicator will show the charging status. Charging typically takes about 50 minutes.
- Once fully charged, disconnect the battery from the charger.
- Carefully install the charged Li-ion battery into the helicopter's battery compartment.
4.2 Pre-Flight Checks
- Inspect the main blades and tail blade for any damage or cracks.
- Ensure all screws are tightened and components are securely attached.
- Verify that the battery is fully charged and properly installed.
- Choose an open outdoor area away from people, animals, and obstacles (wind below level 5 is recommended).
5. Operating Instructions
5.1 Power On and Binding
- Place the helicopter on a flat, level surface.
- Power on the helicopter. The indicator lights will flash.
- Power on the remote controller.
- Move the throttle stick (left joystick) fully up, then fully down. The helicopter's lights will become solid, indicating successful binding.
5.2 Basic Flight Controls
- Throttle (Left Stick Up/Down): Controls altitude.
- Yaw (Left Stick Left/Right): Rotates the helicopter left or right.
- Forward/Backward (Right Stick Up/Down): Moves the helicopter forward or backward.
- Left/Right Sideways Flight (Right Stick Left/Right): Moves the helicopter left or right laterally.

Image 5.1: Visual guide for controlling forward and backward movement of the helicopter.
5.3 One-Key Takeoff and Landing
- Press the One-Key Takeoff button on the remote controller to automatically lift the helicopter to a stable hovering altitude.
- Press the One-Key Landing button to initiate an automatic descent and landing.

Image 5.2: The helicopter supports one-click takeoff and landing, making it suitable for novice operators. Features include barometric altitude hold, a brushless motor, and extended endurance.
5.4 3D Stunts and Inverted Flight
- The C138PRO supports one-click reverse flight mode for stunt flying.
- Ensure you are in an open outdoor area, away from crowds, with wind speeds below level 5.
- Practice flying backwards and hovering. A takeoff point of 3 meters and gear 3 are recommended for mastering stunts.

Image 5.3: The helicopter in one-click reverse flight mode, enabling easier stunt flying. It is advised to practice in open outdoor areas with low wind.
5.5 Flight Modes (6G/3D)
- 6G Stabilization Mode: Ideal for beginners, providing enhanced stability and easier control.
- 3D Mode: For advanced pilots, allowing full acrobatic maneuvers and inverted flight. Refer to your remote controller manual for switching between modes.
5.6 Official Product Video
Video 5.1: Official product video demonstrating the RC ERA C138PRO Bell 206 RC Helicopter in flight, showcasing its 6-axis gyro capabilities and overall performance.
6. Maintenance
- Cleaning: Use a soft, dry cloth to clean the helicopter after each flight. Avoid water or harsh chemicals.
- Propeller Inspection: Regularly check main and tail blades for damage. Replace any damaged blades immediately using the provided spare parts.
- Battery Care: Store batteries in a cool, dry place. Do not overcharge or over-discharge. Disconnect batteries when not in use.
- Storage: Store the helicopter in a safe place, away from direct sunlight and extreme temperatures.

Image 6.1: The helicopter features intelligent anti-jamming protection. If the propeller is blocked, it automatically stops rotating to prevent damage and ensure safety.
7. Troubleshooting
| Problem | Possible Cause | Solution |
|---|---|---|
| Helicopter does not respond to remote. | Not bound, low battery, remote off. | Ensure binding process is complete. Charge helicopter battery. Check remote controller batteries. |
| Helicopter flies erratically. | Damaged blades, strong wind, gyroscope calibration needed. | Replace damaged blades. Fly in calm conditions. Recalibrate gyroscope (refer to remote manual). |
| Short flight time. | Battery not fully charged, old battery. | Ensure battery is fully charged. Consider replacing old batteries. |
| Propellers stop unexpectedly. | Obstruction, anti-jamming protection activated. | Remove any obstructions. Check for damage after activation of protection. |
8. Specifications
| Parameter | Value |
|---|---|
| Model | C138PRO |
| Description | 3D six-axis single-rotor RC helicopter (brushless intelligent GPS version) |
| Material | PA / PC |
| Main Rotor Diameter | 306mm |
| Fuselage Length | 312mm |
| Height | 101mm |
| Scale | 1/33 |
| Flight Weight | 110g |
| Flight Time | 8-10 minutes |
| Charging Time | About 50 minutes |
| Remote Control | 2.4G transmitter |
| Remote Distance | 80-100m |
| Channels | 2 |
| Helicopter Battery | 7.4V Li-ion |
| Transmitter Battery | 4*1.5AA (not included) |
| Product Dimensions | 12.28 x 12.05 x 3.98 inches |
| Item Weight | 1.93 pounds |
| Recommended Age | 16 years and up |

Image 8.1: Detailed dimensions of the C138PRO helicopter, including main rotor diameter, fuselage length, height, and overall width.
9. Safety Information
Operating an RC helicopter requires caution. Please adhere to the following safety guidelines:
- Always operate the helicopter in open areas, away from people, animals, buildings, and power lines.
- Do not fly in strong winds or adverse weather conditions.
- Keep hands, face, and loose clothing away from rotating blades.
- Never fly near airports or restricted airspace.
- Adult supervision is recommended for users under the age of 16.
- Ensure batteries are charged correctly and handled with care to prevent fire hazards.
- If the helicopter crashes, immediately cut power to prevent further damage or injury.
- Perform pre-flight checks before every flight.
No specific warning applicable beyond general RC product safety.
10. Warranty and Support
For warranty information and technical support, please refer to the contact details provided with your purchase or visit the official ROUASD website. Keep your purchase receipt as proof of purchase for any warranty claims.