Introduction
The Rohent R52 Solar Wireless Backup Camera system is designed to enhance safety and convenience for drivers of trucks, pickups, small RVs, and campers. Featuring a 7-inch HD 1080P monitor, magnetic installation, superior night vision, and a dual antenna system for stable signal transmission, this manual provides essential information for setup, operation, and maintenance.
What's in the Box
- 1x Solar Backup Camera
- 1x 7-inch Monitor
- 3x Antennas
- 1x Cigarette Lighter Adapter
- 1x USB Cable for Monitor
- 1x Suction Cup Holder
- 1x Charging Plug
- 1x USB-C Cable for Camera
- 1x Instruction Manual
Specifications
| Brand | Rohent |
| Model Number | R52 |
| Screen Size | 7 Inches |
| Display Resolution | 1080P HD |
| Camera Viewing Angle | 170° Wide-Angle |
| Battery Capacity | 15000mAh |
| Solar Panel Power | 5W |
| Waterproof Rating | IP69K |
| Operating Temperature | -22°F to 176°F (-30°C to 80°C) |
| Wireless Frequency | 2.4GHz WiFi |
| Max Vehicle Length (Signal) | Up to 33ft |
| Compatible Devices | Trucks, Pickups, Trailers, Small RVs, Campers |
Setup
1. Camera Installation
The Rohent R52 camera features powerful rare-earth magnets for quick and easy installation. No drilling or wiring is required for the camera unit itself.
- Ensure the mounting surface on your vehicle (e.g., tailgate, trailer hitch) is clean and metallic.
- Attach the camera firmly to the desired metallic surface. The silicone rubbery texture on the back prevents scratches.
- If a metallic surface is not available or for added security, use the provided angled or flat brackets. These brackets can be screwed into a non-metallic surface, and the camera then magnetically attaches to the bracket.
- Adjust the camera's pivot angle to achieve the desired viewing perspective.
- Screw the antenna onto the camera unit.

Image: Rohent R52 camera magnetically attached to a truck tailgate, showing the 1-minute install process.
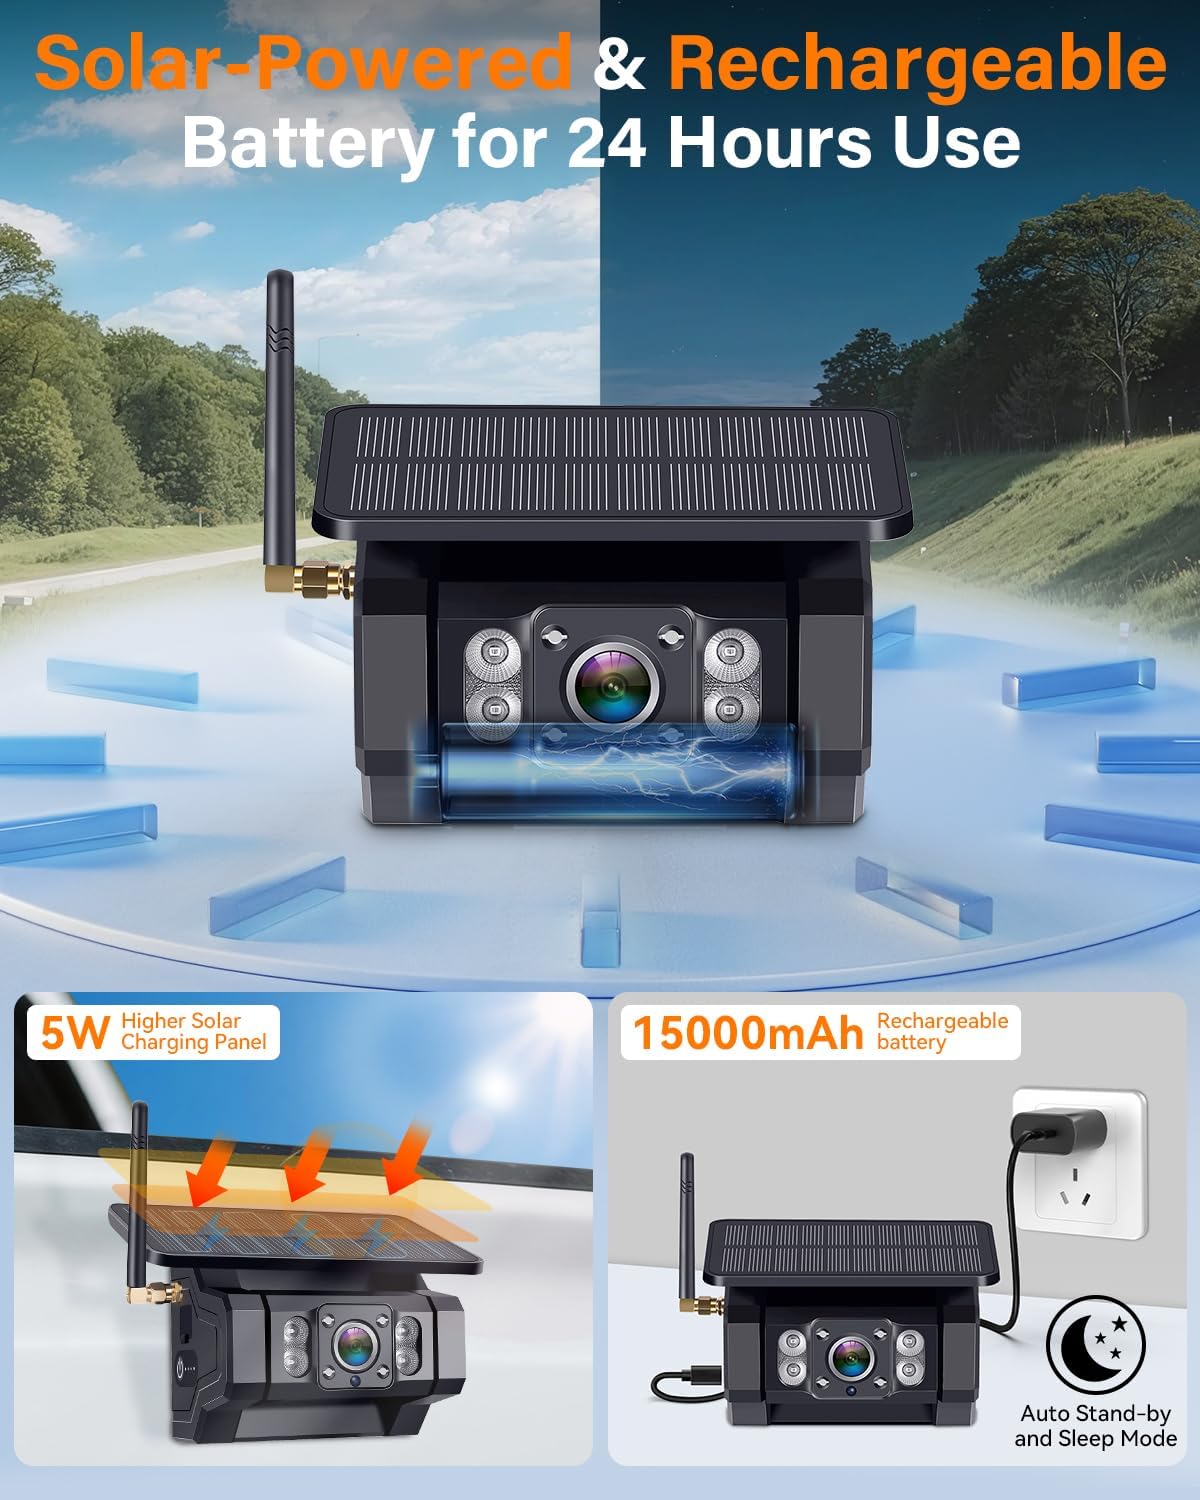
Image: Rohent R52 camera with its solar panel and adjustable camera angle.
2. Monitor Setup
- Attach the suction cup holder to the back of the 7-inch monitor.
- Mount the monitor on your vehicle's dashboard or windshield using the suction cup. The flexible rubbery base helps it adhere to uneven surfaces.
- Connect the monitor to power using either the cigarette lighter adapter or the USB cable. Both options include a power button to turn the monitor on/off.
- Screw the antennas onto the monitor unit.

Image: Rohent R52 monitor mounted on a dashboard, showing power options via car charger or USB.
3. Initial Charging
It is recommended to fully charge the camera's 15000mAh battery using the provided USB-C cable and charging plug before first use. A single 5-hour charge can last up to 24 hours of continuous use.

Image: Rohent R52 camera showing solar charging and USB-C charging options.
Operating
1. Power On/Off
- Press the power button on the monitor's power cable to turn the display on or off.
- The camera automatically enters energy-saving sleep mode approximately 10 seconds after the monitor is turned off.
- To reactivate the camera, simply turn the monitor back on.

Image: Rohent R52 camera and monitor demonstrating auto sleep mode for power saving.
2. Display and Vision
- The 7-inch HD 1080P monitor provides crystal-clear images.
- Superior night vision with infrared technology and anti-glare ensures clear visibility day or night.
- The dual antenna system with 2.4GHz WiFi provides a stable, real-time video feed with no lag or dropouts, working up to 33ft on vehicles.
Image: Rohent R52 monitor displaying a clear rear view from the camera.

Image: Rohent R52 display showing 1080P HD and clear night vision capabilities.

Image: Rohent R52 illustrating dual antenna strong signal for stable transmission.
3. Parking Assistance and Dual Channels
- The 170° wide-angle lens provides extensive coverage.
- Adjustable parking guidelines assist with safer reversing, hitching, and towing.
- The system supports dual video channels, allowing you to add a second wireless magnetic backup camera to eliminate more blind spots.
- The monitor allows for full screen or split screen viewing modes.
- Image flip options (Normal, Mirror, Inverted Front, Inverted Mirror) are available for versatile mounting.

Image: Rohent R52 display showing adjustable parking guidelines for precise maneuvering.

Image: Rohent R52 display showing various image flip options (Normal, Mirror, Inverted Front, Inverted Mirror).

Image: Rohent R52 display showing split screen mode with two cameras for expanded view.
4. Video Recording
The monitor unit includes a micro SD card slot, allowing you to record video footage from the camera(s). This feature can be useful for documenting driving, off-roading, or security purposes.
Video: Official Rohent-US video demonstrating the R52 wireless backup camera for trucks.
Video: Casoda-US video demonstrating a wireless backup camera for trailers, highlighting its use cases.
Maintenance
1. Battery Charging
- The camera's 15000mAh battery is primarily charged via the integrated 5W solar panel while driving or parked in sunlight.
- For manual charging, use the provided USB-C cable. A 5-hour charge provides up to 24 hours of operation.
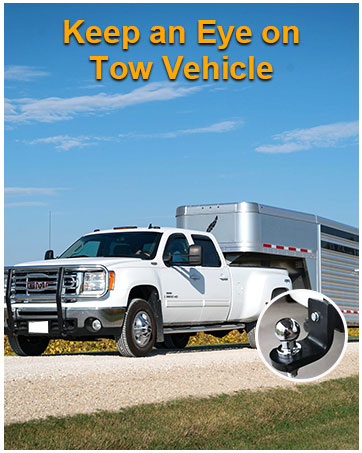
Image: Rohent R52 camera showing its solar panel and USB-C charging port.
2. Auto Sleep Mode
The camera automatically enters an energy-saving sleep mode approximately 10 seconds after the monitor is turned off. This reduces unnecessary power drain and extends battery life.
3. Durability
The camera features an IP69K waterproof housing, making it resistant to rain, snow, heat, and cold. It operates effectively in temperatures ranging from -22°F to 176°F.

Image: Rohent R52 camera demonstrating IP69K waterproof and extreme temperature resistance.
Troubleshooting
- No Signal: Ensure both the camera and monitor are powered on and their antennas are securely attached. Check for any obstructions between the camera and monitor that might interfere with the 2.4GHz WiFi signal.
- Poor Image Quality: Verify the camera lens is clean and free from dirt or moisture. Ensure the monitor's brightness and contrast settings are adjusted appropriately.
- Battery Draining Quickly: Confirm the solar panel is receiving adequate sunlight. If operating in low light conditions or frequently, manual USB-C charging may be required more often. Ensure the camera is entering auto sleep mode when the monitor is off.
- Magnetic Mount Not Holding: Ensure the mounting surface is metallic and clean. For non-metallic surfaces, use the provided screw-in brackets.
Warranty & Support
For any product inquiries, technical assistance, or warranty claims, please refer to the contact information provided in your product packaging or visit the official Rohent website. Responsive customer support is available to ensure your satisfaction.


