
Product Overview
The JEWHITENY Portable Nail Drill SG717 is a professional electric nail file designed for various nail care tasks. It features a high-speed motor, adjustable RPM, and a user-friendly design for both salon professionals and home users.
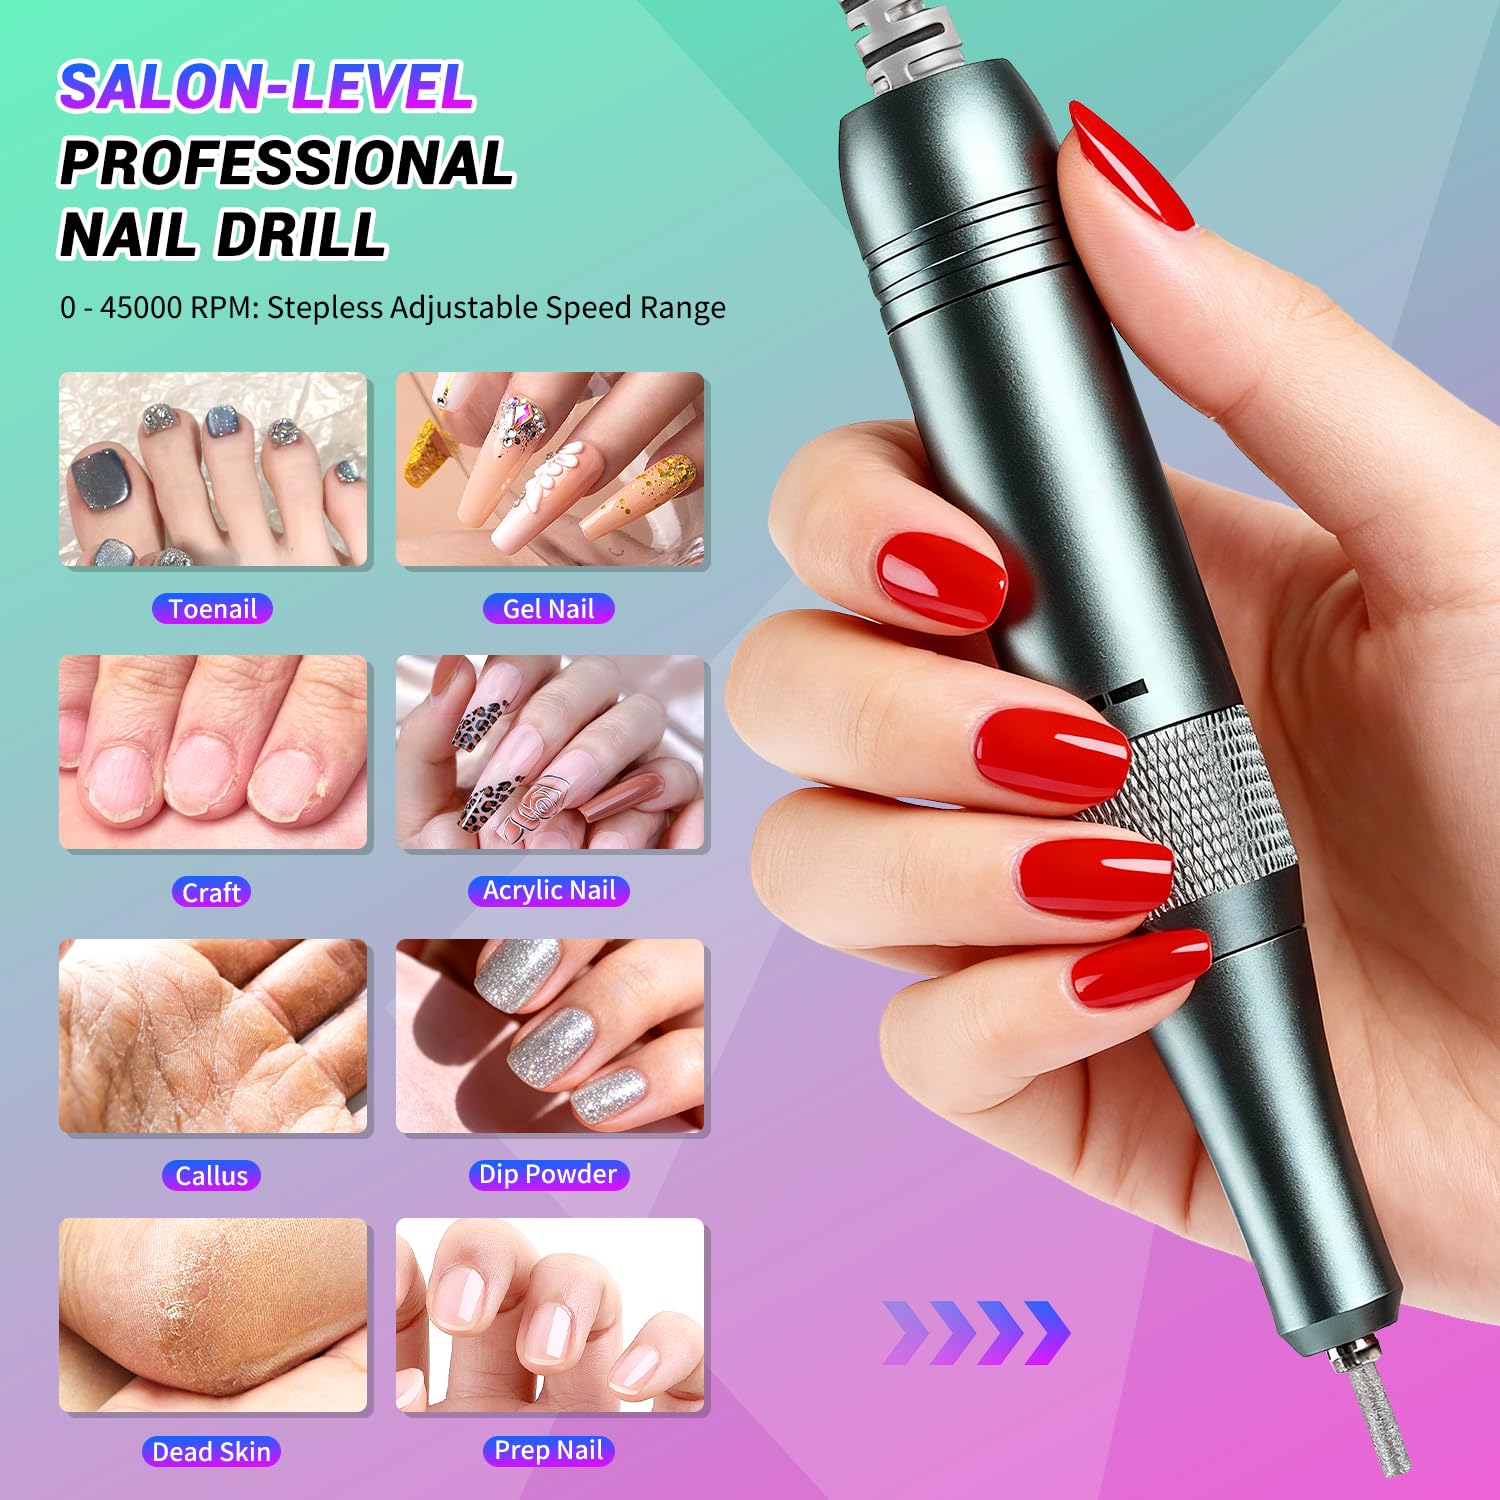
Image: The JEWHITENY Portable Nail Drill SG717 being used for various nail care applications, including toenail, gel nail, acrylic nail, and callus removal.
Key Features:
- Multi-functional Nail Drill Kit: Includes 6 nail drill bits and 6 sanding bands suitable for removing natural acrylic nails, polishing, gel polish, dip powder nails, grinding, cutting, carving, callus, and cuticle work.
- High Speed Up to 45000 RPM: Equipped with a high-quality motor for smooth operation and an adjustable speed range from 0 to 45000 RPM, controlled by a speed knob.
- Visual Display: Features a screen that shows speed (0-45000 RPM), forward/reverse direction, and battery power for real-time monitoring.
- Easy to Operate: Simple design with a speed control knob and touch screen buttons for direction, battery level check, and pause function.
- Convenient Design: Includes a hanging back clip for portability and an independent stand for stable use and storage, along with a detachable embedded drill bit placer.
Components and Controls
Familiarize yourself with the main components and controls of your JEWHITENY SG717 nail drill.

Image: Detailed view of the JEWHITENY SG717 control unit and handpiece, highlighting the speed control knob, visual screen, independent base, forward/reverse switch, Type-C interface, handpiece output jack, and pause/continue button.
Control Unit Features:
- Speed Control Knob: Rotates to adjust the rotational speed of the drill bit.
- Visual Screen: Displays current RPM, rotation direction (FWD/REV), and battery level.
- Forward/Reverse Switch: Changes the rotation direction of the drill bit.
- Pause/Continue Button: Press once to show battery level, press twice to pause/resume operation.
- Type-C Interface: Charging port for the device.
- Handpiece Output Jack: Connects the handpiece to the control unit.
Handpiece Features:
- Drill Bit Chuck: Securely holds the nail drill bits.
- Ventilation Holes: Helps dissipate heat during operation.
Setup
1. Charging the Device
Before first use, fully charge the nail drill. Connect the Type-C charging cable to the device's Type-C interface and plug the other end into a suitable power source. The visual screen will indicate charging status and battery level.
Video: Demonstrates how to install a drill bit and charge the JEWHITENY SG717 nail drill using the Type-C port. The video shows the battery indicator on the screen during charging.
2. Installing/Changing Drill Bits
Ensure the device is turned off or paused before changing bits.
- Slide the unlock switch on the handpiece to the left to unlock the chuck.
- Remove the current drill bit, if any.
- Insert the desired new drill bit into the chuck.
- Slide the lock switch to the right to securely lock the drill bit in place.

Image: Step-by-step guide on how to install and replace drill bits in the nail drill handpiece.
Operating Instructions
1. Power On/Off
Press and hold the power button (usually integrated with the speed knob or a dedicated touch button) to turn the device on or off.
2. Adjusting Speed
Rotate the speed control knob on the top of the unit to increase or decrease the rotational speed. The current RPM will be displayed on the visual screen. Start with a lower speed and gradually increase as needed for the specific task.
3. Changing Rotation Direction
Use the Forward/Reverse touch button on the control unit to switch the rotation direction of the drill bit. The screen will indicate 'FWD' for forward or 'REV' for reverse. This is useful for left-handed users or for working on different nail areas.
4. Pause Function
Press the Pause/Continue touch button once to check the battery level. Press it twice to pause the operation of the drill. Press twice again to resume.
5. Using Different Drill Bits
The kit includes 6 different drill bits and sanding bands, each designed for specific functions:

Image: Illustration of the various drill bits included and their recommended uses for comprehensive manicure care.
- Cone Bit: Ideal for buffing nail sidewalls and cuticles.
- Safety Bit: Used for polishing the nail side edge.
- Needle Head Bit: For refining the nail edge and intricate detailing.
- Small Barrel Bit: Suitable for handling surface detailing on the nail.
- Large Barrel Bit: Best for general surface work and shortening nails.
- Mandrel + Sanding Band: Used for surface work and nail shortening, with replaceable sanding bands.
Maintenance
1. Cleaning
After each use, gently clean the drill bits and the handpiece with a soft brush or a damp cloth to remove nail dust and debris. Ensure the device is powered off and unplugged before cleaning. Do not immerse the device in water.
2. Storage
Store the nail drill and its accessories in a clean, dry place. The independent storage stand helps organize the drill and bits, saving space. For portability, utilize the back clip to attach the unit to your waist or clothing.

Image: The nail drill unit with its independent storage stand and a demonstration of the portable waist clip for easy carrying.
Troubleshooting
If you encounter any issues with your JEWHITENY SG717 nail drill, refer to the following common problems and solutions:
- Device not turning on: Ensure the device is fully charged. Check the Type-C charging cable and port for any damage or loose connections.
- Drill bit not spinning or intermittent power: Verify that the handpiece cable is securely connected to the control unit. Ensure the drill bit is properly locked into the chuck. If the issue persists, the power cable connection to the unit might be compromised; contact customer support.
- Reduced performance or unusual noise: Clean the drill bit and handpiece thoroughly to remove any accumulated debris. Ensure the drill bit is not worn out and replace if necessary.
- Screen not displaying information: Ensure the device is powered on and has sufficient battery. If the screen remains blank, contact customer support.
Specifications
| Feature | Specification |
|---|---|
| Model Number | SG717 |
| Maximum Rotational Speed | 45000 RPM |
| Power Source | Battery Powered (1 Lithium Ion battery required) |
| Battery Capacity | 3600mAh (approximate, based on charging time and working time) |
| Charging Time | Approximately 2 hours |
| Working Time | Approximately 10-12 hours |
| Item Weight | 0.48 kg (1.06 pounds) |
| Package Dimensions | 7.4 x 4.53 x 3.23 inches |
| Manufacturer | JEWHITENY |
Warranty and Support
Warranty information for the JEWHITENY Portable Nail Drill SG717 was not provided in the product details. For specific warranty terms and conditions, please refer to the documentation included with your purchase or contact JEWHITENY customer service directly.
For technical support, troubleshooting assistance beyond this manual, or to inquire about replacement parts, please visit the official JEWHITENY website or contact their customer support team through the retailer where the product was purchased.