1. Important Safety Information
Please read and understand all instructions before assembly and use. Failure to follow these instructions may result in injury or damage to the product.
- Always wear appropriate safety gear during assembly, including gloves and eye protection.
- Ensure the assembly area is clear of obstructions and hazards.
- This product is divided into 2 packages and may not arrive together. Please wait patiently for all components before beginning assembly.
- Secure the greenhouse to the ground using the provided expansion screws. We recommend placing the bottom frame in a pre-dug trench for greater stability and wind resistance.
- Apply glass glue to the connection between the polycarbonate boards and the frame for enhanced water protection and sealing.
- During severe weather conditions (e.g., strong winds, heavy snow), it is recommended to remove any valuable items from inside the greenhouse to prevent potential property loss. Do not use the greenhouse during such times.
- Assembly may require more than one person. Seek assistance when handling large or heavy components.
2. Product Overview
The DWVO 6x6FT Polycarbonate Greenhouse is designed for year-round plant cultivation and protection. It features a robust aluminum alloy frame and 4mm thick double-wall polycarbonate panels with UV protection.
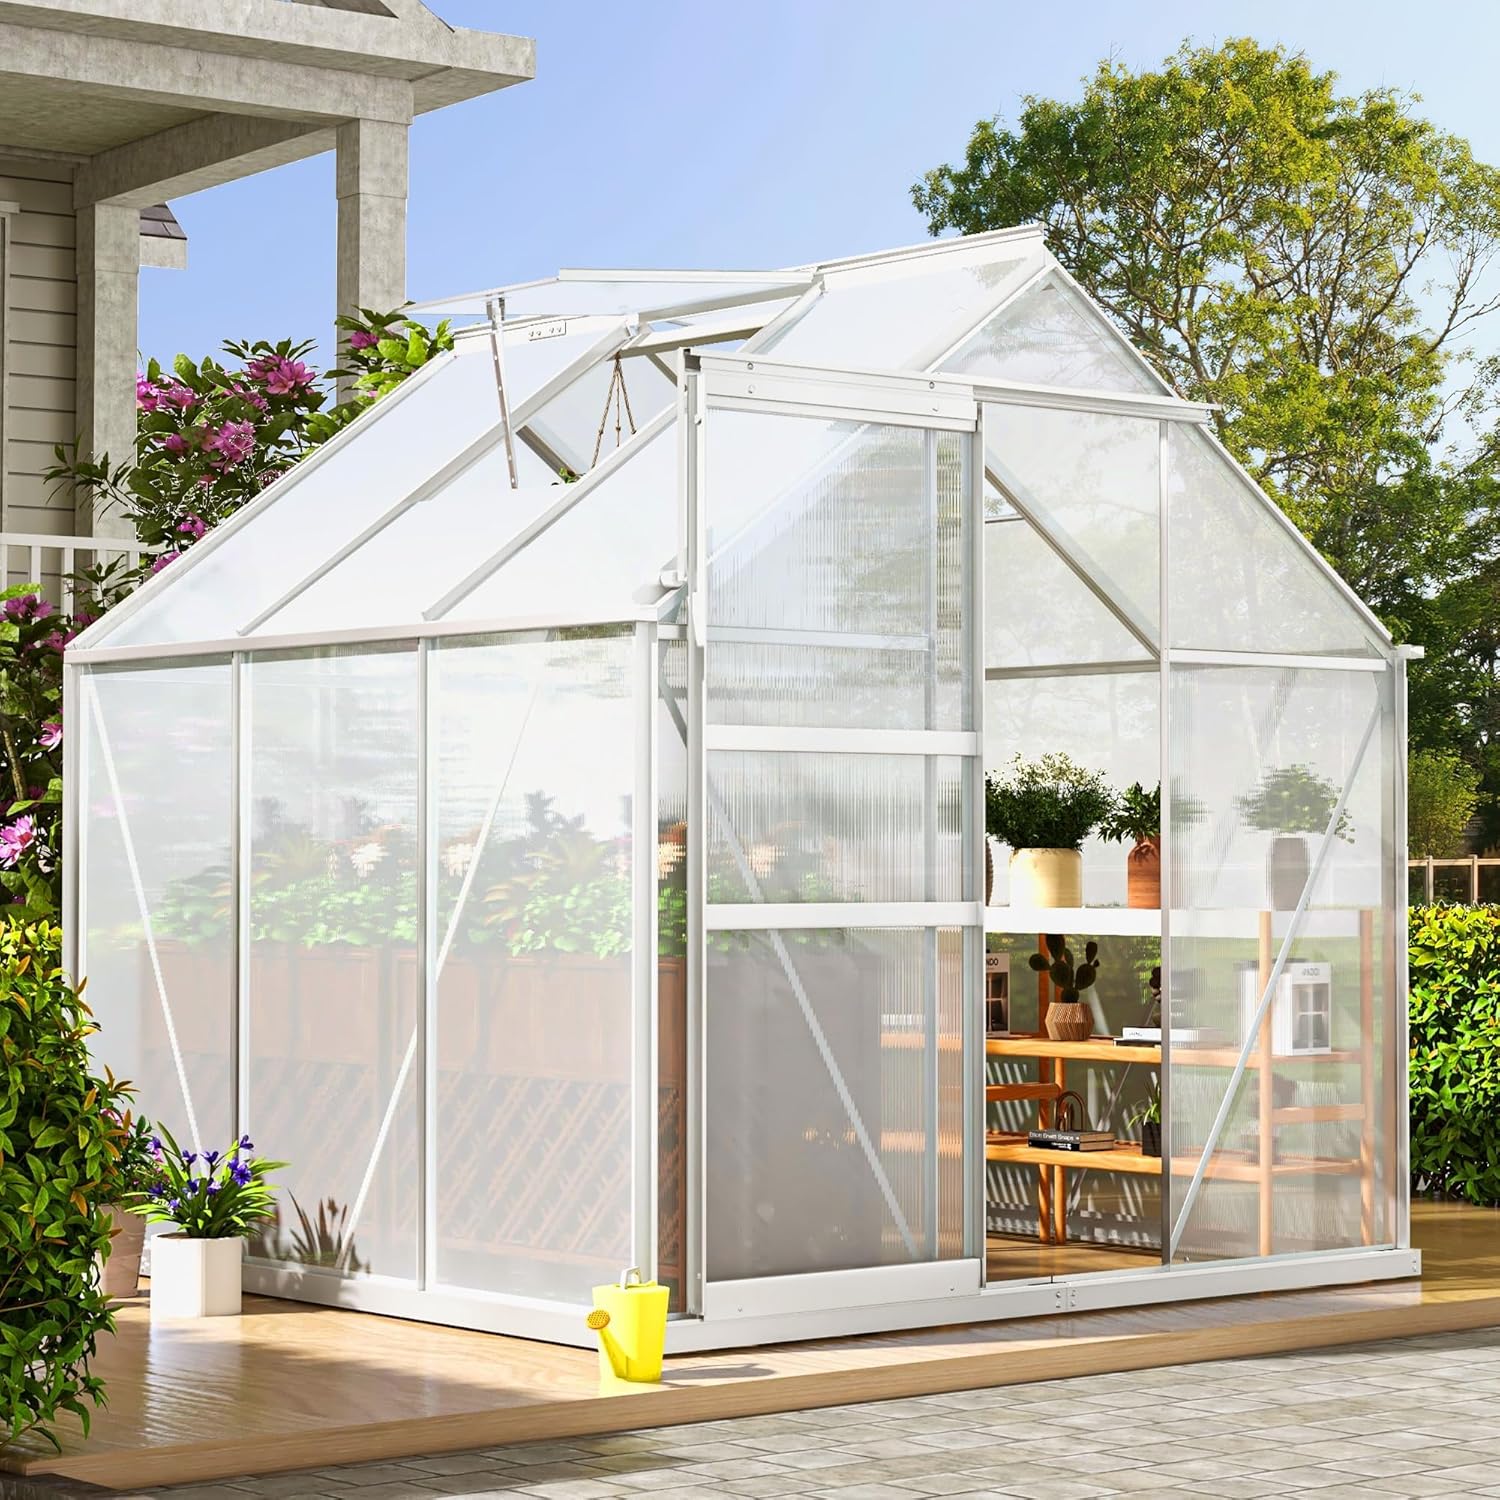
Image: The DWVO 6x6FT Polycarbonate Greenhouse in a garden setting, showcasing its design and size.
Key Features:
- Reinforced Aluminum Alloy Frame: Provides enhanced sturdiness and load-bearing capacity.
- 4mm Double-Wall Polycarbonate Panels: Offers UV protection and helps maintain a stable internal temperature.
- Adjustable Skylights: Two skylights allow for optimal air circulation and ventilation.
- Sliding Door: Innovative design for seamless opening and closing, saving space.
- Wind Resistance and Drainage: Top tilt angle design aids in effective wind resistance and water drainage.
3. Setup and Assembly Instructions
Assembly of the DWVO greenhouse is designed to be straightforward. All necessary instructions and components are included. It is recommended to have at least two people for assembly.
3.1 Preparation
- Unpack all components and verify against the parts list (refer to the separate assembly manual for detailed parts list).
- Choose a level and stable location for your greenhouse.
- Prepare the ground by digging a trench for the bottom frame if desired, to enhance stability.
3.2 Frame Assembly
Begin by assembling the aluminum frame sections. Ensure all connections are secure before proceeding.

Image: Detailed view of the aluminum frame components, emphasizing robustness and durability.
3.3 Panel Installation
Carefully insert the polycarbonate panels into the frame channels. Ensure the UV-protected side faces outwards.

Image: An assembled DWVO 6x6FT Polycarbonate Greenhouse, showing the installed panels and overall structure.
3.4 Securing the Structure
Once the frame and panels are in place, secure the greenhouse to the ground using the provided expansion screws. Apply glass glue to panel-to-frame connections for improved sealing.

Image: Close-up of an expansion screw, illustrating its use for securing the greenhouse frame.

Image: Demonstration of applying glass adhesive to seal the connections between polycarbonate panels and the frame.
4. Operating Instructions
4.1 Adjustable Skylights
The greenhouse features two adjustable skylights designed to create an optimal air circulation system. Open the skylights to varying degrees to control indoor ventilation and cooling, especially during warmer periods.

Image: Close-up of the adjustable sunroof mechanism, illustrating how it provides natural light and ventilation.
4.2 Sliding Door
The innovative sliding door allows for seamless opening and closing. This design saves space compared to traditional hinged doors. Operate the door gently to ensure longevity of the mechanism.

Image: Detail of the sliding door design, highlighting its ease of operation.
4.3 Plant Cultivation
The greenhouse provides an ideal environment for year-round plant cultivation and protection. Monitor internal temperature and humidity, adjusting ventilation as needed to suit your plants' requirements.

Image: Interior view of the greenhouse, showing ample space for various plants and shelving.
5. Maintenance
Regular maintenance will ensure the longevity and optimal performance of your greenhouse.
- Cleaning Panels: Clean polycarbonate panels periodically with mild soap and water. Avoid abrasive cleaners or tools that could scratch the surface.
- Frame Inspection: Inspect the aluminum frame for any signs of damage or loose fasteners. Tighten bolts as necessary.
- Sealant Check: Periodically check the glass glue or sealant applied to panel connections. Reapply if any gaps or deterioration are observed to maintain water protection.
- Drainage: Ensure the area around the greenhouse base remains clear to allow for proper drainage.
- Skylight and Door Mechanisms: Keep the tracks and moving parts of the skylights and sliding door clean and free of debris to ensure smooth operation.
6. Troubleshooting
This section addresses common issues you might encounter with your greenhouse.
- Panels Blowing Out: If panels dislodge during strong winds, ensure all clips are properly in place. Consider using clear silicone sealant or additional clips for extra security. Verify the greenhouse is level and square, and securely anchored to the ground.
- Water Leaks: Check all panel connections and ensure glass glue or sealant is properly applied and intact. Reapply sealant to any areas showing gaps or cracks.
- Difficulty with Sliding Door/Skylights: Clean the tracks and mechanisms of the sliding door and skylights to remove any dirt or debris that might be impeding movement. Ensure no parts are bent or obstructed.
- Condensation Inside: Increase ventilation by opening the skylights to reduce humidity and condensation. Ensure proper air circulation.
7. Specifications
Detailed specifications for the DWVO 6x6FT Polycarbonate Greenhouse.

Image: Diagram illustrating the dimensions of the DWVO 6x6FT Polycarbonate Greenhouse.
| Feature | Specification |
|---|---|
| Model Number | MADWVfnj9e |
| Size | 6X6FT (74.4"L x 74.4"W x 76.8"H) |
| Product Dimensions | 74.4 x 74.4 x 76.8 inches |
| Item Weight | 61.7 pounds |
| Brand | DWVO |
| Color | Silver |
| Cover Material | Polycarbonate (PC) |
| Number Of Vents | 2 |
| UPC | 199449214724 |
| ASIN | B0FR7PYD2Y |
| Manufacturer | DWVO |
8. Warranty and Support
For warranty information and customer support, please refer to the official DWVO website or contact their customer service directly. Specific warranty terms and conditions may vary.
You can also visit the DWVO Store on Amazon for additional product information and support resources.


