1. Introduction
This manual provides detailed instructions for the installation, operation, and maintenance of your Fanimation TriAire Custom 60 inch Indoor/Outdoor Ceiling Fan. This fan features a powerful 16-speed DC motor, smart Wi-Fi fanSync technology, and is wet-rated for versatile indoor and outdoor use. Please read all instructions carefully before beginning installation and retain this manual for future reference.
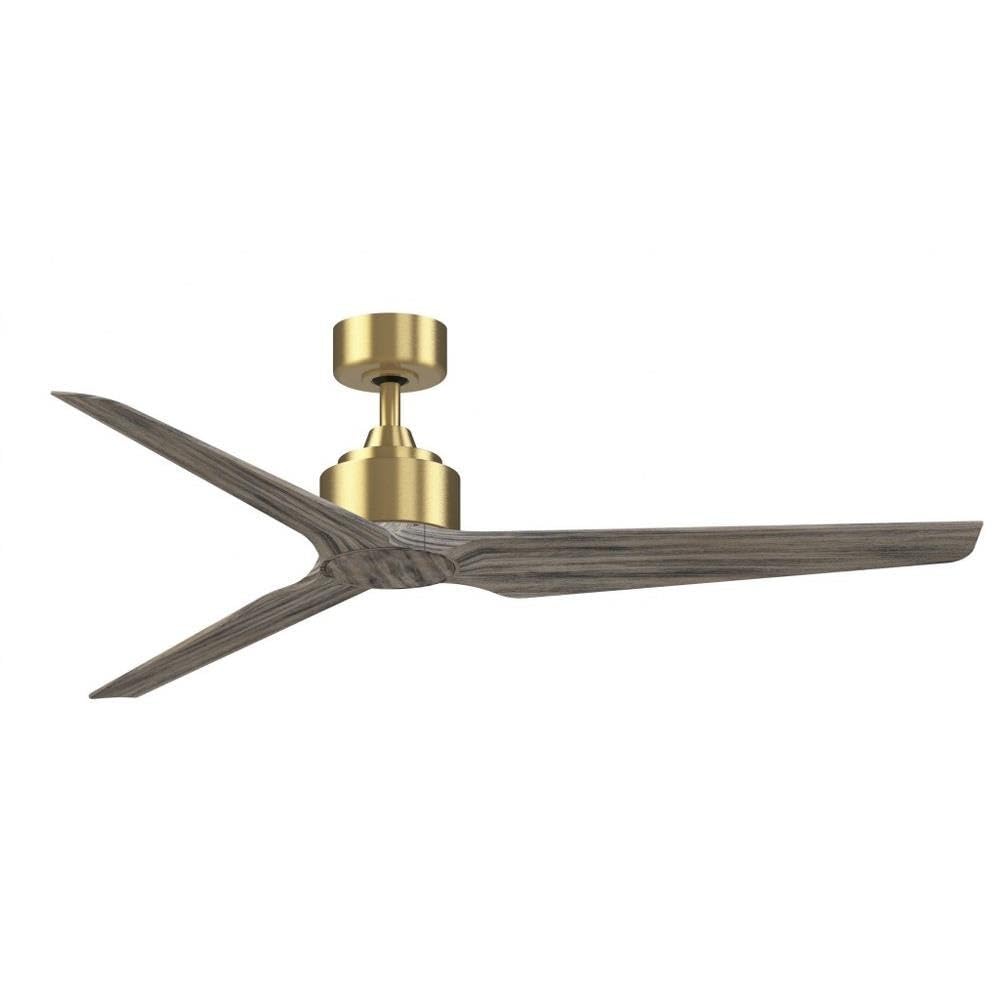
Image 1.1: Fanimation TriAire Custom 60 inch Ceiling Fan in Brushed Satin Brass with Weathered Wood Blades.

Image 1.2: Illustration of ceiling fan airflow for optimal air circulation.
2. Safety Information
WARNING: To reduce the risk of fire, electric shock, or personal injury, always follow these instructions:
- Read all instructions and safety information before installing your fan.
- All wiring must be in accordance with national and local electrical codes. Consult a qualified electrician if you are unsure about wiring.
- Ensure the installation site can support the fan's weight (approximately 17.3 lbs).
- Turn off power at the circuit breaker or fuse box before beginning installation to prevent electrical shock.
- Do not operate the fan with damaged blades or any other damaged components.
- Keep hands, clothing, and other objects clear of the fan blades when the fan is in operation.
- This fan is suitable for wet locations. Ensure all connections are properly sealed for outdoor use.
3. Package Contents
Verify that all components are present before beginning installation:
- Fan Motor Assembly
- Fan Blades (3)
- Downrod (4.5 inches)
- Mounting Bracket / Canopy
- Remote Control with Wall Mount
- Hardware Pack (screws, washers, wire connectors)
- Instruction Manual
Note: An optional LED light kit is sold separately.
4. Setup and Installation
Proper installation is crucial for the safe and efficient operation of your ceiling fan. Follow these steps carefully.
4.1. Pre-Installation Considerations
- Ceiling Height: For optimal airflow, the fan blades should be 7 to 9 feet from the floor.
- Electrical Box: Ensure your electrical outlet box is securely mounted and capable of supporting the fan's weight.
- Wiring: Utilize the included KWIKWIRE connectors for quick and secure wiring without the need for traditional wire nuts.
4.2. Hanging Dimensions

Image 4.1: Diagram showing the hanging dimensions of the Fanimation TriAire Custom fan, including the 4.5-inch downrod and 60-inch blade sweep.
4.3. Selecting Downrod Length for Flat Ceilings
The ideal distance from the floor to the fan blades is 7 to 9 feet. Use the provided 4.5-inch downrod for standard installations. For higher ceilings, optional longer downrods (up to 72 inches) are available to achieve the recommended hanging height.

Image 4.2: Guide for selecting the appropriate downrod length based on ceiling height for flat ceilings.
4.4. Selecting Downrod Length for Sloped Ceilings
For sloped ceilings, the downrod length must be adjusted to ensure proper blade clearance and fan balance. Refer to the diagram and table below to determine the minimum required downrod length based on your ceiling's pitch and angle.

Image 4.3: Guide for selecting the appropriate downrod length based on ceiling pitch for sloped ceilings.
4.5. Wiring and Mounting
- Secure the mounting bracket to the ceiling outlet box.
- Thread the electrical wires through the downrod and canopy.
- Attach the downrod to the motor assembly.
- Hang the fan assembly onto the mounting bracket.
- Connect the electrical wires using the KWIKWIRE connectors, ensuring proper grounding.
- Secure the canopy to the mounting bracket.
- Attach the fan blades to the motor assembly.
5. Operating Instructions
Your Fanimation TriAire Custom fan can be controlled via the included remote control or through the fanSync app and voice assistants.
5.1. Remote Control Operation
The remote control allows you to adjust the fan speed (16 settings), turn the fan on/off, and control an optional light kit (if installed). Refer to the remote control's specific instructions for pairing and function details.
5.2. Smart Wi-Fi fanSync Technology
The fanSync technology allows for control via a smartphone app and integration with smart home systems like Google Home and Amazon Alexa.
- Install fanSync Wi-Fi receiver: Wire and install the fanSync Wi-Fi receiver into your ceiling fan's hanger bracket/canopy.
- Download the fanSync App: Download the Fanimation fanSync Wi-Fi app from the Google Play Store or Apple App Store.
- Follow In-App Instructions: Complete the simple setup instructions within the app to connect your fan to your home Wi-Fi network.
- Voice Control: Once connected, you can use voice commands with compatible devices (e.g., "Hey Google, turn bedroom fan on" or "Alexa, turn living room light on").

Image 5.1: Diagram illustrating the fanSync Wi-Fi receiver installation and control via smart devices and voice assistants like Google Home and Alexa.
6. Maintenance
Regular maintenance ensures the longevity and optimal performance of your ceiling fan.
- Cleaning: Use a soft, damp cloth to clean the fan's surfaces. Do not use abrasive cleaners or solvents, as they may damage the finish.
- Blade Cleaning: Wipe the blades regularly to prevent dust buildup, which can affect balance and airflow.
- Tighten Screws: Periodically check and tighten all screws on the fan body and blades to ensure secure operation.
- Motor Lubrication: The DC motor is permanently lubricated and does not require additional oiling.
7. Troubleshooting
If you experience issues with your fan, consult the following common problems and solutions:
| Problem | Possible Cause | Solution |
|---|---|---|
| Fan does not start | No power to the fan; Loose wire connections; Remote control not paired | Check circuit breaker/fuses; Verify all wire connections are secure; Re-pair remote control according to its instructions. |
| Fan wobbles excessively | Loose blade screws; Unbalanced blades; Loose mounting bracket | Tighten all blade screws; Use a blade balancing kit (sold separately); Ensure mounting bracket is securely fastened to the ceiling. |
| Noisy operation | Loose screws; Motor housing rubbing; Fan not level | Check and tighten all screws; Ensure no parts are rubbing; Verify fan is level. |
| Remote control not working | Dead batteries; Remote not paired; Obstruction between remote and receiver | Replace batteries; Re-pair remote; Ensure clear line of sight to fan receiver. |
8. Specifications
| Feature | Detail |
|---|---|
| Brand | Fanimation |
| Model Number | FPD8514BS-60WEW |
| Product Dimensions | 60"D x 60"W x 12.92"H |
| Item Weight | 17.3 Pounds |
| Number of Blades | 3 |
| Blade Material | Composite |
| Motor Type | DC |
| Air Flow Capacity | 4860 Cubic Feet Per Minute |
| Wattage | 20 watts |
| Voltage | 120 Volts |
| Indoor/Outdoor Usage | Indoor, Outdoor (Wet Rated) |
| Controller Type | Remote Control, fanSync App, Voice Control |
| Special Feature | Energy Efficient |
| Certification | UL, cUL |
9. Warranty Information
This Fanimation TriAire Custom Ceiling Fan is covered by a 1 Year Manufacturer Warranty. Please retain your proof of purchase for any warranty claims. For specific details regarding warranty coverage and terms, refer to the documentation included with your product or visit the official Fanimation website.
10. Customer Support
For further assistance, technical support, or to purchase replacement parts, please contact Fanimation customer service. You can also visit the official Fanimation website for FAQs and additional resources.
- Online Resources: Visit the Fanimation Store on Amazon
- Manufacturer Website: Refer to your product packaging for the official Fanimation website.