Introduction
This manual provides detailed instructions for installing the eXtremeRate DIY Replacement Shell Buttons for your Nintendo Switch 2 console and Joycon 2 controllers. This Deluxe Version kit includes a full set of replacement shells and buttons, designed to perfectly fit your device and enhance its appearance.
The product is made from durable PC plastic, ensuring a sturdy and customizable upgrade. Please note that this kit is specifically designed for the Nintendo Switch 2 and is not compatible with the original Nintendo Switch, Switch Lite, or Switch OLED versions.
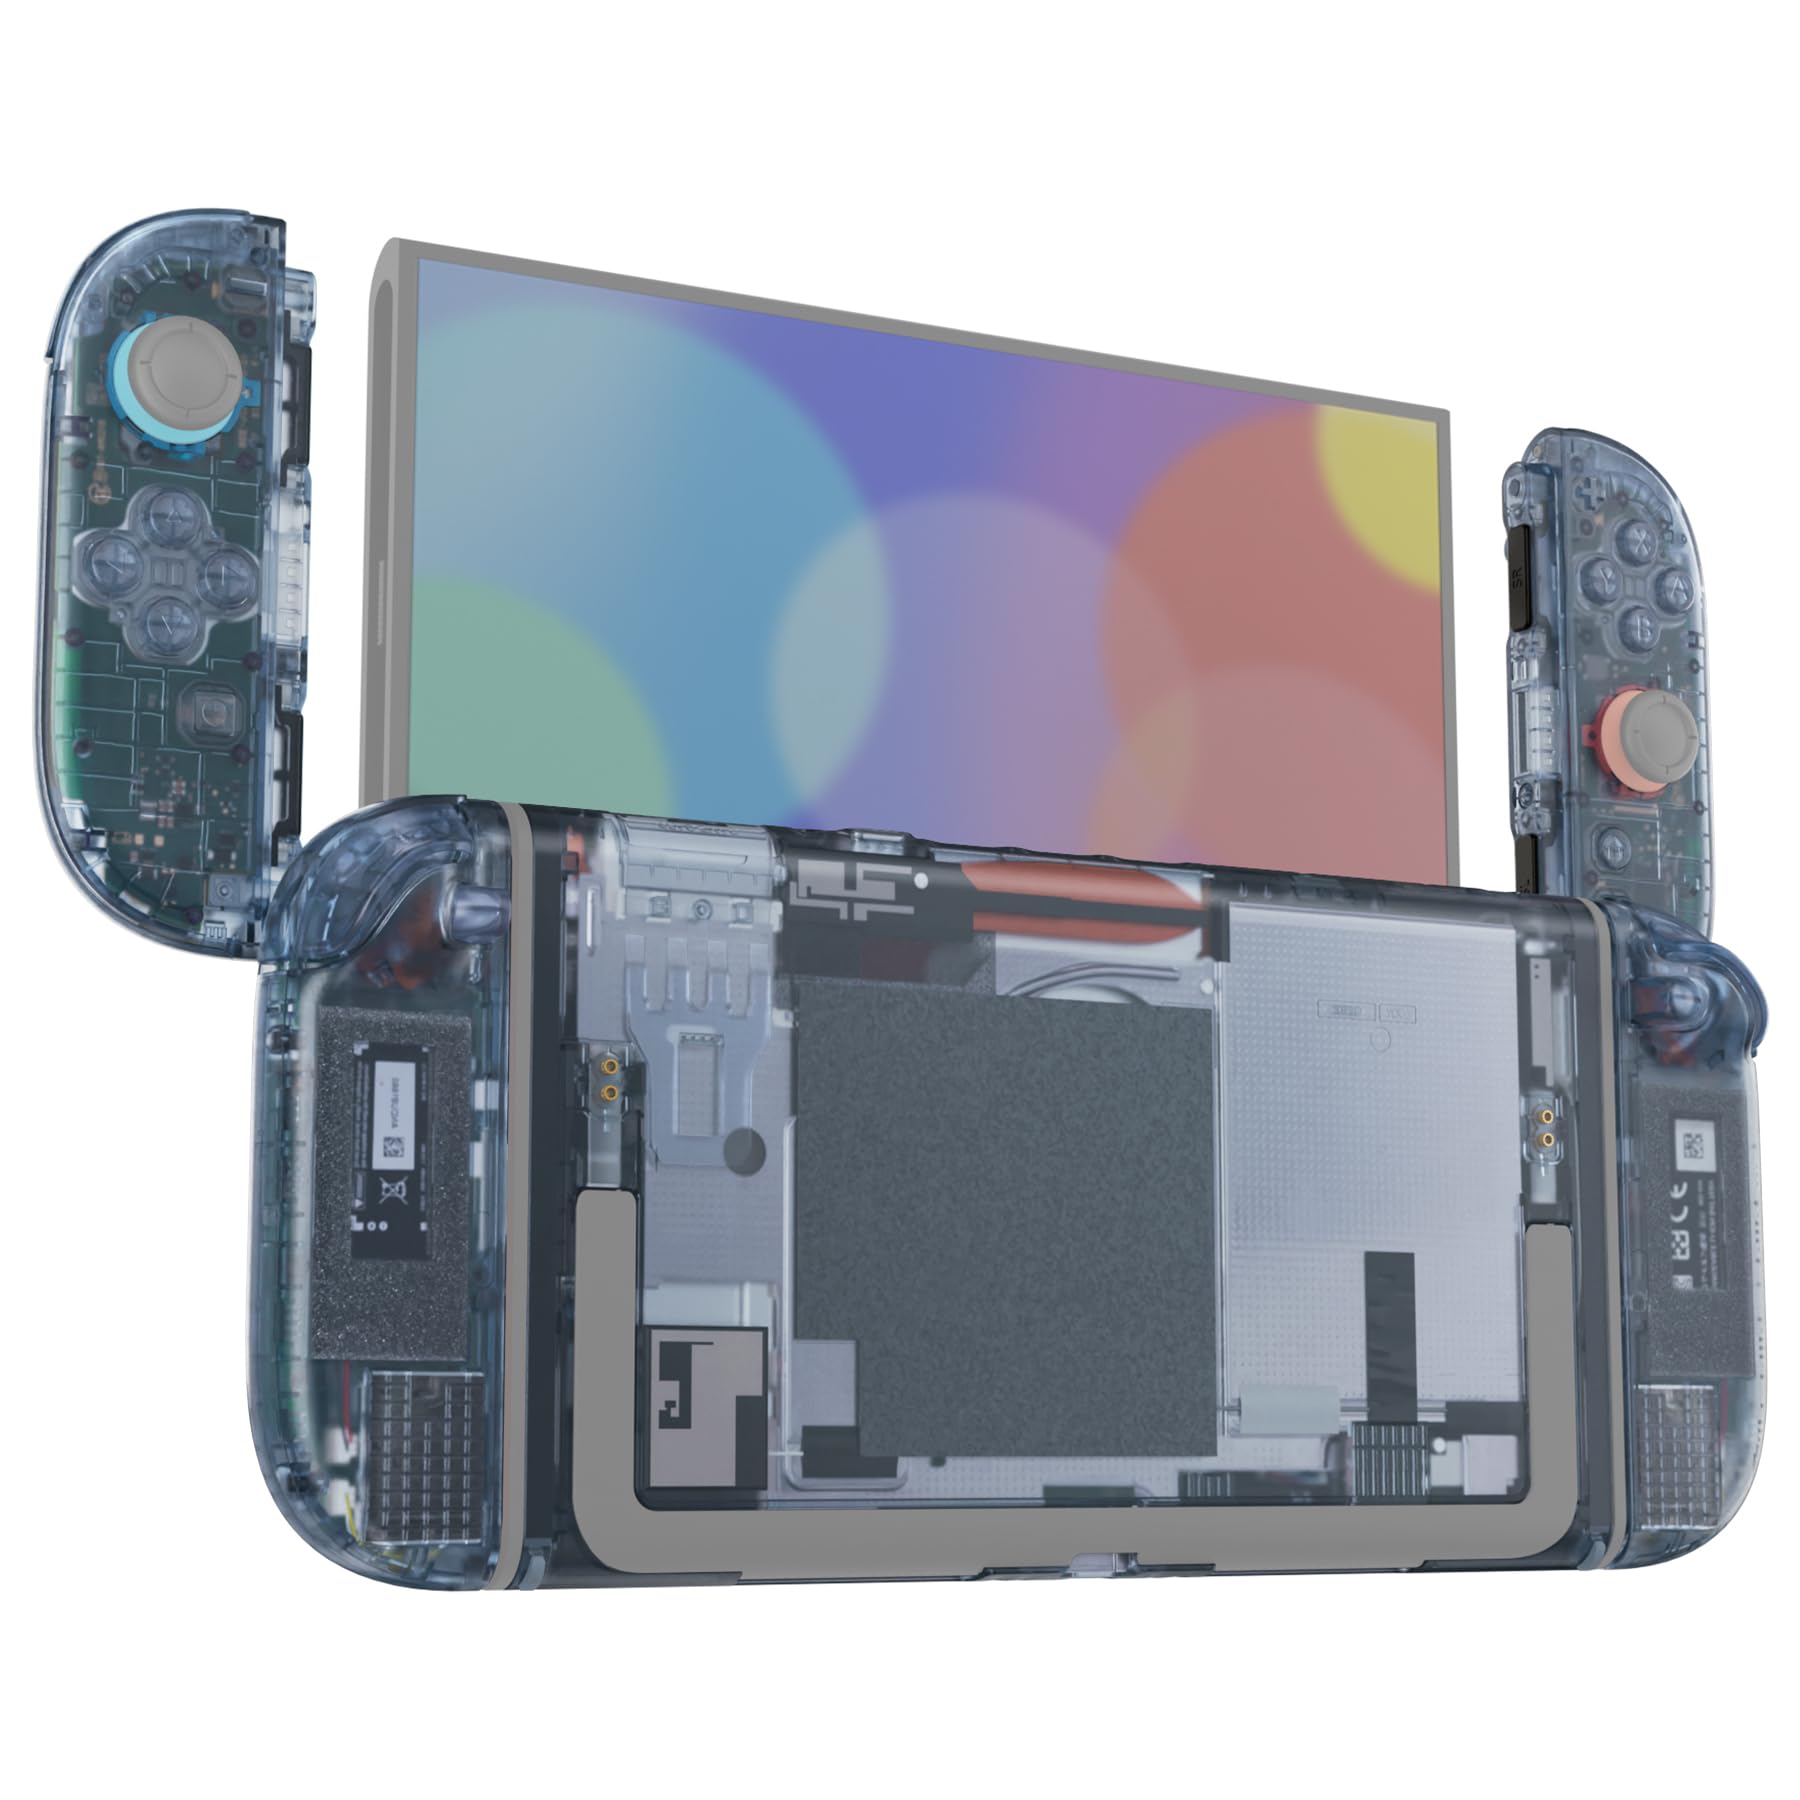
Image: The eXtremeRate DIY Replacement Shell Buttons kit in Clear Glacier Blue, showcasing the console and Joycon shells.

Image: A compatibility chart indicating that the product is for Nintendo Switch 2 only, and not compatible with Nintendo Switch, Switch OLED, or Switch Lite.
Package Contents
The eXtremeRate DIY Replacement Shell Buttons kit includes the following components:
- Full replacement shells and buttons for both Joycon 2 controllers and the Nintendo Switch 2 console.
- Sticker for the kickstand (kickstand itself is not included).
- Screwdrivers (various types required for disassembly).
- Tweezer.
- Prying tool.
- Spare screws and springs.
Note: The console, controller devices, kickstand, and any electronic internal parts are not included unless specified as replacement parts within the kit.

Image: An exploded diagram showing all included components of the eXtremeRate replacement shell kit, including shells, buttons, tools, and small parts.
Installation Guide
The installation of this replacement shell kit requires moderate experience with electronic device disassembly and reassembly. It involves handling small components and delicate internal parts of your Nintendo Switch 2 console and Joycon 2 controllers.
For a comprehensive visual guide, it is highly recommended to watch the official installation video. Search for "eXtremeRate replacement shell for Switch 2" on YouTube to find the detailed tutorial. Please follow the steps carefully and exercise patience throughout the process.
Ensure you have a clean, well-lit workspace and organize all screws and components to avoid loss or mix-up during installation.
Video: An overview of the eXtremeRate DIY Replacement Shell Buttons for Nintendo Switch 2, showcasing the product's appearance and features. This video is for general product viewing and not a step-by-step installation guide.
Video: A short demonstration of the eXtremeRate Shell Buttons for Nintendo Switch 2, highlighting the customized look and feel. This video is for general product viewing and not a step-by-step installation guide.
Operating Instructions
Once the eXtremeRate replacement shell and buttons are correctly installed, your Nintendo Switch 2 console and Joycon 2 controllers will function as normal. The replacement parts are designed to maintain full compatibility with the Joycon 2 magnetic release and lock mechanisms, as well as the console's Dock mode.
No special operating procedures are required beyond the standard use of your Nintendo Switch 2 system.
Maintenance
To maintain the appearance and longevity of your eXtremeRate replacement shell, follow these simple maintenance guidelines:
- Cleaning: Use a soft, dry, or slightly damp cloth to wipe down the shell. Avoid abrasive cleaners or solvents, as these can damage the plastic finish.
- Handling: While durable, avoid dropping the console or applying excessive force, which could cause damage to the shell or internal components.
- Storage: Store your Nintendo Switch 2 in a clean, dry environment away from extreme temperatures.
Troubleshooting
If you encounter issues during or after the installation, consider the following:
- Installation Difficulties: Re-watch the official YouTube installation video carefully, paying close attention to each step. Ensure all screws are correctly placed and tightened appropriately (do not overtighten).
- Buttons Not Responding: Verify that all ribbon cables and button membranes are correctly seated and connected. Ensure no debris is obstructing button movement.
- Missing Parts: If any components were missing from your package, please contact eXtremeRate customer support for assistance.
- General Malfunction: If the console or controllers do not function correctly after installation, carefully re-open the device and check all internal connections. If the issue persists, it may be related to the original hardware or require professional repair.
Specifications
| Brand Name | eXtremeRate |
| Manufacturer | Extremerate |
| Model | DIY Replacement Shell Buttons for Nintendo Switch 2 (Deluxe Version) |
| Color | Clear Glacier Blue |
| Material | Durable PC Plastic |
| Compatibility | Nintendo Switch 2 Console and Joycon 2 Controllers (Not compatible with Switch, Switch Lite, or Switch OLED) |
| Item Weight | 10 Grams |
| Item Dimensions | 0.39 x 0.79 x 1.18 inches (Packaging/Component dimensions) |
Warranty and Support
Warranty: This product is covered by the manufacturer's warranty provided by Extremerate. For specific details regarding warranty coverage and duration, please refer to the documentation included with your purchase or contact the manufacturer directly.
Customer Support: For any questions, technical assistance, or issues not covered in this manual, please contact eXtremeRate customer support. Contact information can typically be found on the product packaging or the official eXtremeRate website.