1. Introduction
Thank you for choosing the VEVOR Commercial Slushy Machine, Model XRJ3LX2. This dual-tank frozen beverage maker is designed for efficient and reliable operation in commercial settings such as restaurants, bars, cafes, and food trucks. This manual provides essential information for the safe and effective installation, operation, maintenance, and troubleshooting of your machine. Please read this manual thoroughly before use and retain it for future reference.
2. Safety Instructions
To prevent injury or damage, always follow these basic safety precautions:
- Electrical Safety: Ensure the machine is connected to a grounded power outlet with the correct voltage. Do not operate with a damaged power cord or plug. Keep electrical components dry.
- Placement: Place the machine on a stable, level surface. Ensure adequate ventilation around the unit (three-sided ventilation is recommended) to prevent overheating. Do not block air vents.
- Handling Liquids: Always use appropriate liquid levels as indicated in the tanks. Do not overfill. Ensure lids are securely in place during operation.
- Cleaning: Disconnect the power before cleaning. Follow the cleaning instructions carefully to avoid damage to components and ensure hygiene. The product care instructions specify hand washing for certain parts.
- Child Safety: Keep the machine out of reach of children. Supervise children to ensure they do not play with the appliance.
- Maintenance: Do not attempt to repair the machine yourself. Contact qualified service personnel for any repairs or maintenance beyond routine cleaning.
3. Product Overview
The VEVOR Commercial Slushy Machine (Model XRJ3LX2) is a robust unit designed for continuous commercial use. It features two 3-liter (0.8-gallon) tanks, allowing for the preparation of two different flavors simultaneously. The machine is constructed with a stainless steel body and shock-resistant PC tanks for durability.

Figure 3.1: Front view of the VEVOR Commercial Slushy Machine, Model XRJ3LX2.
Key components include:
- Dual Tanks: Two independent 3L (0.8 Gal) tanks for different beverages.
- Mixing Augers: 360° rotating mixers ensure even blending and consistent slush texture.
- Digital Control Panel: Easy-to-read interface for setting parameters and modes.
- Dispensing Faucets: Spring-loaded faucets for convenient serving.
- Drip Trays: Removable trays to catch spills and maintain cleanliness.
- Ventilation: Three-sided ventilation for optimal cooling.
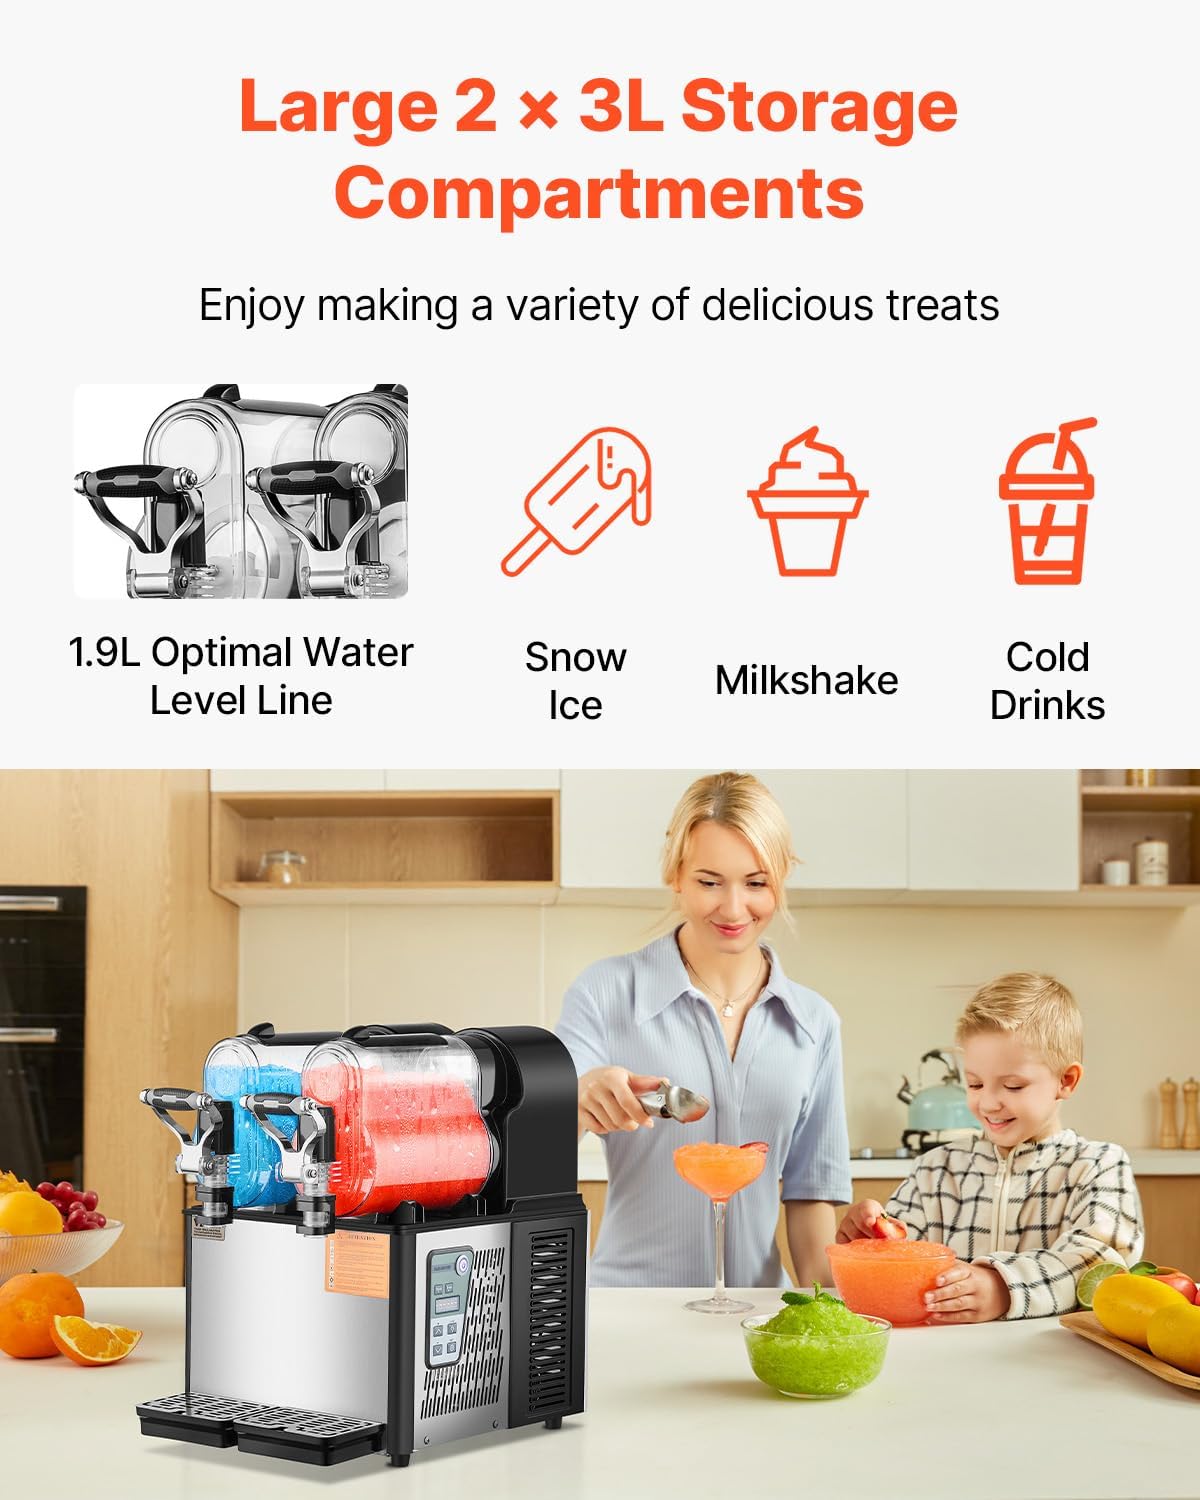
Figure 3.2: Digital Control Panel.
4. Setup
Follow these steps for initial setup:
- Unpacking: Carefully remove the machine from its packaging. Inspect for any shipping damage.
- Placement: Position the machine on a sturdy, level counter or table. Ensure there is at least 6 inches of clear space on all sides for proper ventilation.
- Initial Cleaning: Before first use, disassemble the tanks, lids, mixing augers, and dispensing faucets. Wash all removable parts with warm, soapy water, rinse thoroughly, and dry completely. Wipe down the main unit with a damp cloth.
- Assembly: Reassemble the mixing augers, tanks, and lids. Ensure all sealing rings are correctly placed to prevent leaks.
- Power Connection: Plug the machine into a dedicated, grounded electrical outlet.

Figure 4.1: Pouring liquid into the tank during setup.
5. Operation
Operating your VEVOR slushy machine is straightforward:
- Prepare Mixture: Mix your desired beverage concentrate with water according to the recipe. Ensure the sugar content is appropriate for slush consistency (typically ≥13% for optimal freezing).
- Fill Tanks: Pour the prepared mixture into the tanks. Do not exceed the maximum fill line.
- Power On: Press the power button on the control panel.
- Select Mode/Temperature: Use the digital control panel to set the desired temperature or mode. The machine offers 15 levels of temperature control (-11°C to 5°C / 12.2°F to 33.8°F).
- Start Freezing: Press the "up" button for 5 seconds to auto-save settings and begin the ice-making process. The 360° rotating mixer will continuously stir the mixture.
- Dispensing: Once the desired slush consistency is achieved, press the spring-loaded faucet handle to dispense the beverage.
- Night Preservation Mode: To preserve slush overnight, hold the night button. This mode maintains the slush temperature between 37.4°F–39.2°F (3°C–4°C) to prevent melting or spoilage.

Figure 5.1: Digital control panel for setting temperature and modes.
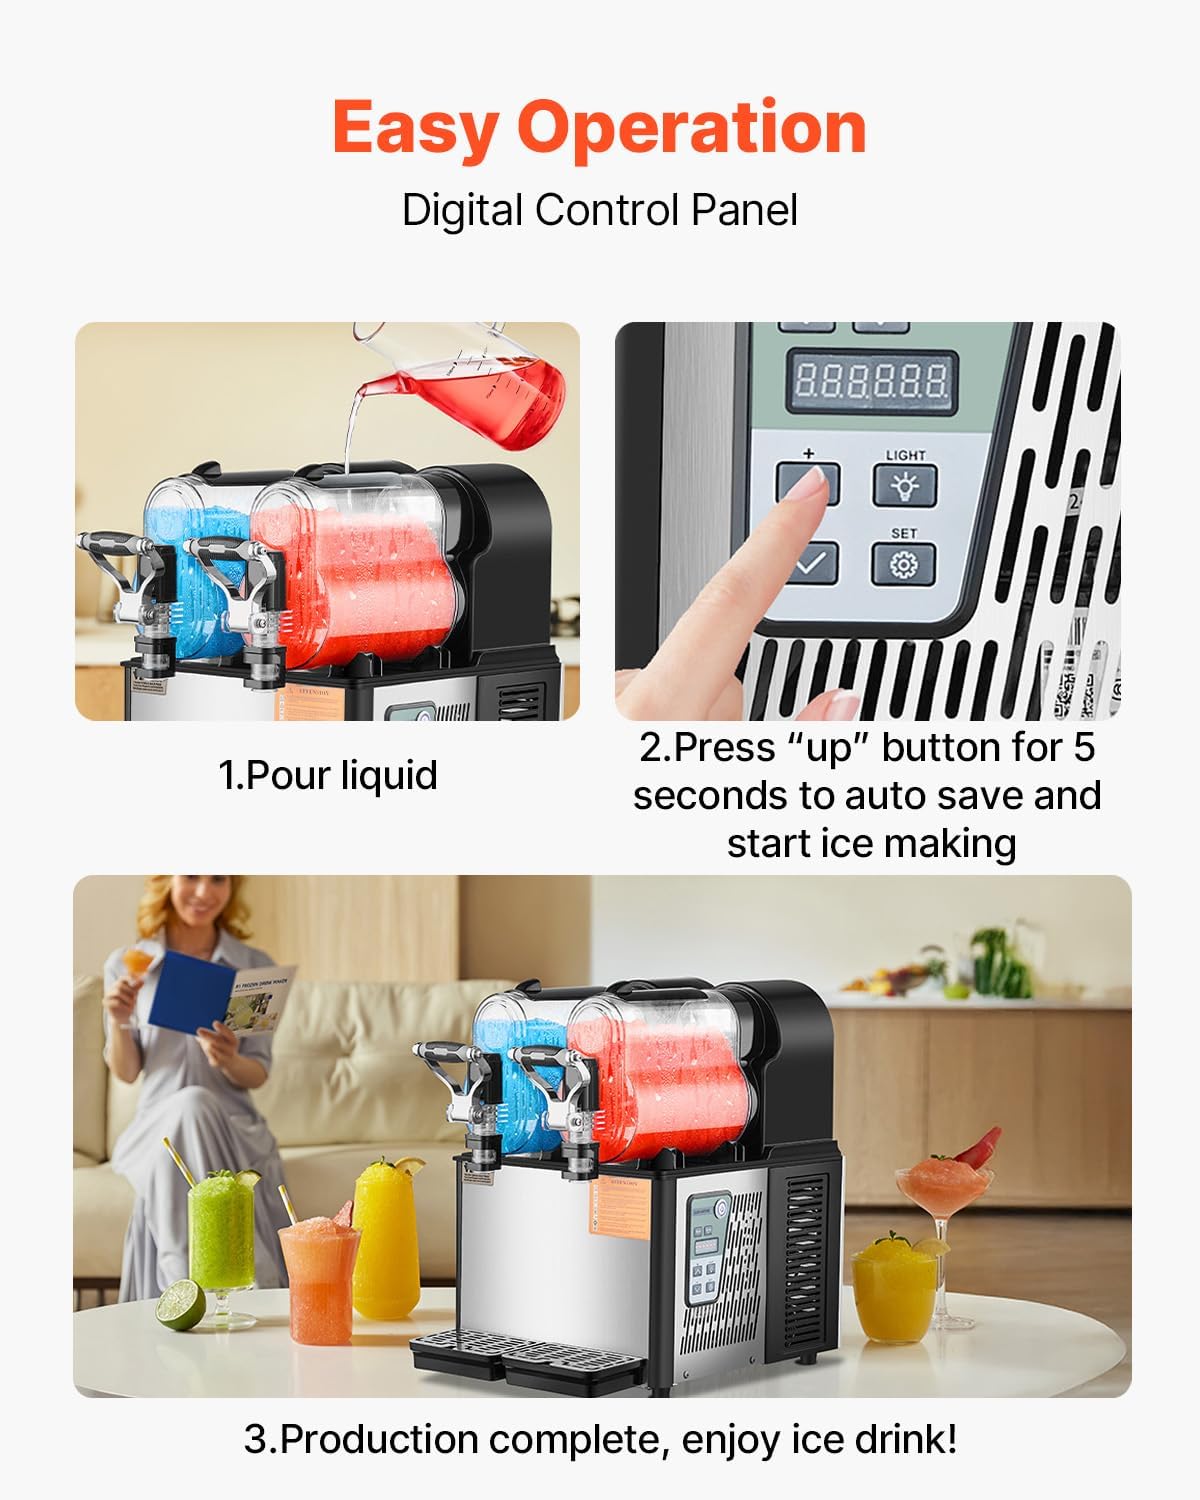
Figure 5.2: Dispensing a frozen beverage.
6. Maintenance and Cleaning
Regular cleaning and maintenance are crucial for the longevity and hygienic operation of your machine.
- Daily Cleaning (Quick Mode): After each use, empty the tanks. Fill them with clean water and activate the cleaning mode (refer to control panel instructions). This one-touch self-cleaning helps rinse the system.
- Deep Cleaning (Removable Parts): For thorough cleaning, disassemble the tanks, lids, mixing augers, and dispensing faucets. Wash these parts by hand with warm, soapy water. Rinse thoroughly and allow them to air dry completely before reassembly.
- Drip Trays: Regularly empty and clean the drip trays to prevent spills and maintain hygiene.
- Exterior Cleaning: Wipe the exterior of the machine with a soft, damp cloth. Do not use abrasive cleaners or immerse the main unit in water.

Figure 6.1: Removable parts for deep cleaning.
7. Troubleshooting
Refer to the table below for common issues and their solutions:

Figure 7.1: Beverage Type Settings and Conditions.
- Slush not freezing:
- Check the sugar content of your mixture. For optimal slush, sugar content should be ≥13%.
- Ensure the alcohol content is not too high, as high alcohol content can inhibit freezing.
- Verify the temperature setting is appropriate for slush (Levels 3-7, or 26.6°F–30.2°F).
- Check ambient room temperature.
- Slush too hard/freezing solid:
- Adjust the temperature setting to a warmer level.
- Ensure the sugar content is not too low, as low sugar can cause over-freezing.
- Machine leaking:
- Check that all sealing rings are correctly installed and not damaged.
- Ensure tanks are properly seated and lids are secure.
- Machine not turning on:
- Verify the power cord is securely plugged into a working, grounded outlet.
- Check the circuit breaker.
8. Specifications
| Model Number: | XRJ3LX2 |
| Brand: | VEVOR |
| Capacity: | 2 x 3 Liters (0.8 Gallons x 2) |
| Material: | Stainless Steel + ABS + PC |
| Color: | Black |
| Settings: | 15 Temperature Settings |
| Net Weight: | 30.1 kg / 66.4 lbs |
| Item Size (L x W x H): | 14.2 x 20.1 x 20.3 inches / 360 x 510 x 515 mm |
| Recommended Uses: | Bar, Cafe, Restaurant |
| Product Care: | Hand Wash (removable parts) |
| Included Components: | 1 x Commercial Slushy Machine, 1 x Tank Sealing Ring, 4 x Small Sealing Ring, 2 x Stirring Shaft Sealing Ring, 1 x User Manual, 2 x Tank Lid, 2 x Drip Tray |

Figure 8.1: Product Dimensions.
9. Warranty and Support
Your VEVOR Commercial Slushy Machine is backed by a 30-day easy return policy. For technical support, warranty information, or any inquiries, please refer to the contact information provided with your purchase or visit the official VEVOR support website. VEVOR is committed to providing customer support for its products.
For additional information and support, you may visit the VEVOR store on Amazon: VEVOR Store


