
Introduction
Thank you for choosing the TengXcel Cordless Handheld Planer EPT698S. This manual provides essential information for the safe and effective operation, maintenance, and troubleshooting of your new power tool. Please read this manual thoroughly before use and retain it for future reference.

Image: The TengXcel Cordless Handheld Planer EPT698S, showcasing its ergonomic design and battery slot.
Safety Instructions
Always observe basic safety precautions to reduce the risk of fire, electric shock, and personal injury when operating power tools.
- Wear Eye Protection: Always wear safety goggles or safety glasses with side shields.
- Wear Hearing Protection: Use ear protection during extended operation.
- Keep Work Area Clean: Cluttered areas invite accidents.
- Avoid Dangerous Environments: Do not use power tools in damp or wet locations, or expose them to rain.
- Keep Children Away: All visitors should be kept at a safe distance from the work area.
- Dress Properly: Do not wear loose clothing or jewelry. Contain long hair.
- Secure Workpiece: Use clamps or a vise to hold the workpiece.
- Do Not Overreach: Keep proper footing and balance at all times.
- Disconnect Tools: Disconnect the battery pack before making adjustments, changing accessories, or storing the tool.
- Avoid Accidental Starting: Ensure the switch is in the OFF position before inserting the battery pack.
- Use the Right Tool: Do not force a small tool or attachment to do the job of a heavy-duty tool.
- Maintain Tools With Care: Keep cutting tools sharp and clean. Follow instructions for lubricating and changing accessories.
- Check for Damaged Parts: Before further use, carefully check the tool for proper operation.
- Use Only Approved Batteries: This planer is designed for specific 20V battery types (e.g., DeWalt 20V Maxx compatible). Using incompatible batteries may cause damage or injury.
Product Overview
The TengXcel EPT698S is a powerful cordless handheld planer featuring a brushless motor for efficient and smooth operation. Key components include:
- Ergonomic Handle: Designed for comfortable grip and control.
- Depth Adjustment Knob: Allows precise control over planing depth.
- Planing Base: Features aluminum alloy base plates for durability and smooth gliding.
- Reversible Blades: High-quality aluminum alloy blades for efficient material removal.
- Safety Lock Button: Prevents accidental startup.
- Dust Ejection Port: For chip removal (dust collection bag sold separately).
- Guide Rule Slot: For attaching the included guide fence.

Image: Illustration of the powerful brushless motor, indicating 30,000 cuts per minute (CPM) for efficient planing.
Setup
1. Battery Installation
- Ensure the planer's power switch is in the OFF position.
- Align the battery pack with the battery slot on the planer.
- Slide the battery pack into the slot until it clicks securely into place.
- To remove, press the battery release button and slide the battery out.
2. Adjusting Planing Depth
The planing depth can be adjusted from 0 to 2mm (0-0.08 inches).
- Locate the depth adjustment knob at the front of the planer.
- Rotate the knob clockwise to decrease the planing depth or counter-clockwise to increase it.
- Align the desired depth setting with the indicator mark.

Image: Close-up view of the depth adjustment knob, illustrating its function for setting planing depth between 0-0.08 inches (0-2mm).
3. Attaching the Guide Rule
The included guide rule helps maintain straight cuts and consistent planing width.
- Slide the guide rule into the designated slot on the side of the planer.
- Adjust the guide rule to the desired planing width.
- Tighten the locking screw to secure the guide rule in position.
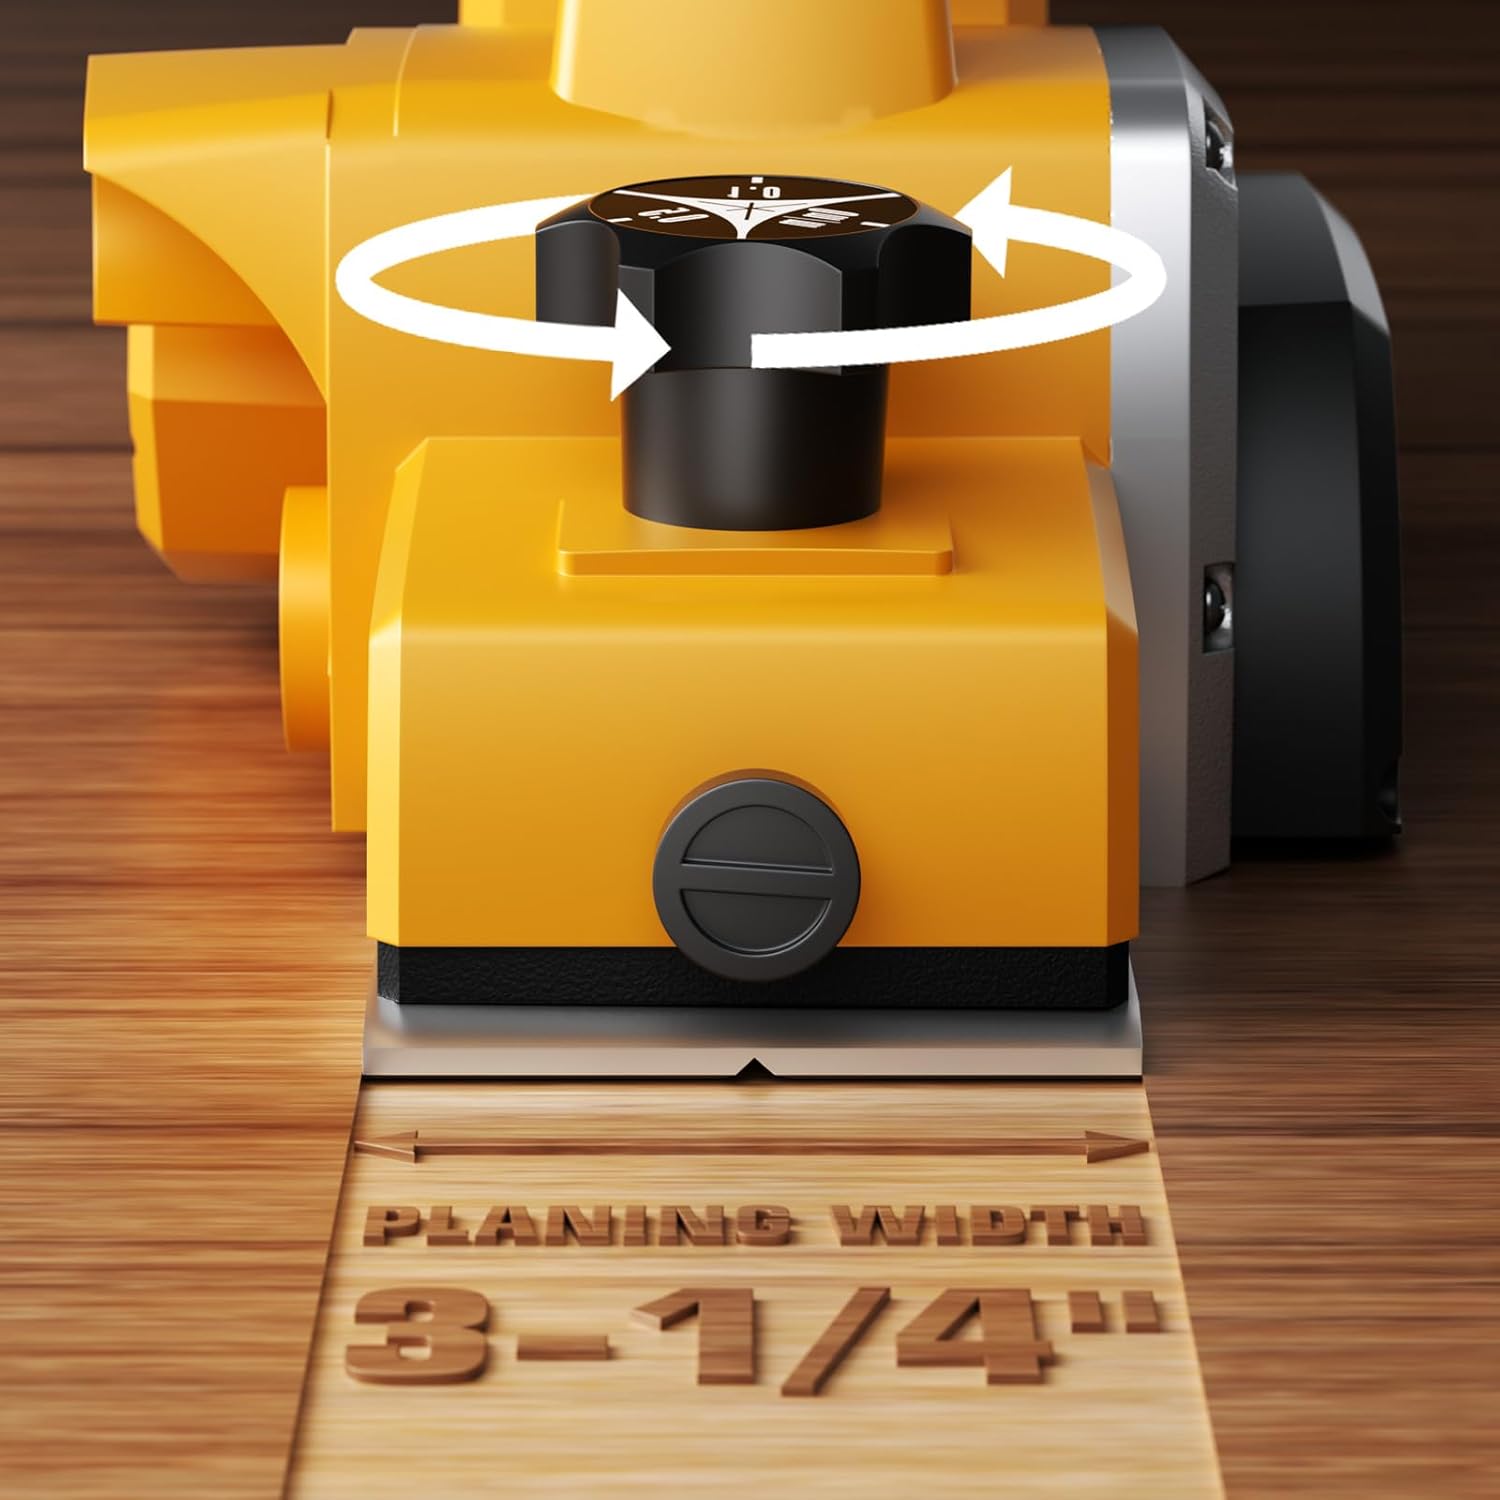
Image: The planer demonstrating its 3-1/4 inch planing width capability, with the guide rule attached.
Operating Instructions
1. Starting and Stopping the Planer
- To Start: Press the safety lock button, then squeeze the trigger switch.
- To Stop: Release the trigger switch. The safety lock will automatically reset.

Image: The safety lock mechanism on the planer's handle, designed to prevent accidental activation.
2. General Planing
- Place the front shoe of the planer flat on the workpiece.
- Start the planer and allow the motor to reach full speed.
- Apply even pressure and move the planer smoothly across the workpiece.
- Avoid tilting the planer or applying excessive force, which can lead to uneven cuts.

Image: A user demonstrating the operation of the TengXcel planer on a wooden beam, highlighting proper technique.
3. Chamfering Edges
The planer features a V-groove in the front shoe for chamfering edges.
- Place the V-groove over the edge of the workpiece.
- Start the planer and guide it along the edge, maintaining consistent pressure.

Image: The planer being used to chamfer the edge of a wooden block, utilizing its V-groove feature.
4. Dust Management
The planer ejects wood chips from a side port. For indoor use, it is recommended to connect a dust collection system or use a dust bag (sold separately) to minimize mess.
Maintenance
1. Blade Care
The planer uses reversible blades. When one side becomes dull, the blades can be flipped to use the other sharp edge. When both sides are dull, replace the blades.
- Replacement: Always use genuine TengXcel replacement blades or compatible alternatives. Refer to the product packaging for specific blade types.
- Adjustment: Ensure blades are properly seated and adjusted to the correct depth on the drum after replacement.
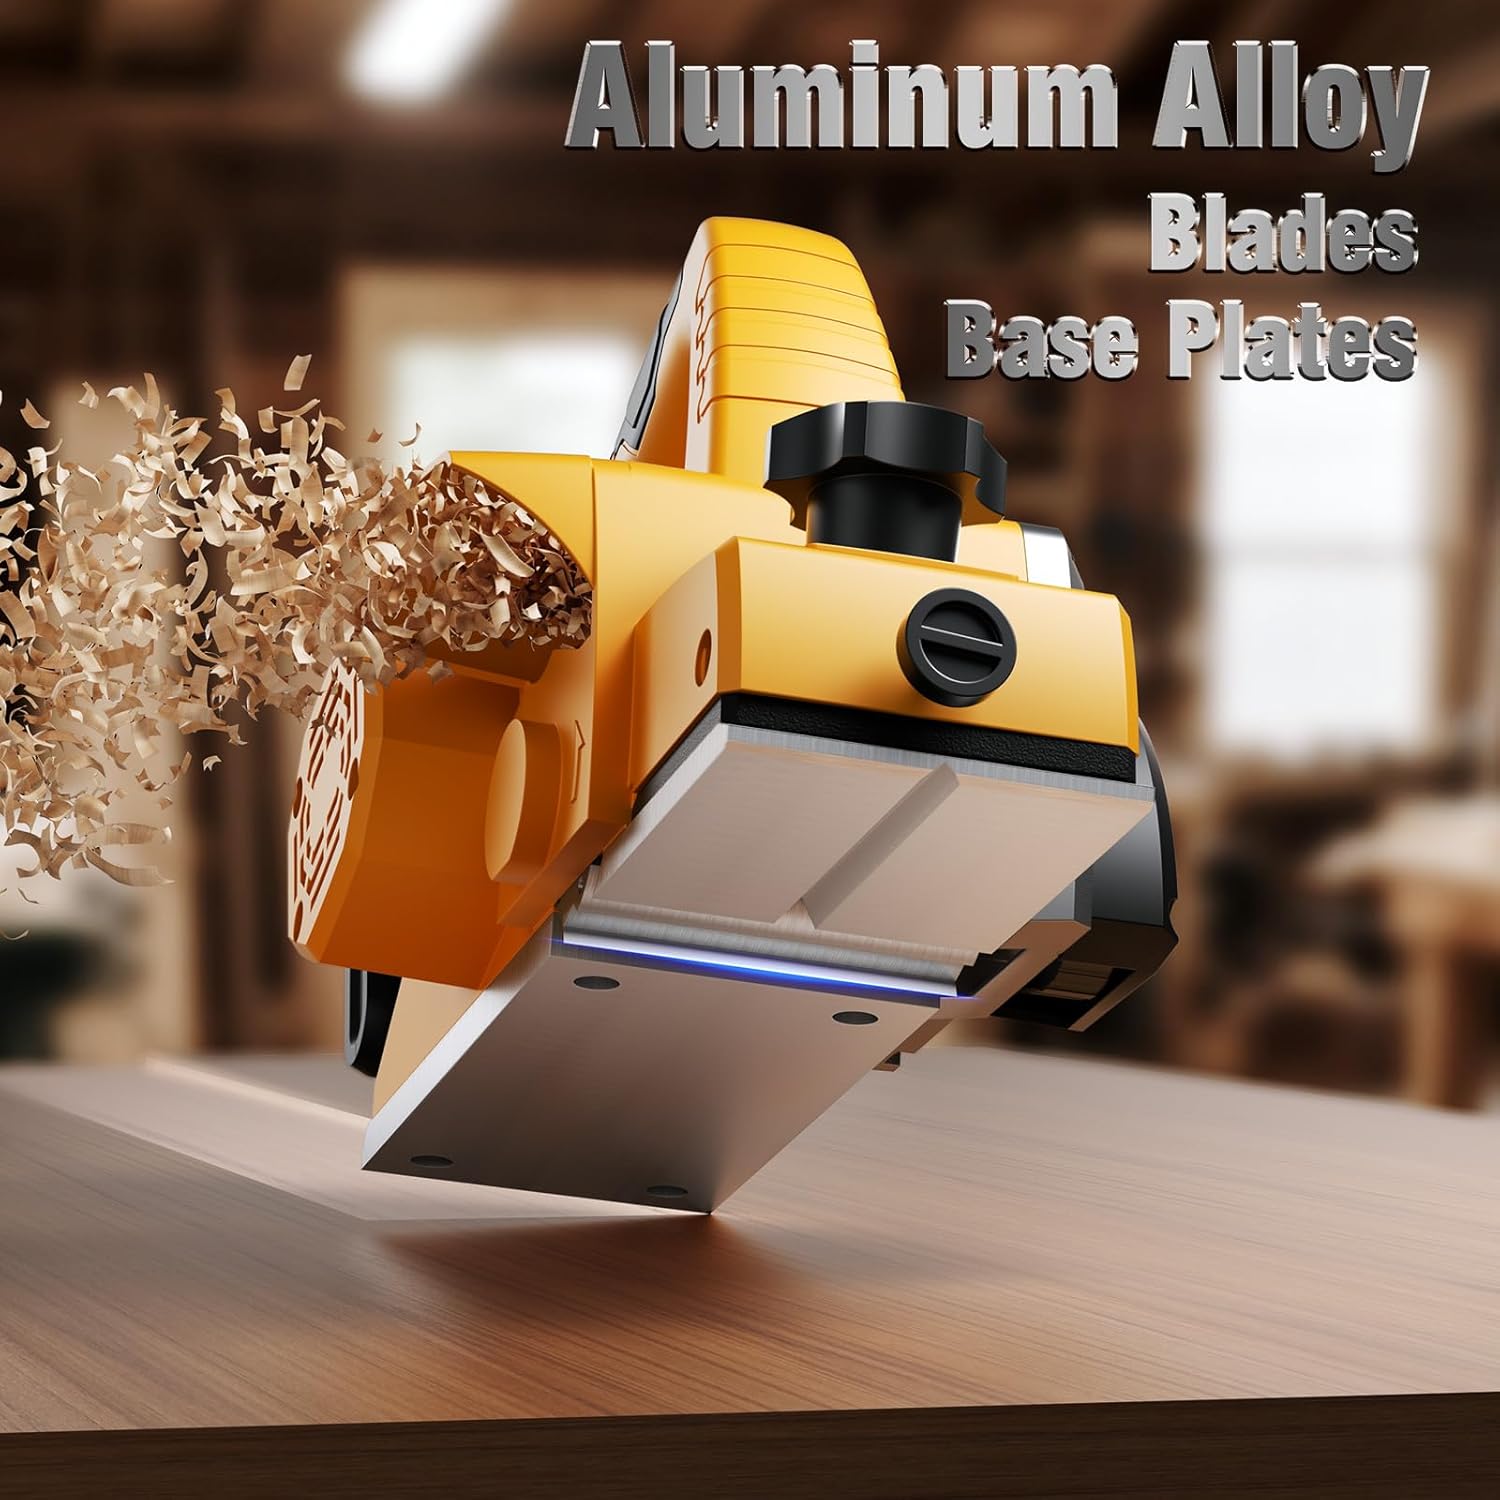
Image: Close-up view of the planer's aluminum alloy blades and base plates, highlighting their robust construction.
2. Cleaning
- Disconnect the battery pack before cleaning.
- Use a brush or compressed air to remove wood chips and dust from the planer's body, especially around the blade area and ventilation slots.
- Wipe down external surfaces with a clean, damp cloth. Do not use harsh chemicals or solvents.
3. Storage
Store the planer in a dry, secure location out of reach of children. Ensure the battery is removed for long-term storage.
Troubleshooting
| Problem | Possible Cause | Solution |
|---|---|---|
| Planer does not start | Battery not inserted correctly Battery discharged Safety lock not disengaged | Ensure battery is fully seated Charge battery pack Press safety lock button before trigger |
| Poor planing finish | Dull blades Incorrect planing depth Uneven pressure | Replace or flip blades Adjust planing depth Apply even pressure across workpiece |
| Excessive vibration | Loose blades Damaged blades Unbalanced motor | Check and tighten blade screws Replace blades Contact customer support if issue persists |
| Motor stalls during operation | Overload Dull blades Low battery charge | Reduce feed rate Replace or flip blades Charge battery pack |
Specifications
| Feature | Specification |
|---|---|
| Model Number | EPT698S |
| Brand | TengXcel |
| Power Source | Battery Powered (Battery Not Included) |
| Motor Type | Brushless |
| Planing Depth | 0-2mm (0-0.08 inches) |
| Planing Width | 3-1/4 inches |
| Cuts Per Minute (CPM) | 30,000 |
| Material | Plastic, Metal |
| Item Weight | 2.6 kg |
| Included Components | Guide Rule |
| Parcel Dimensions | 31.29 x 18.59 x 16.79 cm |
Warranty Information
Specific warranty details for the TengXcel Cordless Handheld Planer EPT698S may vary. Please refer to the warranty card included with your purchase or contact the retailer/manufacturer directly for comprehensive warranty terms and conditions.
Customer Support
For technical assistance, parts, or service inquiries, please contact the seller or manufacturer. Keep your model number (EPT698S) and purchase date readily available when contacting support.