1. Introduction
This manual provides detailed instructions for the setup, operation, maintenance, and troubleshooting of your RK ROYAL KLUDGE N99 Gaming Keyboard. Please read this manual thoroughly before using the product to ensure proper functionality and longevity.
2. Setup
2.1 Package Contents
Before proceeding, please verify that all components are present in the package:
- RK ROYAL KLUDGE N99 Gaming Keyboard
- USB-C Cable
- 2-in-1 Key Puller / Switch Puller Tool
- User Manual (this document)
2.2 Connectivity Options
The RK ROYAL KLUDGE N99 keyboard supports three connection modes: Bluetooth 5.1, 2.4GHz Wireless, and Wired (USB-C).

Image: Tri-mode connection options for the RK N99 keyboard, including Bluetooth 5.1, 2.4GHz wireless, and USB-C wired connection.
2.2.1 Bluetooth Connection
- Ensure the keyboard is charged.
- Toggle the switch on the keyboard to Bluetooth mode.
- On your device (PC, laptop, smartphone), enable Bluetooth and search for new devices.
- Select 'RK N99' from the list of available devices to pair. The keyboard can store up to 3 Bluetooth devices.
2.2.2 2.4GHz Wireless Connection
- Ensure the keyboard is charged.
- Locate the 2.4GHz USB receiver (usually stored in a compartment on the keyboard).
- Plug the USB receiver into an available USB port on your computer.
- Toggle the switch on the keyboard to 2.4GHz mode. The keyboard should connect automatically.
2.2.3 Wired (USB-C) Connection
- Connect one end of the provided USB-C cable to the keyboard's USB-C port.
- Connect the other end of the USB-C cable to an available USB port on your computer.
- The keyboard will automatically switch to wired mode and begin charging.
2.3 Charging the Keyboard
The RK N99 keyboard is equipped with a 7500mAh Lithium Polymer battery. To charge, connect the keyboard to a power source using the USB-C cable. The Smart Digital Screen will display the charging status.
3. Operating Instructions
3.1 Smart Digital Screen and Volume Roller
The keyboard features an integrated Smart Digital Screen and a multi-function knob (Volume Roller) for quick control over various settings.

Image: The Smart Digital Screen displays various functions such as time, date, battery level, connection mode, RGB lighting settings, and operating system mode (Windows/Mac). The knob controls volume by default.
- Home Screen: Displays time, date, battery level, and connection status.
- GIF Image Display: Supports custom GIF images. Refer to software instructions for uploading.
- Connection Status: Shows the active connection mode (Bluetooth, 2.4G, Wired).
- RGB Control: Adjust backlight effects, brightness, and color.
- Win/Mac Mode: Switch between Windows and macOS layouts.
- Volume Control: The knob functions as a volume roller by default. Rotate to adjust volume, press to mute/unmute.
3.2 Backlighting
The RK N99 keyboard features full RGB backlighting. Use the Smart Digital Screen or specific key combinations (refer to the keyboard's function layer diagram, usually printed on the keycaps or in a separate quick guide) to cycle through lighting modes, adjust brightness, and change colors.
3.3 Hot-Swappable Switches
The keyboard is designed with a hot-swappable PCB, allowing users to change mechanical switches without soldering. It supports both 3-pin and 5-pin switches.

Image: Illustration of the hot-swappable feature, demonstrating how to remove and insert switches using the provided tool. It also highlights the pre-lubed linear cream switches and the 2-in-1 key puller.
3.3.1 Changing Switches
- Power off the keyboard or disconnect it from your device.
- Use the keycap puller end of the 2-in-1 tool to gently remove the desired keycap.
- Use the switch puller end of the tool to carefully grip the top and bottom clips of the switch and pull it straight up.
- Align the pins of the new switch with the holes on the PCB. Ensure the pins are straight.
- Gently press the new switch into place until it clicks securely.
- Replace the keycap.
3.4 Gasket Structure and Pre-lubed Switches
The N99 features a gasket-mounted design with multiple layers of sound-dampening material, providing a soft, quiet, and stable typing experience. It comes with pre-lubed linear cream switches for a smooth and consistent keypress.

Image: Exploded view of the keyboard's internal structure, detailing the gasket mount and various sound-dampening layers that contribute to its typing feel.

Image: Detailed specifications for the pre-lubed linear cream switches, including a force-travel diagram and performance metrics such as total travel (3.4mm ± 0.4mm), conduction stroke (2.0mm ± 0.4mm), and operation force (45 ± 10gf).
3.5 Anti-Ghosting
The RK N99 supports 98-key anti-ghosting, ensuring that all key presses are registered accurately, even during rapid and simultaneous inputs, which is crucial for gaming.
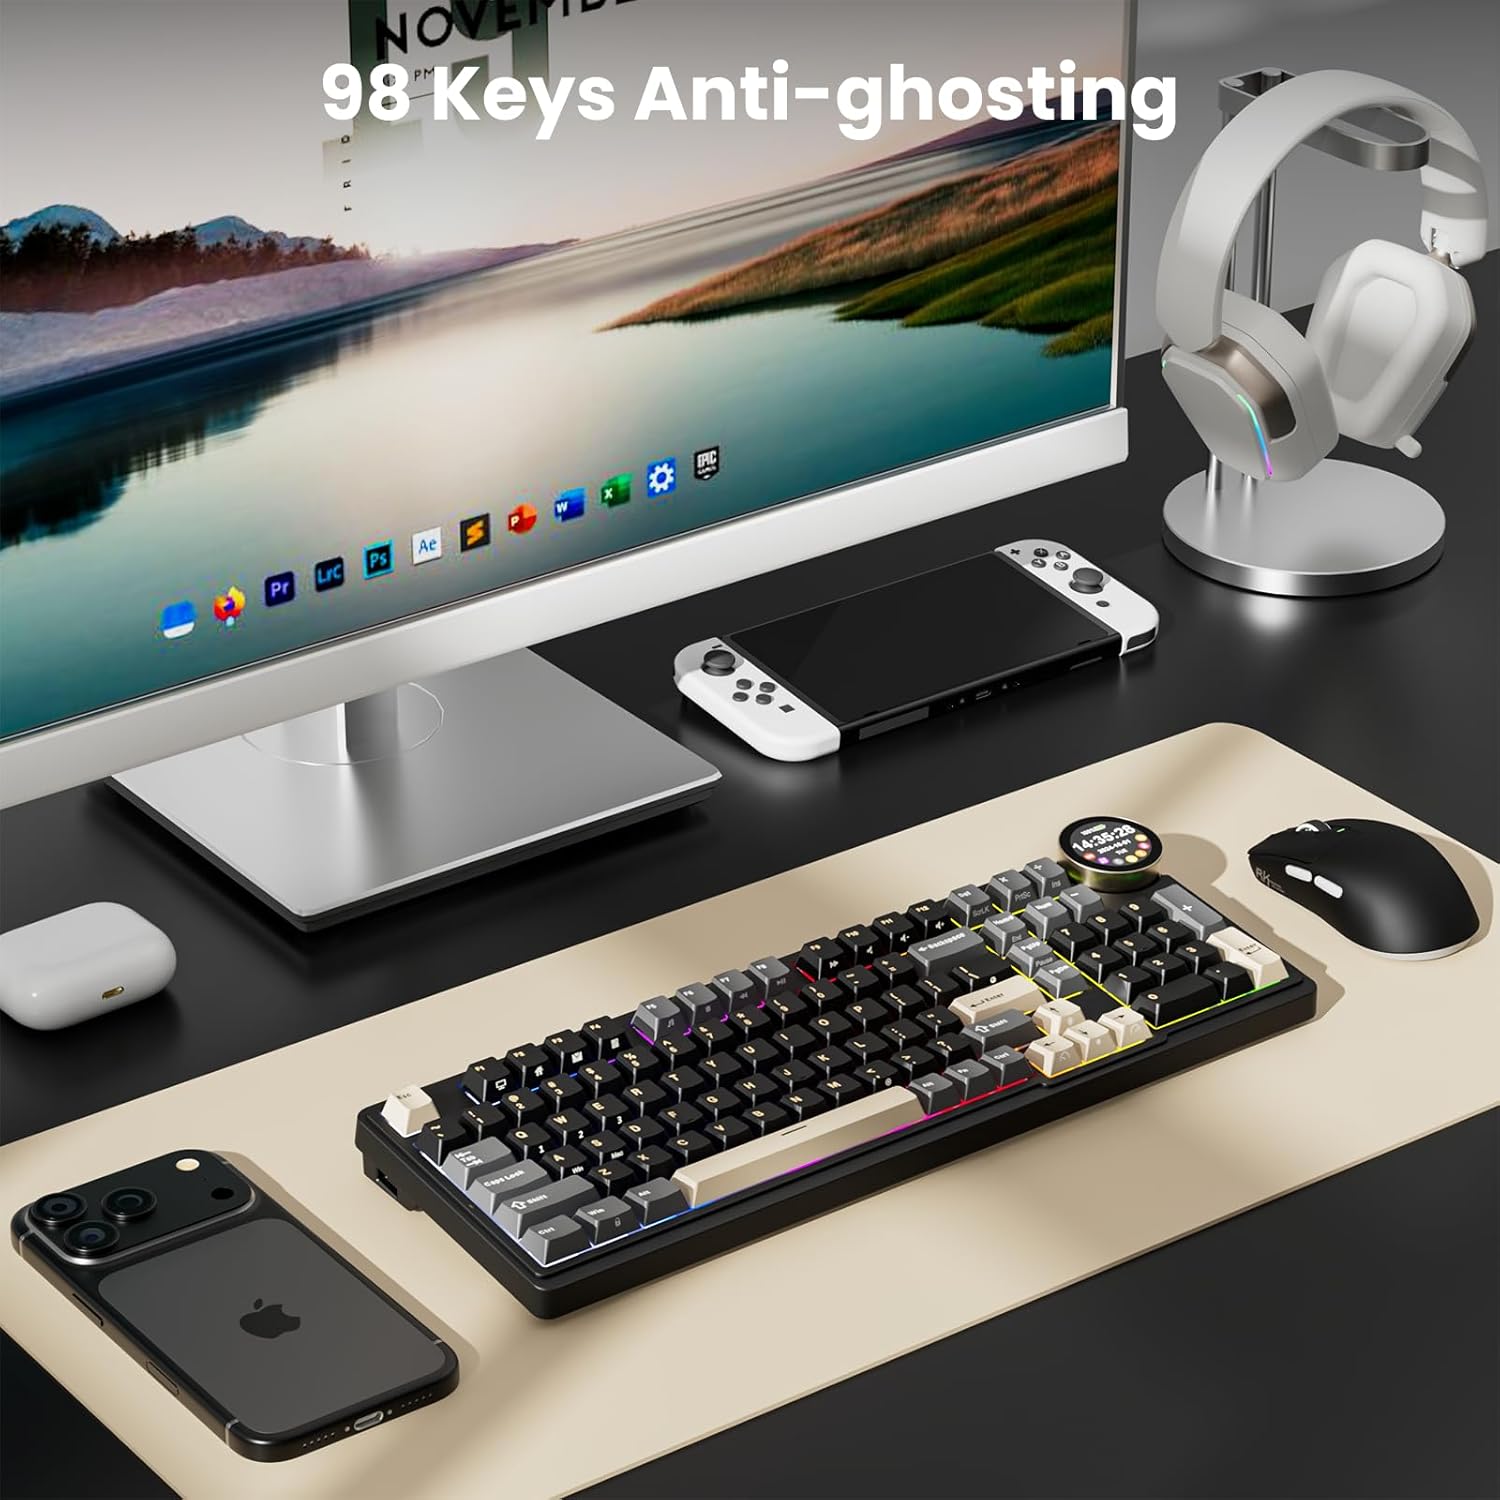
Image: The RK N99 keyboard in a desktop setup, emphasizing its 98-key anti-ghosting capability for precise input during use.
4. Maintenance
4.1 Cleaning the Keyboard
To maintain optimal performance and appearance, regularly clean your keyboard:
- Disconnect the keyboard from all power sources and devices.
- Use a soft brush or compressed air to remove dust and debris from between the keycaps.
- For keycap cleaning, use the provided keycap puller to remove keycaps. Clean them with a mild soap solution and a soft cloth, then ensure they are completely dry before reattaching.
- Wipe the keyboard surface with a slightly damp, lint-free cloth. Avoid harsh chemicals or abrasive materials.
4.2 Switch and Keycap Replacement
As the keyboard is hot-swappable, switches and keycaps can be replaced. Refer to section 3.3.1 for instructions on changing switches. Ensure replacement parts are compatible with the RK N99.
5. Troubleshooting
5.1 Keyboard Not Responding
- Wired Mode: Ensure the USB-C cable is securely connected to both the keyboard and the computer. Try a different USB port or cable.
- 2.4GHz Mode: Ensure the 2.4GHz receiver is plugged in and the keyboard is in 2.4GHz mode. Try re-pairing by pressing a specific key combination (refer to quick guide) or reconnecting the receiver.
- Bluetooth Mode: Ensure Bluetooth is enabled on your device and the keyboard is in Bluetooth pairing mode. Try unpairing and re-pairing the device. Check if the keyboard is connected to the correct Bluetooth profile (BT1, BT2, BT3).
- Battery: Check the battery level on the Smart Digital Screen. Charge the keyboard if the battery is low.
5.2 Backlight Not Working or Incorrect
- Check the RGB control settings on the Smart Digital Screen.
- Ensure the brightness is not set to minimum.
- Try resetting the lighting effects using the keyboard's function keys.
5.3 Keys Not Registering
- If only specific keys are not working, the switch might be faulty or improperly seated. Try removing and re-inserting the switch (refer to section 3.3.1).
- Ensure no debris is lodged under the keycap or switch.
5.4 Smart Digital Screen Issues
- If the screen is blank, check the keyboard's power and battery level.
- If the display is incorrect, try restarting the keyboard.
6. Specifications
| Feature | Detail |
|---|---|
| Brand | RK ROYAL KLUDGE |
| Model | N99 |
| Connectivity Technology | Bluetooth 5.1, 2.4GHz RF, USB-C |
| Keyboard Description | Mechanical |
| Special Features | Backlit (RGB), Hot-Swappable, Volume Roller, Smart Digital Screen, Gasket Structure, PBT Keycaps, Anti-Ghosting (98 keys) |
| Compatible Devices | Gaming Console, Laptop, PC, Smartphone |
| Battery | 7500mAh Lithium Polymer (included) |
| Product Dimensions | 41.12 x 17.78 x 4.88 cm |
| Item Weight | 1.49 kg |
| Material | Plastic |
| Country of Origin | China |
7. Warranty and Support
7.1 Warranty Information
The RK ROYAL KLUDGE N99 Gaming Keyboard comes with a standard manufacturer's warranty. Please refer to the warranty card included in your product packaging or visit the official RK ROYAL KLUDGE website for detailed warranty terms and conditions.
7.2 Customer Support
For technical assistance, troubleshooting, or any product-related inquiries, please contact RK ROYAL KLUDGE customer support through their official website or the contact information provided in your product documentation.