1. Introduction
This manual provides essential information for the safe and efficient operation, maintenance, and troubleshooting of your kolegend Hobby Metal Mini RC Excavator Model 520. Please read this manual thoroughly before operating the product to ensure proper function and longevity.
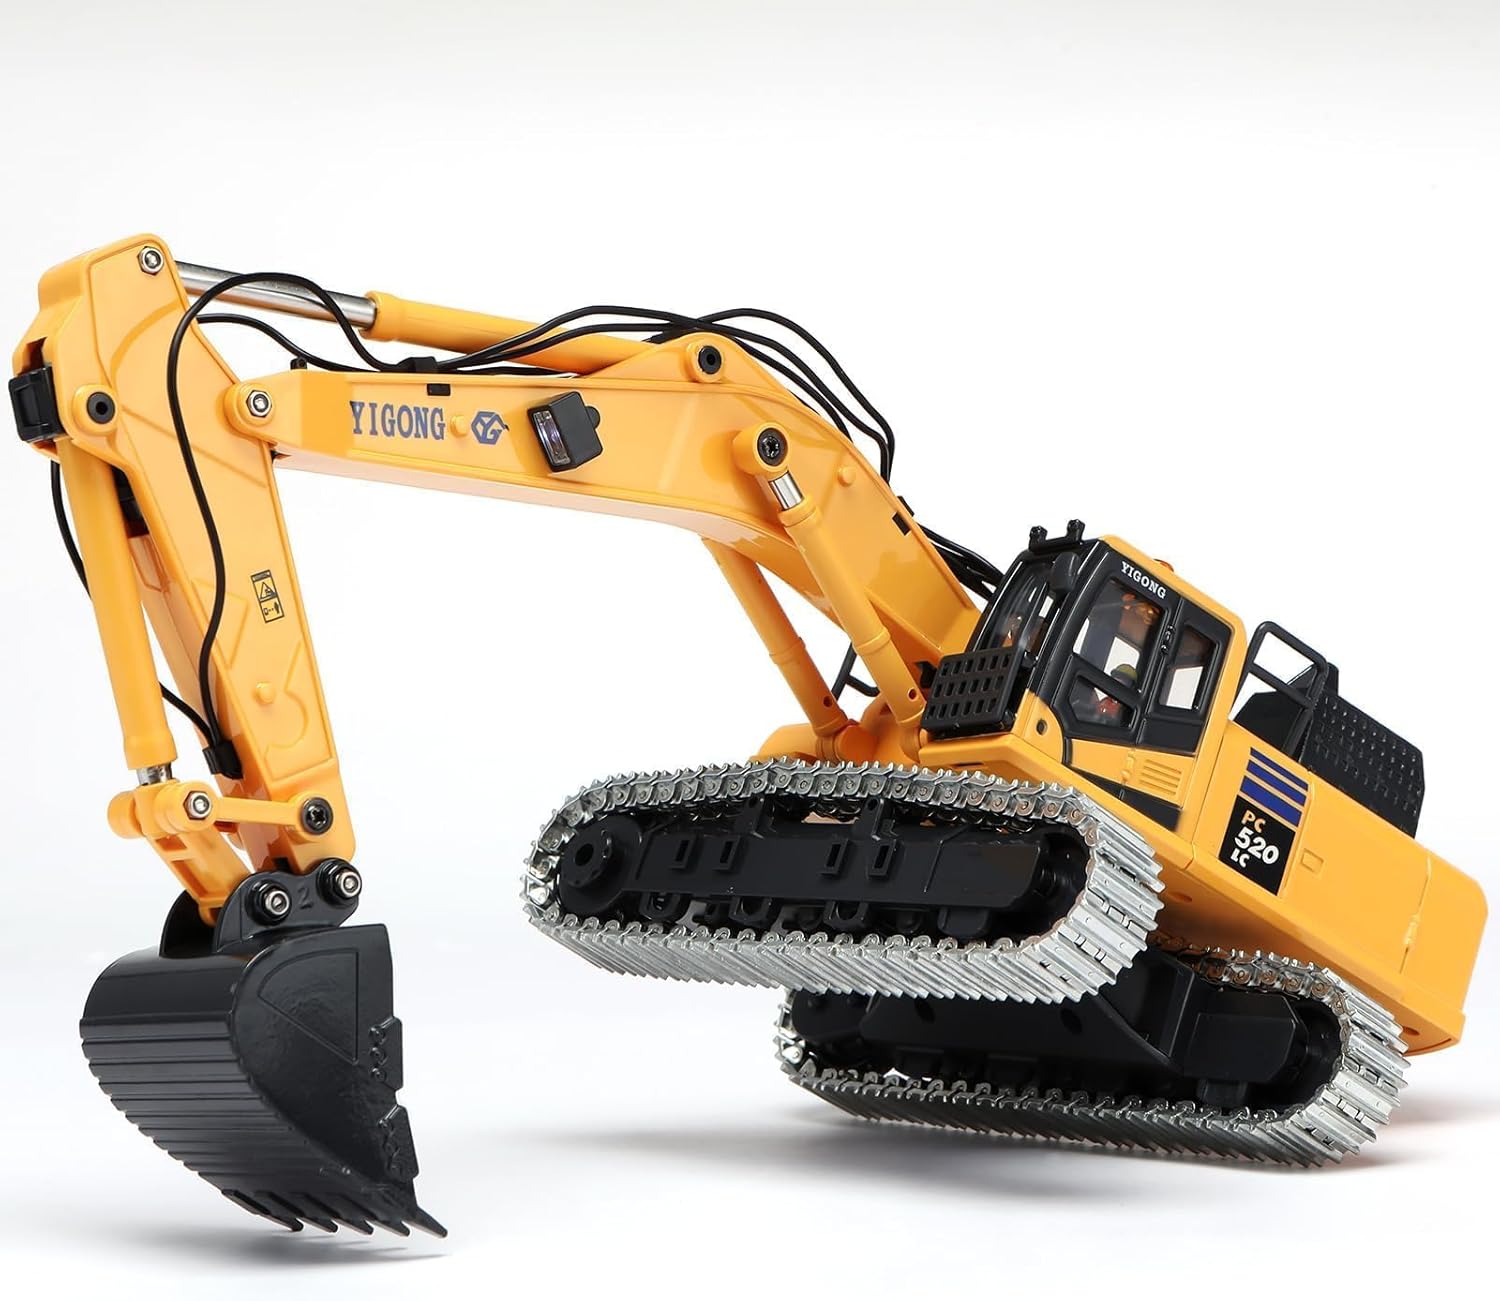
Figure 1: The kolegend Hobby Metal Mini RC Excavator Model 520.
2. Package Contents
Verify that all items listed below are included in your package:
- kolegend Hobby Metal Mini RC Excavator Model 520
- Remote Control Transmitter
- 2 x UL-Certified Li-ion Batteries
- Charging Cable
- Portable Carry Case
- Additional Plastic Tracks (if included in specific package variant)
- Instruction Manual (this document)

Figure 2: Contents of the portable carry case, including the excavator, remote control, batteries, and accessories.
3. Safety Information
- WARNING: CHOKING HAZARD - Small parts. Not suitable for children under 3 years of age.
- Always operate the excavator in a safe environment, away from people, pets, and obstacles.
- Do not operate near water or in wet conditions to prevent electrical damage.
- Ensure batteries are correctly installed and charged using the provided charging cable.
- Supervise children during operation.
- Avoid extreme temperatures and direct sunlight.
4. Setup
4.1. Excavator Battery Installation
- Locate the battery compartment on the rear of the excavator.
- Open the battery compartment cover.
- Connect one of the provided Li-ion batteries to the excavator's power connector.
- Carefully place the battery inside the compartment and close the cover securely.

Figure 3: Installing the battery into the excavator's compartment.
4.2. Remote Control Battery Installation
- Locate the battery compartment on the back of the remote control.
- Open the battery compartment cover.
- Insert 1 AAA battery (included) into the compartment, ensuring correct polarity.
- Close the battery compartment cover securely.

Figure 4: The remote control unit with its LED display and various controls.
4.3. Initial Pairing
The excavator and remote control are typically pre-paired. If re-pairing is needed:
- Ensure both the excavator and remote control are powered off.
- Turn on the excavator. The indicator light will flash.
- Turn on the remote control. The indicator light will flash.
- Move the left joystick up and then down. The indicator lights on both devices should become solid, indicating successful pairing.
5. Operating Instructions
5.1. Remote Control Functions
The remote control features two joysticks and several buttons for precise control:
- Left Joystick: Controls the movement of the excavator tracks (forward/backward, left/right turn).
- Right Joystick: Controls the excavator arm and bucket movements (up/down, scoop/dump).
- Lighting Button: Toggles the working lights on/off.
- Sound Effects Button: Activates engine sounds and other operational sound effects.
- Rotation Button: Initiates 360-degree rotation of the excavator's cabin.
Video 1: Demonstration of the kolegend Hobby Metal Mini RC Excavator's basic movements and functions.
5.2. Basic Movements
- Forward/Backward: Push the left joystick forward or backward.
- Turn Left/Right: Push the left joystick left or right.
- Arm Up/Down: Push the right joystick forward or backward.
- Bucket Scoop/Dump: Push the right joystick left or right.

Figure 5: The excavator's ability to rotate 360 degrees, allowing for versatile operation.
5.3. Advanced Operations (Leadscrew Digging System)
The Leadscrew Digging System provides realistic and powerful digging capabilities. Practice combining joystick movements for complex actions:
- To dig, extend the arm and lower the bucket into the material. Use the right joystick to scoop the material.
- To lift and dump, raise the arm and rotate the cabin to the desired dumping location, then use the right joystick to dump the material.
Video 2: Detailed demonstration of the Leadscrew Digging System in action, showing precise control over the arm and bucket.
6. Maintenance
- Cleaning: Wipe the excavator and remote control with a dry, soft cloth after each use. Avoid water or harsh chemicals.
- Battery Care: Always remove batteries from the excavator and remote control when not in use. Store batteries in a cool, dry place. Do not overcharge or completely discharge the batteries.
- Storage: Store the excavator and its accessories in the provided portable carry case to protect them from dust and damage.
- Track Inspection: Periodically check the tracks for any debris or damage. Clean as necessary.
7. Troubleshooting
| Problem | Possible Cause | Solution |
|---|---|---|
| Excavator does not respond. | Low battery in excavator or remote control; Not paired; Power switch off. | Charge/replace batteries; Re-pair devices; Ensure power switches are ON. |
| Limited range or interference. | Other RC devices nearby; Obstacles blocking signal. | Move to an open area; Turn off other RC devices. |
| Excavator arm/bucket not moving smoothly. | Debris in moving parts; Low battery. | Clean moving parts; Charge battery. |
8. Specifications
- Model: 520
- Brand: kolegend
- Material: Metal (Zinc-Alloy bucket/tracks), ABS Body
- Power Source: Battery Powered (2 x UL-Certified Li-ion Batteries included)
- Remote Control Batteries: 1 x AAA (included)
- Operation Mode: Remote Control
- Features: Leadscrew Digging System, Engine Sound, Working Lights, 360-degree Rotation
- Model Size: Approximately 15 x 9.25 x 3.74 inches
- Item Weight: 0.6 Pounds
9. Warranty and Support
kolegend provides lifetime support for this RC Excavator. This includes expert engineering guidance, a 72-hour response time for inquiries, and full maintenance documentation. For any questions or assistance, please contact kolegend customer support through your purchase platform or the official brand website.
This product is designed for durability with its zinc-alloy bucket/tracks and reinforced ABS body. Please refer to the safety guidelines and maintenance instructions to ensure optimal performance and longevity.