Introduction
The Standifurno 9-Drawer Double Dresser is designed to provide ample storage and a modern aesthetic to your bedroom, living room, or entryway. Crafted from premium engineered wood with a walnut finish, this dresser features a curved design, smooth-gliding drawers, and an anti-tilt device for enhanced safety. This manual will guide you through the assembly process, provide usage tips, and outline maintenance procedures.
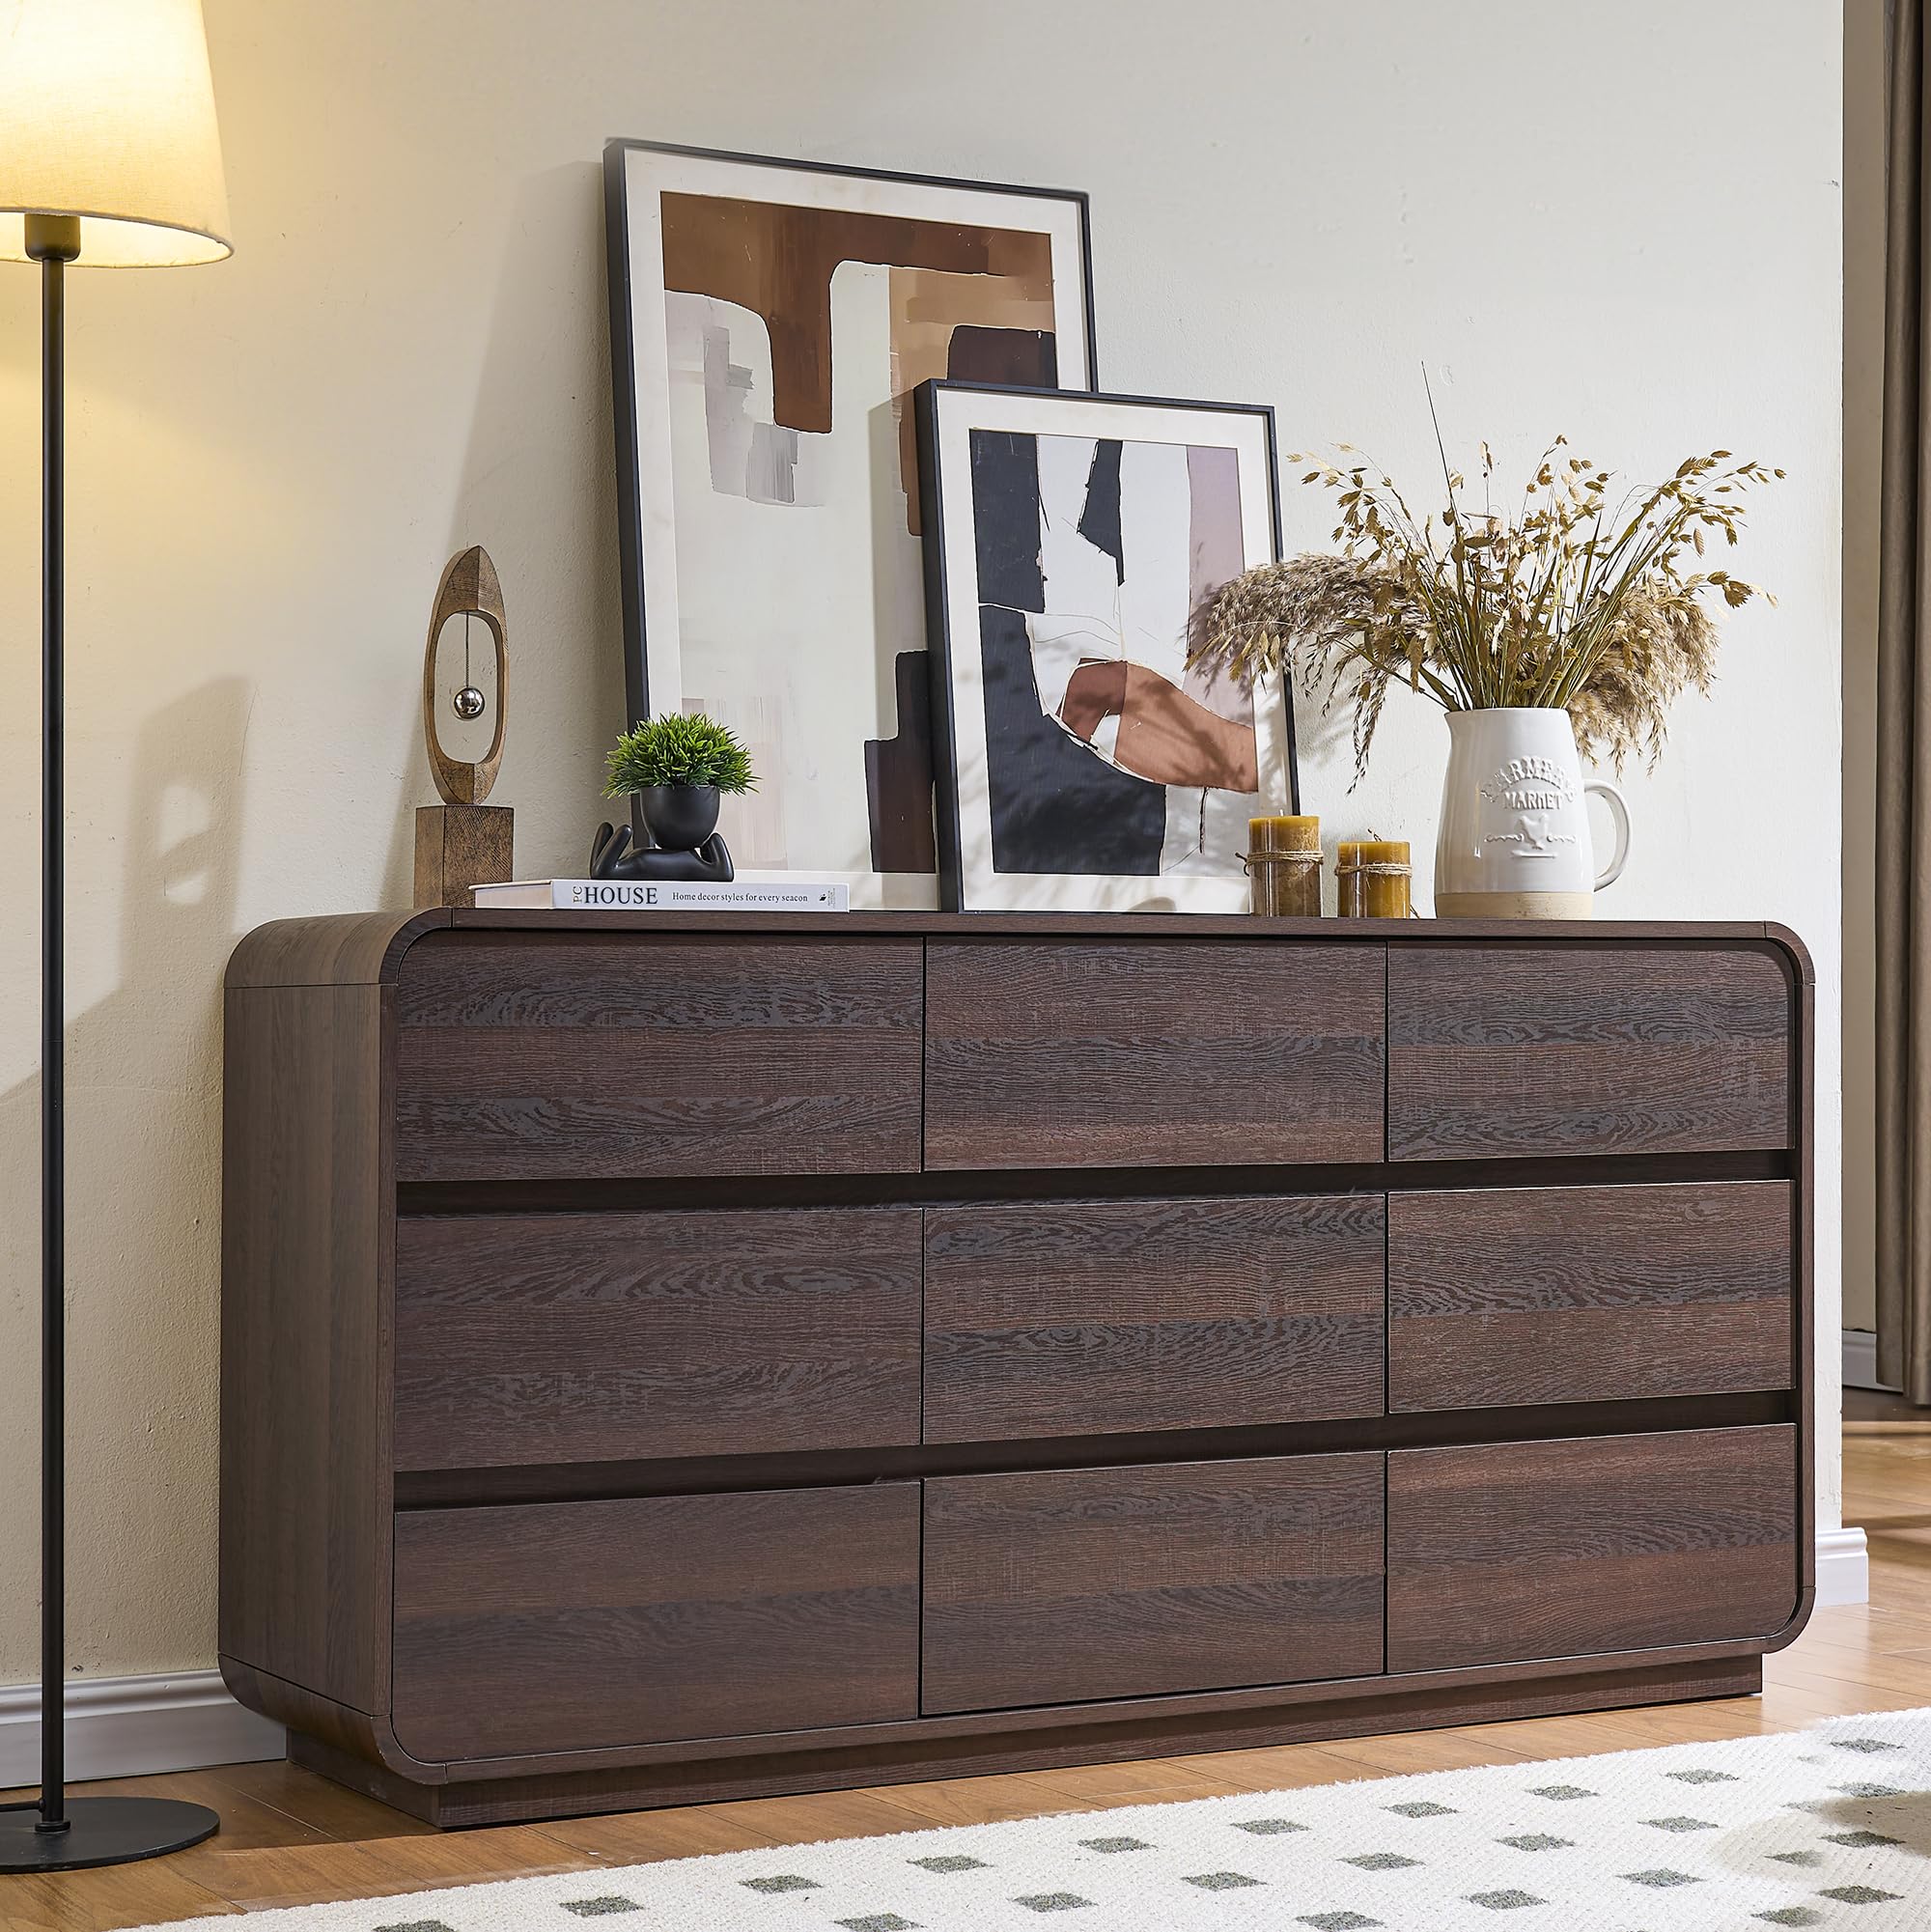
Image: Fully assembled Standifurno 9-Drawer Double Dresser in Walnut.
Safety Information
- Anti-Tilt Device: This dresser is equipped with an anti-tilt mechanism. It is crucial to install this device to prevent tipping, especially in households with children and seniors.
- Rounded Corners: The curved design eliminates sharp edges, reducing the risk of bumps and injuries.
- Weight Capacity: The tabletop can hold a maximum of 130 lbs. Each drawer can hold up to 30 lbs. Do not exceed these weight limits.
- Assembly: Always assemble the dresser on a soft, clean surface (like the packaging carton) to prevent scratches and damage. Ensure all screws and fasteners are tightened securely.
- Supervision: Keep children away from the assembly area and do not allow them to climb on or play with the dresser.

Image: Product dimensions and safety features, including the anti-tipping device.
Package Contents
Before beginning assembly, verify that all parts and hardware are present. If any items are missing or damaged, please contact customer support.
Hardware List:
- A: 133+2PCS (Dowel)
- B: 133+2PCS (Cam Lock)
- C: Ø8*30MM 18+2PCS (Cam Bolt)
- D: Ø8*30MM 48+2PCS (Wood Dowel)
- E: Ø3.5*12MM 108+2PCS (Small Screw)
- F: M4*30MM 73+2PCS (Medium Screw)
- G: 24+2PCS (Corner Bracket)
- H: M3*18MM 24+2PCS (Small Black Screw)
- I: 2PCS (Metal Bracket)
- J: 2PCS (Long Screw)
- K: 2PCS (Short Screw)
- L: 2PCS (Anti-tilt Bracket)
- M: 1PCS (Anti-tilt Plate)
- N: 1PCS (Anti-tilt Plate)
- O: 8PCS (Foot Pad)
- P: 18PCS (Drawer Slide Rail - Inner Part)
Panel List (Refer to assembly video for numbered parts):
- Various numbered panels for the dresser frame and drawers.

Image: Detailed view of drawer components and their dimensions.
Assembly Instructions
Estimated assembly time: 45 minutes. It is recommended to have two people for assembly. Use the packaging carton as a working surface to prevent product damage.
General Tips:
- Identify all parts before starting.
- Do not overtighten screws.
- Follow the steps in order.
Drawer Slide Rail Installation Guide:
Before assembling the main dresser frame, understand how to separate and install the drawer slide rails. This is a critical first step for all drawers.
Video: Demonstrates how to separate and install the drawer slide rails (P1 and P2 parts).
Main Dresser Assembly Steps:
Refer to the detailed assembly video for visual guidance on each step. The video covers the entire assembly process from start to finish.
Video: Comprehensive assembly guide for the Standifurno 9-Drawer Double Dresser.
- Prepare Panels: Lay out panels (2) and (3) and attach dowels (D) and cam bolts (A) as shown in the video (Step 2).
- Attach Side Rails: Secure side rails (7) to panels (2) and (3) using screws (E) and cam bolts (A) (Step 2).
- Install Drawer Slides (Side Panels): Attach the P1 part of the drawer slides to panel (8) using screws (E) (Step 3). Repeat for panel (38) (Step 5).
- Connect Base Panels: Use dowels (D) and cam bolts (A) to connect panels (9), (10), (11), (12), (13), (14), (32), (33) (Step 8).
- Assemble Frame Sides: Attach panel (38) to the assembled base using cam locks (B) (Step 9). Repeat for panel (8) (Step 11).
- Attach Back Supports: Secure back support rails (7) to the frame using cam locks (B) (Step 12).
- Complete Frame Structure: Continue attaching remaining frame panels (29, 33, 32) using cam locks (B) and screws (E) as shown in Steps 13-20.
- Attach Curved Side Panels: Secure curved side panels (4) and (5) to the main top panel (6) using screws (A) and cam locks (B) (Steps 21-22).
- Attach Top Panel: Place the assembled top panel (6) onto the main frame and secure it with screws (F) (Step 23).
- Assemble Base Frame: Connect the base frame pieces (30, 31, 34) using dowels (D) and cam bolts (A) (Step 24-25).
- Attach Base to Dresser: Secure the assembled base frame to the bottom of the dresser using screws (F) (Step 26).
- Install Foot Pads: Attach foot pads (O) to the bottom of the dresser (Step 27).
- Install Anti-Tilt Brackets: Attach anti-tilt plates (M, N) and brackets (I, L) to the back of the dresser using screws (F) (Step 28-30).
- Install Back Panels: Secure the back panels (2, 3) to the dresser frame using cam locks (B) and screws (E) (Step 31).
- Install Corner Brackets: Attach corner brackets (G) to the back of the dresser using screws (H) for added stability (Step 32).
- Assemble Drawers: Assemble each of the 9 drawers by following the steps shown in the video (Steps 33-36). This involves attaching the P2 part of the drawer slides to the drawer sides.
- Insert Drawers: Carefully insert all 9 assembled drawers into the dresser frame.
Usage and Operation
Your Standifurno dresser is designed for ease of use and efficient storage. The handleless 45-degree bevel cut design allows for comfortable opening with a simple touch, and the smooth slide rails ensure effortless operation.
- Opening Drawers: Gently pull the top edge of the drawer front to open.
- Closing Drawers: Push the drawer firmly until it is fully closed and flush with the dresser frame.
- Storage: Utilize the nine spacious drawers for organizing clothing, accessories, books, and other household items. Distribute weight evenly to maintain stability.
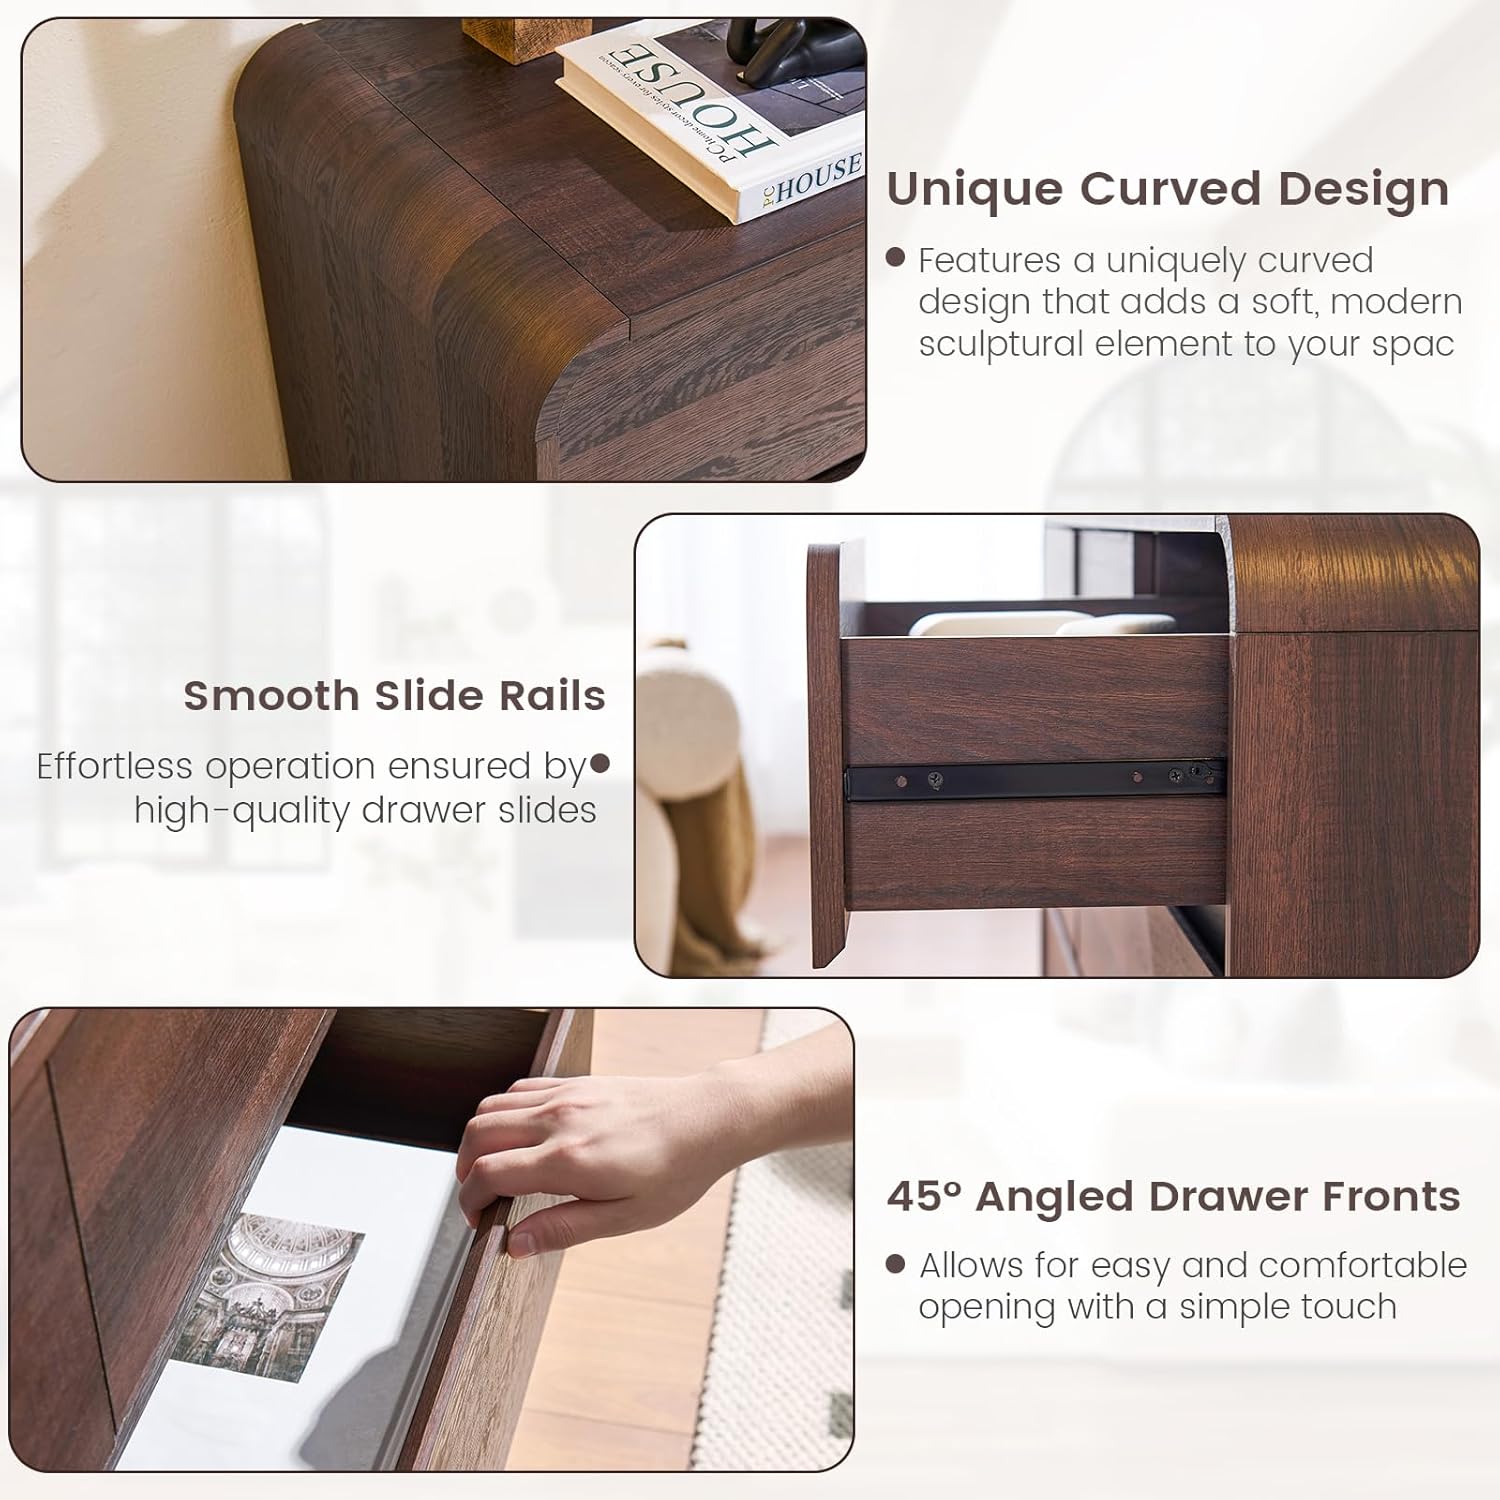
Image: Details of the unique curved design, smooth slide rails, and handleless drawer fronts.
Maintenance
Proper care will help maintain the appearance and longevity of your dresser.
- Cleaning: Wipe the surface with a soft, damp cloth. Avoid harsh chemicals or abrasive cleaners, as these can damage the finish.
- Spills: Promptly wipe up any spills to prevent staining or water damage.
- Sunlight: Avoid prolonged exposure to direct sunlight to prevent fading or discoloration of the wood finish.
- Humidity: Maintain a stable humidity level in the room to prevent warping or cracking of the wood.
Troubleshooting
If you encounter any issues with your dresser, refer to the following common solutions:
- Wobbly Dresser: Ensure all cam bolts and screws are tightened. Check that the dresser is on a level surface. Adjust foot pads if necessary.
- Drawers Not Sliding Smoothly: Verify that the drawer slide rails are correctly installed and aligned. Check for any obstructions in the rails. Ensure the drawer is not overloaded.
- Drawers Not Closing Completely: Check for items obstructing the back of the drawer or the inside of the dresser. Ensure the drawer slides are fully engaged.
- Missing Parts: If any parts are missing during assembly, please contact Standifurno customer service for assistance.
Specifications
| Feature | Detail |
|---|---|
| Brand | Standifurno |
| Model Name | H01-DR-3-9-HT-1PC |
| Material | Engineered Wood |
| Finish Type | Wood Sticker |
| Product Dimensions (D x W x H) | 15.4"D x 57"W x 28.4"H |
| Number of Drawers | 9 |
| Item Weight | 134.79 Pounds |
| Mounting Type | Freestanding |
| Color | Walnut |
| Style | Modern |
| Room Type | Bedroom, Living Room, Nursery, Office |
| Required Assembly | Yes |
Warranty and Support
Standifurno is committed to providing high-quality products. While specific warranty details are not included in this manual, if you encounter any problems during the installation process or have questions about your product, please feel free to contact us at any time. Our customer service team is ready to assist you.
For support, please refer to the contact information provided at the point of purchase or visit the official Standifurno website.